
How to Set Injection Molding Parameters
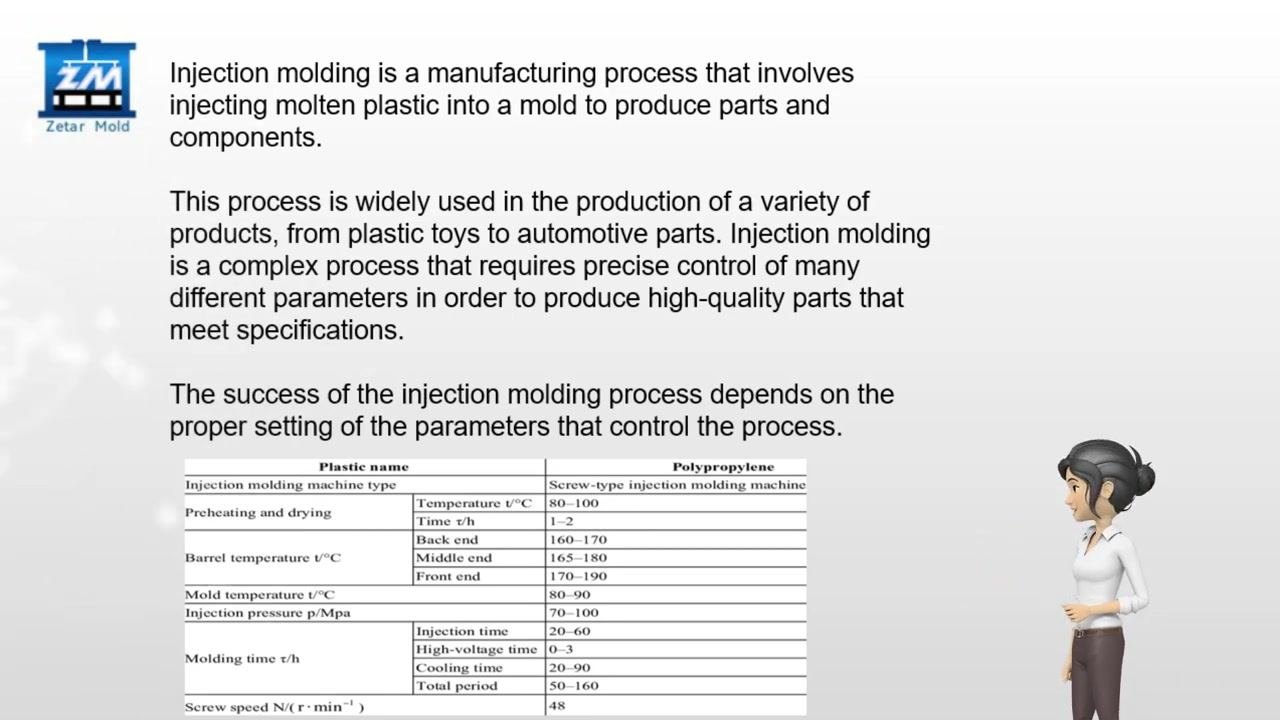
Injection molding is a manufacturing process where molten plastic is injected into a mold to produce parts and components, including plastic toys and automotive parts. Because the process is complex, learning how to set injection molding parameters correctly is essential for producing high-quality parts that meet specifications. This guide walks you through determining, setting, and monitoring the key parameters that control the injection molding cycle.
Video: How do you set injection molding parameters? by ZetarMold (2022). All credit for the demonstration goes to the creator; watch the original on YouTube. The written guide below was generated from this video by Docsie. Creator? Request a change or removal.
Injection molding is a manufacturing process where molten plastic is injected into a mold to produce parts and components, including plastic toys and automotive parts. Because the process is complex, learning how to set injection molding parameters correctly is essential for producing high-quality parts that meet specifications. This guide walks you through determining, setting, and monitoring the key parameters that control the injection molding cycle.
Purpose
This procedure explains how to identify and set the parameters that govern the injection molding process, so that the finished parts are free of defects and meet quality requirements. It also covers how to monitor those parameters throughout production.
Scope
This procedure applies to any injection molding run where you need to configure the process from material selection through real-time production monitoring. It covers the full parameter-setting cycle: plastic type, injection speed, injection pressure, cooling time, and other production factors.
Required equipment and knowledge
Before you begin, make sure you have access to the following:
- The molding machine and its control software
- Specialized equipment and software to control and measure injection speed, pressure, and temperature
- Sensors and monitoring devices fitted to the molding machine
- A thorough understanding of the plastic materials being used, the characteristics of the mold, and the capabilities of your equipment
Identify the key parameters to control
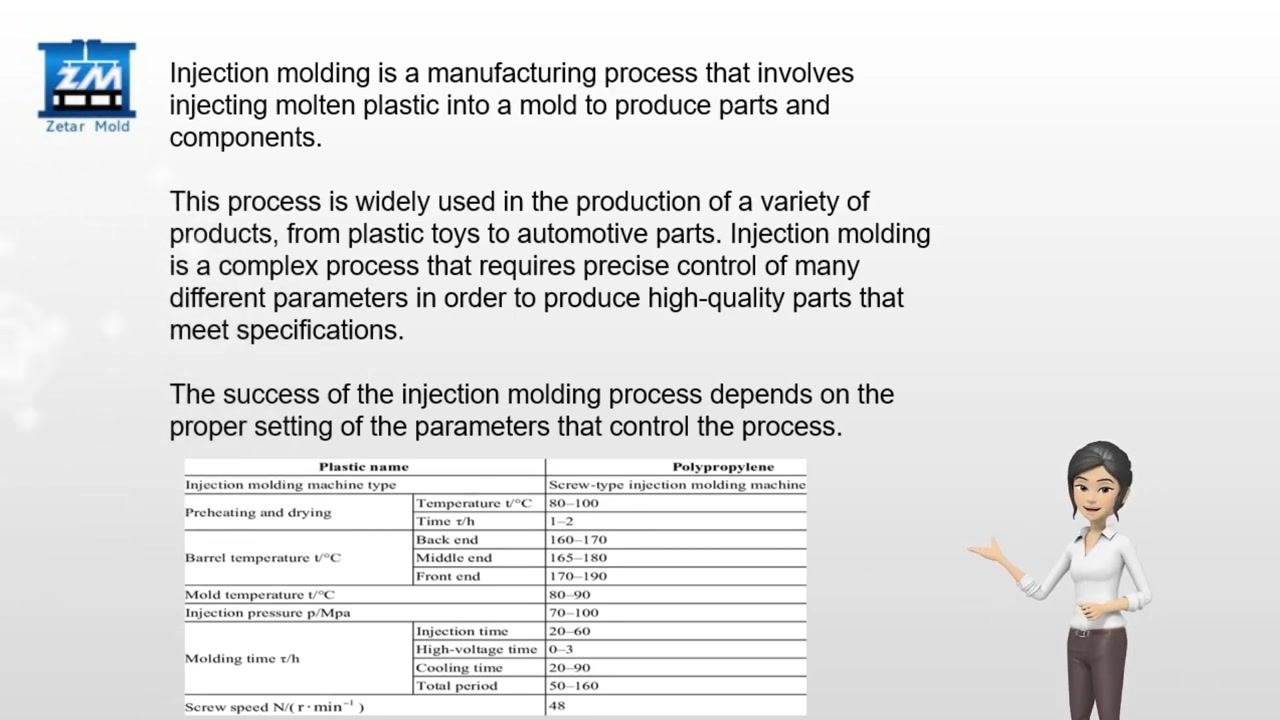
Before setting anything on the machine, review the parameters that must be controlled throughout the injection molding cycle: the temperature of the plastic, the injection speed, the pressure applied to the plastic, the cooling time, and other production factors. The full cycle includes stages such as filling, packing, holding, cooling, and ejecting.
Determine the type of plastic to be used
Determine the type of plastic that will be used for the process before setting any parameters. Different plastics have different melting points, so the plastic's temperature must be set accordingly. Properties such as melting point, viscosity, and flow rate affect how the material behaves and how it is injected into the mold.
Set the injection speed
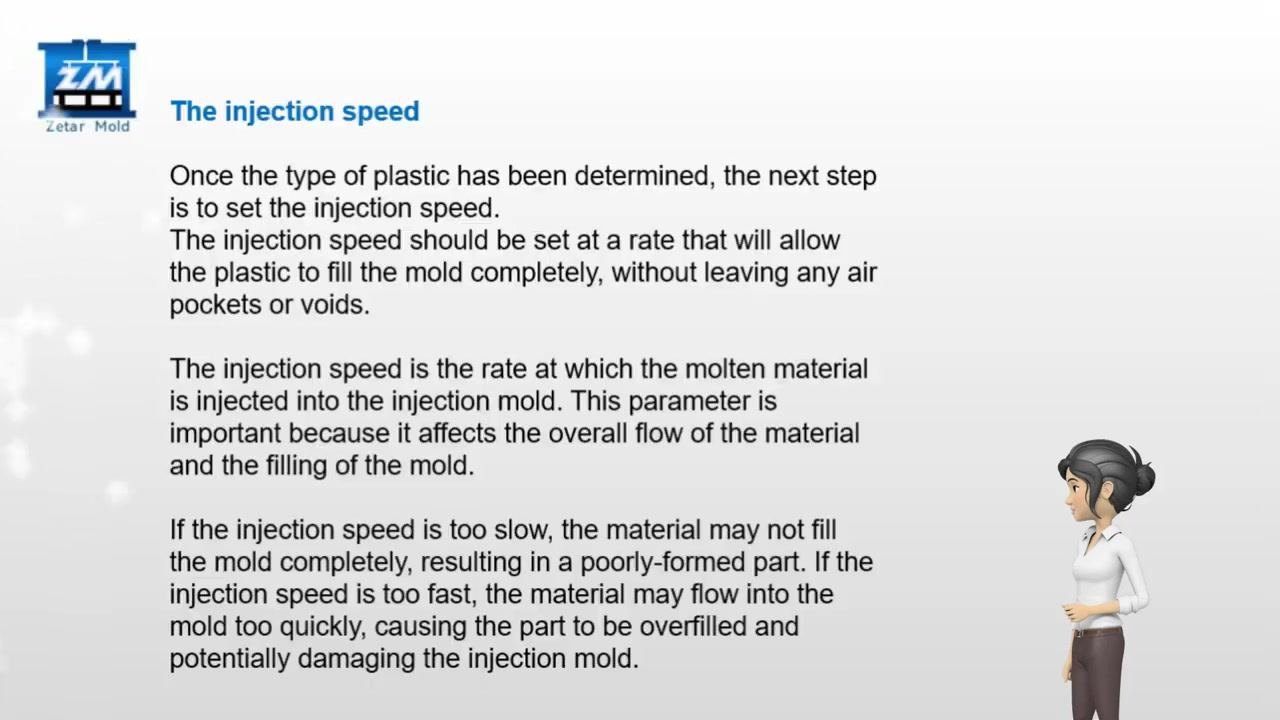
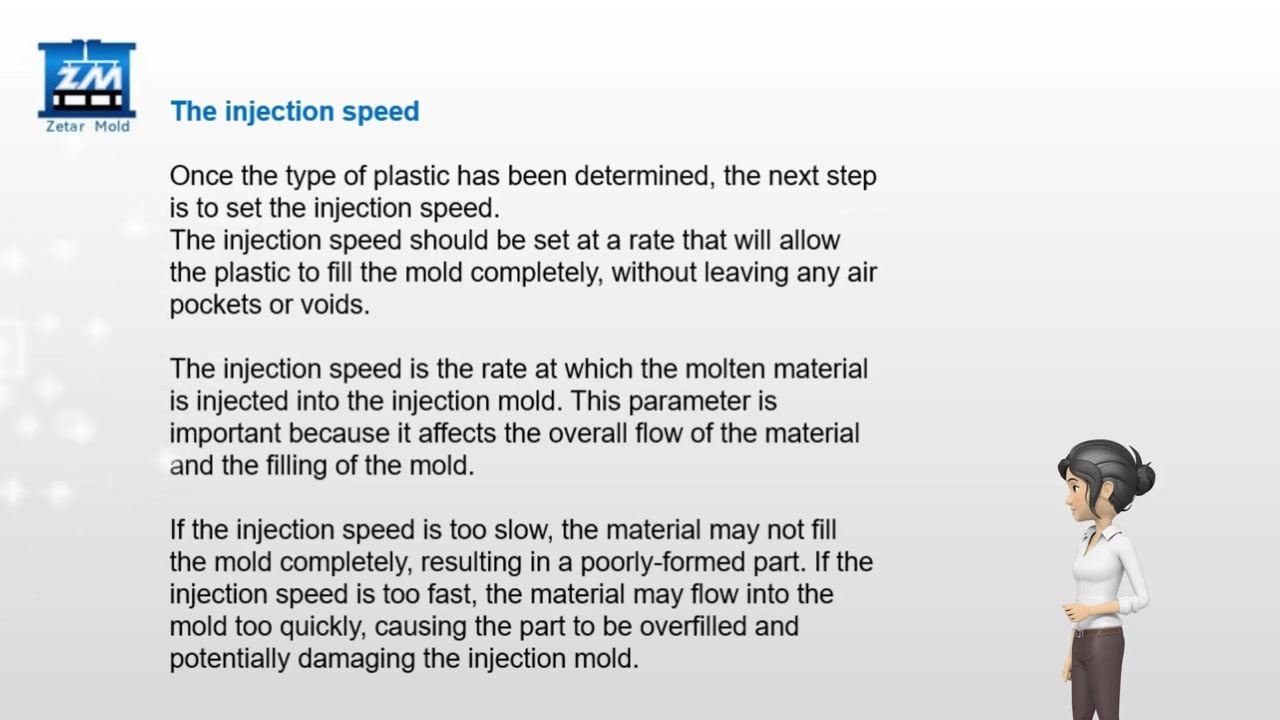
Once you have determined the plastic type, set the injection speed. Injection speed is the rate at which molten material is injected into the mold, and it affects the overall flow and filling of the mold. Set the speed so the plastic fills the mold completely, avoiding air pockets or voids.
Safety and quality note: If the injection speed is too slow, the mold may not fill completely, resulting in a poorly formed part. If the injection speed is too fast, material may flow into the mold too quickly, causing overfilling and potentially damaging the mold.
Verify the injection speed setting
After setting the injection speed, confirm that the value matches the flow requirements of the plastic and mold you are using. This parameter directly affects how completely and evenly the mold fills, so recheck it before moving on to pressure settings.
Set the injection pressure
Once the injection speed is set, determine the pressure to apply to the plastic. Injection pressure is the force with which the molten material is injected into the mold, and it determines the density of the material and the strength of the final part. Set the pressure so the plastic fills the mold completely without causing deformities or defects.
Safety and quality note: If the injection pressure is too low, the material may not pack densely, resulting in a weak part. If the pressure is too high, the material may pack too tightly, causing the part to become brittle and potentially cracking the mold.
Set the cooling time
After setting the injection pressure, determine the appropriate cooling time. Cooling time is the amount of time the material is allowed to cool and solidify in the mold before ejection. Set the cooling time so the plastic solidifies properly and maintains its shape and structural integrity, avoiding shrinkage or warping.
Safety and quality note: If the cooling time is too short, the material may not fully solidify, resulting in a weak and poorly formed part. If the cooling time is too long, the material may cool unevenly, resulting in warping or other defects.
Consider other critical factors
In addition to injection speed, pressure, and cooling time, account for these additional factors when setting injection molding parameters:
- Size and shape of the mold
- Type of equipment being used
- Production volume
Ensure the success of the process by developing a thorough understanding of the plastic materials, the mold characteristics, and your equipment's capabilities before finalizing your settings.
Set and monitor parameters during production
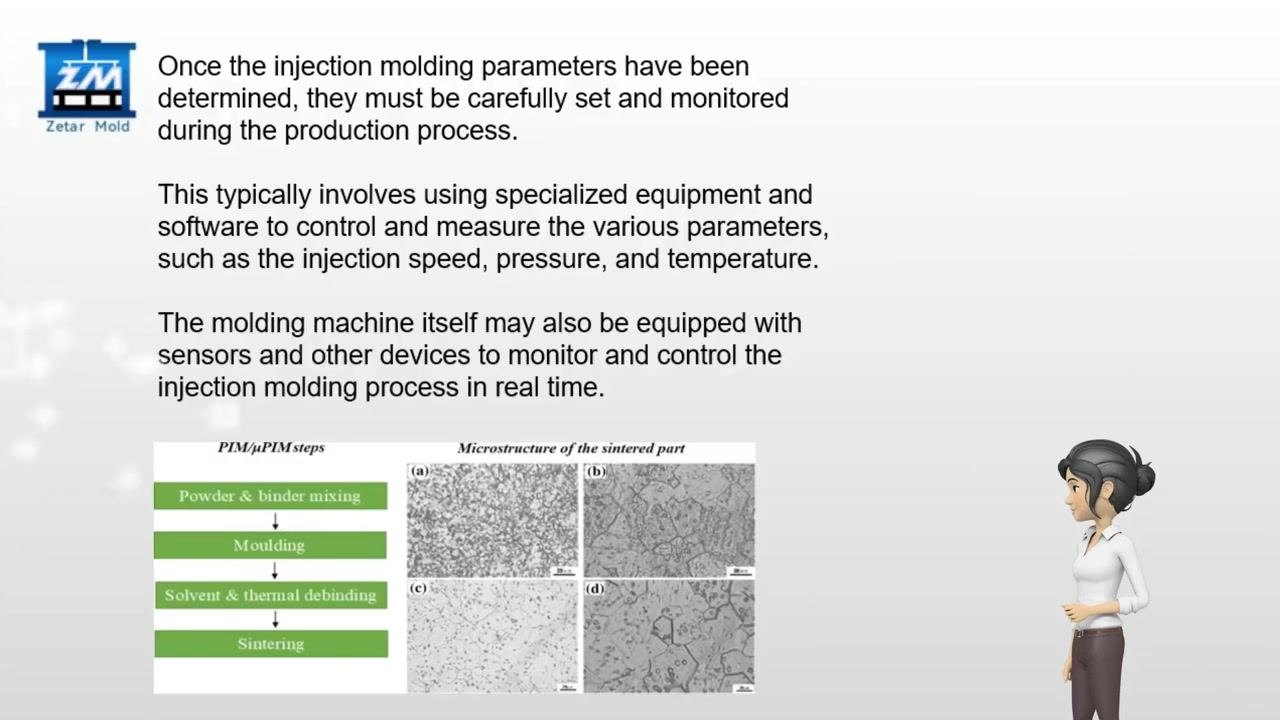
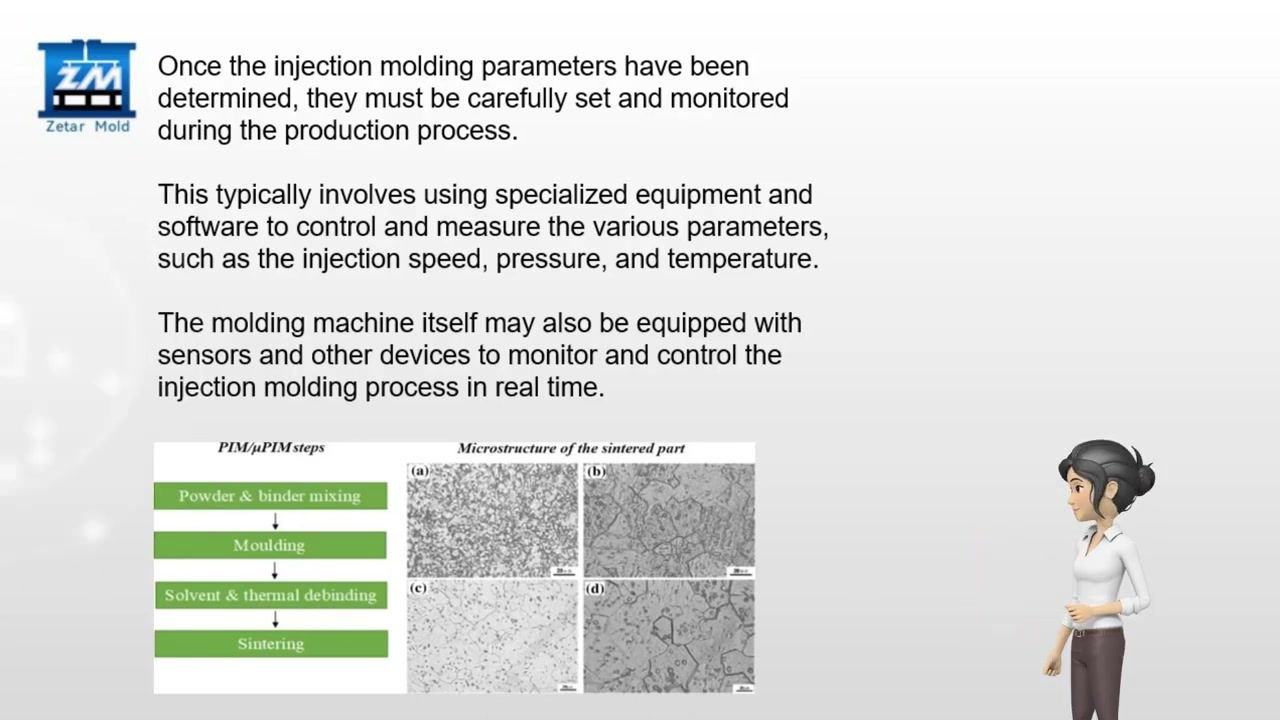
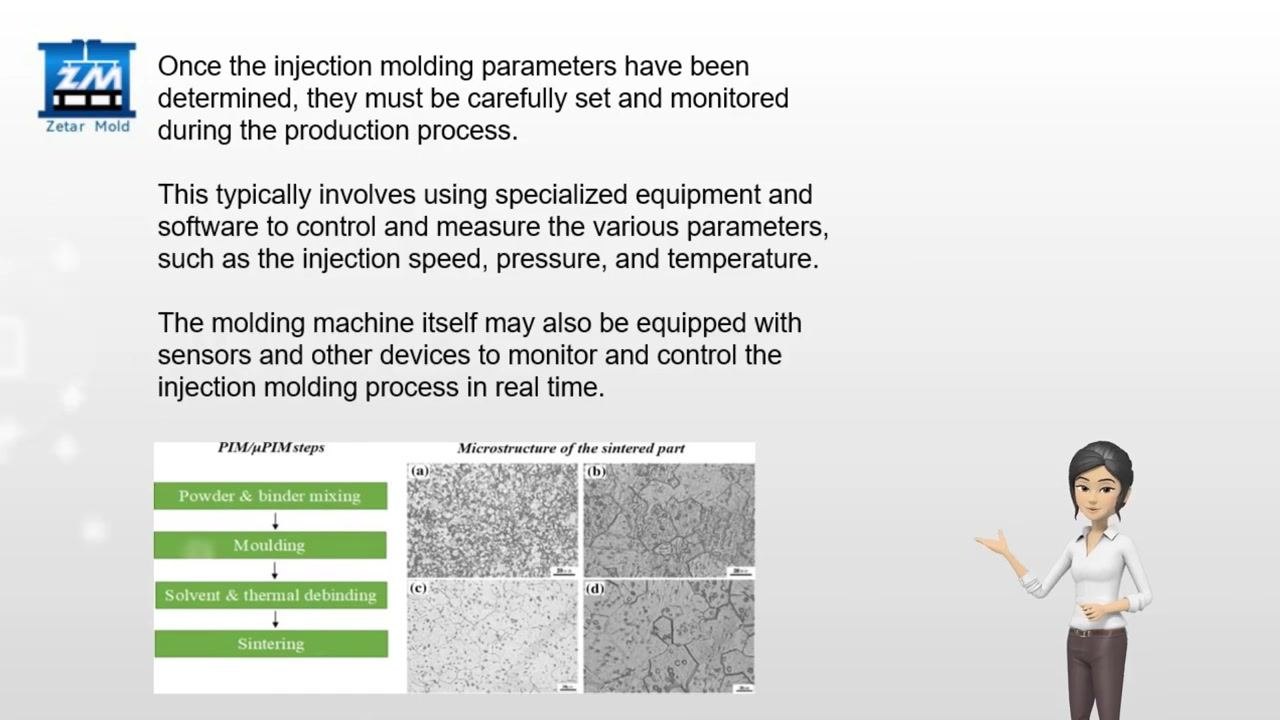
Once you have determined all injection molding parameters, set them on the machine and monitor them carefully throughout the production run. Use specialized equipment and software to control and measure parameters such as injection speed, pressure, and temperature.
Monitor and control parameters in real time
Equip the molding machine with sensors and other devices to monitor and control the injection molding process in real time. Regularly review sensor data covering injection speed, pressure, and temperature, and make adjustments as needed to maintain optimal process conditions and consistent product quality.
Verification and summary
Confirm that all parameters—temperature of the plastic, injection speed, pressure applied to the plastic, and cooling time—have been carefully determined and set. Proper setting of these injection molding parameters is essential to producing high-quality parts and components with minimal defects or deformities.
What's next
If you have questions about injection molds or the injection molding process, consult with experts for guidance. You can contact Zetar Industry Co., Ltd. for professional support with mold design, prototyping, or molding process optimization:
- Website: https://zetarmold.com
- Email: info@zetarmold.com
Generation details: cost, quality tiers
Docsie billed 3,000 credits ($2.10) to analyze this 6-minute video at standard quality. The rewrite, template fill and Word/PDF exports were included. The same video at each quality tier:
| Quality | Frames sampled | Credits | Approx. cost |
|---|---|---|---|
| Draft | every 16-30 s | 1,500 | $1.05 |
| Standard (this guide) | every 8-15 s | 3,000 | $2.10 |
| Detailed | every 4-7 s | 6,000 | $4.20 |
| Ultra | every 1-3 s | 12,000 | $8.40 |
Credits priced at $0.70 per 1,000; plans include a monthly allowance. Enterprise customers on on-premise or bring-your-own-model deployments run this on their own inference and pay no per-video credits.
Generated by Docsie Video-to-Docs on 2026-09-14 from a 5-minute video. Screenshots are frames from the source video and belong to their creator, ZetarMold, whose original is embedded above. If you own this video and want the guide removed or credited differently, contact us and we will act within one business day.