
How to Use Oil Immersion on a Microscope
This method describes how to use oil immersion on a microscope to locate, focus on, and identify bacteria on a Gram-stained smear slide in a microbiology laboratory setting. The method covers correct low-power and high-power focusing technique, safe application of immersion oil, use of the 100x oil immersion objective, differentiation of Gram stain colors, and proper cleaning and storage of the microscope after use. This is a qualitative observational method intended to confirm the presence and morphology of bacteria on a prepared slide.
Video: How to use a microscope and oil immersion by bioprofaz (2011). All credit for the demonstration goes to the creator; watch the original on YouTube. The written guide below was generated from this video by Docsie. Creator? Request a change or removal.
Purpose
This method describes how to use oil immersion on a microscope to locate, focus on, and identify bacteria on a Gram-stained smear slide in a microbiology laboratory setting. The method covers correct low-power and high-power focusing technique, safe application of immersion oil, use of the 100x oil immersion objective, differentiation of Gram stain colors, and proper cleaning and storage of the microscope after use. This is a qualitative observational method intended to confirm the presence and morphology of bacteria on a prepared slide.
Scope
This SOP applies to the use of a standard compound light microscope equipped with 4x, 10x, 40x, and 100x objective lenses in a microbiology teaching or working laboratory.
- Sample type: Prepared bacterial smear slides, marked with a circle indicating the location of the stain, typically processed with a Gram stain.
- Matrix: Slides prepared and fixed prior to microscope observation (slide preparation itself is out of scope for this document).
- Instruments: Compound microscope with revolving nosepiece (4x, 10x, 40x, 100x objectives), coarse and fine adjustment knobs, condenser, and diaphragm lever.
- Analysts: Individual students or laboratory personnel who are expected to operate the microscope independently and demonstrate proficiency with oil immersion.
- Exclusions: This method does not cover basic microscope operation (analysts are expected to already have this background) or slide preparation steps such as drawing the specimen circle, which are assumed to have been completed beforehand.
Principle
Bacteria are too small to be seen with the naked eye or under low-power objectives, so the method relies on progressively increasing magnification—starting at 10x, moving to 40x, and finishing at the 100x oil immersion objective—to bring the bacterial smear into view. The condenser and diaphragm control the amount and quality of light reaching the specimen, which directly affects image clarity at each magnification. Only the 100x objective is designed to make contact with immersion oil; the oil is applied between the slide and this objective to allow proper focusing at the highest magnification. When performing a Gram stain observation, the analyst distinguishes bacteria by color (pink versus purple), which is critical for correctly interpreting the stain result.
Materials and Reagents
| Item | Description / Purpose | Notes |
|---|---|---|
| Compound microscope | Equipped with 4x, 10x, 40x, and 100x objectives, coarse and fine adjustment knobs, condenser, and diaphragm lever | Each analyst should use and be able to operate an assigned, numbered microscope |
| Prepared bacterial smear slide | Slide with a circle marking the location of the stained specimen | Prepared prior to this procedure |
| Immersion oil (bottle with dropper) | Applied only to the 100x objective for oil immersion focusing | Bottle shape/size does not affect the procedure; recap immediately after use |
| Inoculating loop | Used to verify correct condenser alignment via the shadow trick | Not used for specimen transfer in this procedure |
| Lens paper | Used to clean oil from the 100x objective after use | Only approved material for cleaning the lens |
| Chem wipe (laboratory cleaning tissue) | Used to remove oil from the slide if the specimen must be relocated | Used only when restarting the focusing process |
| Gloves | Personal protective equipment for laboratory work | Reinforced by "Wear Your Gloves" signage in the lab |
Procedure
Prerequisites and expectations
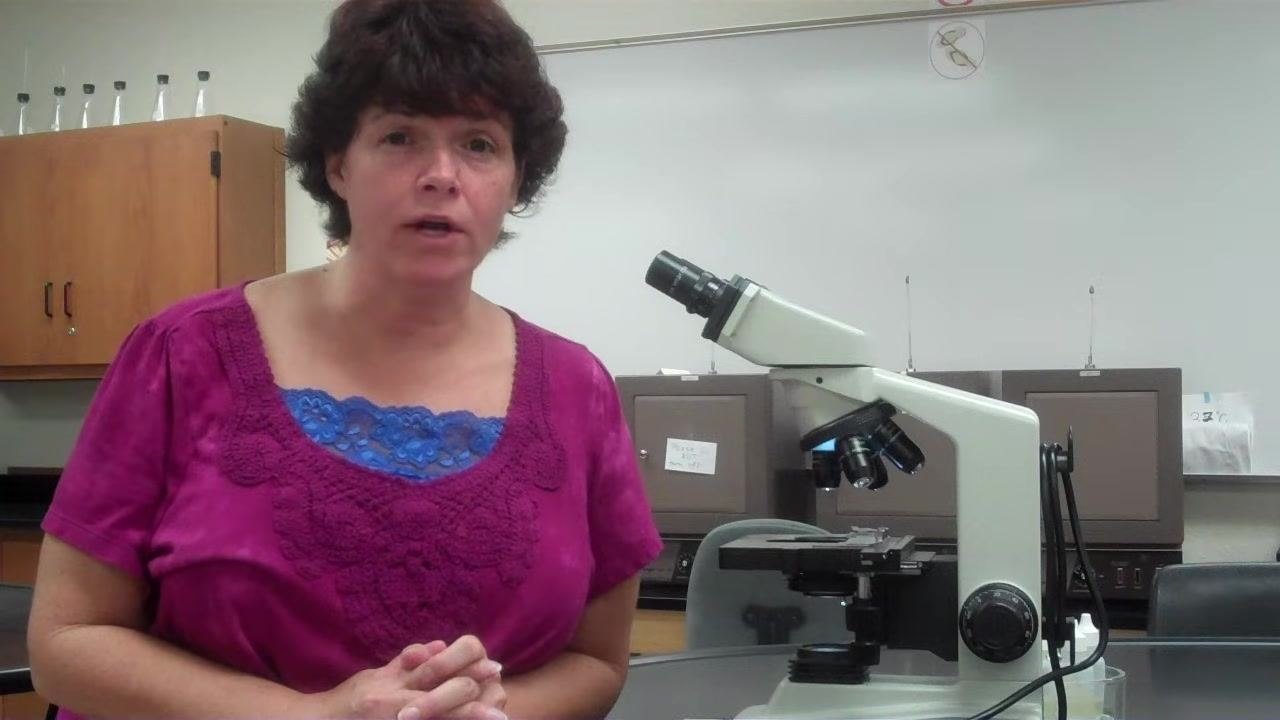
- You should have a background in microbiology and prior experience using a microscope; review basic microscope operation beforehand if you are unfamiliar or out of practice, as this method does not cover basic operation in detail.
- Be prepared to operate the microscope independently, since class or lab time for individual instruction is limited. Know how to handle and adjust the microscope before starting.
- You must use the oil immersion lens to view your stained slide, and you must personally demonstrate proficiency with oil immersion rather than relying on a lab partner's microscope.
- Work efficiently but carefully; avoid spending excessive time searching for your stain, while understanding that oil immersion can be genuinely challenging, especially at first. Persistence is required until you successfully locate bacteria.
- Recall that you previously drew a circle on your slide during preparation to mark where the stain is located; this circle is your target area under the microscope.
Step 1: Place the slide and set up low-power viewing
- Insert your slide into the stage clip of the microscope.
- Position the slide so that the circled area is directly over the light source, gently moving it until aligned if needed.
- If the light appears too bright under low power, use the diaphragm lever and move it to the right to reduce light intensity for clearer viewing at lower magnifications.
- Locate the condenser beneath the stage and confirm it sits just below the slide, close to the stage. If it is too far down, raise it, as an incorrect condenser position can cause focusing trouble.
- Skip the 4x (scanning) objective, since bacteria are extremely small; always begin with the 10x objective to locate your smear.
Step 2: Find the smear at 10x and verify condenser alignment
- Use the coarse adjustment knob to bring the slide into focus while viewing through the 10x objective, and carefully search for the circled area to locate your smear.
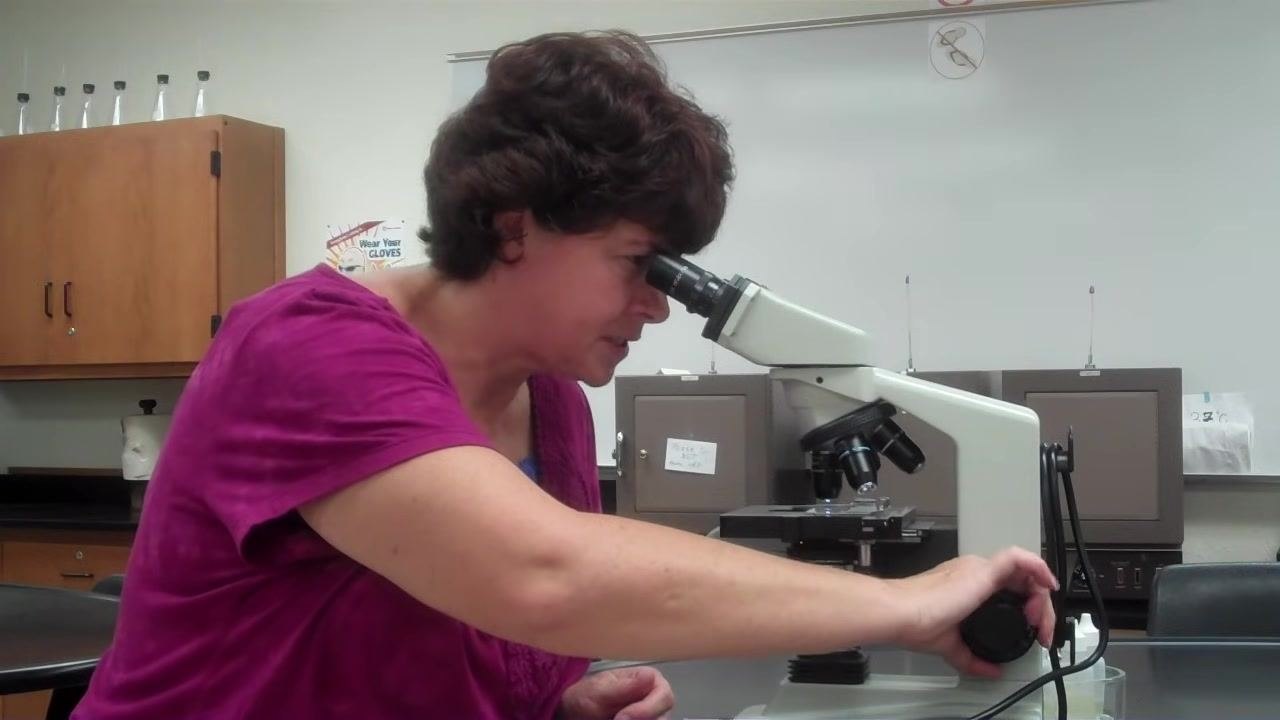
- Once your specimen is roughly located, verify condenser alignment: hold your inoculating loop over the light source and look through the eyepiece. If the condenser is correctly aligned, you should see the shadow of the loop clearly.
- If the loop's shadow appears blurry, slowly move the condenser up or down until the loop comes into sharp focus. Your specimen may temporarily go out of focus during this adjustment—this is expected.
- Once the loop is sharply focused, leave the condenser in this position; this is the ideal condenser setting for your session. Perform this condenser alignment at the start of each lab session, since skipping it can cause persistent focusing difficulties.
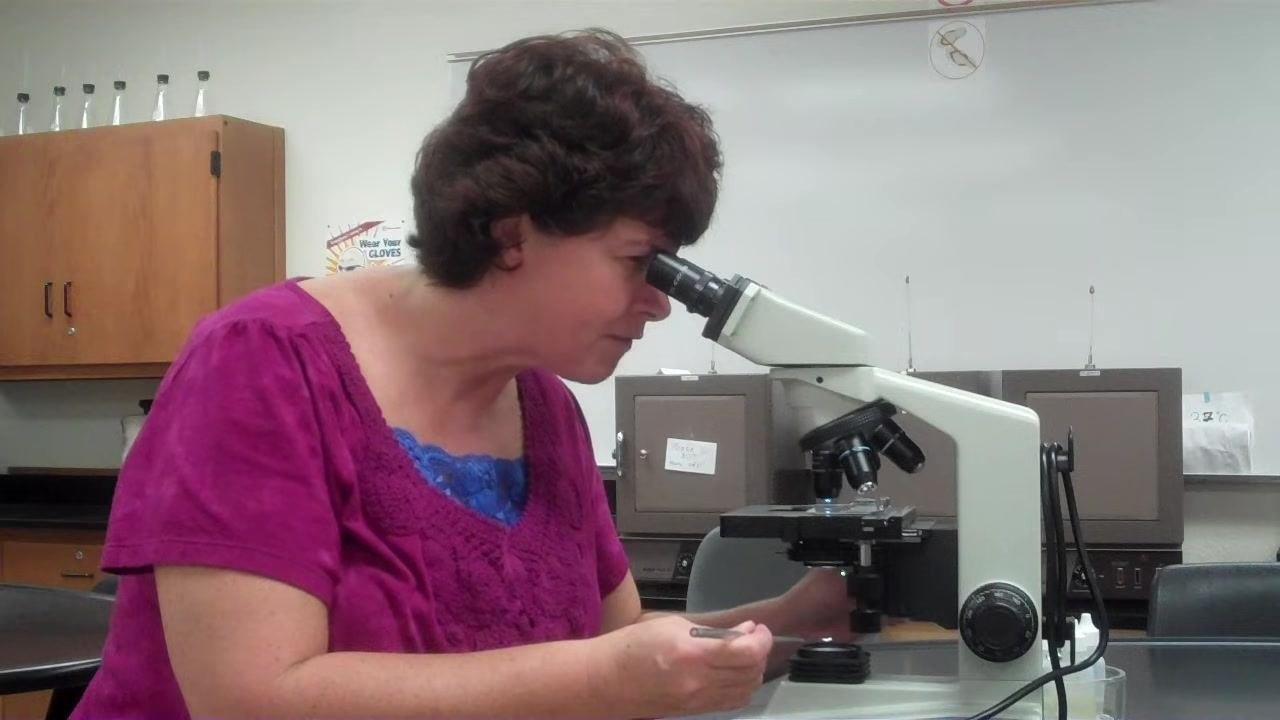
- After setting the condenser, return attention to the specimen and use only the fine adjustment knob (not the coarse knob) to bring the specimen back into focus.
Step 3: Switch to the 40x objective
- Once your specimen is clearly visible at 10x, rotate the nosepiece to switch to the 40x objective. Do not move the slide when switching objectives, since parfocal microscopes keep the specimen nearly in focus across magnifications.
- Do not worry about the objective striking the slide; if you were in focus at 10x, the 40x objective will not make contact.
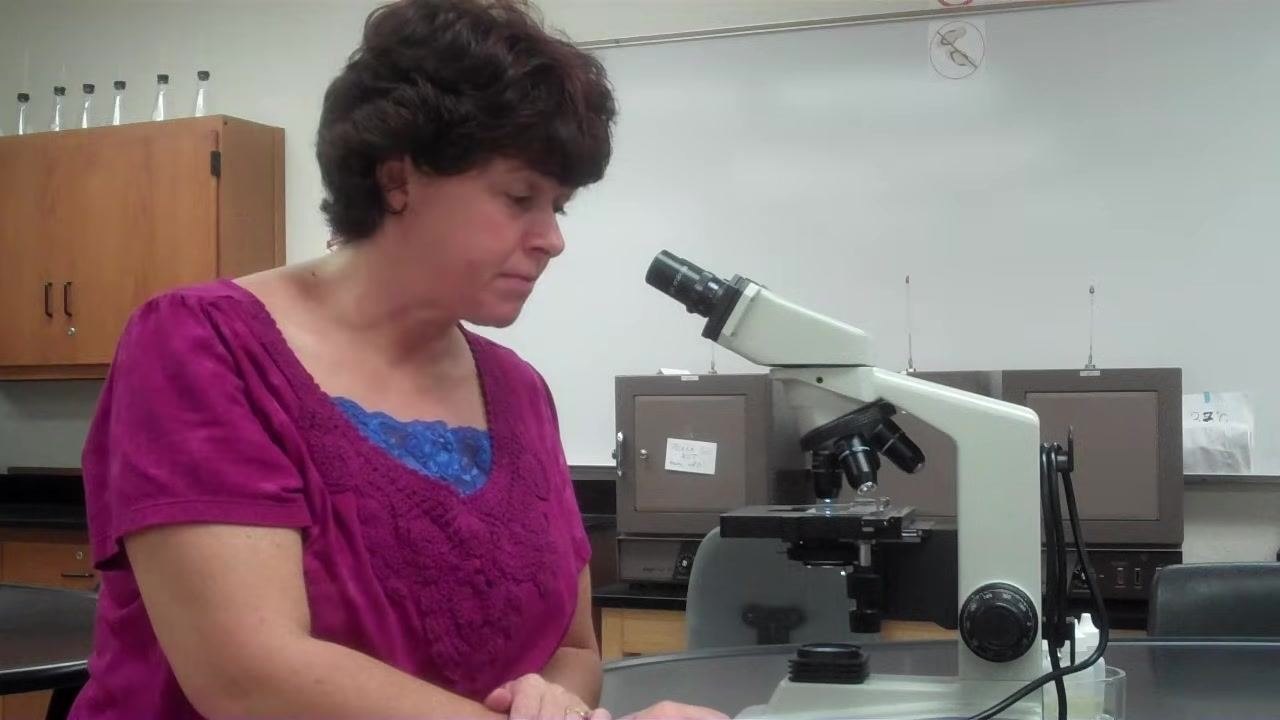
- With the 40x objective in place, use only the fine adjustment knob to achieve a sharp image. Never use the coarse adjustment knob at this magnification, as it can damage the slide or the lens.
- General rule: turn the fine knob so the stage moves down (focus away from yourself) to bring the image into focus; if this does not work, try the opposite direction.
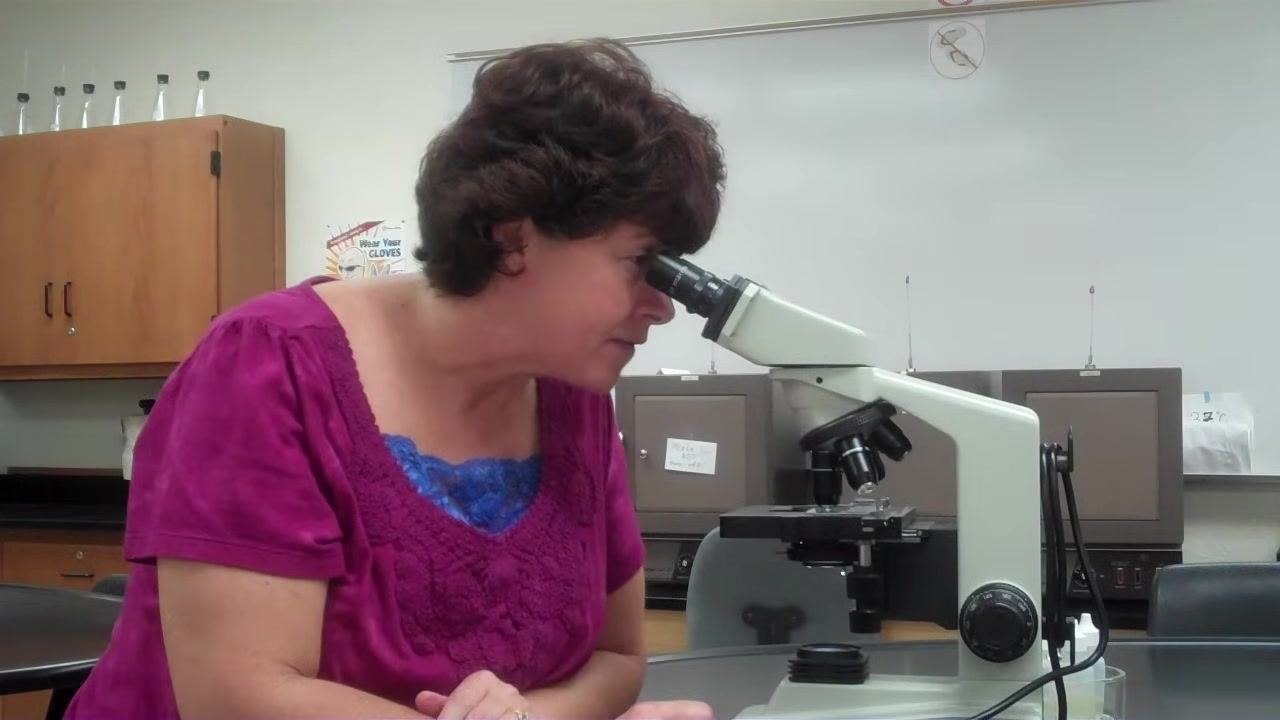
- If you cannot achieve focus after repeated adjustment, return to the 10x objective, recenter and refocus your specimen, then switch back to 40x and try again. Repeat as necessary.
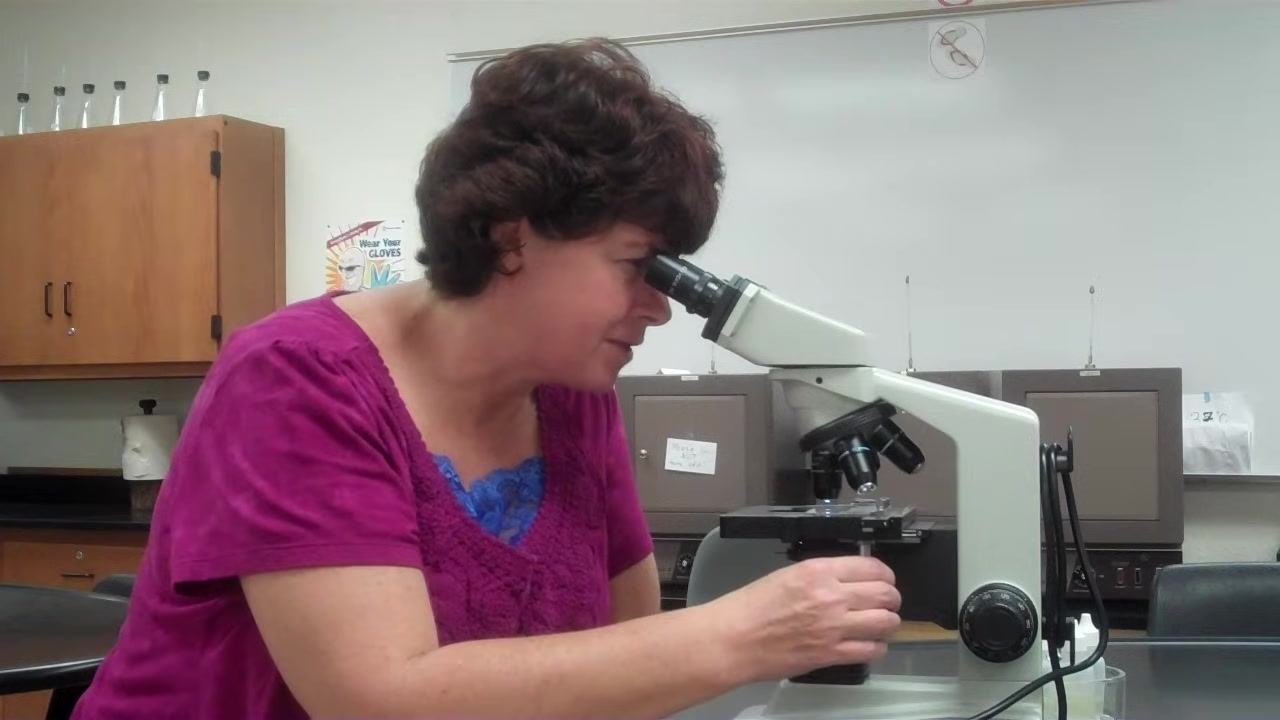
- If focusing away from yourself does not work, try the opposite fine-focus direction (raising the stage); the optimal direction can vary with specimen thickness and type. Make small, gentle adjustments and observe carefully through the eyepiece. If neither direction succeeds, return to 10x, recenter and refocus, then try 40x again.
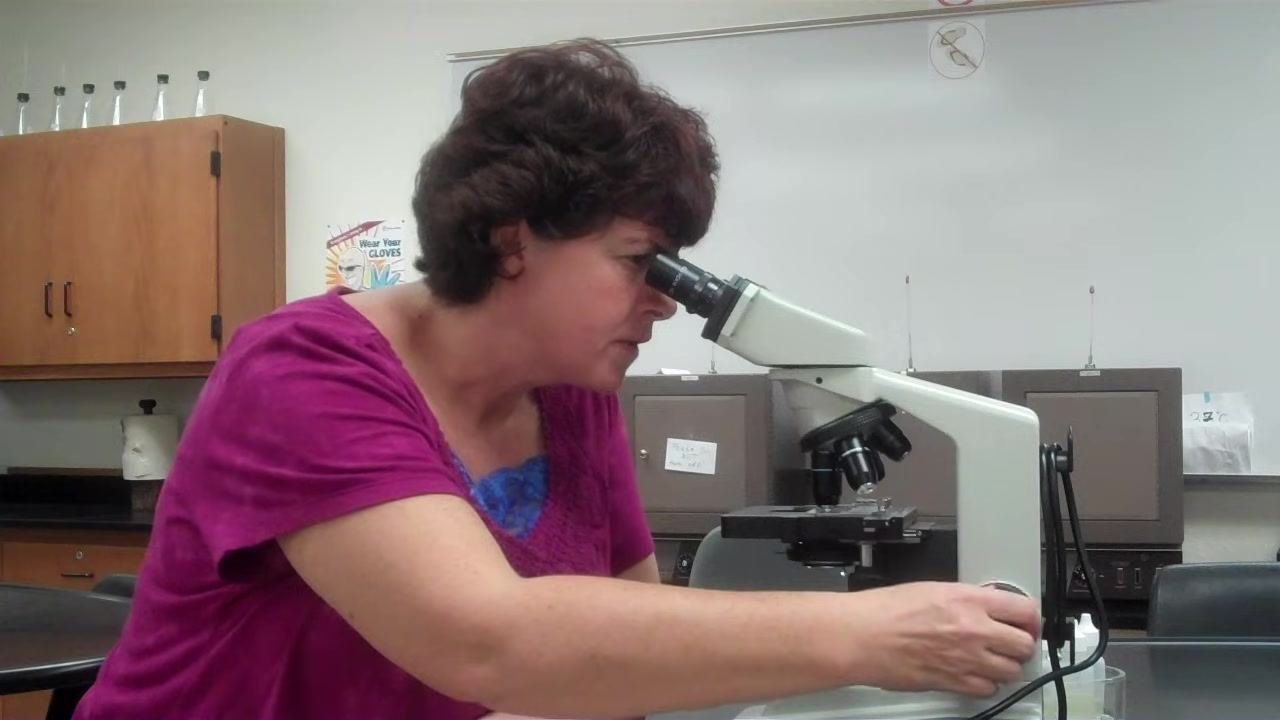
- If you continue to experience difficulty, confirm the slide is clean, the specimen is centered, and the condenser remains properly aligned before trying again.
Step 4: Confirm slide orientation and focus at 40x
- If you have difficulty focusing, especially at 40x or 100x, check that your slide is not upside down; incorrect orientation is a common cause of student focusing problems.
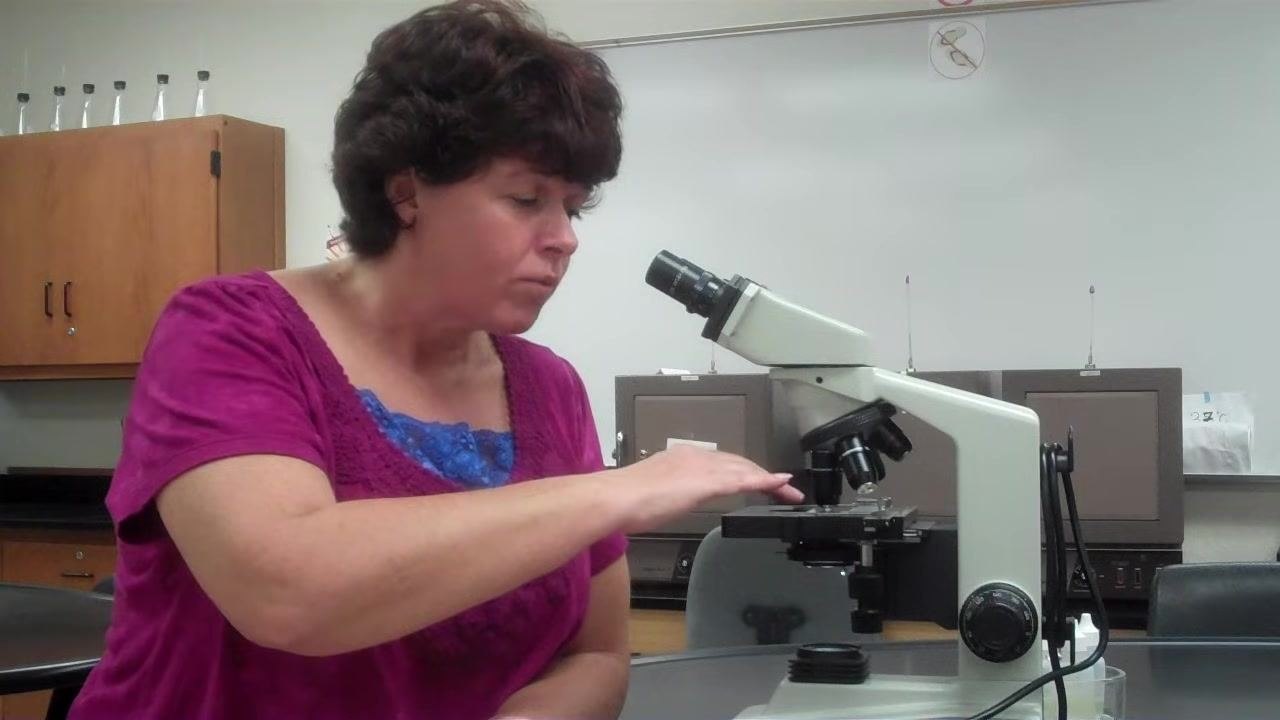
- Look through the eyepiece and use the coarse and fine focus knobs to bring the specimen into clear focus under the 40x objective before proceeding.
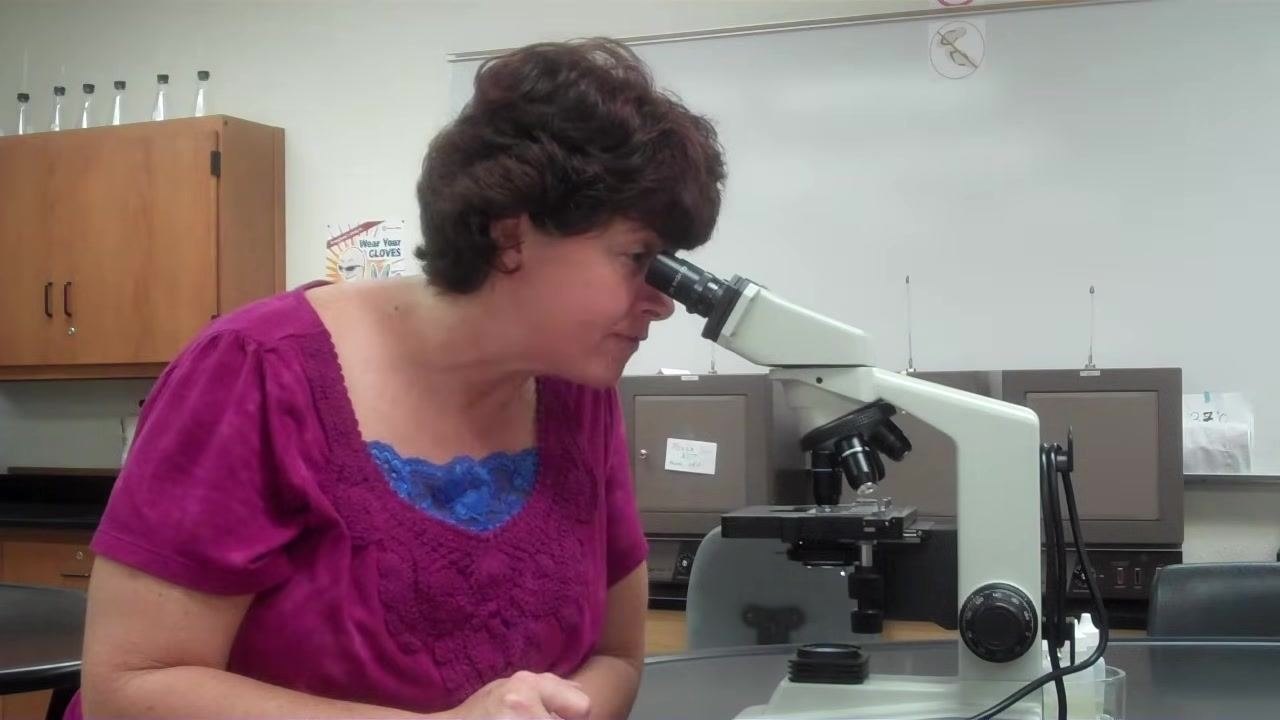
Step 5: Position the turret between 40x and 100x before applying oil
- Once focused on the 40x objective, prepare to move to the 100x oil immersion objective, but do not switch to it immediately.
- Instead, pause with the objective turret positioned between the 40x and 100x objectives.
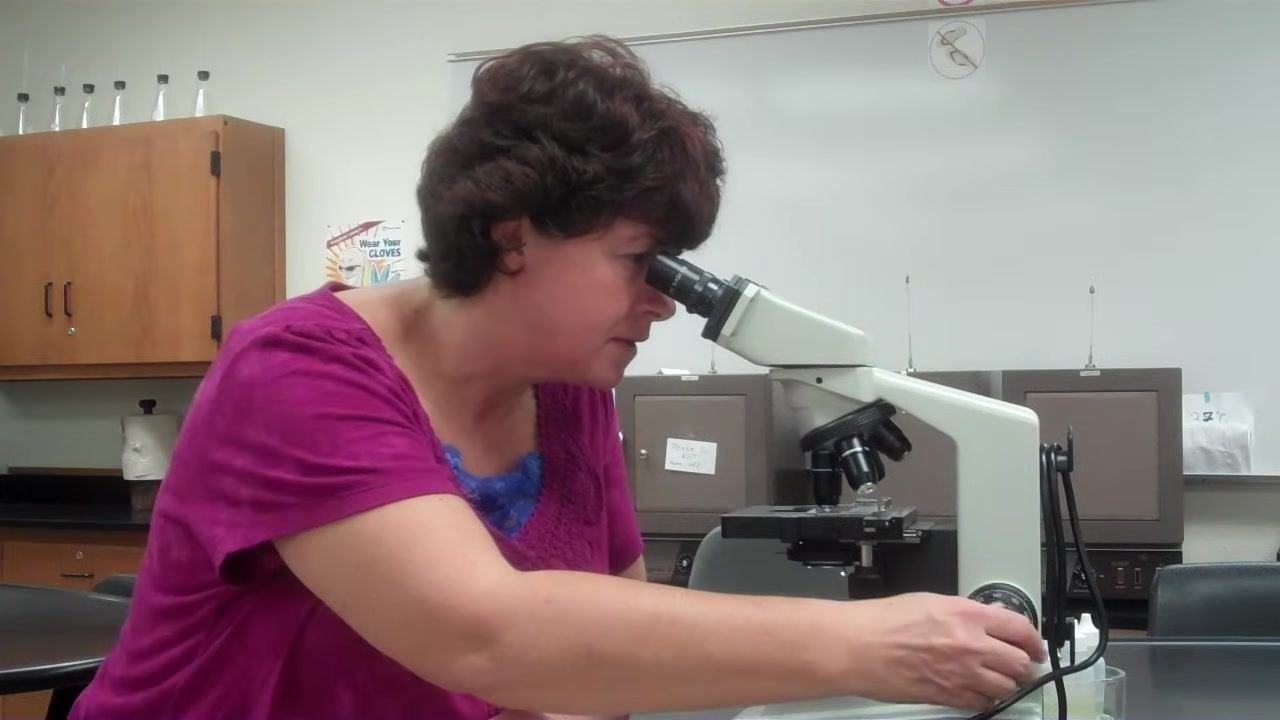
- Do not apply oil yet, and do not rotate directly to the 100x objective. Only the 100x objective is designed for oil immersion; getting oil on the 40x or 10x objectives can cause permanent damage. Never allow oil to contact the 40x or 10x objectives.
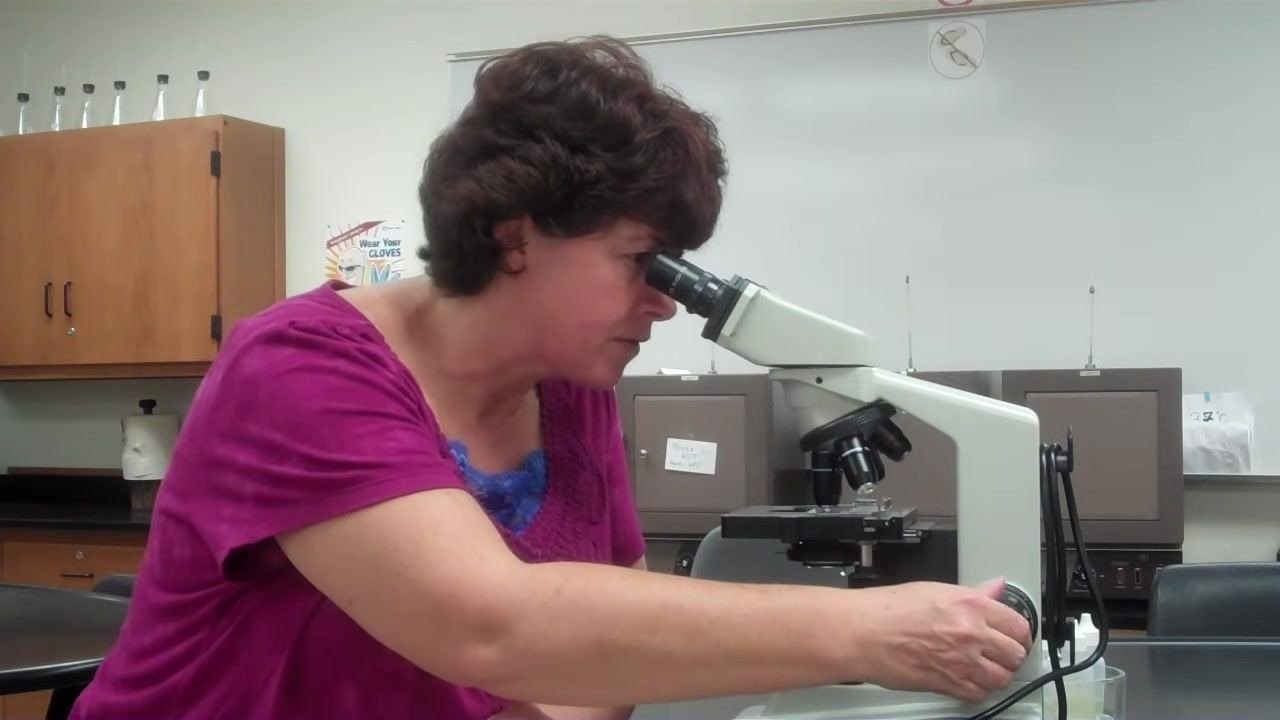
- A blurry image at this stage is normal, since oil has not yet been applied and the 100x objective has not yet been engaged.
- When performing a Gram stain observation, ensure you can clearly distinguish between pink and purple coloration under the microscope, since this distinction is critical for accurate results.
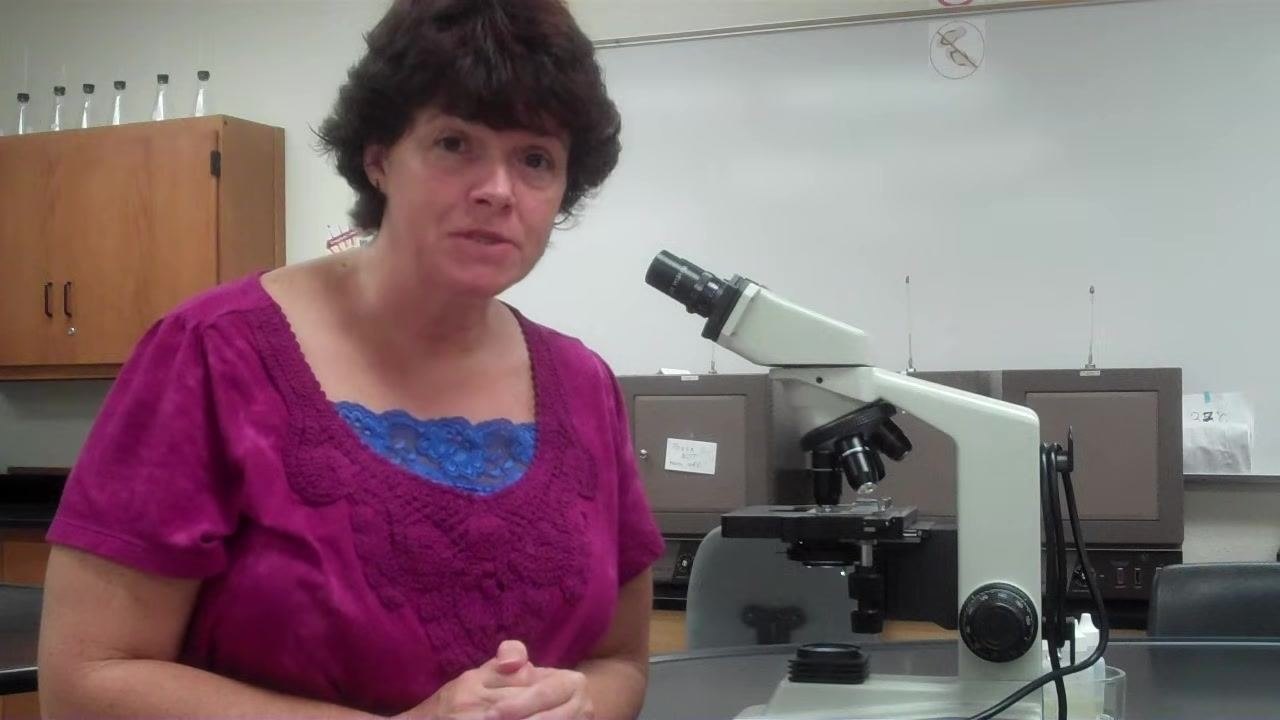
- Rotate the objective turret so the specimen is positioned between the 40x and 100x objectives, which ensures you do not accidentally get oil on the 40x or 10x objectives.
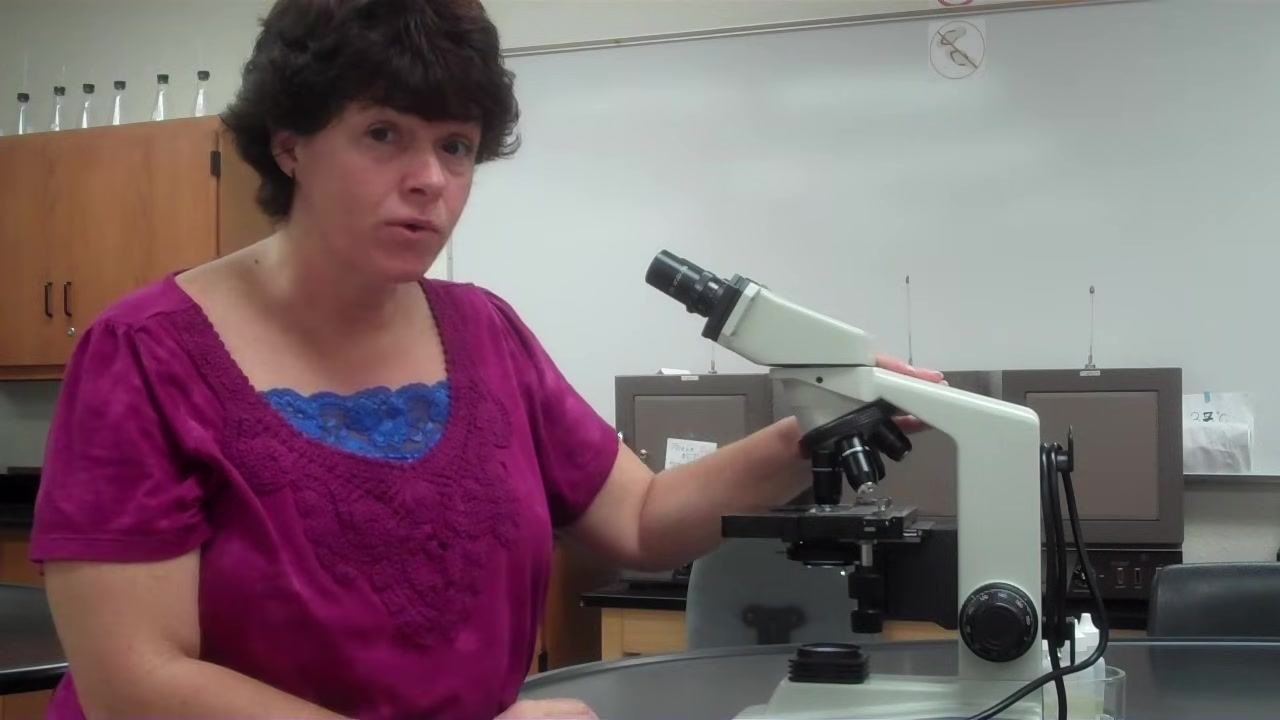
- With the turret positioned between 40x and 100x, prepare to apply immersion oil to the slide.
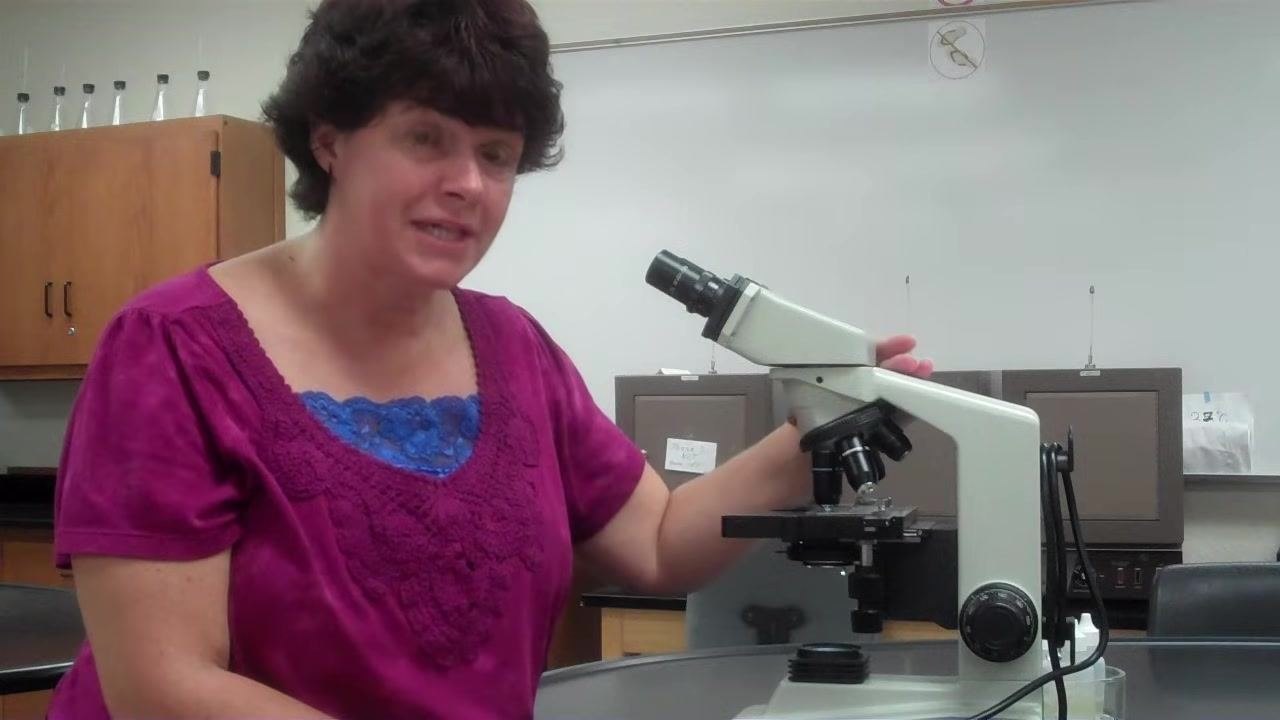
- Confirm the specimen is correctly positioned and that no objective is in contact with the slide before applying oil.
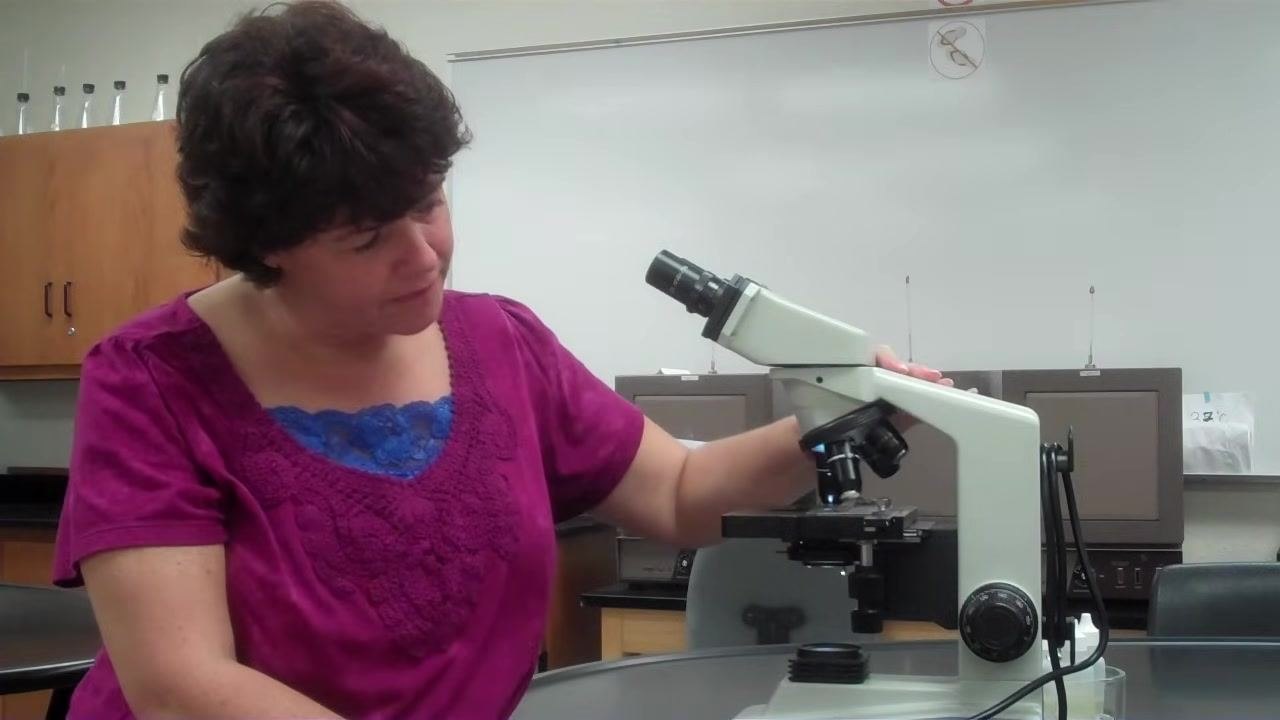
Step 6: Apply immersion oil
- Identify your immersion oil bottle; the bottle shape or size does not affect the procedure, but confirm it is the correct immersion oil for microscopy use.
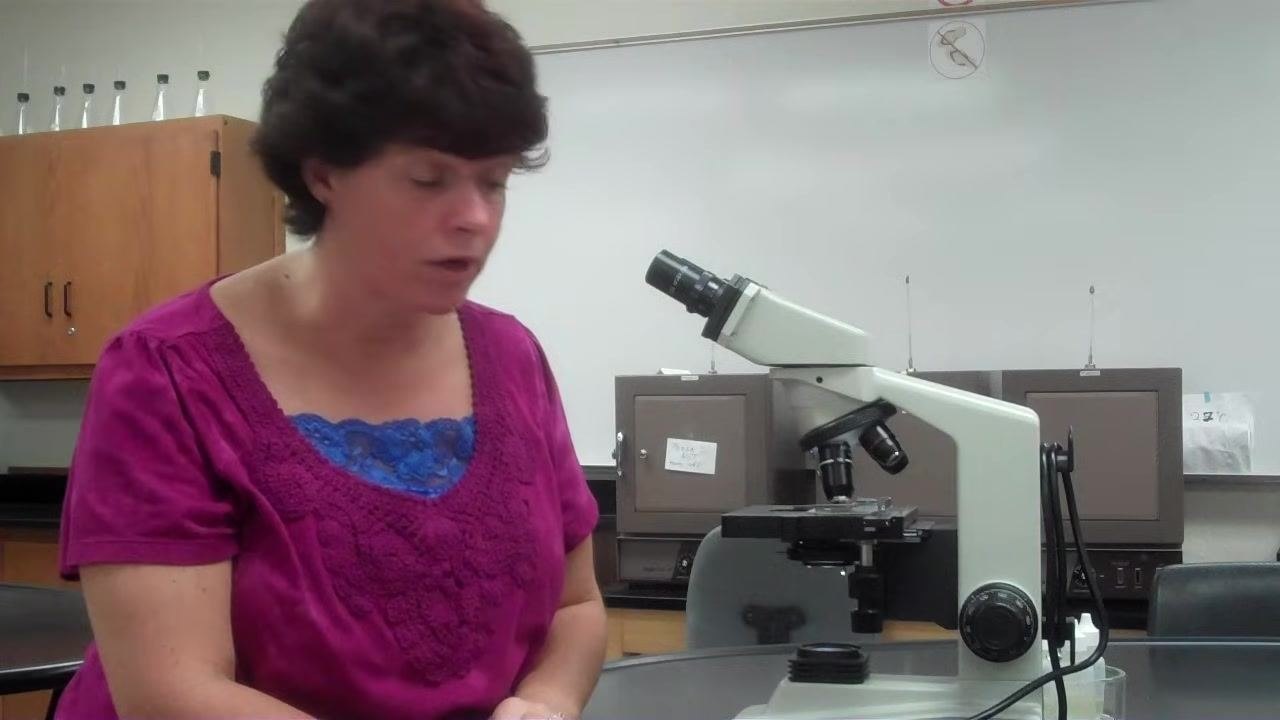
- If the bottle has a dropper or medicine-dropper cap, use it to dispense the oil. Hold the dropper above the slide without touching the slide with the dropper tip or the bottle itself, and let a single drop fall onto the area of the slide where the specimen is located.
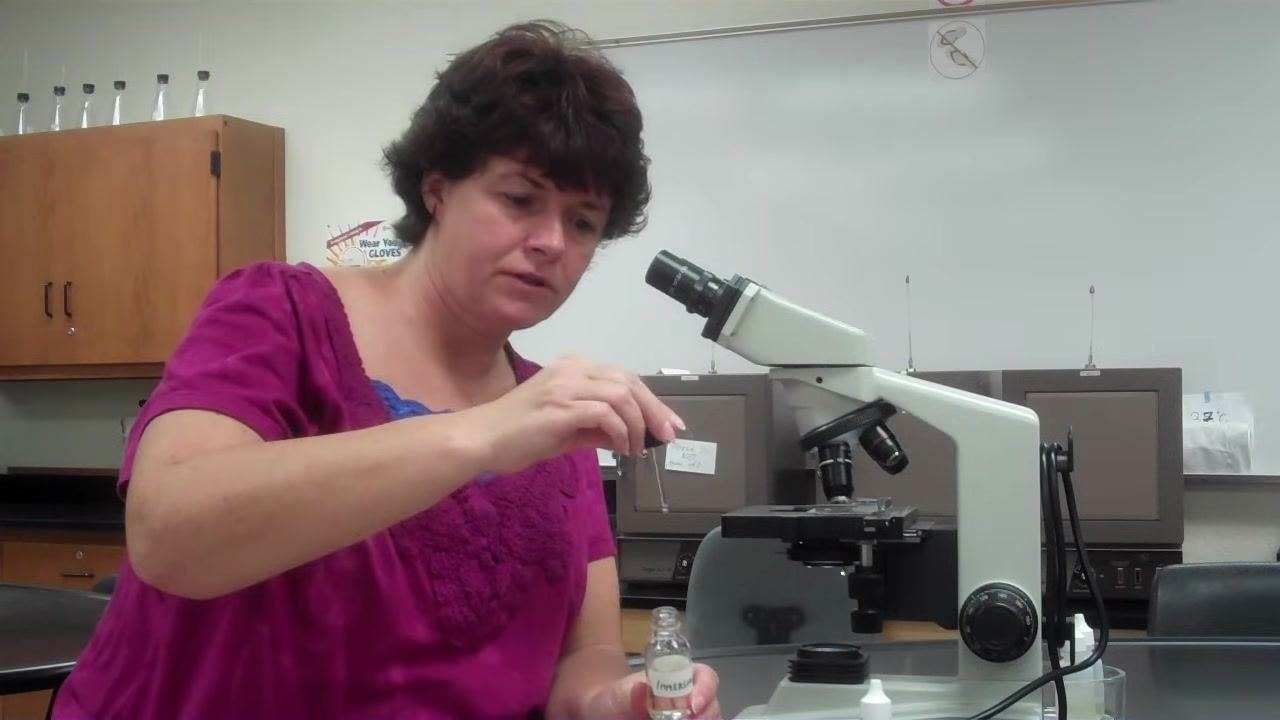
- Let the oil drop onto the slide by gravity; do not touch the slide with the dropper or bottle. The oil will naturally detach from the dropper and land on the slide.
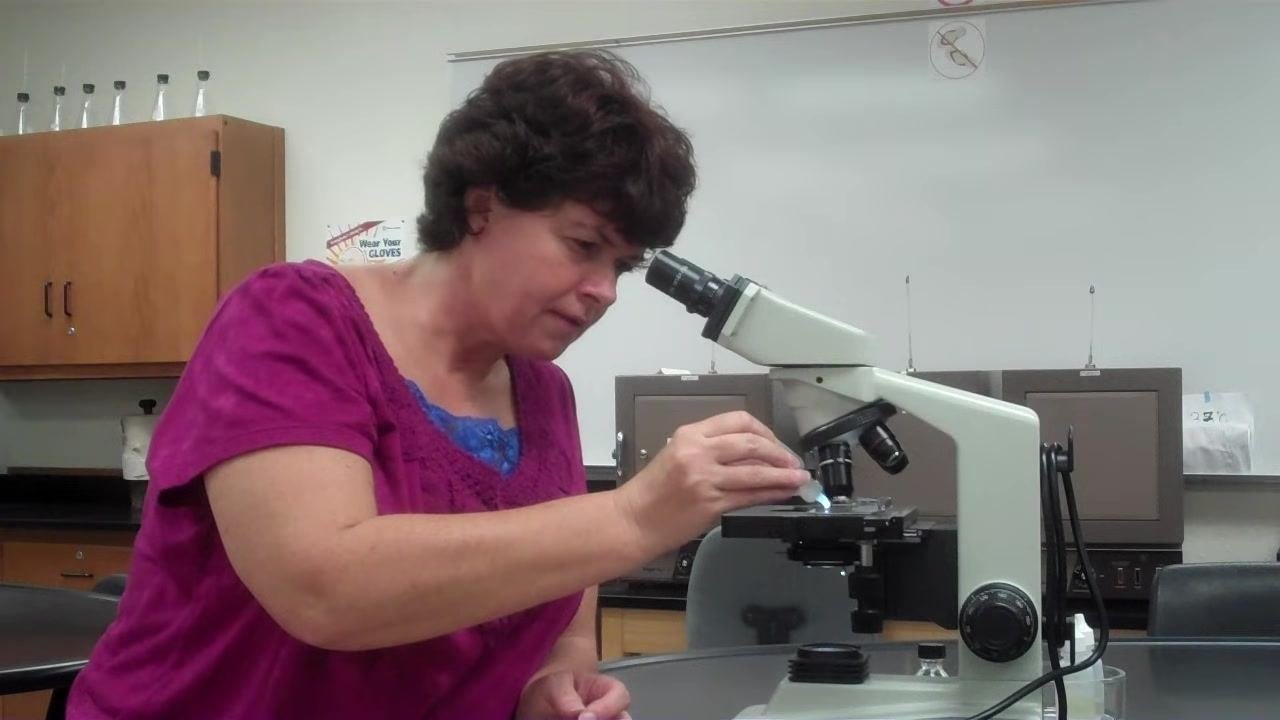
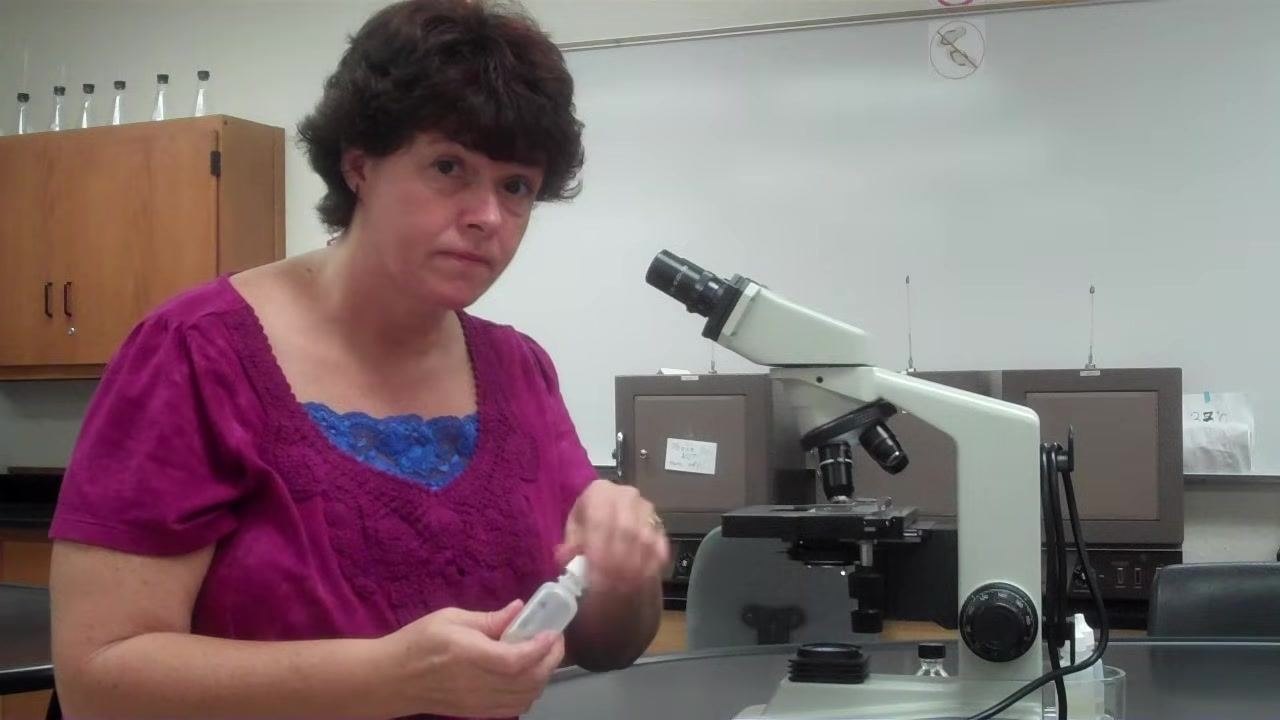
- Immediately recap the oil bottle after application to prevent spills or contamination, and set it aside in a safe location on the lab bench.
Step 7: Focus with the 100x objective
-
Rotate the objective turret so the 100x objective is directly above the slide and in contact with the oil drop. Ensure the objective is in absolute focus and the specimen is centered in the field of view before proceeding.
-
Understand the "point of no return": once oil is applied, do not return to lower-power objectives such as 40x without first cleaning the oil off the slide and objectives.
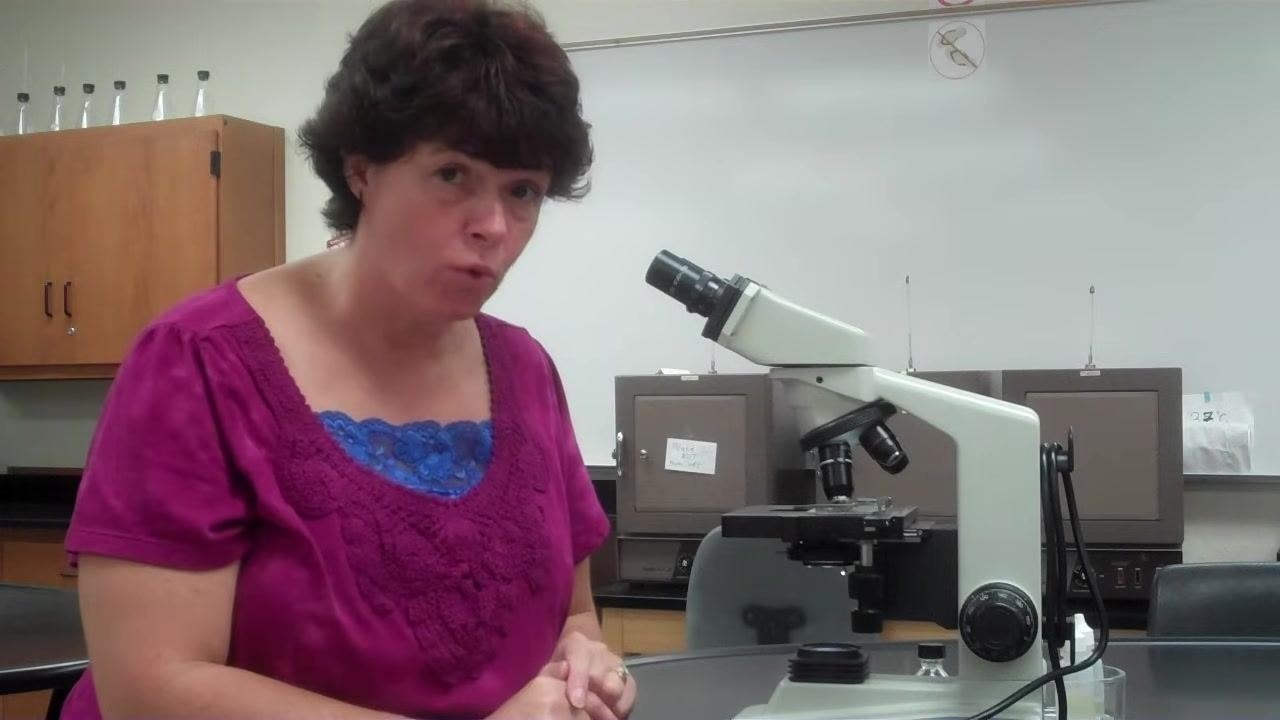
- Look through the eyepiece and use the fine adjustment knob to bring the specimen into sharp focus under the 100x objective. If the image comes into focus easily, proceed with your observation.
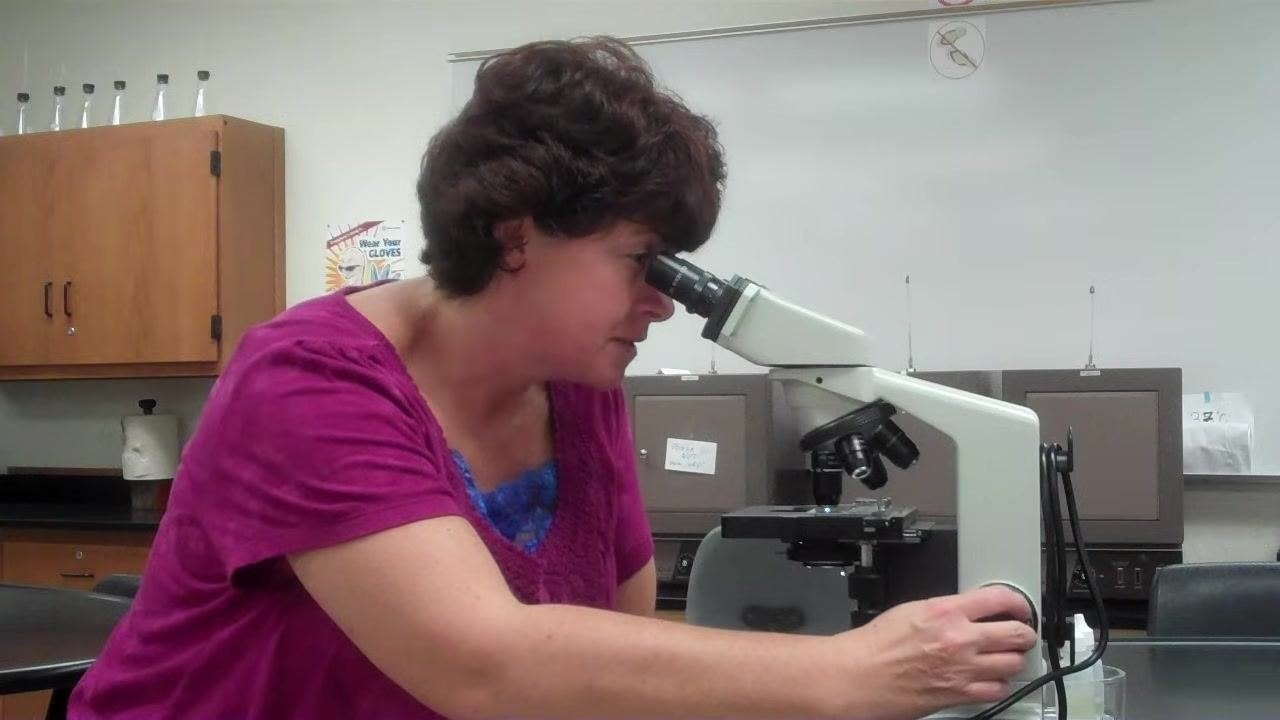
- If you find yourself repeatedly adjusting focus without success, check for common issues such as an upside-down slide or a specimen that is not in the correct focal plane, and address these before continuing.
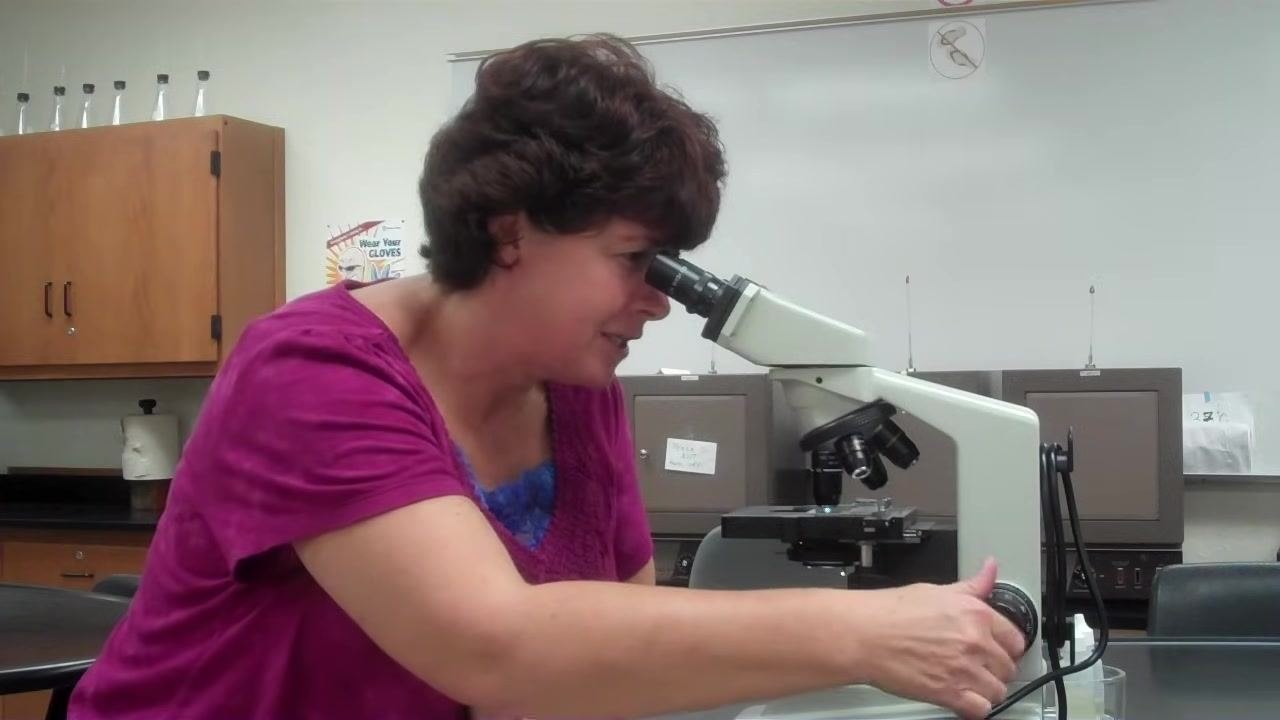
- Never rotate the turret back to the 40x objective after oil has been applied, as this transfers oil to the 40x lens and can cause permanent damage. Only the 100x objective should ever have oil contact, and all oil must be cleaned from the slide and objectives before returning to lower magnifications.
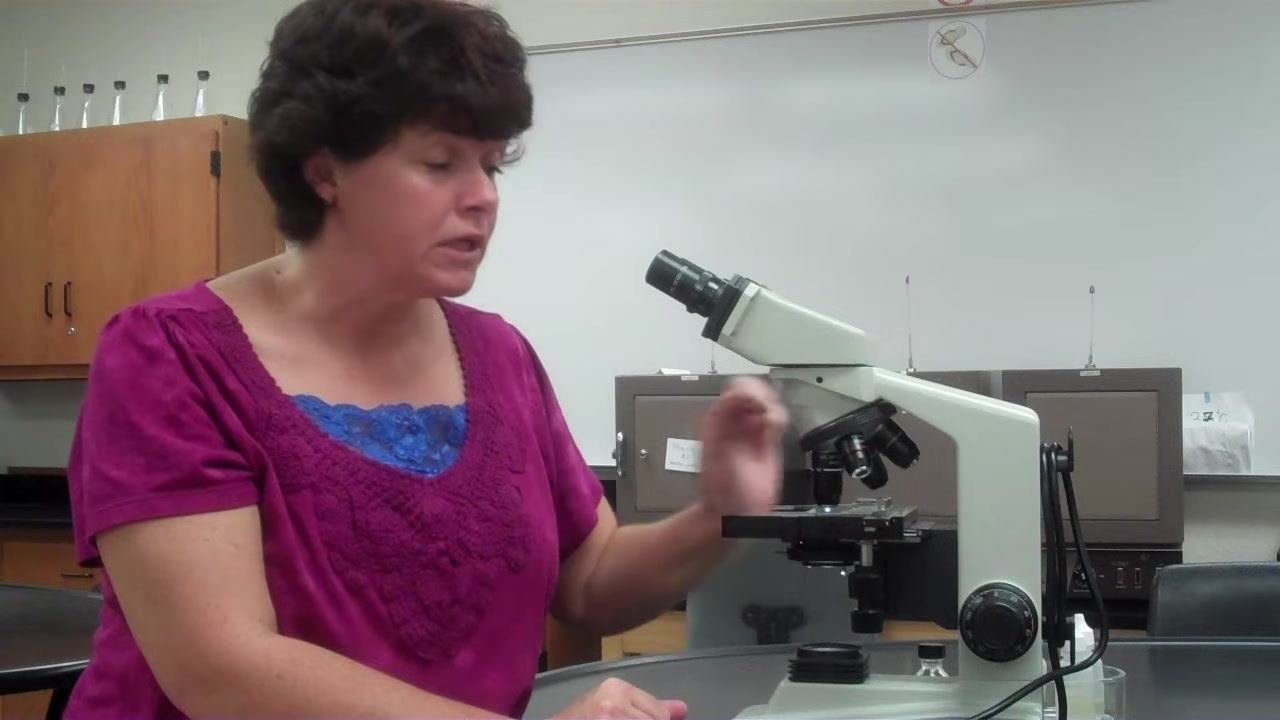
Step 8: Recover the specimen if lost under oil immersion
- If you cannot locate your specimen under the 100x oil immersion objective, return to the 10x objective to refocus rather than continuing to search at 100x.
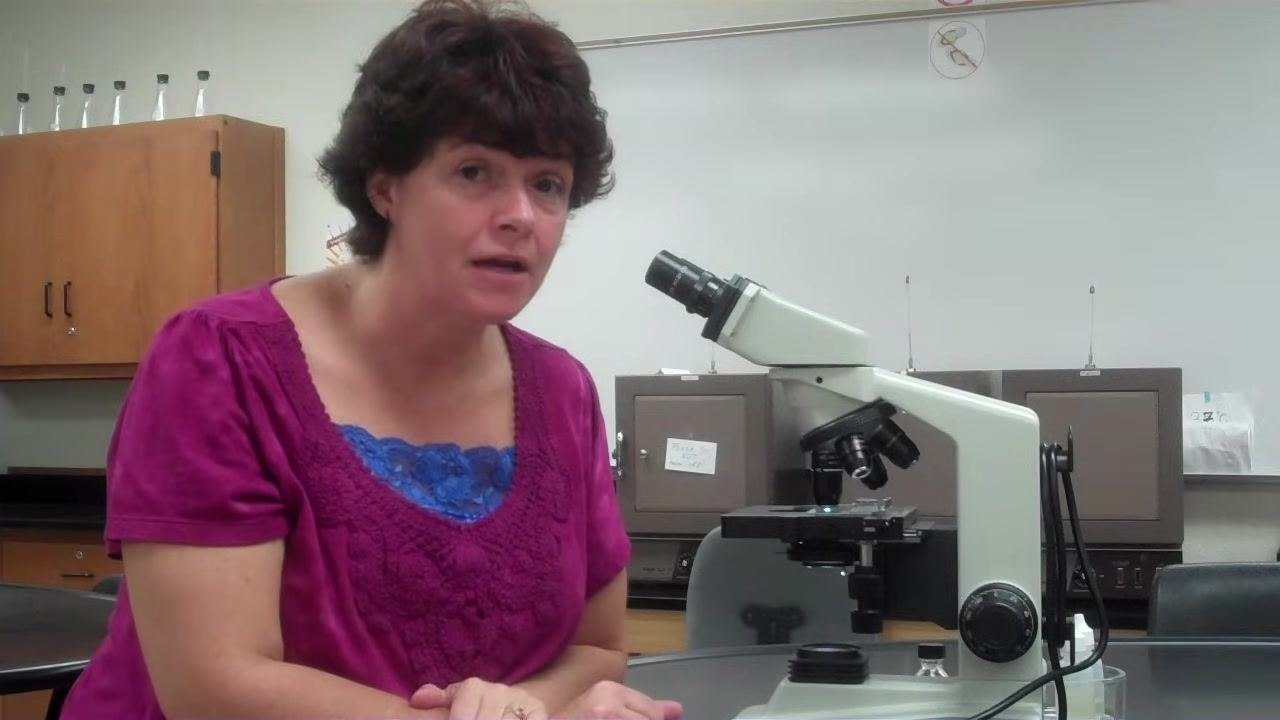
- Once oil has been applied, you may use the 10x objective to find the specimen again, but you must not switch to the 40x objective, since this would risk oil contamination and permanent damage to that lens.
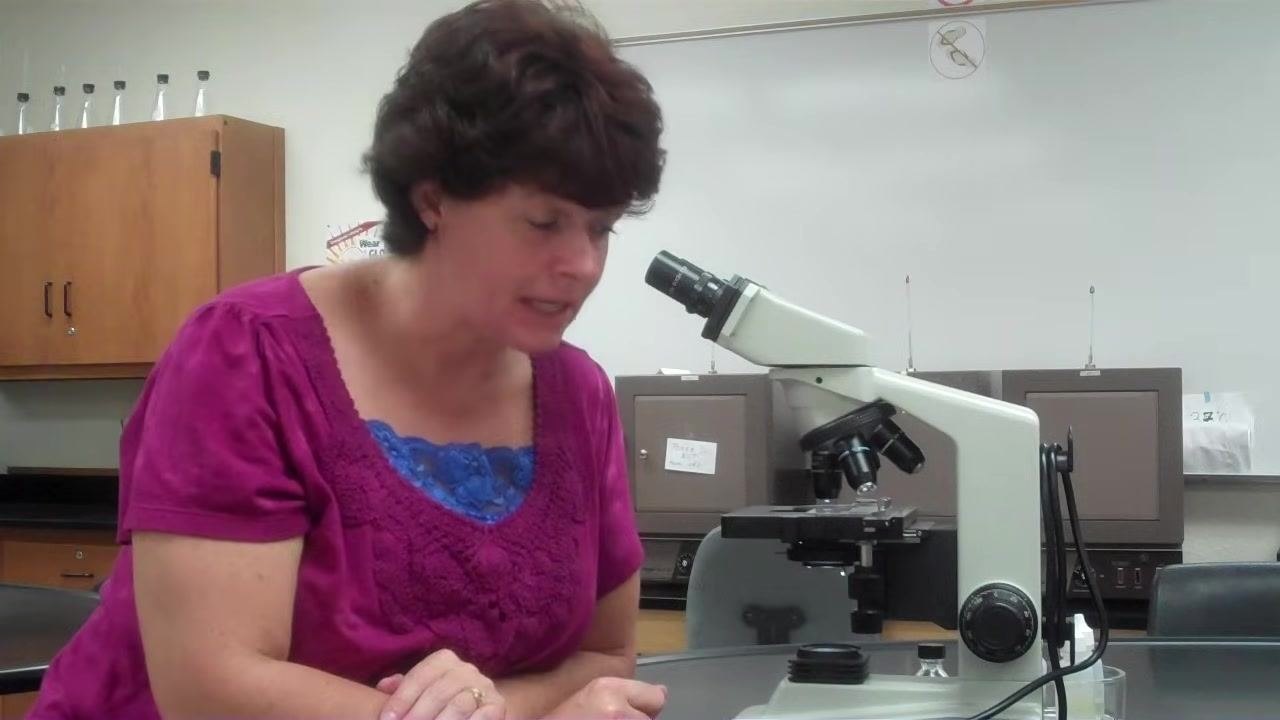
- Refocus the specimen under the 10x objective. Once it is centered and in focus, rotate the turret directly back to the 100x objective—never through the 40x objective—and refocus again using the fine focus knob.
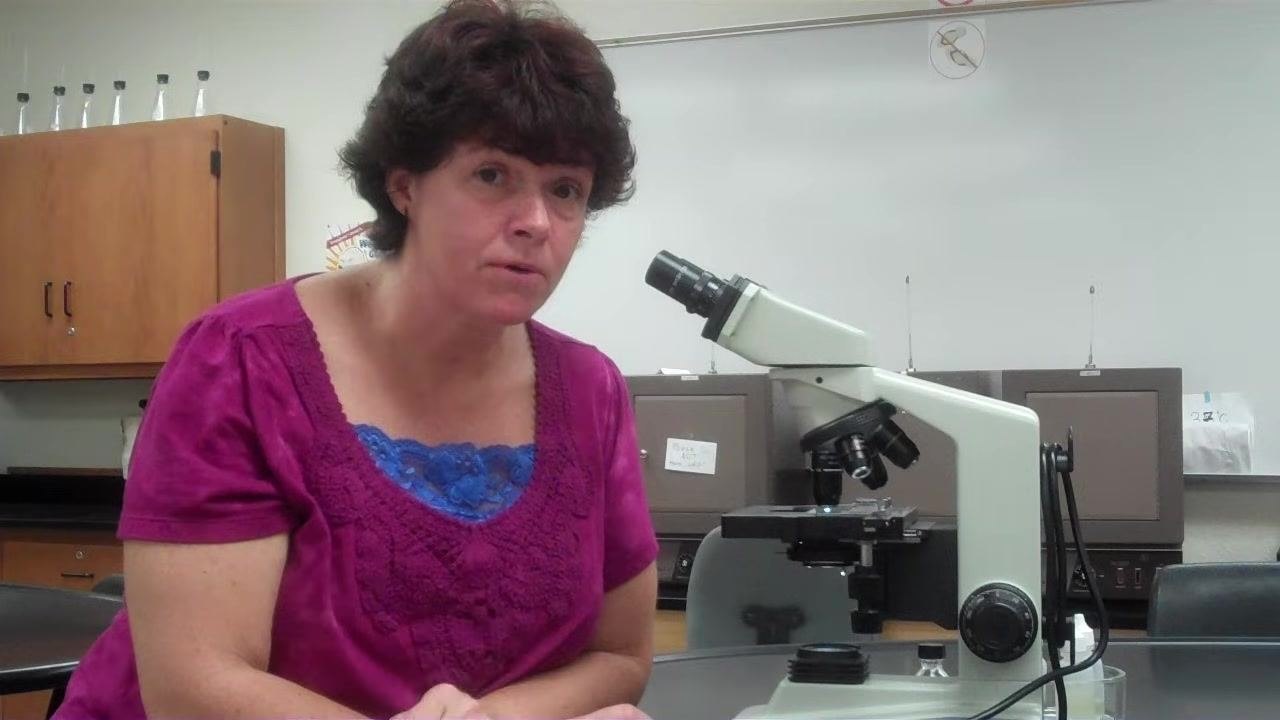
- Be aware that refocusing after losing the specimen under oil immersion can be more difficult than the initial focus. To avoid this, always ensure the specimen is perfectly focused and centered under the 40x objective before applying oil.
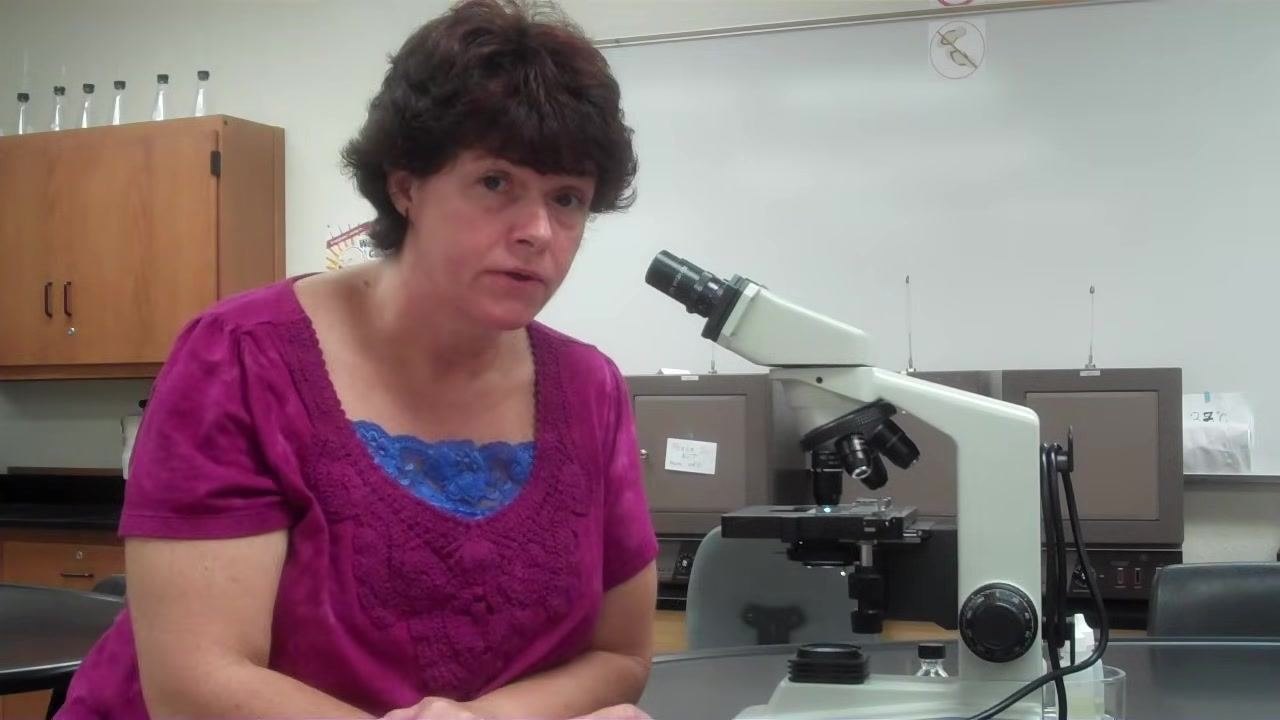
-
If you cannot recover the specimen, remove the oil from the slide by gently dabbing it off with a chem wipe, then restart the focusing process from the beginning.
-
As a recap, always confirm your specimen is perfectly focused and centered on the 40x objective before applying immersion oil, to avoid needing to clean and restart.
Step 9: Identify bacteria under 100x
- Search for the correct specimen under the 100x objective. Expect to see various elements on the slide, including large blobs of stain and debris; remember that bacteria are extremely tiny compared to these other visible elements.
- Keep in mind that bacteria appear much smaller than other objects or stains on the slide. Do not mistake large cells or blobs for bacteria; focus on identifying the smallest visible elements.
- Do not represent bacteria as large, undefined blobs; bacteria are small and distinct.
- Locate the bacteria on your slide before proceeding to any subsequent steps, since all following steps depend on correctly identifying the bacteria first.
- If you cannot find the bacteria under the oil immersion lens, persist until you do; do not skip this step, as it must be completed by each individual.
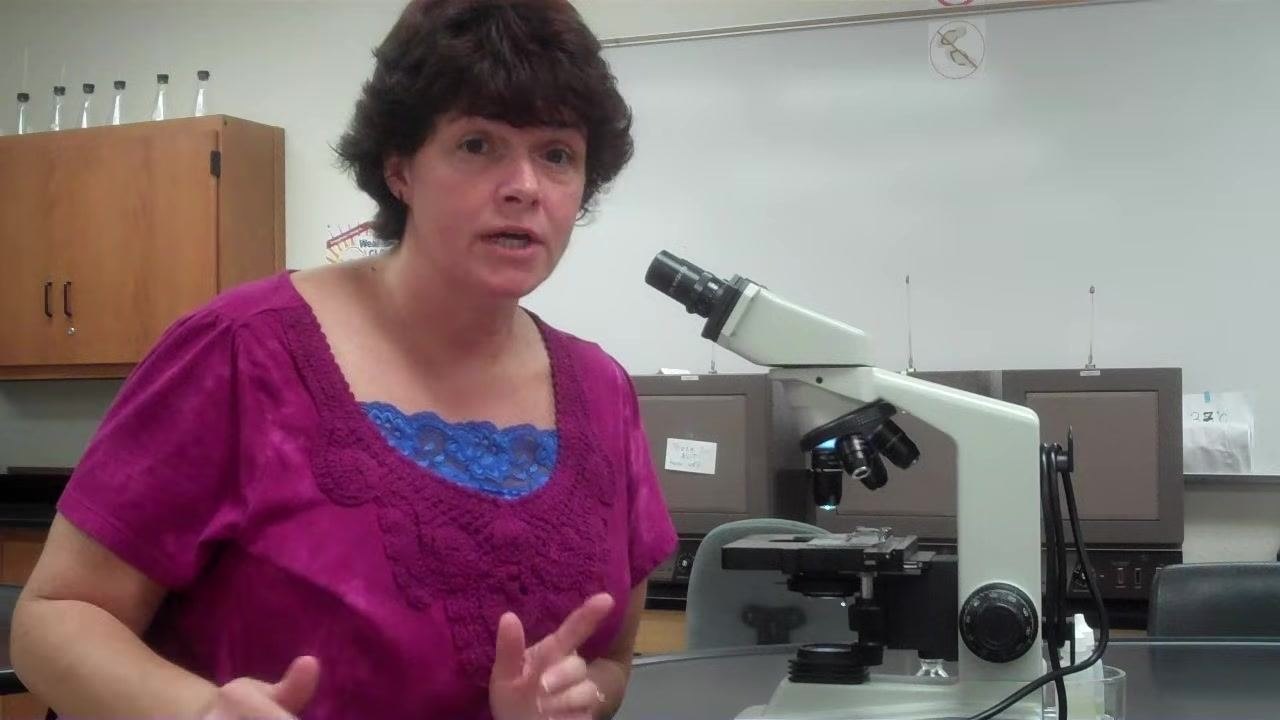
Step 10: Clean the oil immersion lens
-
After using the oil immersion lens, remove the oil from the 100x lens.
-
Never use a regular paper towel to clean the lens, as it can scratch or damage it.
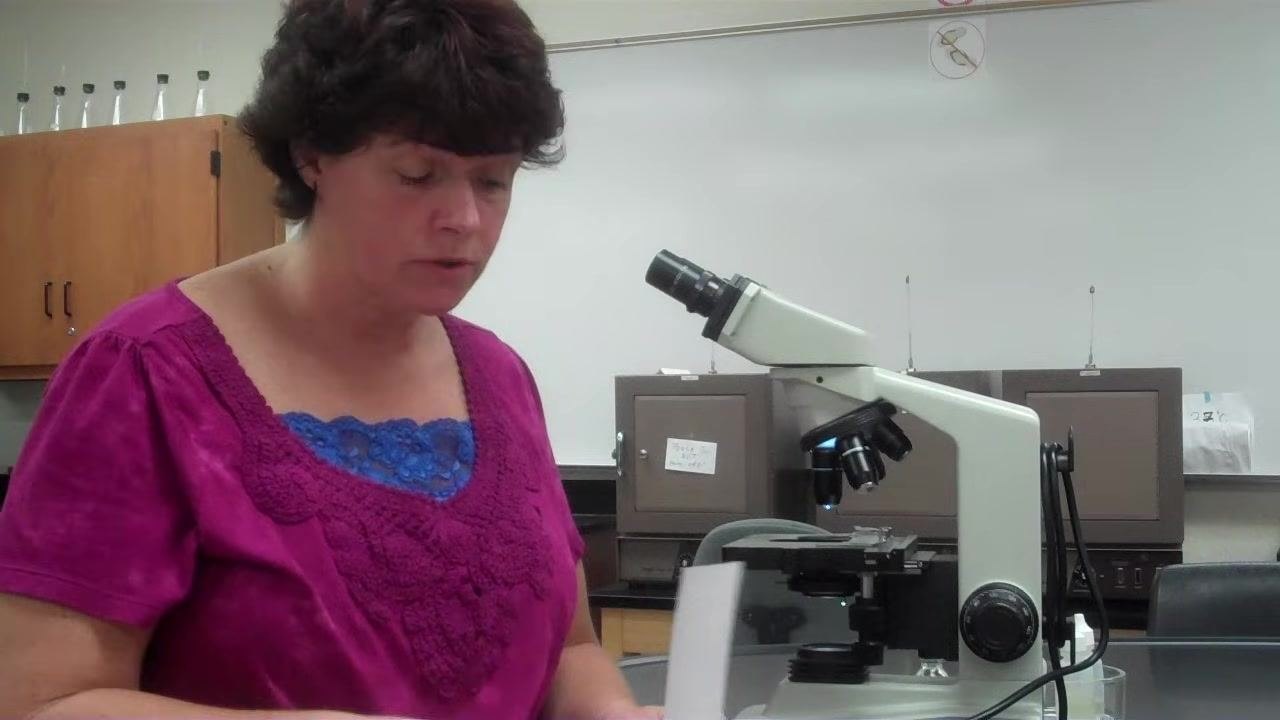
- Use only lens paper to clean the oil from the 100x lens. Gently dab the lens with the lens paper, moving to a dry spot on the paper each time, and continue dabbing until no more oil comes off the lens.
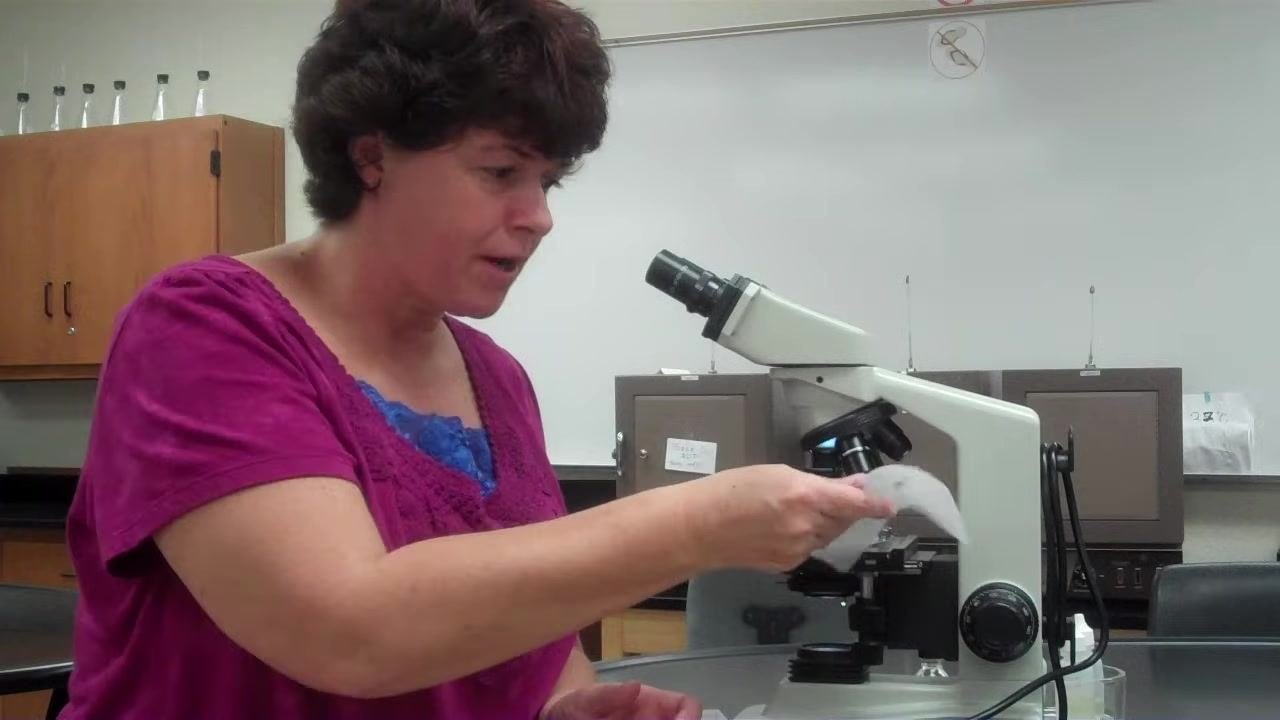
- Avoid rubbing or applying excessive pressure; use only the gentle dabbing motion required to clean the lens properly.
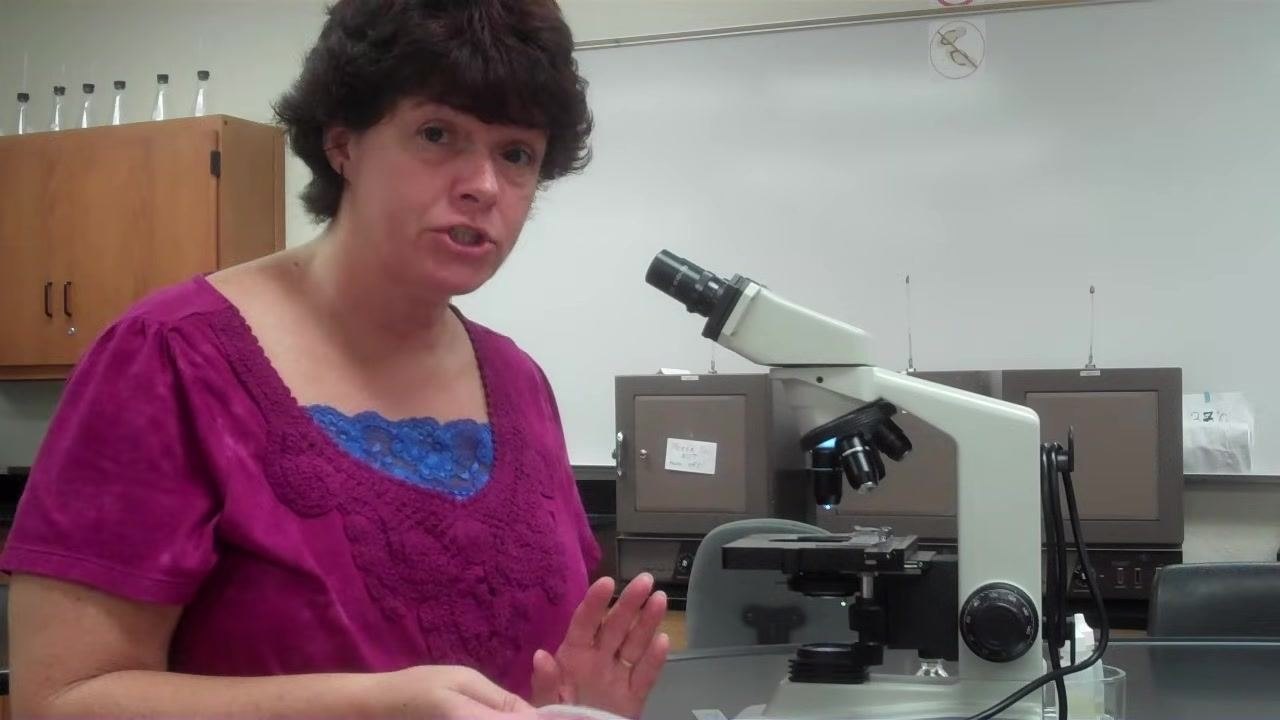
Step 11: Finish observation and store the microscope
- Once you are done examining your specimen, prepare to clean up and store the microscope.
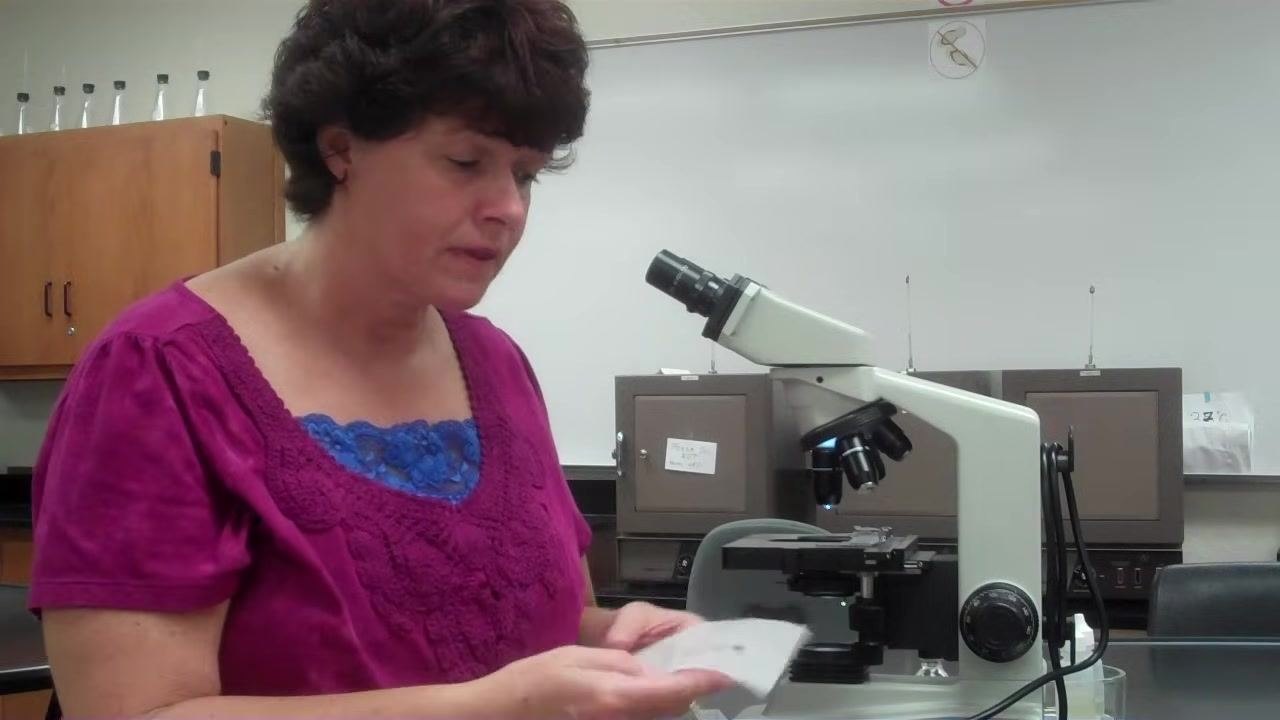
- Before discarding any slides or specimens, talk to your lab partners to confirm no one else needs them, preventing accidental disposal of needed materials.
- Confirm your understanding of the need to communicate with lab partners before disposal.
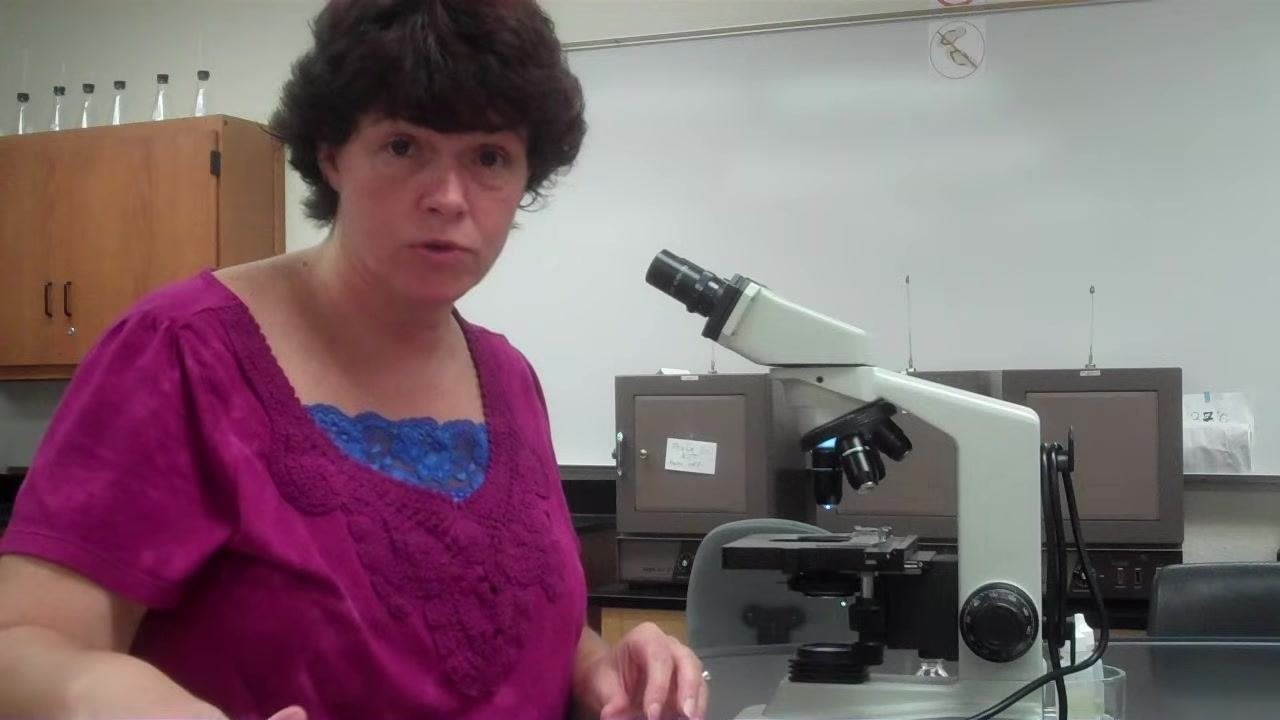
- Rotate the revolving nosepiece so that the lowest power objective (usually 4x or 10x) faces down before storing the microscope, protecting the higher power lenses and making the microscope safer to handle.
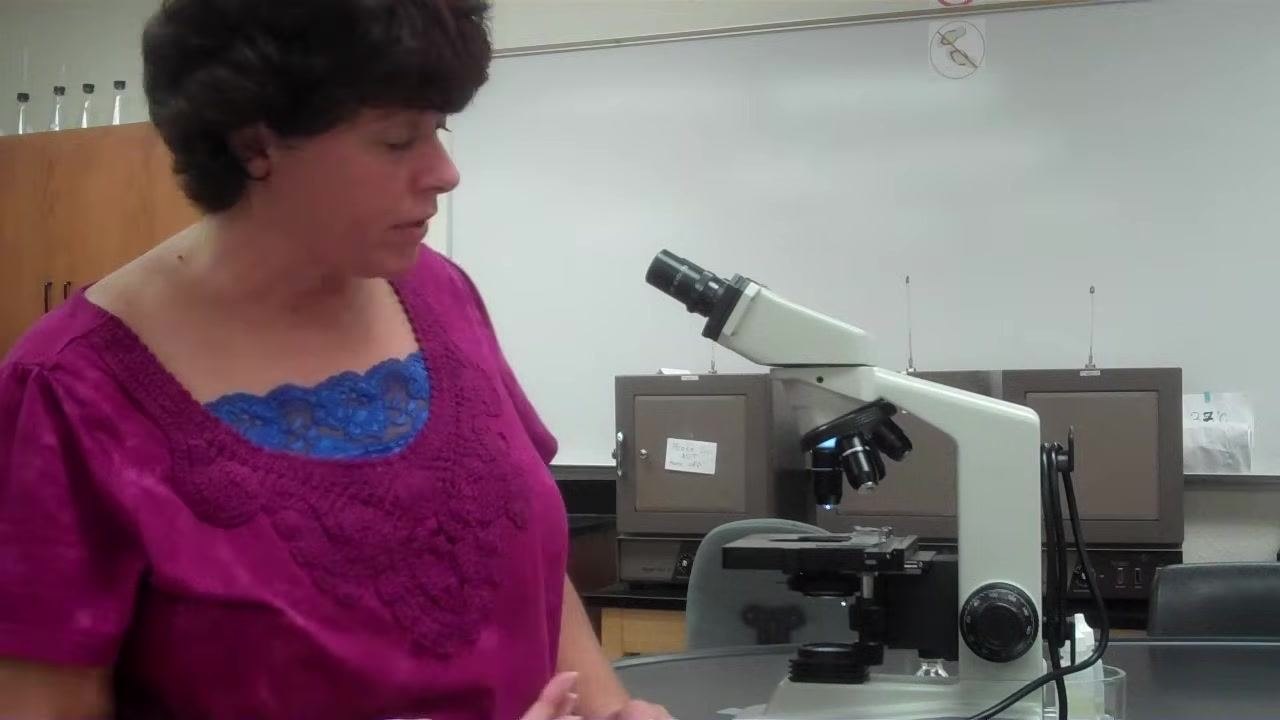
- Move the mechanical stage arm to the center position to prevent damage during storage or transport.
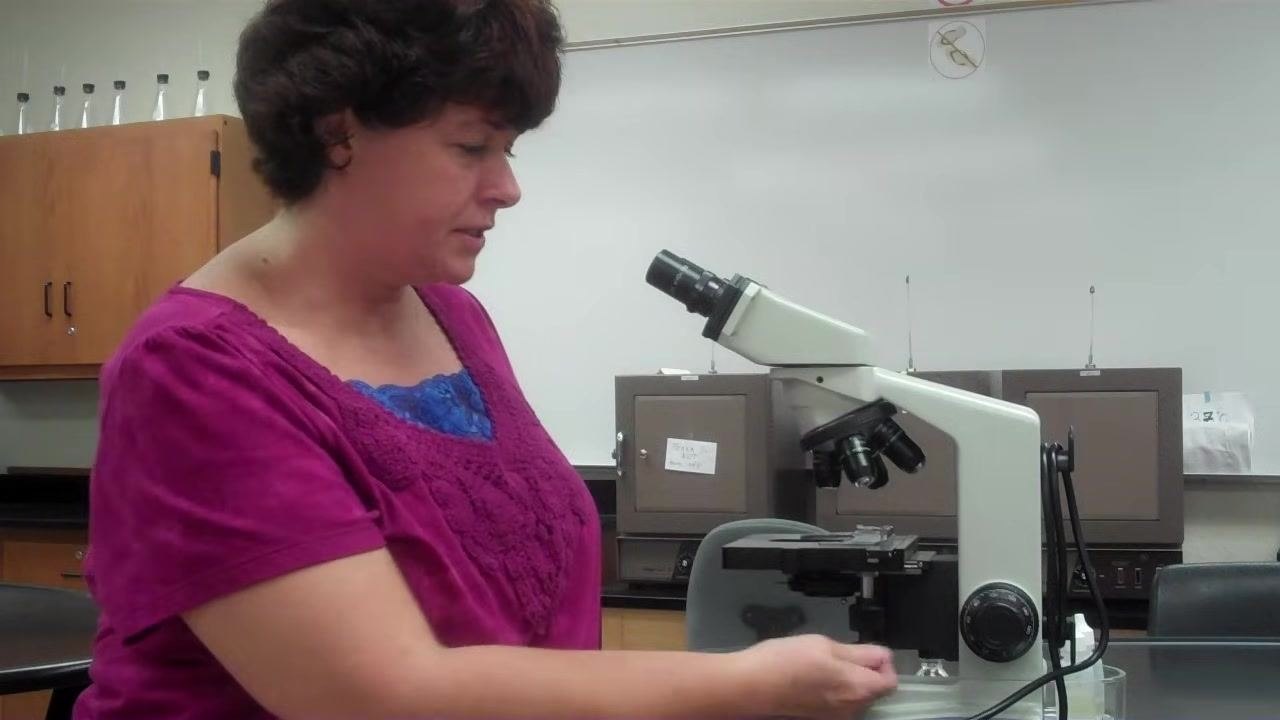
- When moving the microscope, always use both hands—one hand holding the arm and the other supporting the base.
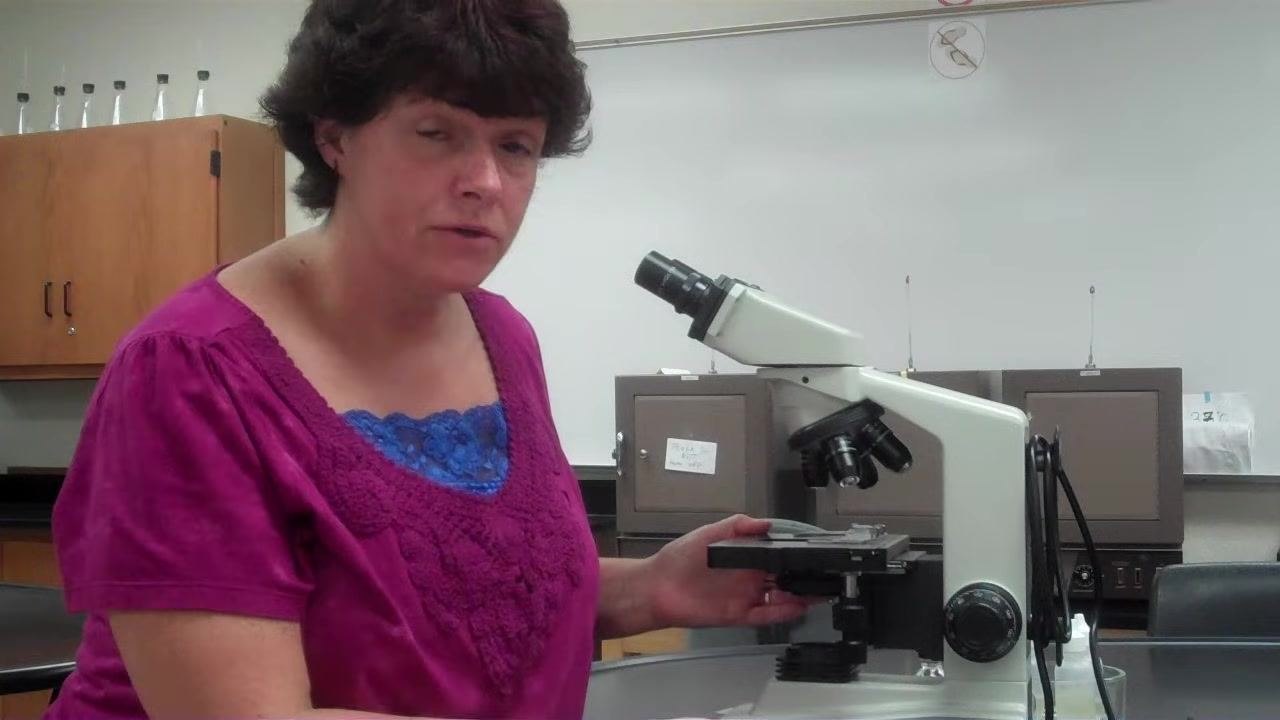
-
Be aware that the base of the microscope can become warm due to the built-in light source; support it properly even though it may be warm to the touch.
-
Return the microscope to the storage location matching its assigned number, ensuring correct placement for inventory and maintenance purposes.
-
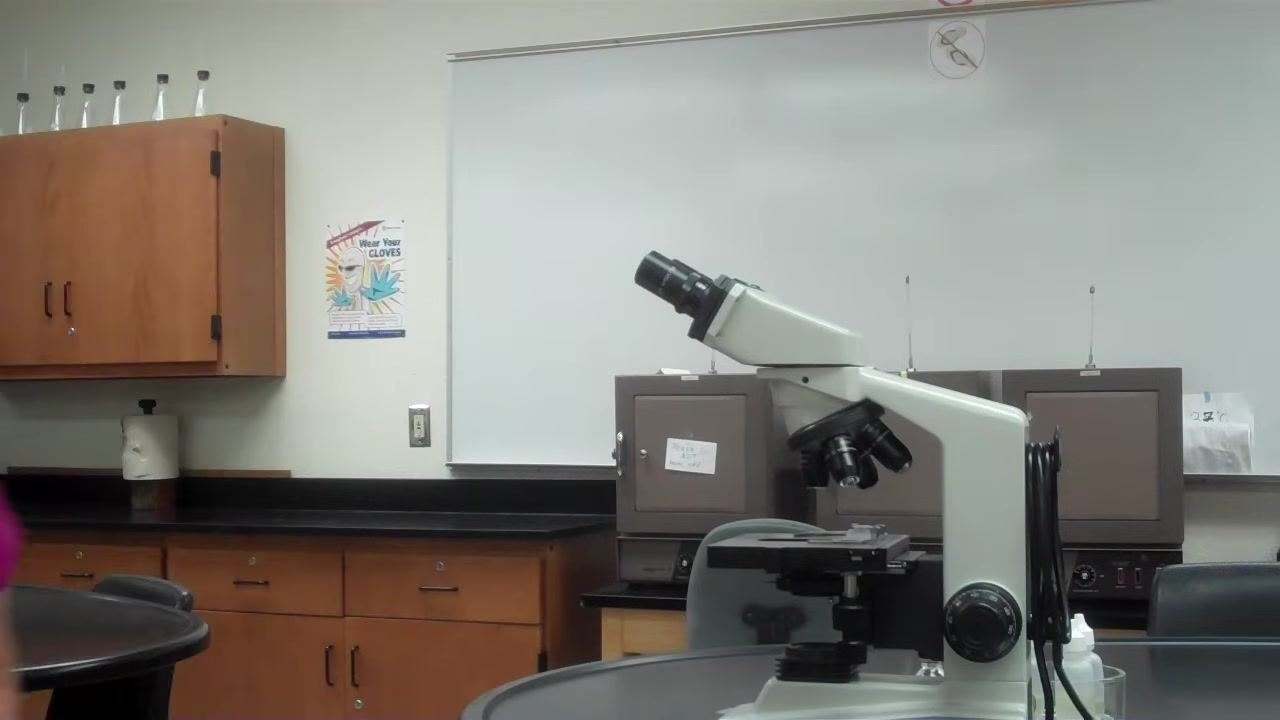
After returning the microscope, ensure your workspace is tidy and all materials are put away.
Calculations
This method is a qualitative observational procedure. There are no numerical calculations, dilution factors, or reporting units associated with locating and identifying bacteria under oil immersion. The outcome of the procedure is a visual determination of bacterial presence, morphology, and Gram stain color reaction (pink versus purple), rather than a quantitative measurement.
Quality Controls
- Slide orientation check: If focusing difficulty occurs at 40x or 100x, confirm the slide is not upside down before continuing, as incorrect orientation is a common cause of focusing problems.
- Condenser alignment check: At the start of each session, verify condenser position using the inoculating loop shadow trick; a sharply focused loop shadow confirms correct alignment and supports reliable focusing throughout the session.
- Objective contamination control: Only the 100x objective may contact immersion oil. Never rotate to the 40x or 10x objectives after oil has been applied, and never use a regular paper towel on the lens, as these actions can permanently damage the optics.
- Focus acceptance criteria: The specimen should be perfectly focused and centered under the 40x objective before oil is applied and the 100x objective is engaged; this is the key control point for avoiding refocusing difficulties or contamination.
- Gram stain color check: Confirm you can clearly distinguish pink from purple coloration under the microscope, since this differentiation is critical for an accurate Gram stain result.
- Failed-run handling — specimen not found at 100x: Return to the 10x objective to relocate and refocus the specimen, then rotate directly back to 100x without passing through the 40x objective, and refocus with the fine adjustment knob.
- Failed-run handling — unrecoverable specimen: If the specimen cannot be recovered, gently dab the oil off the slide with a chem wipe and restart the entire focusing process from the beginning.
- Post-use lens cleaning verification: Continue dabbing the 100x lens with lens paper, using a dry spot each time, until no further oil transfers to the paper, confirming the lens is clean before storage.
- Storage verification: Confirm the nosepiece is rotated to the lowest power objective, the stage arm is centered, and the microscope is returned to its correctly numbered storage location before leaving the workspace.
Generation details: cost, quality tiers, downloads
Docsie billed 7,000 credits ($4.90) to analyze this 14-minute video at standard quality. The rewrite, template fill and Word/PDF exports were included. The same video at each quality tier:
| Quality | Frames sampled | Credits | Approx. cost |
|---|---|---|---|
| Draft | every 16-30 s | 3,500 | $2.45 |
| Standard (this guide) | every 8-15 s | 7,000 | $4.90 |
| Detailed | every 4-7 s | 14,000 | $9.80 |
| Ultra | every 1-3 s | 28,000 | $19.60 |
Credits priced at $0.70 per 1,000; plans include a monthly allowance. Enterprise customers on on-premise or bring-your-own-model deployments run this on their own inference and pay no per-video credits.
Generated by Docsie Video-to-Docs on 2026-09-20 from a 13-minute video. It was generated straight into Docsie's Lab Method SOP template, so every section of that template is filled from the video. Screenshots are frames from the source video and belong to their creator, bioprofaz, whose original is embedded above. If you own this video and want the guide removed or credited differently, contact us and we will act within one business day.