
How to Set Up a Pcr Reaction
This document describes how to set up a PCR reaction for amplifying a specific gene or DNA target, from reagent preparation through loading the reaction into a thermal cycler. It covers the components of the reaction mix, the contamination-control workflow required for a sensitive amplification technique, and the thermal cycling program used to generate millions of copies of a target DNA sequence.
Video: How to set up a PCR by Sanger Institute Scientific Training and Events (2013). All credit for the demonstration goes to the creator; watch the original on YouTube. The written guide below was generated from this video by Docsie. Creator? Request a change or removal.
This document describes how to set up a PCR reaction for amplifying a specific gene or DNA target, from reagent preparation through loading the reaction into a thermal cycler. It covers the components of the reaction mix, the contamination-control workflow required for a sensitive amplification technique, and the thermal cycling program used to generate millions of copies of a target DNA sequence.
Purpose
This method describes how to prepare and run a Polymerase Chain Reaction (PCR) for the amplification of a specific gene or DNA target. PCR can start from a very small amount of DNA template, even a single DNA molecule, and the amplified product is intended for downstream detection and identification using visual techniques based on the size and charge of the amplified DNA fragment, such as gel electrophoresis.
Scope
This SOP applies to the preparation of standard PCR reactions using a genomic DNA template, together with negative, positive, and extraction controls. It covers pipette-based reagent handling, thermal cycler programming on a block-based instrument, and the three-room laboratory workflow required to control contamination.
- Sample types: Genomic DNA template (50–500 nanograms per reaction) and designated control materials.
- Instruments: Pipettes, tube racks, ice trays, and a block-based thermal cycler.
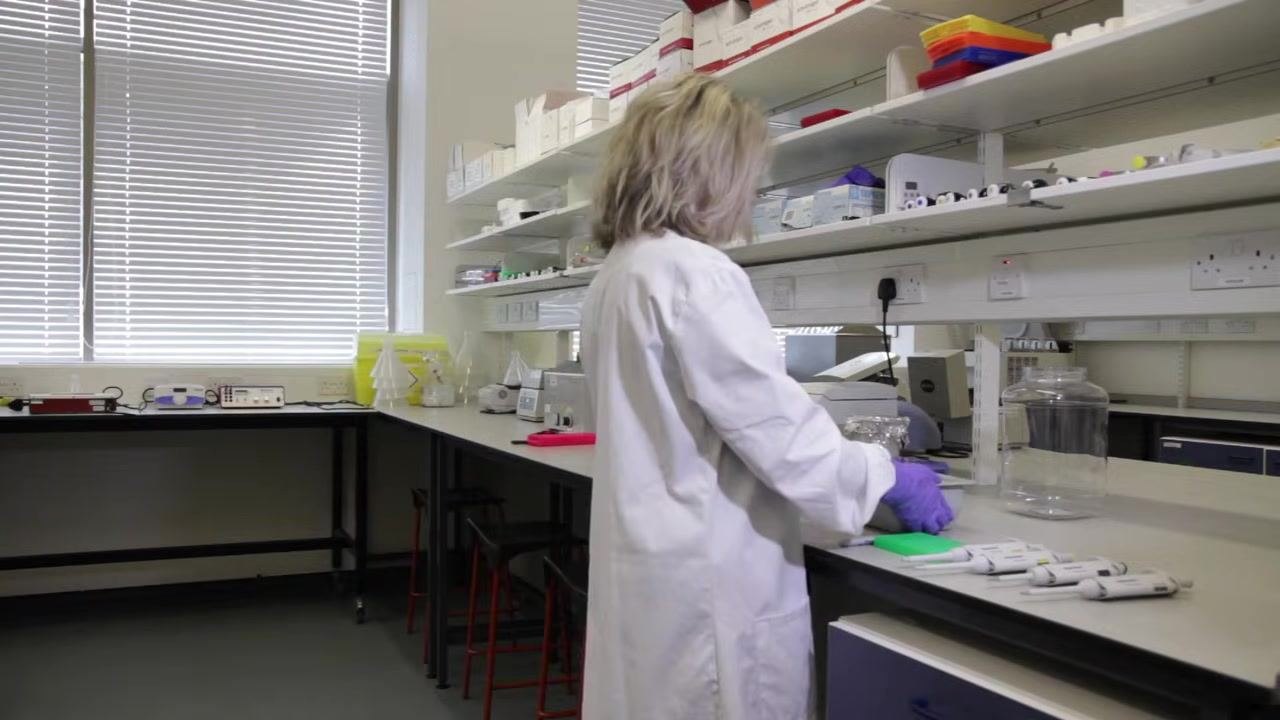
- Analysts: Laboratory staff wearing appropriate personal protective equipment (PPE), including lab coats and gloves.
- Exclusions: This SOP does not cover post-PCR analysis methods such as gel electrophoresis or result interpretation in detail; it ends at the point of starting the thermal cycler run.
Principle
PCR is a technique for amplifying, or making millions of copies of, a specific gene or DNA target. Amplification allows detection and identification of the target DNA using visual techniques based on the size and charge of the amplified fragment.
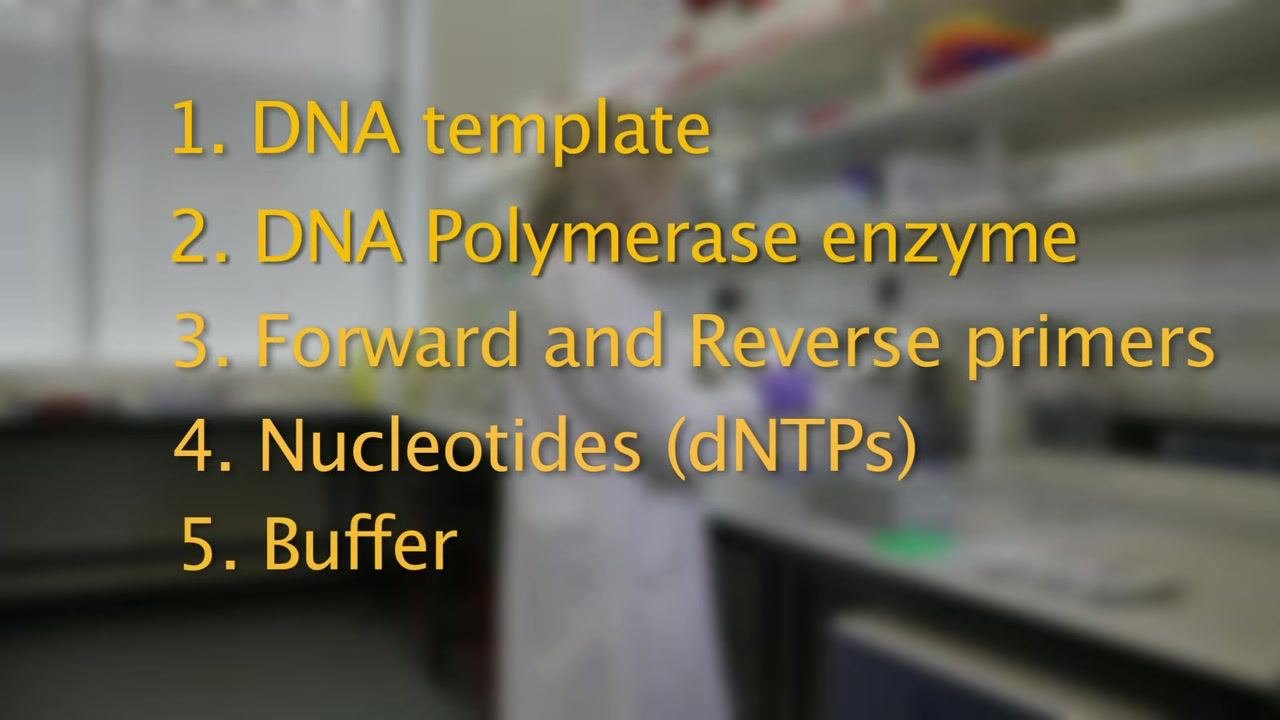
A PCR reaction requires five essential components: DNA template, DNA polymerase enzyme, forward and reverse primers, nucleotides (dNTPs), and a buffer to stabilize the enzyme. Primers are short sequences, typically 20 to 30 bases long, designed to be complementary to short sections of DNA adjacent to or near the region of interest. The DNA polymerase enzyme extends the primers once they have annealed to the template, using the free nucleotides in the mixture to build a new DNA strand complementary to the target.
Each PCR cycle consists of three temperature-dependent steps:
- Denaturation: The DNA sample is heated to 94–95°C to separate double-stranded DNA into single strands. This step must last long enough to fully denature the template.
- Annealing: The reaction is cooled to a temperature specific to the primers' melting temperature (Tm), typically 50–65°C, allowing primers to bind to the single-stranded DNA. This step usually lasts 10–30 seconds.
- Extension: The temperature is raised to 72°C, the optimal temperature for DNA polymerase, which synthesizes the new strand by adding complementary nucleotides from the 3' end of the primer at a rate of about 50–100 bases per second. This step typically lasts 30 seconds to 1 minute, depending on target length.
Repeating this cycle 30–40 times exponentially amplifies the target sequence, theoretically doubling the DNA with each cycle.
Because PCR is sensitive enough to detect a single molecule of DNA, contamination control is critical to the reliability of results.
Materials and Reagents
The following instruments and consumables are required to set up a PCR reaction:
- Pipettes and pipette tips
- Tube racks and ice trays
- Reaction tubes or plates
- A block-based thermal cycler
- Lab coat and gloves (PPE)
The general formula for PCR reaction components is summarized below.
| Reagent | Standard Amount / Concentration |
|---|---|
| Taq Polymerase | 0.5–2.0 Units per reaction |
| dNTPs | 200 micromolar of each dNTP |
| Forward and reverse primers | 0.2–0.5 micromolar of each primer (working stock diluted to 10 micromolar, i.e. 10 picomoles per microlitre) |
| Genomic template | 50–500 nanograms per reaction |
| Buffer | 1× concentration |
| Water | Volume added to complete the total reaction volume |
Controls required for each PCR set-up are summarized below.
| Control | Purpose | Material Added |
|---|---|---|
| Negative control | Confirms absence of contamination | No template |
| Positive control | Confirms the reaction is working | Known template |
| Extraction control | Verifies the extraction process | Extraction control material |
All sensitive reagents, including enzymes, dNTPs, and primers, must be kept on ice throughout preparation to maintain stability. These values are critical for setting up a successful PCR reaction, and proportions of the reaction mixture have a significant influence on the quality of results.
Procedure
Contamination-control workflow
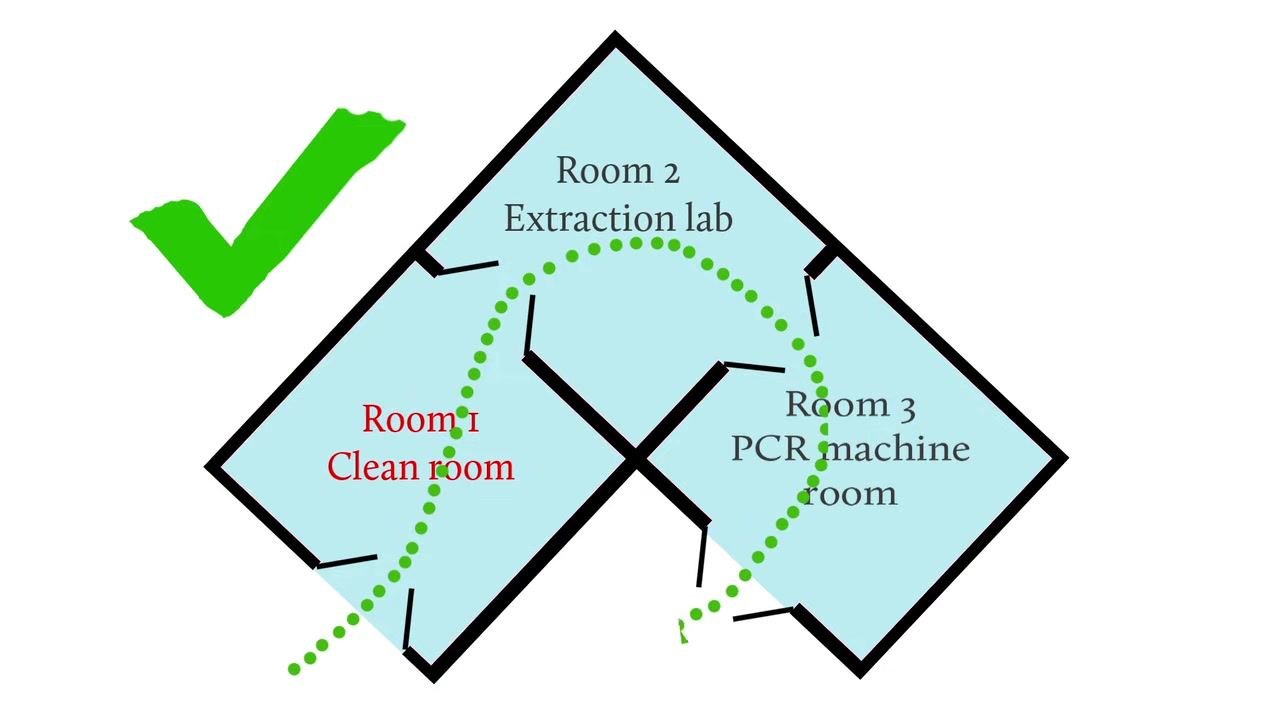
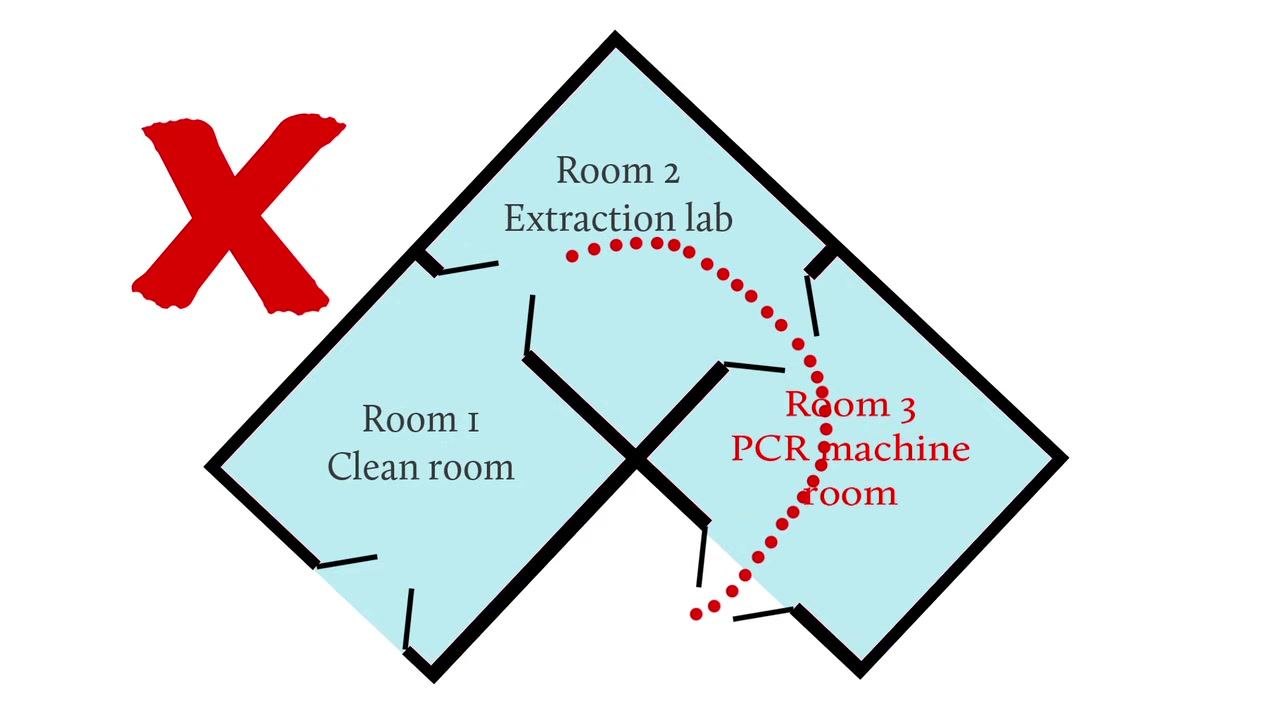
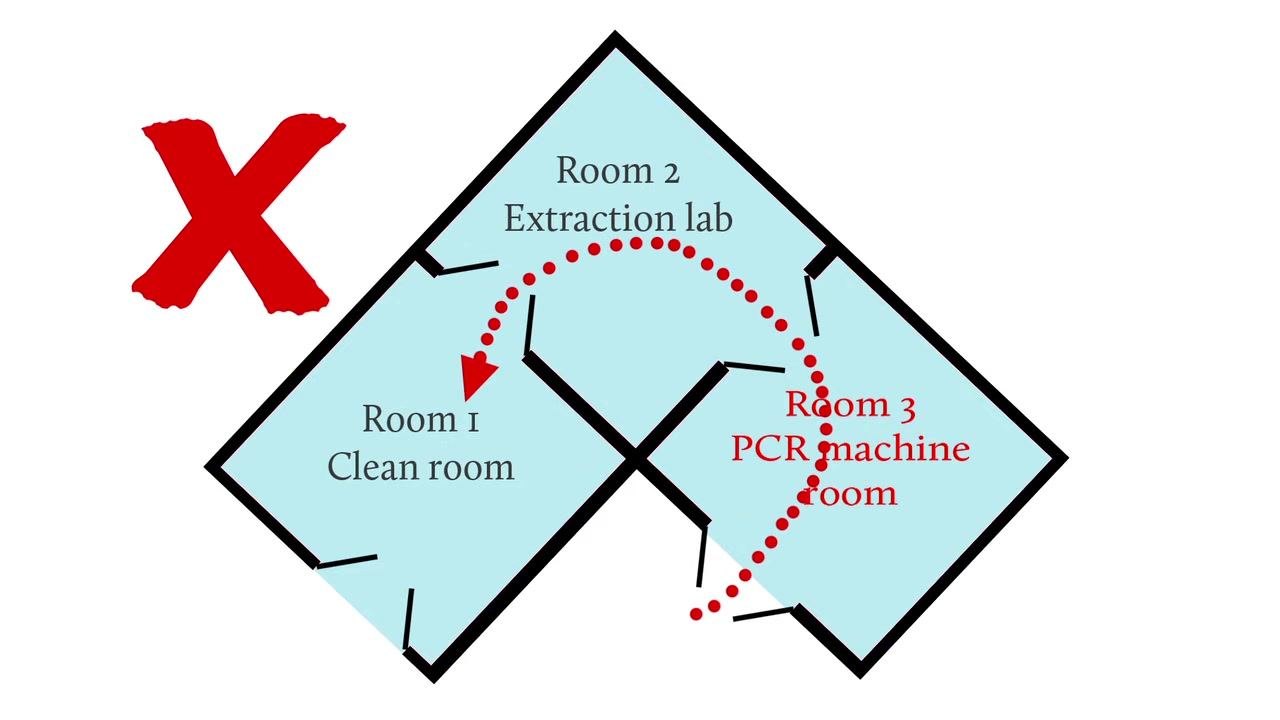
PCR reactions must be set up following a unidirectional workflow through three physically separate rooms to prevent contamination, since PCR can detect a single molecule of DNA.
- Room 1 (Clean room): Store all PCR reagents here, except the DNA template. Reagents and consumables must not have been exposed to areas where PCR products are generated or analyzed. Do not revisit the clean room on the same day after entering other potentially contaminated areas.
- Room 2 (Extraction lab): Prepare the DNA template in this room. After setting up the reaction in the clean room, bring the reaction tubes or plates here to add the template.
- Room 3 (PCR machine room): Place the prepared reaction tubes or plates into the thermal cycler here. This room is also where PCR products are typically analyzed, for example by gel visualization. Treat this room as contaminated with PCR products; never set up new reactions or bring reagents or consumables from this room into the clean or extraction rooms.
Step 1: Set up the clean room workspace
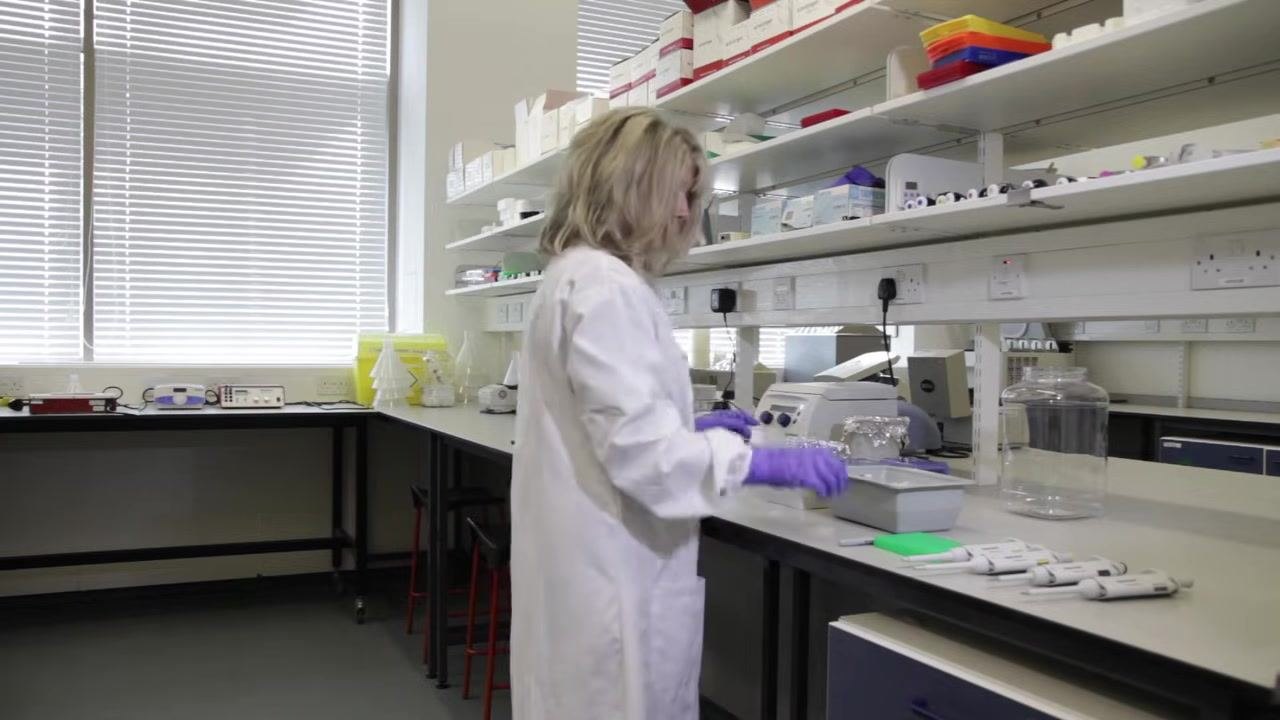
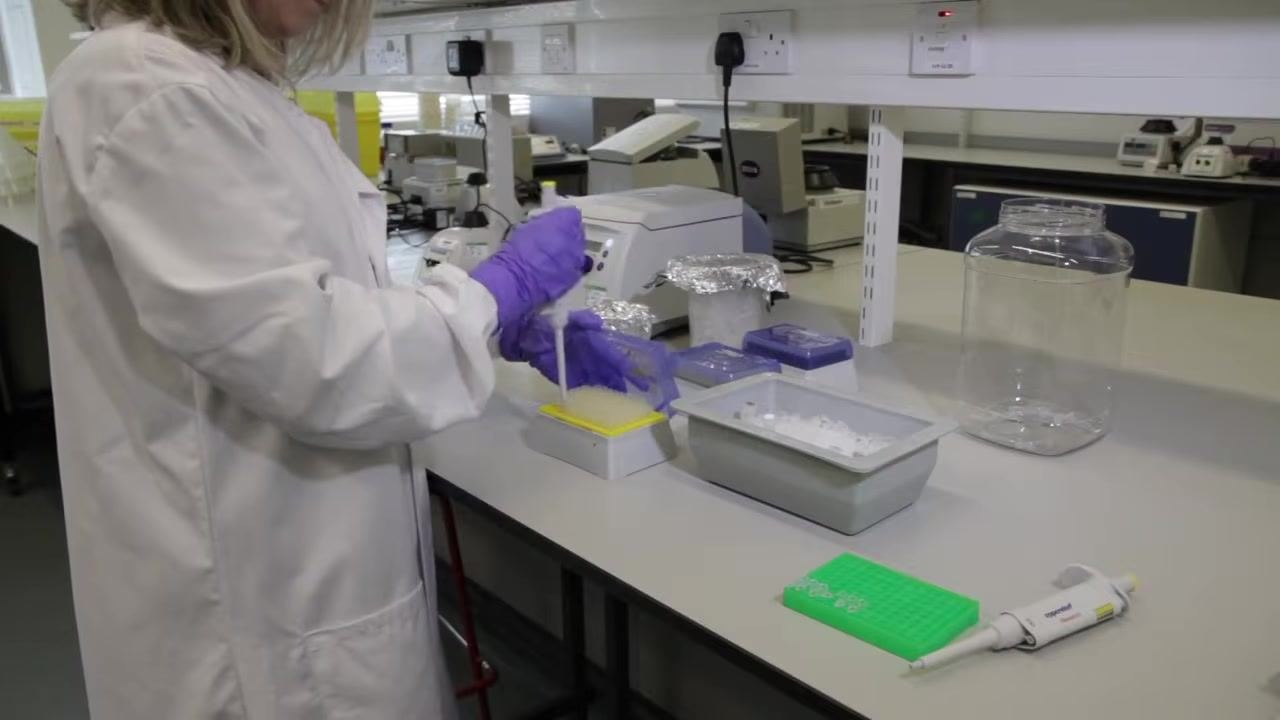
Wear a lab coat and gloves, then arrange pipettes, reagent containers, tip boxes, tube racks, and ice trays on the bench, keeping reagents cold on ice.
Step 2: Label tubes for reactions and controls
Prepare six reaction tubes for samples, plus one negative control tube, one positive control tube, and one extraction control tube (seven tubes in total). Label all tubes clearly to avoid mix-ups, and place them in a tube rack.
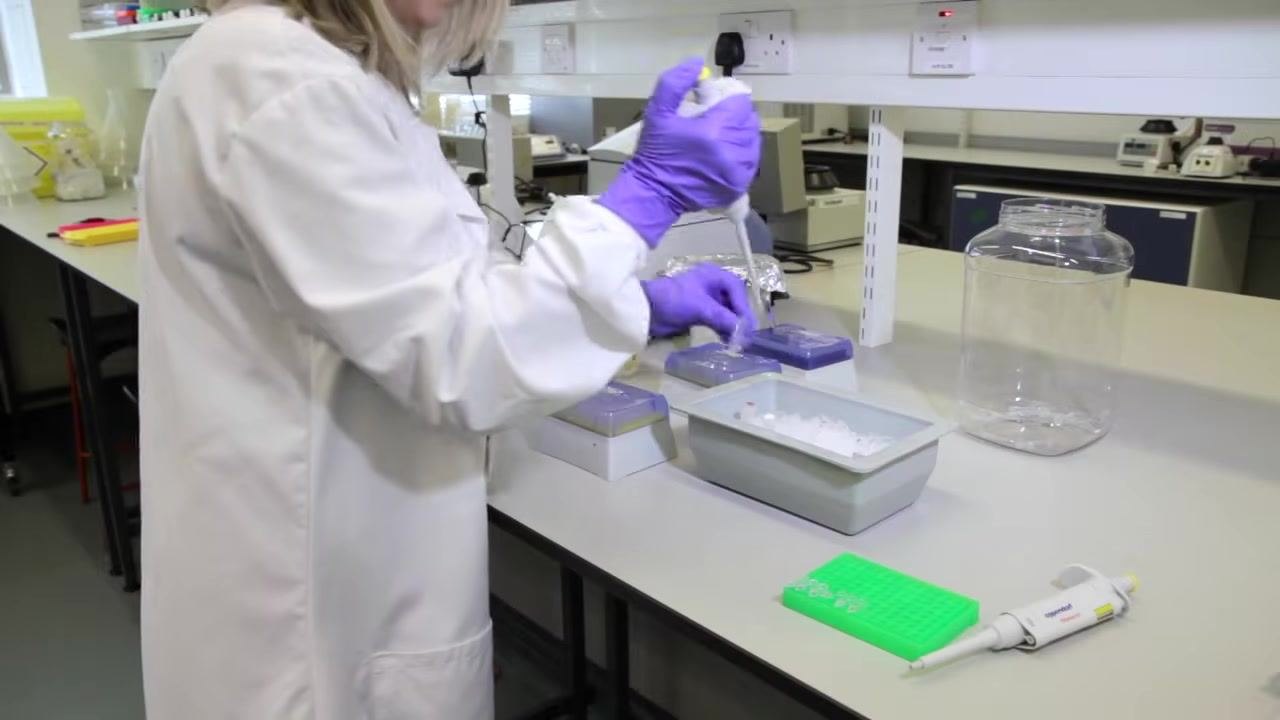
Use clear symbols to distinguish controls, such as "–" for negative and "+" for positive.
Step 3: Prepare the master mix
Calculate the total reaction volume; for a standard reaction, use 50 microlitres total per reaction. Prepare a master mix using half the total volume (25 microlitres per reaction). For 7 reactions, prepare 7 × 25 = 175 microlitres of master mix. Keep all master mix components on ice during preparation.
Step 4: Dispense master mix into tubes
Using a calibrated pipette, dispense 25 microlitres of master mix into each of the seven tubes, including controls. Change tips between samples to prevent cross-contamination.
Step 5: Add primers
Using primers diluted to 10 micromolar (10 picomoles per microlitre), add 1 microlitre of each primer to the appropriate tubes.
Repeat this addition for each of the seven reactions, using clean, calibrated pipettes and fresh tips for every tube. Keep all tubes and reagents on ice throughout.
Step 6: Add water to complete the reaction volume
Calculate the water volume by subtracting the combined volumes of all other components from the total reaction volume. Pipette the calculated volume of water (as supplied with the master mix) into each tube.
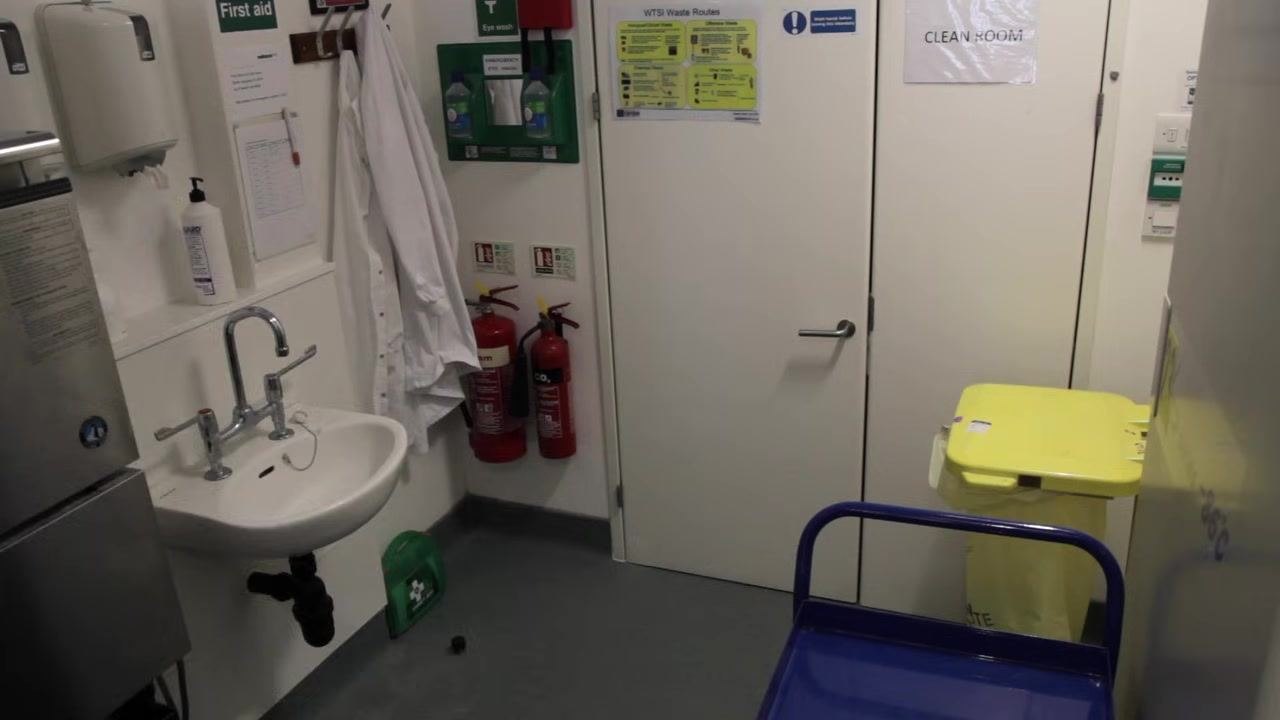
Step 7: Verify reagent storage before transfer
Confirm that all critical reagents, such as enzymes, dNTPs, and primers, are kept on ice throughout setup, and that tubes are properly labeled and securely placed in the ice tray.
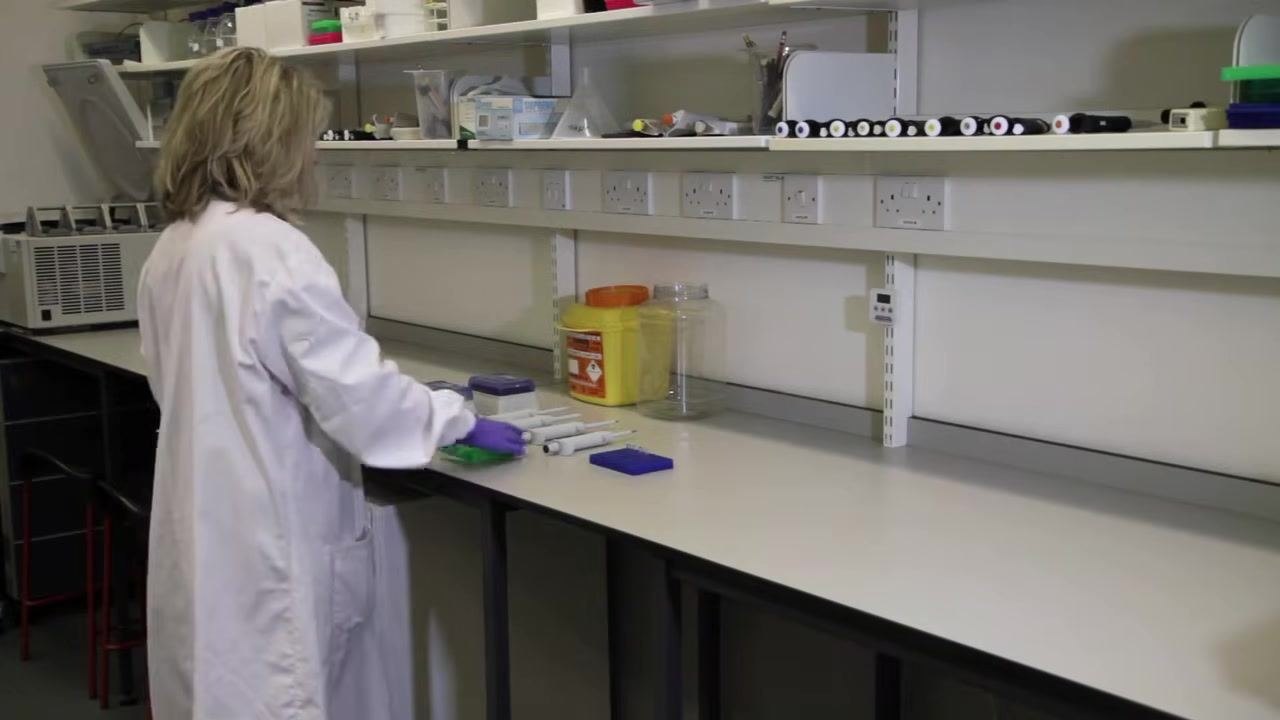
Step 8: Transfer tubes to the extraction room
Carry the prepared reaction tubes to the extraction lab (Room 2) to add the template DNA, following laboratory protocols for moving between rooms and wearing appropriate PPE during transfer.
Step 9: Add template DNA or control material
In the extraction lab, add 1 microlitre of template DNA to each sample tube. For control tubes, add 1 microlitre of the appropriate control material (negative, positive, or extraction control). Use a clean pipette tip for each addition to prevent cross-contamination.
Step 10: Seal tubes and prepare for transport
Close all reaction tubes securely to prevent evaporation or contamination. Remove the lab coat as required by laboratory protocol before leaving the extraction room, then place the sealed tubes in a rack or holder for transport to the PCR room.
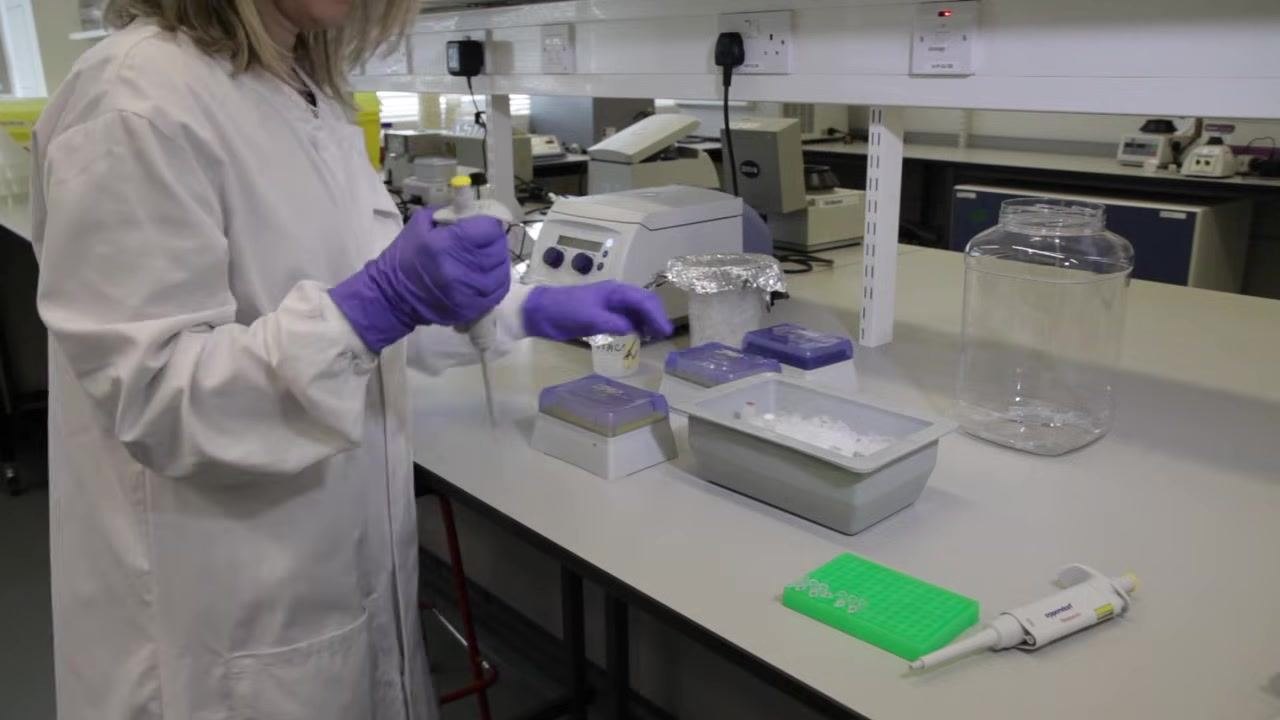
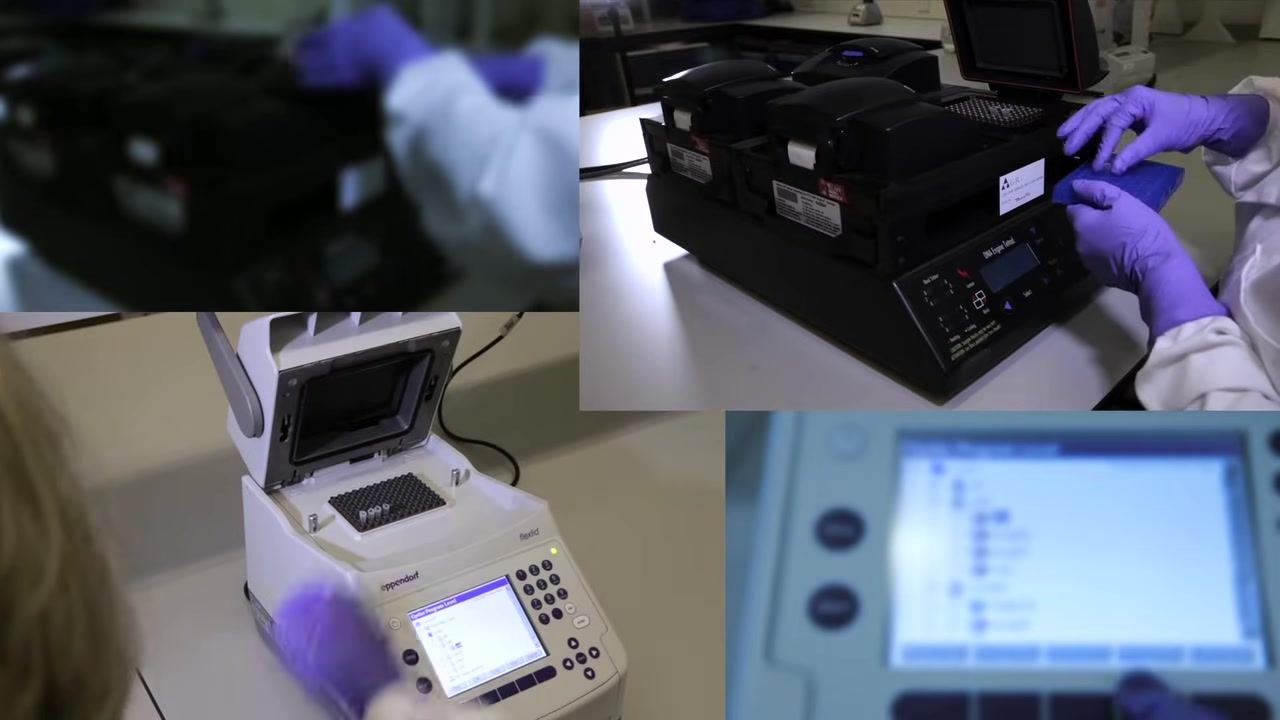
Step 11: Load tubes into the PCR instrument
In the PCR machine room (Room 3), select an appropriate PCR instrument, such as a block-based thermocycler. Open the instrument lid and place the tubes or plate into the block, ensuring proper alignment, then close the lid securely.
Confirm that the instrument is set to the correct program for the reaction and that all tubes are properly seated before starting the run.
Step 12: Program and start the thermal cycler run
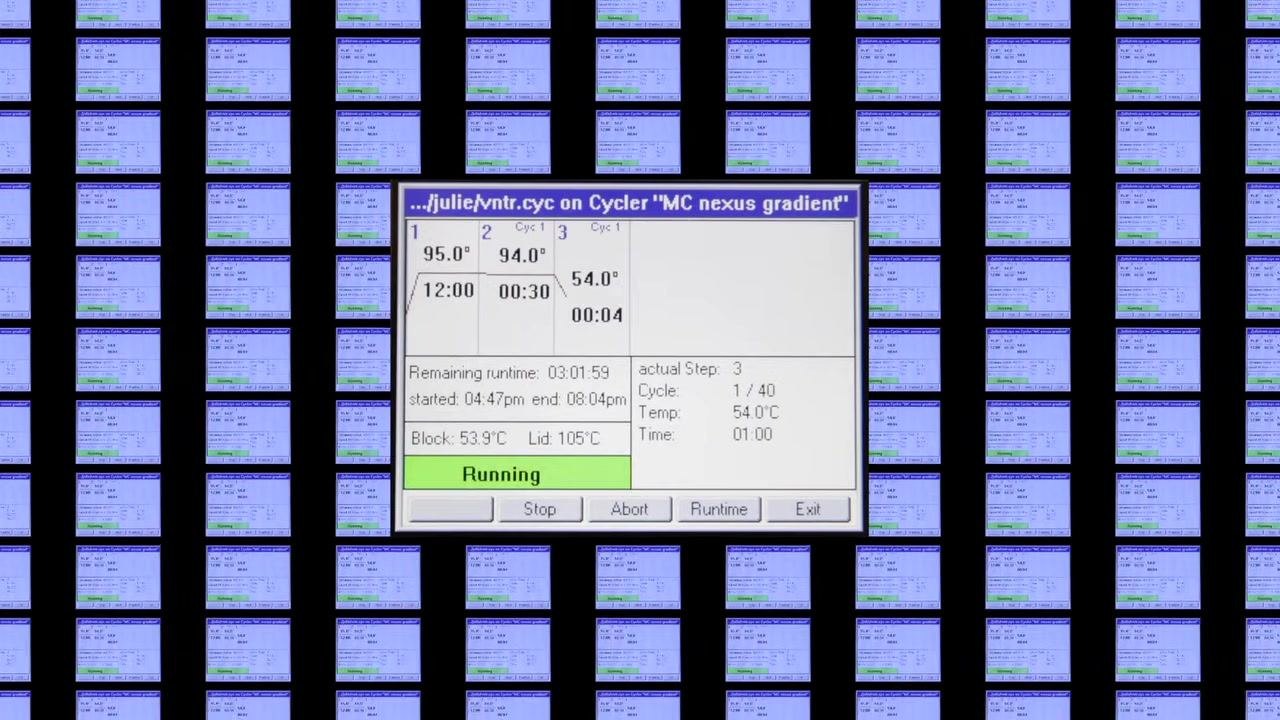
Set the thermal cycler to the following program, then confirm block and lid temperatures before starting the run.
| Step | Temperature | Time | Cycles |
|---|---|---|---|
| Initial denaturation | 95.0°C | 12:00 | 1 |
| Denaturation | 94.0°C | 0:30 | 40 |
| Annealing | 54.0°C | 1:00 | 40 |
| Extension | 72.0°C | 2:00 | 40 |
| Block temperature | 72.0°C | — | — |
| Lid temperature | 105°C | — | — |
Start the run and monitor progress on the thermal cycler display, which shows the program steps, cycle count, and running status.
The thermal cycler automatically repeats the programmed steps for the specified number of cycles, exponentially increasing the number of copies of the target sequence.
A PCR reaction can be completed in a few hours, or in less than an hour using rapid instruments; plan the workflow accordingly to maximize efficiency.
Calculations
Use the standard reagent concentrations to calculate the volumes needed for the total number of reactions being prepared:
- Taq Polymerase: 0.5–2.0 Units per reaction
- dNTPs: 200 micromolar of each dNTP per reaction
- Primers: 0.2–0.5 micromolar of each primer per reaction (from a 10 micromolar working stock, add 1 microlitre per reaction)
- Genomic template: 50–500 nanograms per reaction (add 1 microlitre per reaction)
- Buffer: 1× final concentration
For a standard PCR, the total reaction volume is 50 microlitres, prepared as follows:
- Master mix volume per reaction: 25 microlitres (half of the total reaction volume)
- Master mix for 7 reactions: 7 × 25 microlitres = 175 microlitres
- Primer volume per reaction: 1 microlitre of each primer
- Template or control material volume per reaction: 1 microlitre
- Water volume per reaction: calculated by subtracting the combined volumes of all other components from the total reaction volume (for example, a combined total of 340 microlitres across the full reaction set in this protocol)
Report reagent amounts in the units specified above: Units for enzyme, micromolar for dNTPs and primers, nanograms for genomic template, and microlitres for all pipetted volumes.
Quality Controls
Every PCR set-up must include three controls alongside the sample reactions, prepared and labeled in the same batch:
- Negative control (no template): confirms that reagents and the workflow are free of contaminating DNA.
- Positive control (known template): confirms that the reaction components and thermal cycling program are functioning correctly.
- Extraction control: verifies that the extraction process has not introduced contamination or failure.
Contamination control is maintained through the strict unidirectional, three-room workflow: Room 1 (Clean room) → Room 2 (Extraction lab) → Room 3 (PCR machine room). Reagents, consumables, or tubes must never be moved backwards in this sequence.
Moving items in reverse, from Room 3 back to Room 2 or Room 1, can introduce contamination into previously clean areas and compromise results. Any breach of this protocol should be treated as a serious risk to the integrity of the experiment.
Additional quality practices to apply throughout the procedure include:
- Using a calibrated pipette and changing tips between every sample and control to prevent cross-contamination.
- Keeping all sensitive reagents, including enzymes, dNTPs, and primers, on ice throughout preparation to maintain stability.
- Confirming that tubes are properly labeled and securely seated before starting the thermal cycler run.
- Following recommended protocols for reagent volumes and concentrations, since the proportions of the reaction mixture have a significant influence on the quality of PCR results.
If the unidirectional workflow is breached, for example by bringing reagents or consumables from the PCR machine room back into the clean or extraction rooms, the affected reagents and reactions should be treated as compromised and the setup should not proceed until contamination-free conditions are restored.

Generation details: cost, quality tiers, downloads
Docsie billed 4,500 credits ($3.15) to analyze this 9-minute video at standard quality. The rewrite, template fill and Word/PDF exports were included. The same video at each quality tier:
| Quality | Frames sampled | Credits | Approx. cost |
|---|---|---|---|
| Draft | every 16-30 s | 2,250 | $1.57 |
| Standard (this guide) | every 8-15 s | 4,500 | $3.15 |
| Detailed | every 4-7 s | 9,000 | $6.30 |
| Ultra | every 1-3 s | 18,000 | $12.60 |
Credits priced at $0.70 per 1,000; plans include a monthly allowance. Enterprise customers on on-premise or bring-your-own-model deployments run this on their own inference and pay no per-video credits.
Generated by Docsie Video-to-Docs on 2026-09-14 from a 8-minute video. It was generated straight into Docsie's Lab Method SOP template, so every section of that template is filled from the video. Screenshots are frames from the source video and belong to their creator, Sanger Institute Scientific Training and Events, whose original is embedded above. If you own this video and want the guide removed or credited differently, contact us and we will act within one business day.