
How to Run an Elisa Assay
This guide explains how to run an ELISA assay using an Invitrogen ELISA kit, from unpacking the kit through plate reading and result interpretation. It follows the sandwich ELISA workflow demonstrated with the kit's pre-coated plate, standards, buffers, and detection reagents, and is organized in a validation-report format so each stage of the procedure and its expected outcome can be reviewed at a glance.
Video: How to Run an ELISA Assay – Invitrogen Kit Step-by-Step Tutorial by Thermo Fisher Scientific (2018). All credit for the demonstration goes to the creator; watch the original on YouTube. The written guide below was generated from this video by Docsie. Creator? Request a change or removal.
This guide explains how to run an ELISA assay using an Invitrogen ELISA kit, from unpacking the kit through plate reading and result interpretation. It follows the sandwich ELISA workflow demonstrated with the kit's pre-coated plate, standards, buffers, and detection reagents, and is organized in a validation-report format so each stage of the procedure and its expected outcome can be reviewed at a glance.
Objective
Assay name: Invitrogen sandwich ELISA kit (pre-coated capture antibody plate).
Intended use: Quantification of a target protein in prepared samples by comparison against a standard curve generated from kit-supplied protein standards.
Matrix: Samples, controls, and background wells prepared and diluted in kit-supplied Sample Diluent and Assay Buffer, alongside reconstituted protein standards used to build the calibration curve.
Validation goal: This document describes the operational steps for running the assay as demonstrated with the kit. It does not present a formal statistical validation study; a validation goal for this assay would typically define acceptance thresholds for accuracy, precision, specificity, linearity, range, robustness, and stability prior to routine use, which are addressed qualitatively in the Validation Design section below.
Method summary
Analytical principle: The assay uses a sandwich ELISA format. The pre-coated capture antibody on the plate binds the target antigen; a biotin-conjugated detector antibody then binds the antigen at a separate epitope, forming a "sandwich" complex. Streptavidin-HRP binds the biotin label, and a chromogenic substrate reacts with the HRP enzyme to generate a color signal proportional to the amount of antigen present.
Instrument platform: An ELISA plate reader is used to measure absorbance at 450 nanometers (A450). Automated plate washers may optionally be used during the wash steps; manual washing is also described.
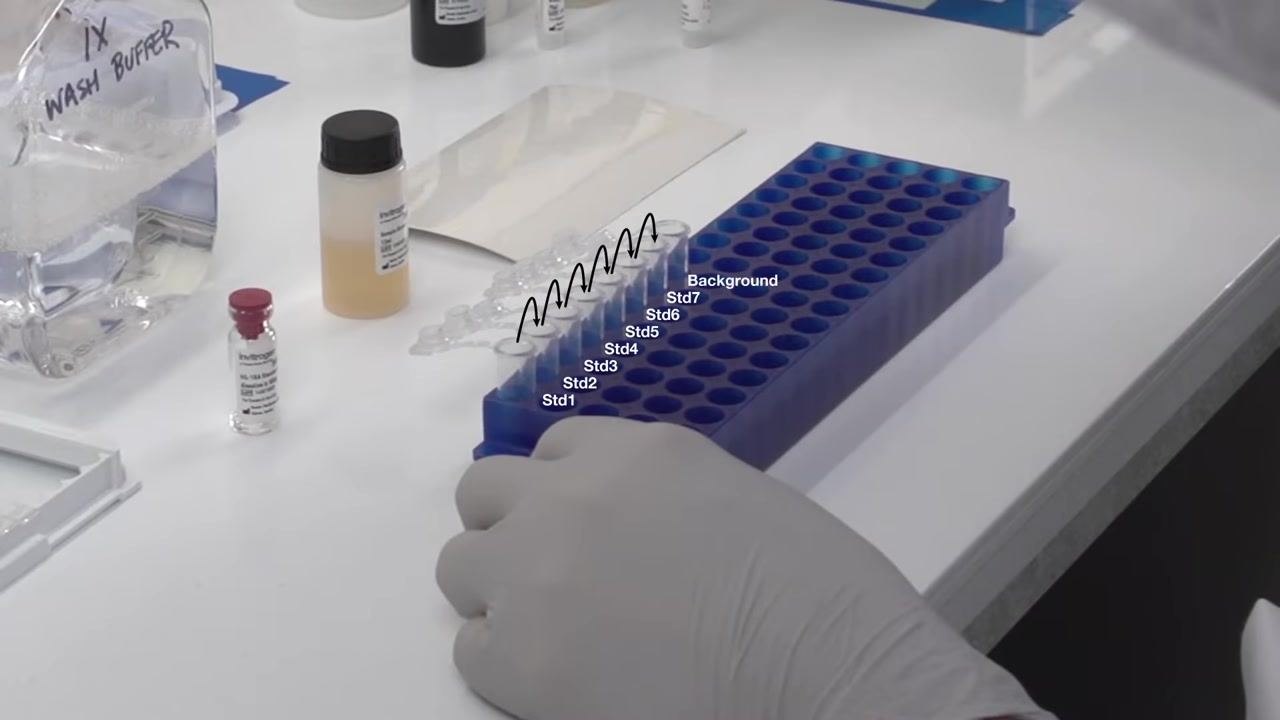
Sample preparation: Protein standards are reconstituted and serially diluted (1:2 series, e.g., Std1–Std7 plus a background well). Samples and controls may require pre-dilution as specified in the kit protocol before being added to the plate.
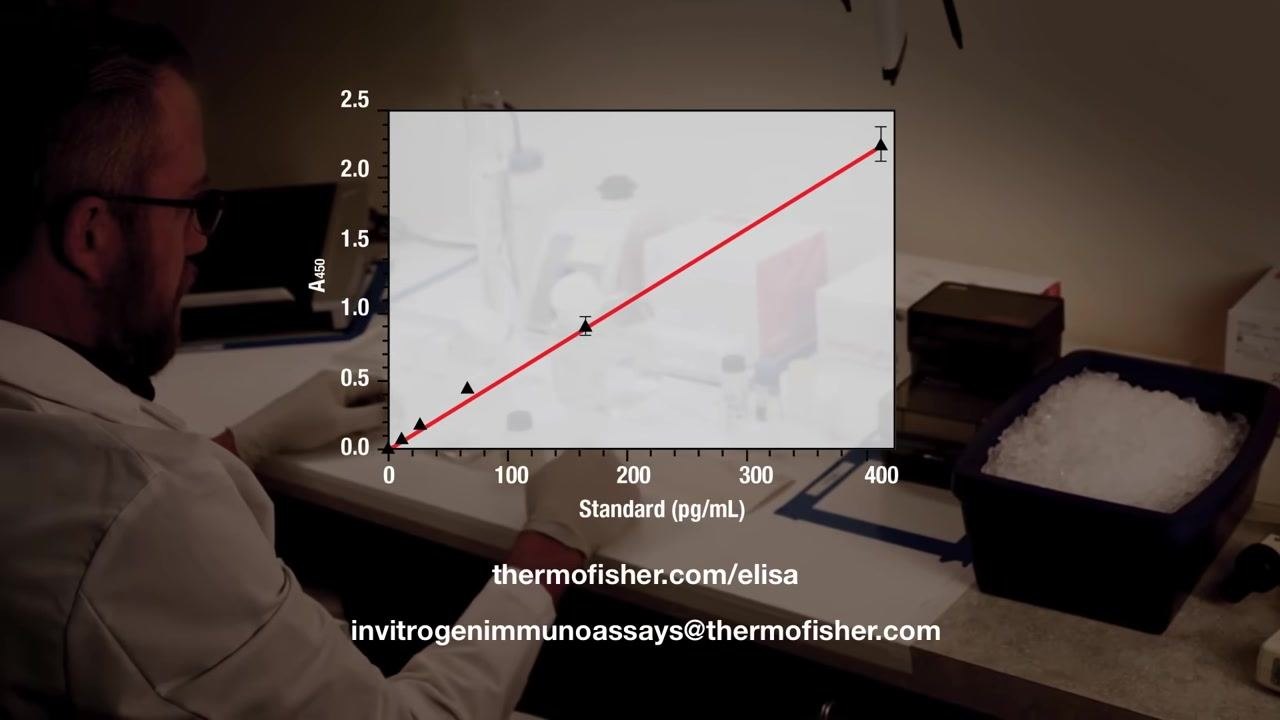
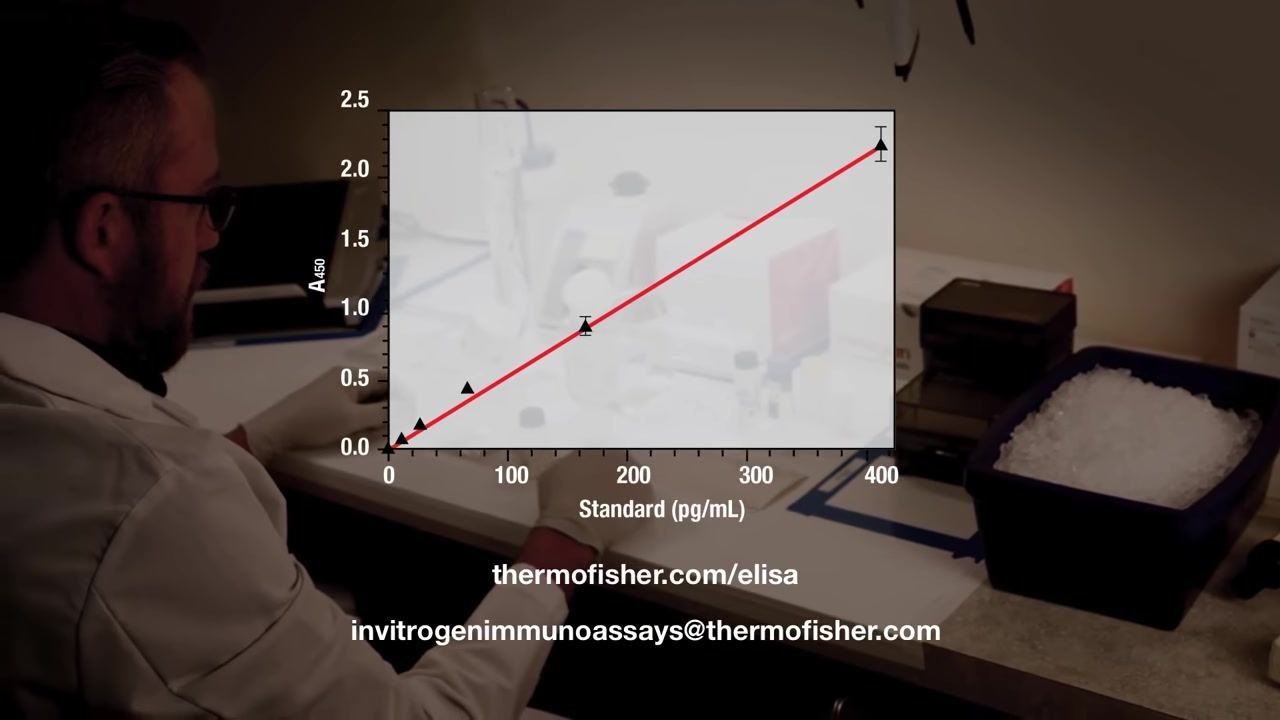
Readout: Absorbance at A450 is recorded for each well and plotted against standard concentration (pg/mL) to generate a linear standard curve, which is then used to calculate protein concentration in unknown samples.
Validation design
The source procedure demonstrates assay execution rather than a formal validation study. The table below maps the procedural controls shown to standard validation parameters.
| Parameter | Procedural control demonstrated |
|---|---|
| Linearity / range | 1:2 serial dilution of standards (Std1–Std7) plus a background well establishes the calibration range plotted as absorbance vs. concentration. |
| Specificity | Sandwich format: capture antibody and biotin-conjugated detector antibody bind the antigen at distinct sites, reducing nonspecific signal. |
| Precision | Not addressed in this procedure. A precision study would require running replicate samples across multiple wells, plates, or lots and calculating %CV against a predefined acceptance limit. |
| Accuracy | Not addressed in this procedure. An accuracy assessment would compare measured concentrations of spiked or reference samples to known values. |
| Robustness | Kit-specific timing, temperature, and dilution instructions (e.g., 10-minute standard reconstitution, 30-minute substrate incubation in the dark) define the tested operating conditions; deviations from these were not evaluated. |
| Stability | Unused 8-well strips are resealed in the foil pouch and stored at 2–8°C for future use, indicating a reagent-stability handling requirement rather than a formal stability study. |
Results
Stage 1: Kit contents and initial preparation
| Step | Action | Observation |
|---|---|---|
| 1 | Review the kit-specific protocol before starting. | Assay-specific instructions confirmed prior to setup. |
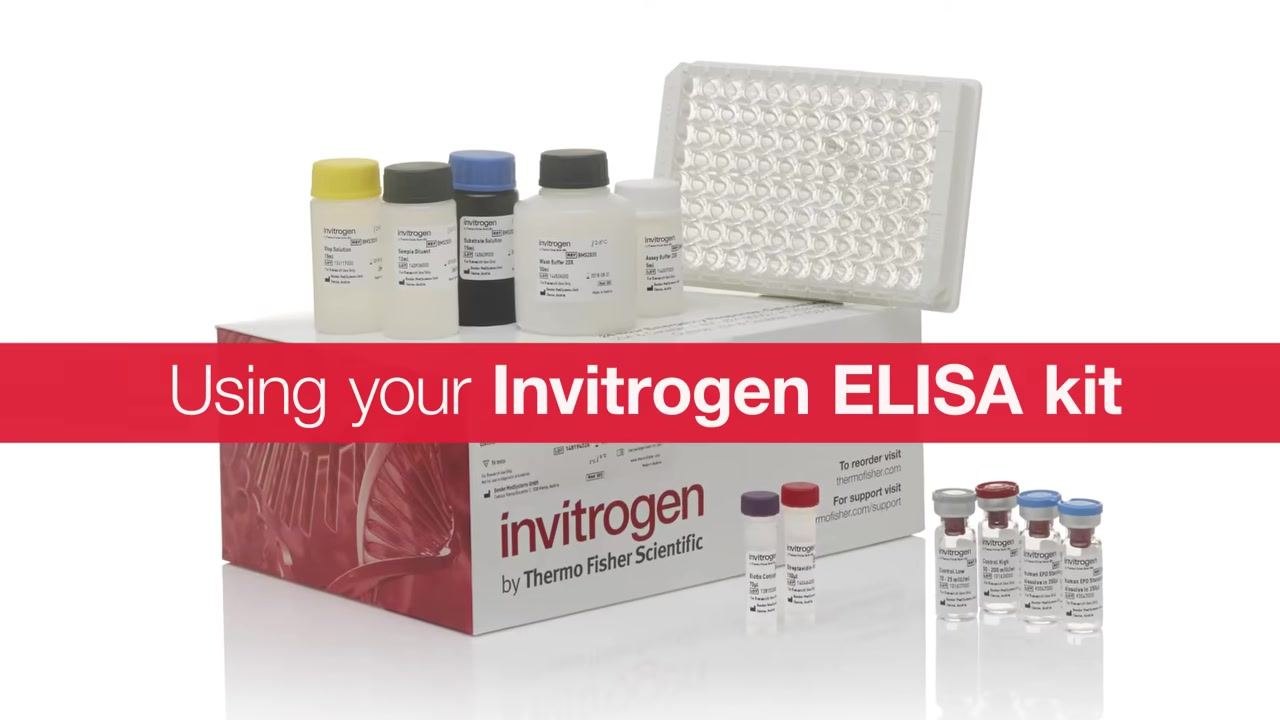
| 2 | Unpack the kit and verify all components (pre-coated plate, standards, buffers, reagents). | All items present and undamaged. |
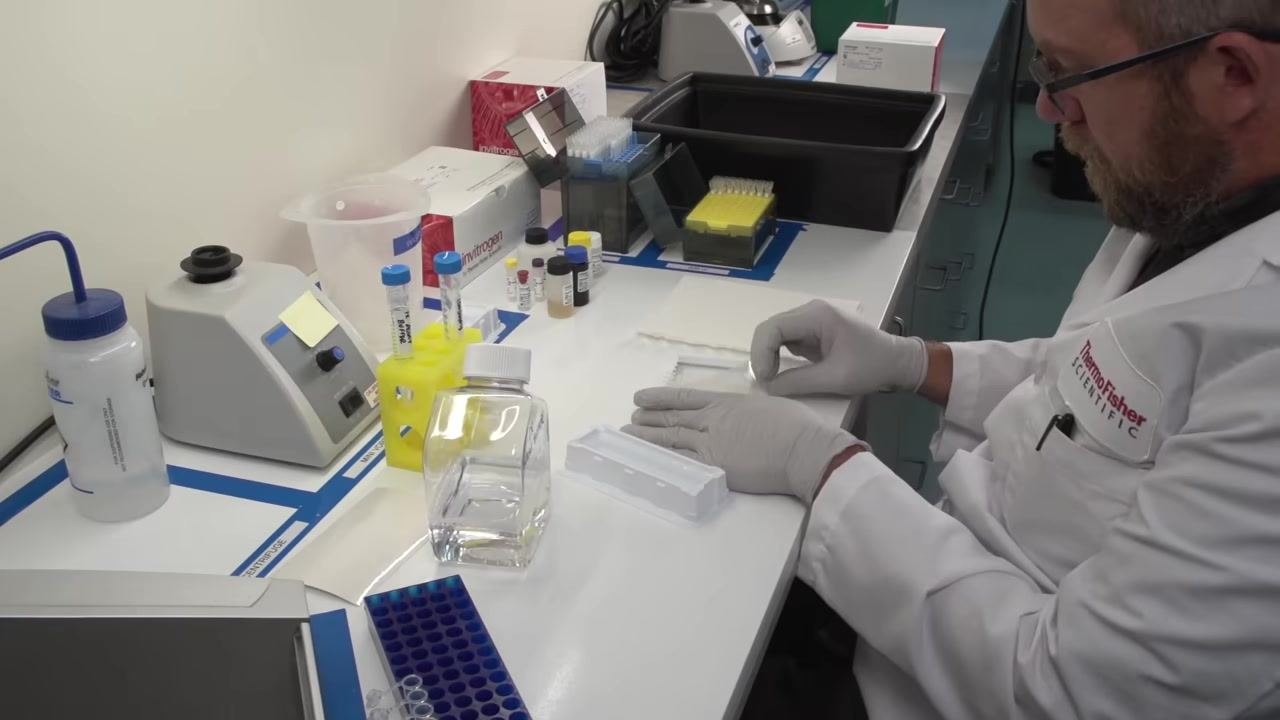
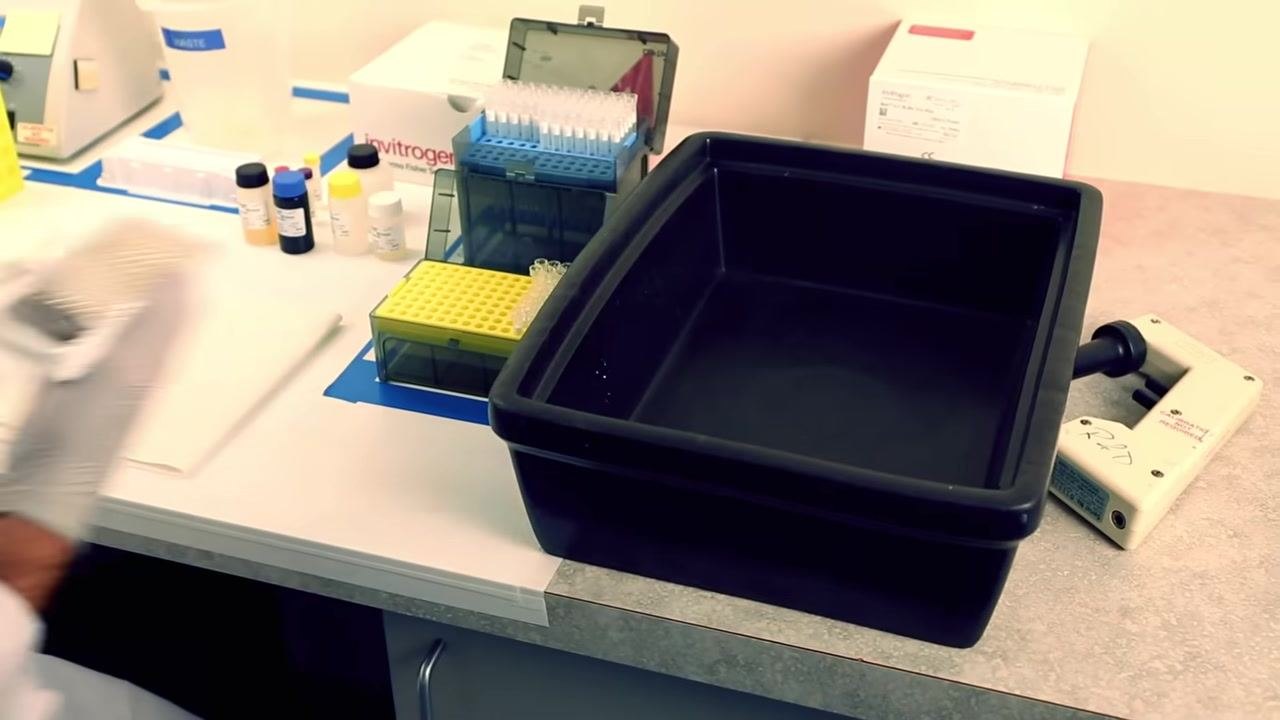
| 3 | Set up a clean workspace with a computer, pipettes, deionized water, and lab equipment. | Workspace ready for assay preparation. |
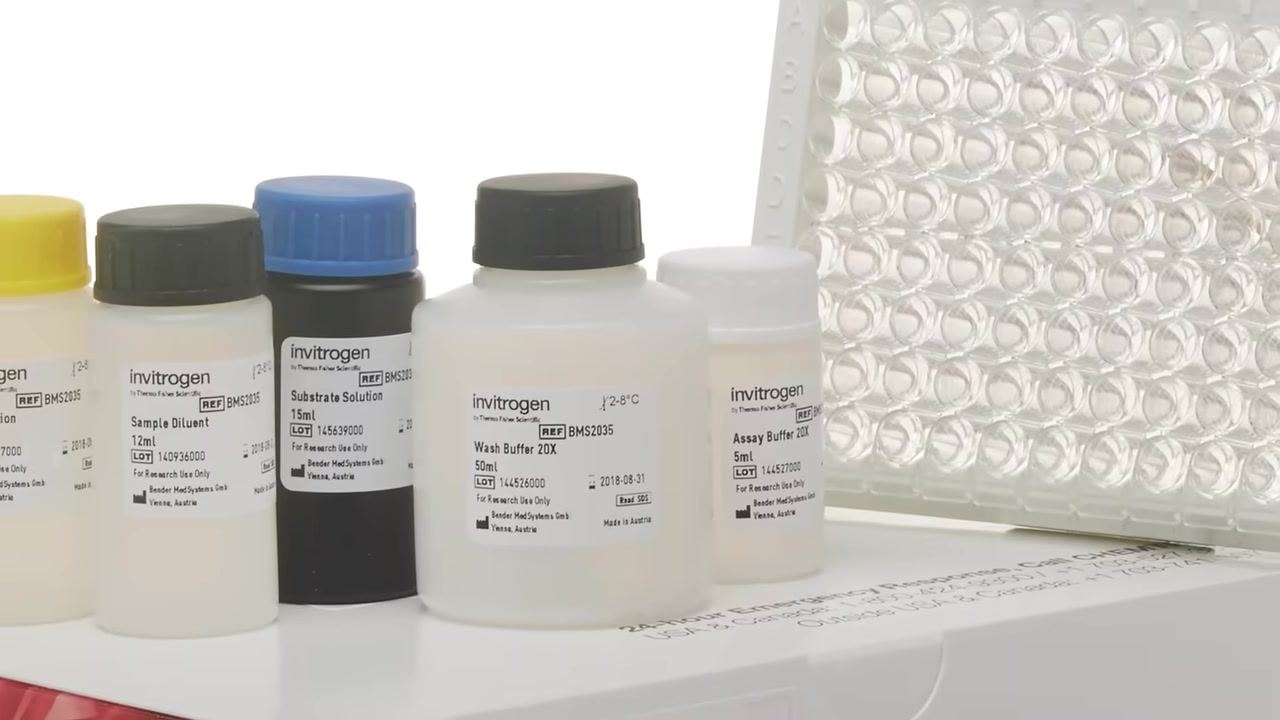
| 4 | Identify buffers and reagents (Wash Buffer 20X, Assay Buffer 20X, Sample Diluent, Substrate Solution) and check lot numbers and expiration dates. | Reagents confirmed valid for use. |
| 5 | Open the foil pouch, remove the plate, and take out unused 8-well strips; reseal and store unused strips at 2–8°C. | Plate ready with only the required strips in place. |
Stage 2: Buffer and standard preparation
| Step | Action | Observation |
|---|---|---|
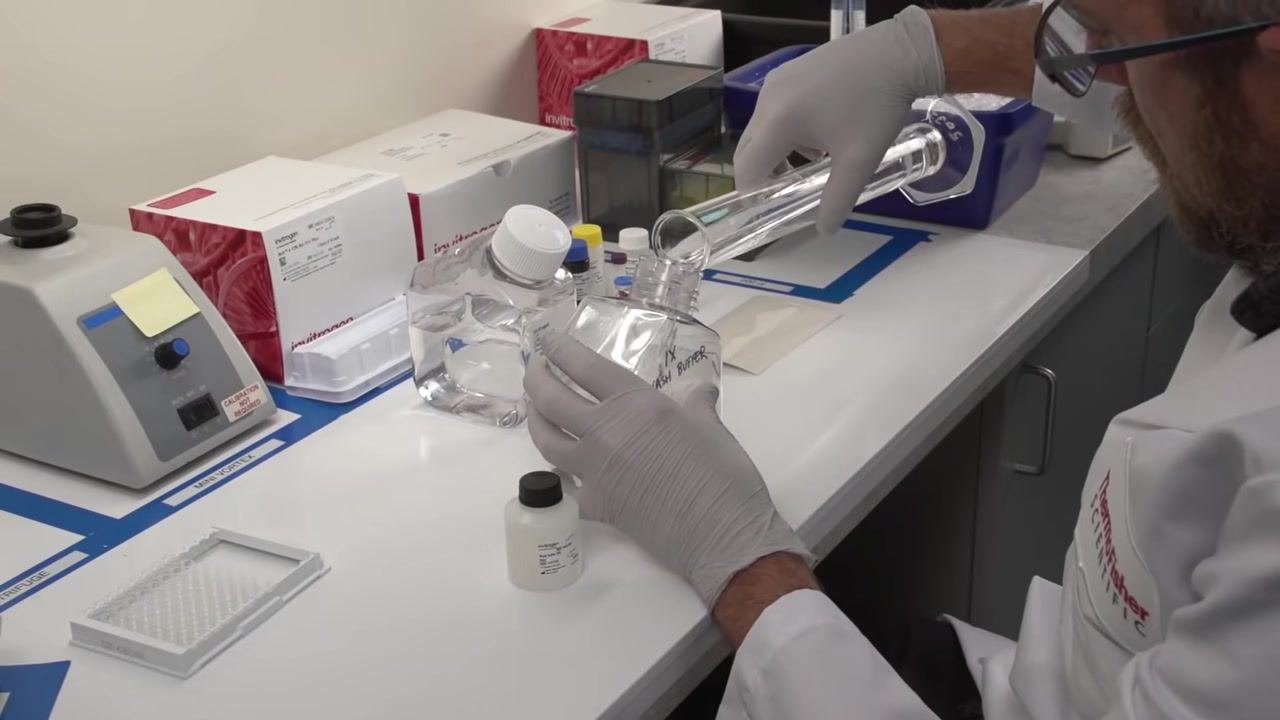
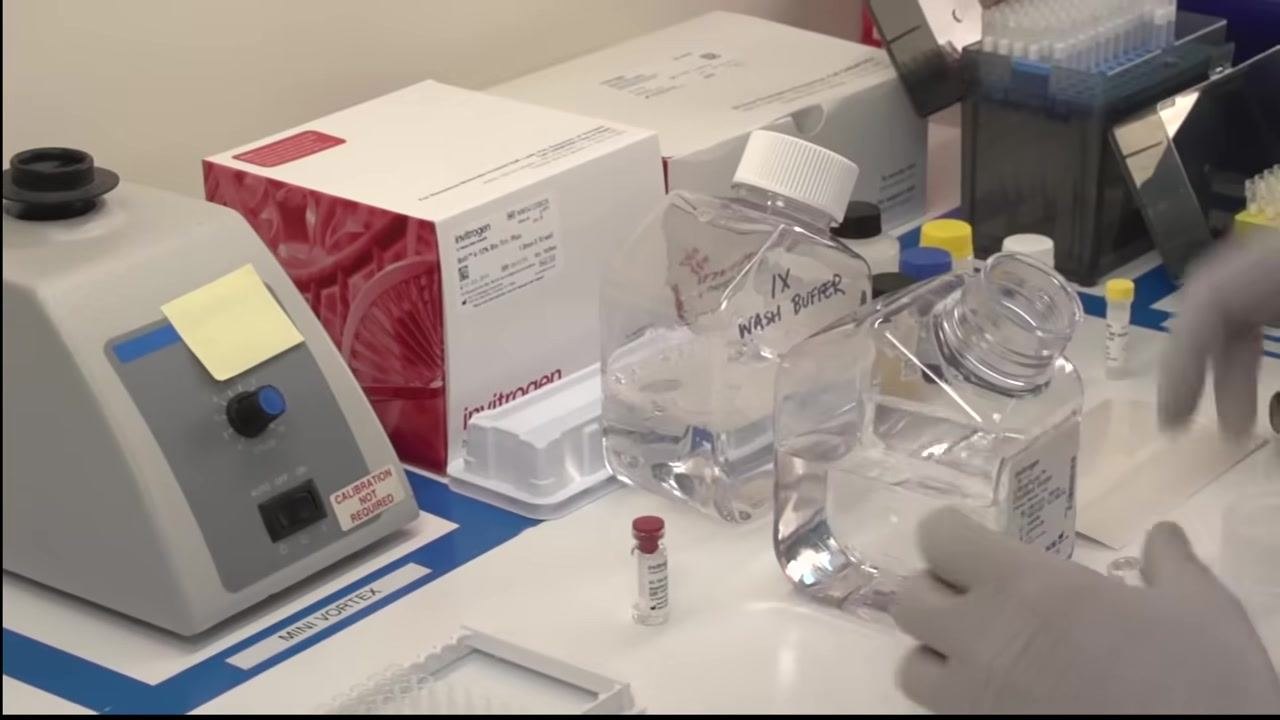
| 6 | Bring wash buffer concentrate to room temperature, mix to dissolve precipitated salts, and dilute with deionized water per protocol. | 1X wash buffer prepared. |
| 7 | Reconstitute one vial of protein standard: add buffer without pipetting up and down, swirl and invert five times or vortex briefly, and let sit for at least 10 minutes. | Standard fully reconstituted. |
| 8 | Prepare a 1:2 serial dilution of the standard, adding diluent to each tube, adding standard to the first tube, mixing thoroughly, and changing tips between tubes. | Serial dilution series ready for plate loading. |
Stage 3: Plate loading, incubation, and washing
| Step | Action | Observation |
|---|---|---|
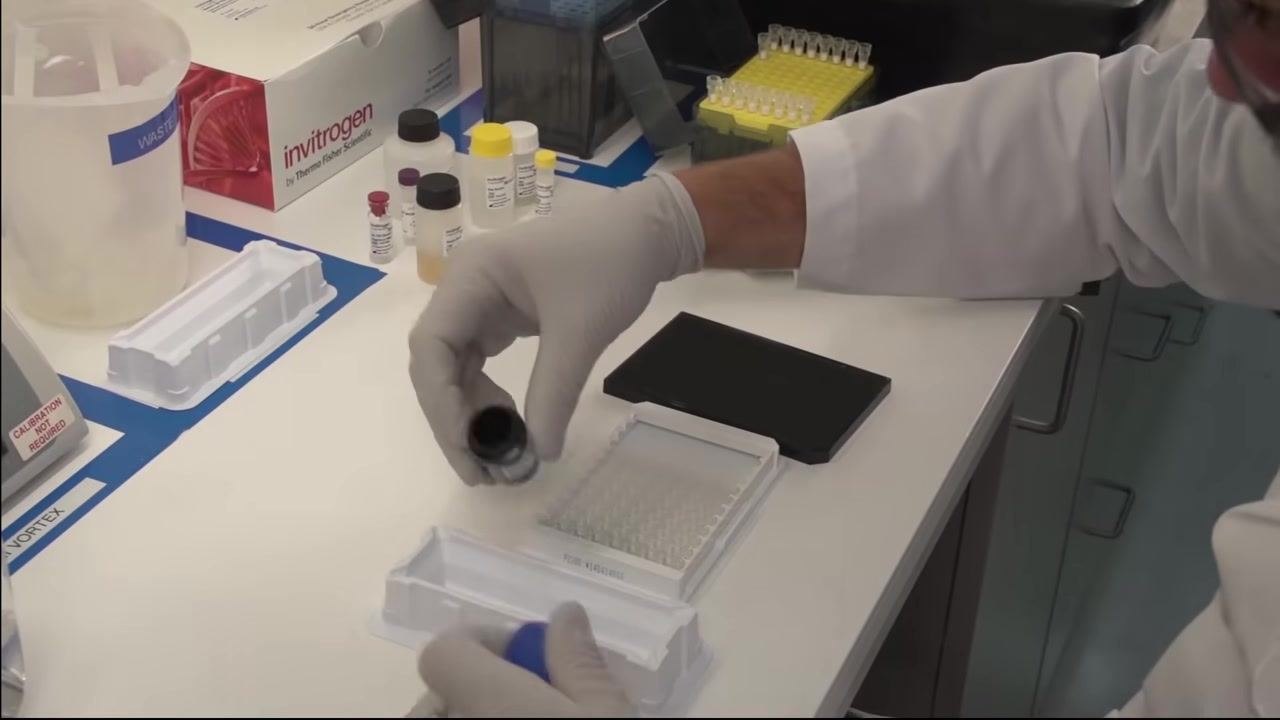
| 1 | Add standards, controls, and samples to labeled wells using a fresh tip for each addition; pre-dilute samples if required. | Plate loaded with calibration and test wells. |
| 2 | Confirm whether the kit protocol calls for sequential or co-incubation with the detector antibody (co-incubation demonstrated here). | Correct incubation approach selected. |
| 3 | Dilute the assay buffer and biotin conjugate as instructed, then add the diluted detector antibody to each well. | Detector antibody added to all wells. |
| 4 | Recognize that the detector antibody binds the antigen at a site distinct from the capture antibody, forming the sandwich complex. | Sandwich complex formation understood. |
| 5 | Seal the plate and incubate at the time and temperature specified in the protocol. | Plate incubated as specified. |
| 6 | Wash the plate (manually or with an automated washer): fill wells, soak, decant, repeat 3–5 times, and tap dry on paper towel without letting wells dry out. | Unbound reagents removed. |
| 7 | Dilute the streptavidin-HRP concentrate with assay buffer and mix gently. | Detection reagent prepared for the next phase. |
Stage 4: Signal development, stopping the reaction, and plate reading
| Step | Action | Observation |
|---|---|---|
| 1 | Recognize that multiple streptavidin binding sites per biotin-labeled antibody produce enzymatic signal amplification. | Amplification mechanism understood. |
| 2 | Incubate the plate with streptavidin-HRP, covered, at the time and temperature specified. | Enzyme conjugate bound. |
| 3 | Wash the plate again (fill, soak, decant, tap dry) for the specified number of washes. | Excess enzyme removed. |
| 4 | Add chromogenic substrate to each well. | Substrate reacts with HRP to develop color. |
| 5 | Incubate at room temperature in the dark for 30 minutes, or as specified. | Color intensity proportional to protein concentration. |
| 6 | Add stop solution to each well to halt the enzymatic reaction. | Solution turns yellow, confirming reaction stop. |
| 7 | Measure absorbance at 450 nm (A450) using a plate reader and record values. | Absorbance data captured for analysis. |
| 8 | Use the standard curve from the standards to determine unknown sample concentrations. | Protein concentration in samples determined. |
Deviations
No protocol deviations are described in this procedure; each step is presented as following the kit-specific protocol as written. Where a laboratory deviates from timing, temperature, dilution ratios, or wash cycle counts specified in its kit insert, the deviation, its impact on assay performance, and a determination of data validity should be documented here.
Acceptance summary
Formal acceptance criteria (e.g., standard curve R² threshold, %CV limits, control well ranges) are not specified in this procedure. Predefined acceptance criteria for each validation parameter in the Validation Design section should be compared against actual run data and documented here, including any limitations identified (for example, reliance on a single demonstrated run rather than replicate runs across operators, days, or lots).
Conclusion
Following the steps above prepares the Invitrogen ELISA kit reagents, loads the plate, develops and stops the enzymatic signal, and reads absorbance at 450 nm against a standard curve to determine sample protein concentration. This procedure demonstrates how to run an ELISA assay using the kit as intended, with routine controls consisting of the kit-supplied standards (for the calibration curve) and a background well; formal statistical validation (precision, accuracy, robustness testing) would need to be completed separately before the assay is declared validated for routine use. For further product information, visit thermofisher.com/elisa, or contact invitrogenimmunoassays@thermofisher.com for technical questions.
Generation details: cost, quality tiers, downloads
Docsie billed 2,500 credits ($1.75) to analyze this 5-minute video at standard quality. The rewrite, template fill and Word/PDF exports were included. The same video at each quality tier:
| Quality | Frames sampled | Credits | Approx. cost |
|---|---|---|---|
| Draft | every 16-30 s | 1,250 | $0.88 |
| Standard (this guide) | every 8-15 s | 2,500 | $1.75 |
| Detailed | every 4-7 s | 5,000 | $3.50 |
| Ultra | every 1-3 s | 10,000 | $7.00 |
Credits priced at $0.70 per 1,000; plans include a monthly allowance. Enterprise customers on on-premise or bring-your-own-model deployments run this on their own inference and pay no per-video credits.
Generated by Docsie Video-to-Docs on 2026-09-14 from a 4-minute video. It was generated straight into Docsie's Assay Validation Report template, so every section of that template is filled from the video. Screenshots are frames from the source video and belong to their creator, Thermo Fisher Scientific, whose original is embedded above. If you own this video and want the guide removed or credited differently, contact us and we will act within one business day.