
How to Prepare a Buffer Solution
This procedure describes how to prepare a buffer solution — specifically 250 mL of 0.5 M Tris buffer at pH 7.8 — for use in laboratory applications. It covers material setup, dissolution, pH adjustment, volume adjustment, verification, and bottling of the final buffer for sterilization.
Video: Preparing Tris Buffer by BioNetwork (2013). All credit for the demonstration goes to the creator; watch the original on YouTube. The written guide below was generated from this video by Docsie. Creator? Request a change or removal.
This procedure describes how to prepare a buffer solution — specifically 250 mL of 0.5 M Tris buffer at pH 7.8 — for use in laboratory applications. It covers material setup, dissolution, pH adjustment, volume adjustment, verification, and bottling of the final buffer for sterilization.
Purpose
This method describes how to prepare a buffer solution of 0.5 M Tris at a final pH of 7.8, in a total volume of 250 mL, for use as a laboratory reagent. The procedure specifies the required chemicals, equipment, and stepwise instructions needed to produce a consistent, correctly pH-adjusted Tris buffer solution ready for downstream sterilization.
Scope
This SOP applies to the preparation of 250 mL batches of 0.5 M Tris buffer solution using Tris Base (Fisher Scientific, BP152-500) as the primary reagent and distilled water as the solvent.
- Sample/product type: Tris buffer solution (laboratory reagent), not a biological sample.
- Matrix: Distilled water with dissolved Tris Base, pH-adjusted with 0.1 M HCl or 0.1 M NaOH.
- Instruments: Analytical balance, pH meter with probe, stir plate.
- Analysts: Laboratory personnel trained in basic wet-chemistry technique and equipped with appropriate PPE.
- Exclusions: This procedure does not detail the autoclave sterilization cycle itself; sterilization must follow the laboratory's own standard operating procedures.
Principle
The method relies on dissolving a measured mass of Tris Base in distilled water to achieve a target molarity of 0.5 M, followed by pH adjustment using dilute acid (0.1 M HCl) or dilute base (0.1 M NaOH) as needed. The pH meter measures the solution's hydrogen ion activity, which is monitored and adjusted stepwise until the solution stabilizes at the target pH of 7.8. Final volume is brought to exactly 250 mL using distilled water to achieve the intended concentration.
Materials and reagents
| Category | Item |
|---|---|
| Reagent | Tris Base (Fisher Scientific, BP152-500) |
| pH adjustment (acid) | 0.1 M HCl solution |
| pH adjustment (base) | 0.1 M NaOH solution (used only if needed) |
| Solvent | Distilled water |
| Glassware | 250 mL graduated cylinder, 600 mL beaker |
| Equipment | Stir bar, stir plate, analytical balance, pH meter with probe |
| Consumables | Weigh boat, lab scoop |
| PPE | Lab coat, gloves, safety goggles |
| Storage | Clean, labeled storage bottle for finished buffer |
Ensure all glassware and equipment are clean and dry before use.

Procedure
Gather materials
Confirm all required chemicals and equipment listed above are on hand and that glassware is clean and dry before beginning.
Measure and transfer water
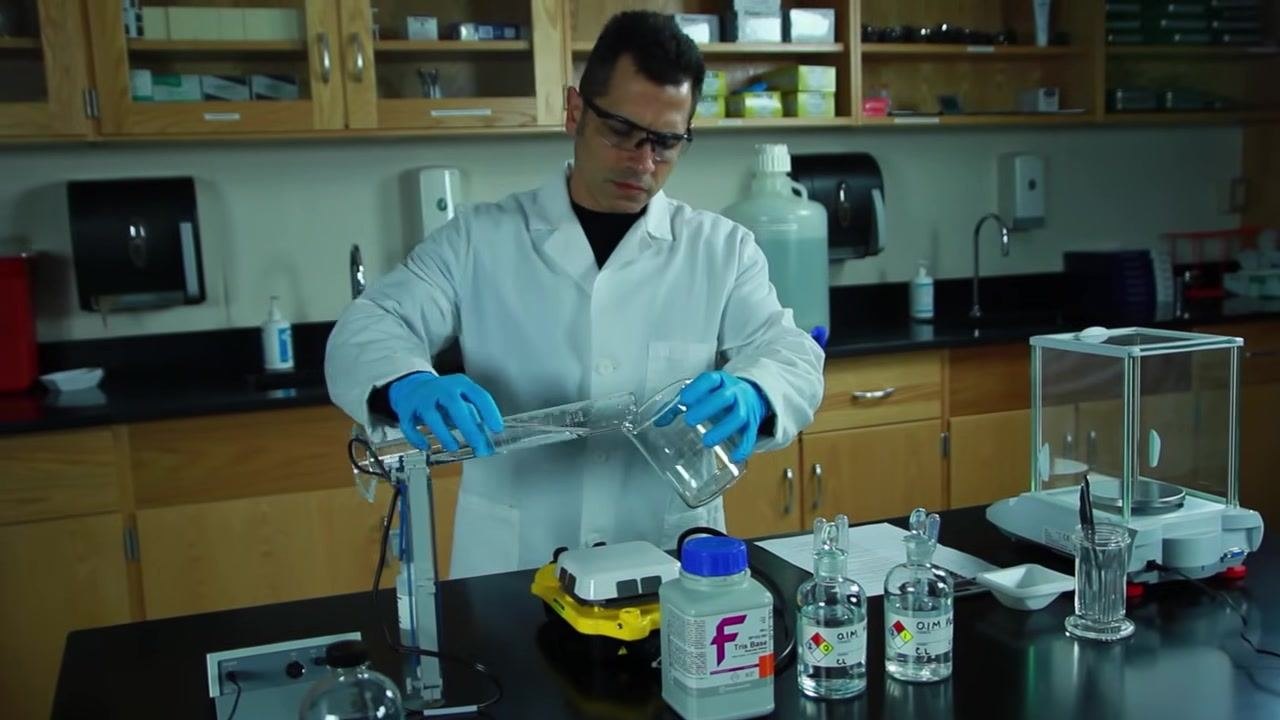
Pour approximately 210 mL of distilled water into the 250 mL graduated cylinder, then carefully transfer this water into the 600 mL beaker.
Add stir bar and set up mixing
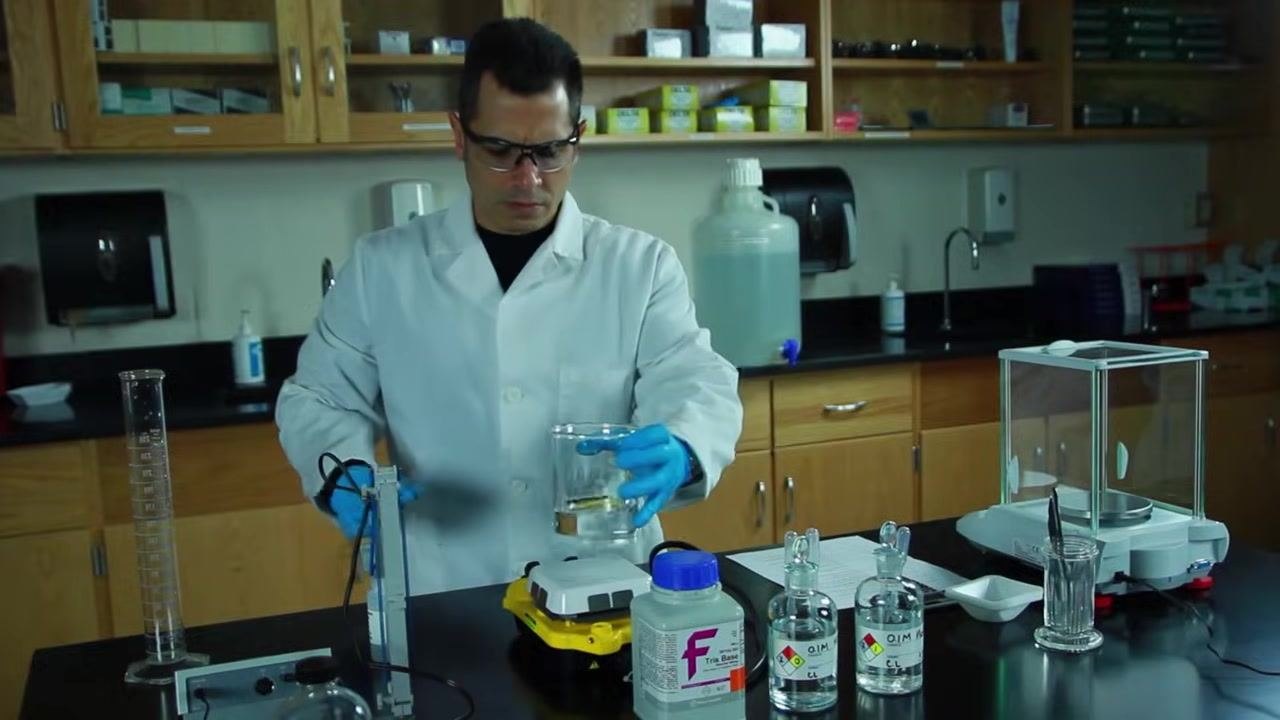
Drop a clean stir bar into the beaker of water and place the beaker at the center of the stir plate.
Weigh Tris Base
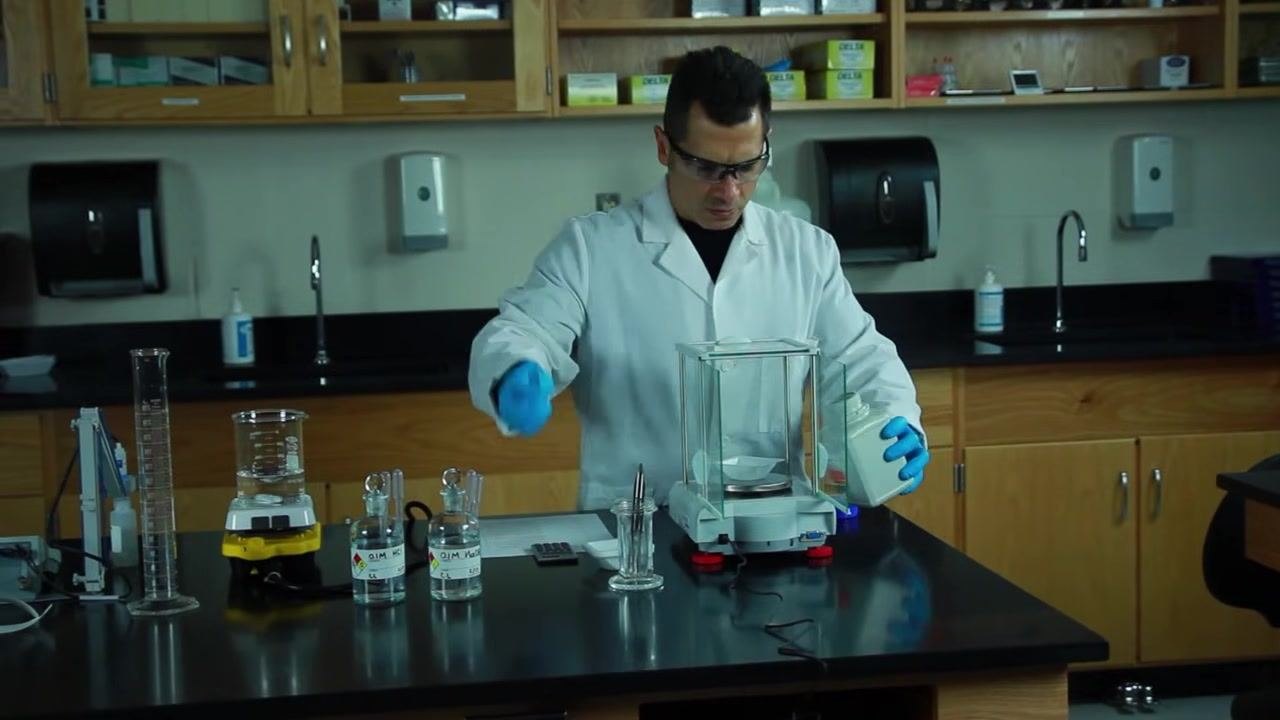
Place a weigh boat on the analytical balance and press the tare key to zero the reading. Using a lab scoop, add Tris Base powder to the weigh boat until the balance reads 15.14 grams (acceptable range: 15.12–15.16 grams).
Add Tris Base to the beaker
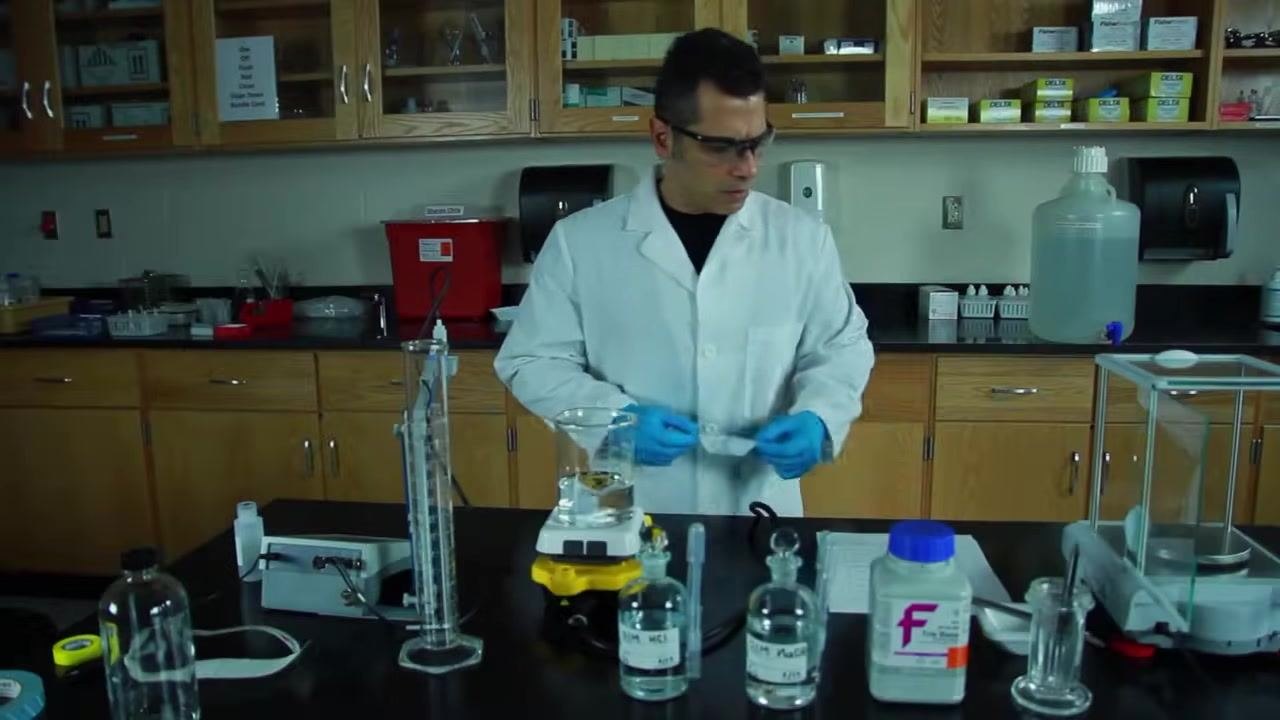
Carefully transfer the weighed Tris Base powder from the weigh boat into the beaker containing water. Gently flick the weigh boat to ensure all powder is transferred.
Mix until dissolved
Turn on the stir plate and allow the solution to mix until it is completely clear, with no visible clumps of undissolved powder.
Adjust pH toward 7.8
Insert the pH meter probe into the solution, taking care not to insert it so deeply that the stir bar contacts the glass electrode. Wait for the reading to stabilize. If the pH reads above 7.8 (for example, pH 8), add 0.1 M HCl dropwise while stirring, checking the pH after each addition, until it approaches 7.8.
Fine-tune the final pH
Add a couple of drops of 0.1 M HCl to the Tris solution while stirring, then wait for the pH reading to stabilize. If the pH is still above 7.8, continue adding a few drops at a time, mixing and checking after each addition, until the target pH of 7.8 is reached.
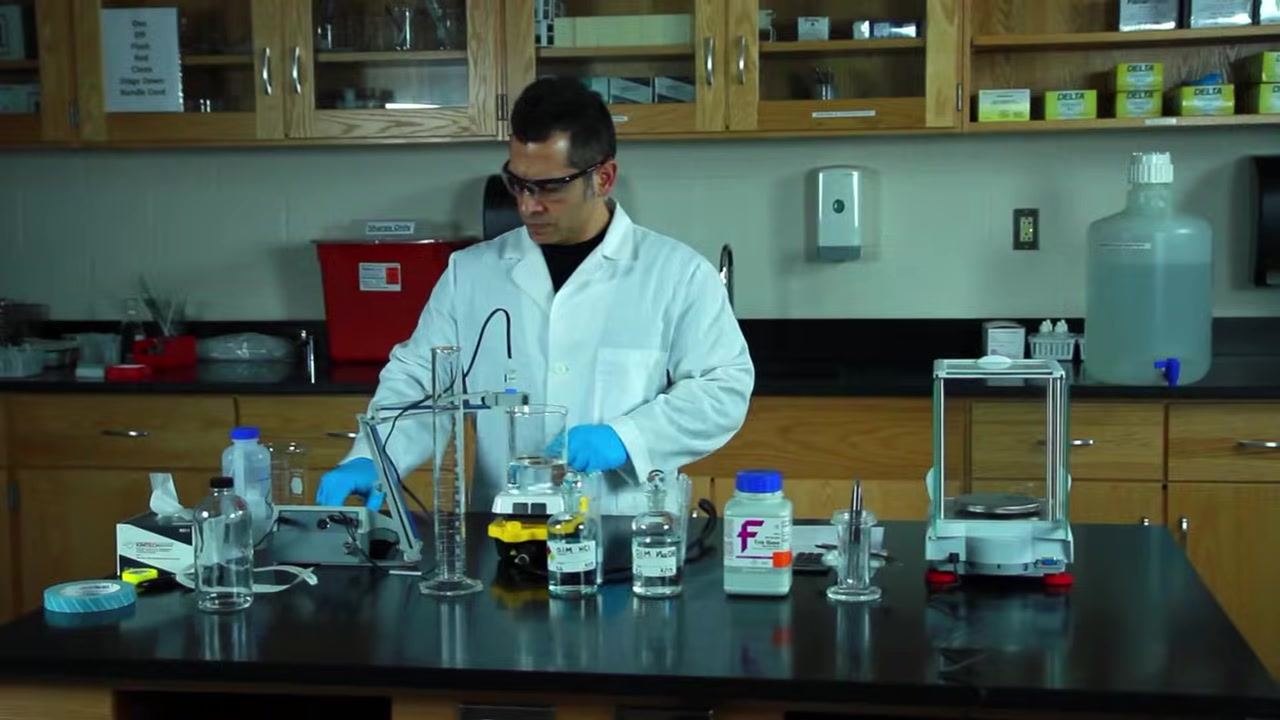
Remove and clean the pH probe
Once the target pH is reached, carefully remove the probe from the beaker. Rinse it thoroughly with distilled water to remove buffer residue, then return it to its storage solution to preserve accuracy.
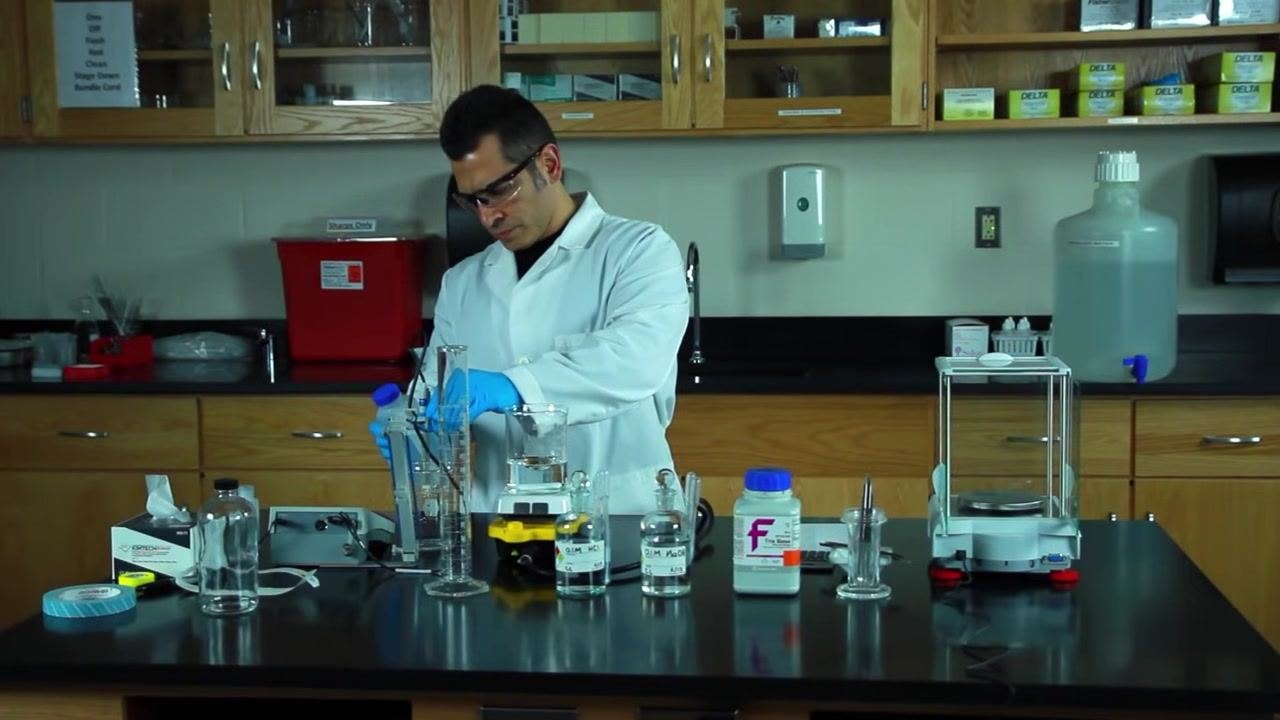
Bring the buffer to final volume
Place a second magnet under the beaker to hold the stir bar in place, then slowly pour the buffer solution into the 250 mL graduated cylinder.
Add distilled water to the graduated cylinder, reading the meniscus at eye level, until the total volume reaches exactly 250 mL. Transfer the buffer back into the beaker for final mixing.
Verify final pH
Insert the pH meter probe into the beaker and confirm the reading is still pH 7.8. If it has drifted, repeat the pH adjustment steps until it is corrected.
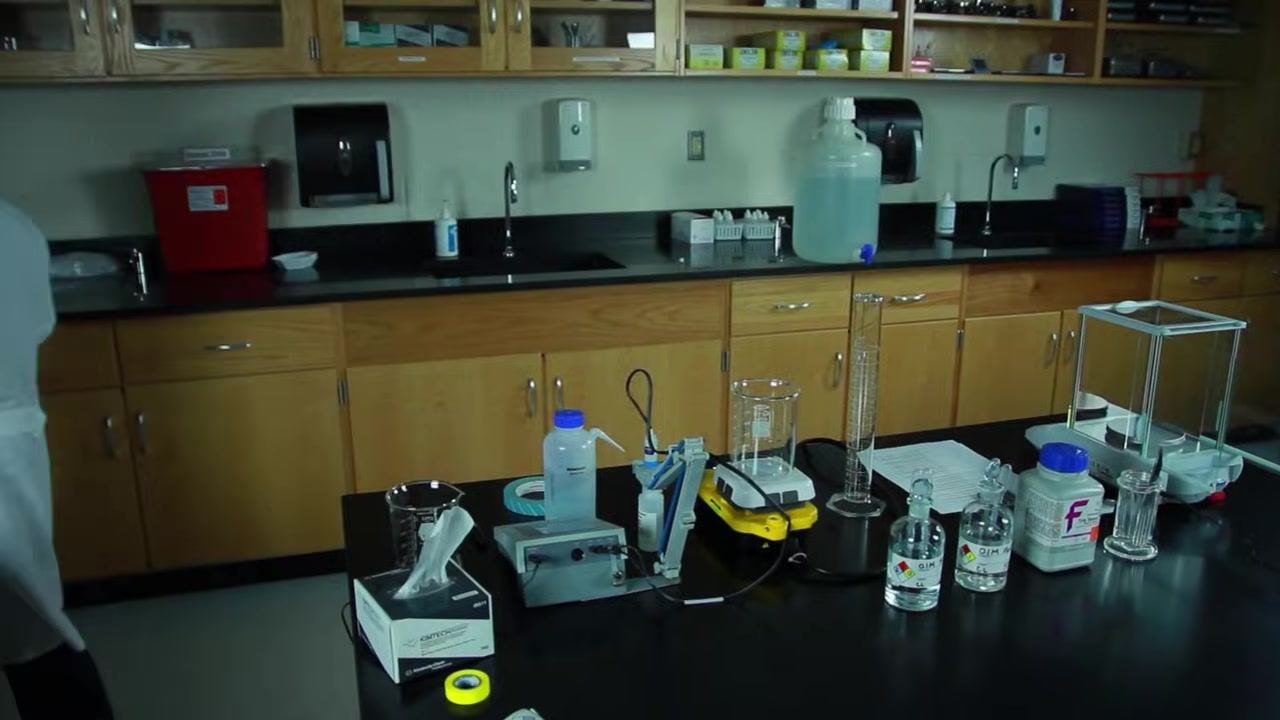
Bottle and label the buffer
Pour the finished Tris buffer into a clean storage bottle. Label the bottle clearly with:
- Solution name: "Tris Buffer"
- Final pH: "pH 7.8"
- Date of preparation
- Preparer's initials
Prepare for sterilization
The labeled Tris buffer is now ready for sterilization. Place the bottle into the autoclave according to your laboratory's standard operating procedures.
Calculations
The target mass of Tris Base for this batch is 15.14 grams (acceptable range 15.12–15.16 grams), dissolved in distilled water and brought to a final volume of 250 mL to achieve the intended 0.5 M concentration. The final reported pH specification for the buffer is 7.8. The underlying molarity-to-mass conversion formula and any significant-figure reporting conventions used to derive this target mass should be documented per your institution's calculation standard, as this detail is not shown in the procedure itself.
Quality controls
- Balance check: Confirm the balance reads within the acceptable weight range (15.12–15.16 g) before transferring Tris Base to the beaker.
- pH stabilization: Wait for the pH meter reading to stabilize before recording or acting on each measurement.
- pH acceptance criterion: The finished buffer must read pH 7.8; if the verified final pH does not match, repeat the acid/base addition and mixing steps until it does.
- Volume check: Confirm the meniscus is read at eye level and the final volume is exactly 250 mL.
- Labeling control: Every finished bottle must be labeled with solution name, final pH, preparation date, and preparer initials before proceeding to sterilization.
- Equipment care: Rinse and store the pH probe in its storage solution after each use to maintain measurement accuracy.
This procedure does not describe formal system suitability testing, blank runs, or failed-run handling protocols; these should be defined and documented according to your institution's broader quality management SOP if required.
Note: Always wear appropriate PPE (lab coat, gloves, safety goggles) and follow your laboratory's chemical handling and safety protocols throughout this procedure. Ensure all glassware and equipment are properly cleaned before and after use.
What's next
Once the Tris buffer has been bottled, labeled, and verified at pH 7.8, proceed to sterilize it in the autoclave following your laboratory's standard operating procedures before use in downstream applications.

Generation details: cost, quality tiers, downloads
Docsie billed 2,000 credits ($1.40) to analyze this 4-minute video at standard quality. The rewrite, template fill and Word/PDF exports were included. The same video at each quality tier:
| Quality | Frames sampled | Credits | Approx. cost |
|---|---|---|---|
| Draft | every 16-30 s | 1,000 | $0.70 |
| Standard (this guide) | every 8-15 s | 2,000 | $1.40 |
| Detailed | every 4-7 s | 4,000 | $2.80 |
| Ultra | every 1-3 s | 8,000 | $5.60 |
Credits priced at $0.70 per 1,000; plans include a monthly allowance. Enterprise customers on on-premise or bring-your-own-model deployments run this on their own inference and pay no per-video credits.
Generated by Docsie Video-to-Docs on 2026-09-28 from a 3-minute video. It was generated straight into Docsie's Lab Method SOP template, so every section of that template is filled from the video. Screenshots are frames from the source video and belong to their creator, BioNetwork, whose original is embedded above. If you own this video and want the guide removed or credited differently, contact us and we will act within one business day.