
How to Perform a Titration
This document describes how to perform a titration, an acid-base laboratory technique used to determine the concentration of an unknown solution. It covers preparing and filling the burette, taking burette readings, running the titration to its endpoint, and recording results in a lab notebook or data sheet.
Video: How to Perform a Titration by Supreme Science (2014). All credit for the demonstration goes to the creator; watch the original on YouTube. The written guide below was generated from this video by Docsie. Creator? Request a change or removal.
This document describes how to perform a titration, an acid-base laboratory technique used to determine the concentration of an unknown solution. It covers preparing and filling the burette, taking burette readings, running the titration to its endpoint, and recording results in a lab notebook or data sheet.
Purpose
The purpose of this method is to perform an acid-base titration in which a titrant of known concentration is delivered from a burette into a flask containing an unknown solution and an indicator. The method is used to determine the volume of titrant required to reach the endpoint, which is identified by a color change (a persistent pink color) produced by the phenolphthalein indicator. This volume is subsequently used to calculate the concentration of the unknown solution.
Scope
This method applies to aqueous acid-base solutions measured using a burette and an Erlenmeyer flask in a standard laboratory setting. It is performed by laboratory personnel wearing appropriate safety equipment, including a lab coat and safety goggles. The demonstrated procedure uses a base as the titrant and an unknown solution with phenolphthalein as the indicator. The source material does not specify additional sample matrices, alternate instrumentation (such as automated titrators), or specific analyst qualifications; these details should be defined according to your laboratory's requirements before this SOP is finalized.
Principle
The method is based on the neutralization reaction between the titrant and the unknown solution. As the titrant is added, the phenolphthalein indicator remains colorless until the reaction approaches completion, at which point a faint pink color briefly appears with each drop ("the initial pink flash"). Continued addition of titrant causes the pink color to persist for longer periods. The endpoint is reached when the pink color remains stable for at least 30 seconds, indicating that the reaction is complete. The volume of titrant delivered up to this point is the measured response used for subsequent calculations.
Materials and reagents
The following materials and reagents are required to perform this titration:
| Item | Purpose |
|---|---|
| Burette | Delivers a measured, controlled volume of titrant |
| Burette clamp / stand | Holds the burette vertically during the procedure |
| Funnel | Used to fill the burette without spillage |
| Beaker labeled "Waste" | Collects rinse solution and excess liquid |
| Wash bottle with distilled water | Rinses the burette and flask walls |
| Solution to be measured (base) | Used as the titrant in this demonstration |
| Unknown solution | Contained in the Erlenmeyer flask; titrated to determine its concentration |
| Erlenmeyer flask | Holds the unknown solution during titration |
| Phenolphthalein indicator (with dropper/pipette) | Signals the endpoint via a color change |
| White paper | Placed beneath the flask to make the color change easier to observe |
| Magnetic stirrer (optional) | May be used in place of manual swirling to mix the solution |
| Lab notebook or data sheet, pen/pencil | Used to record burette readings and observations |
| Personal protective equipment (lab coat, safety goggles) | Required for safe handling of reagents |
All glassware must be free of soap or detergent residue before use, as residues can interfere with titration results.
Procedure
Prepare and fill the burette
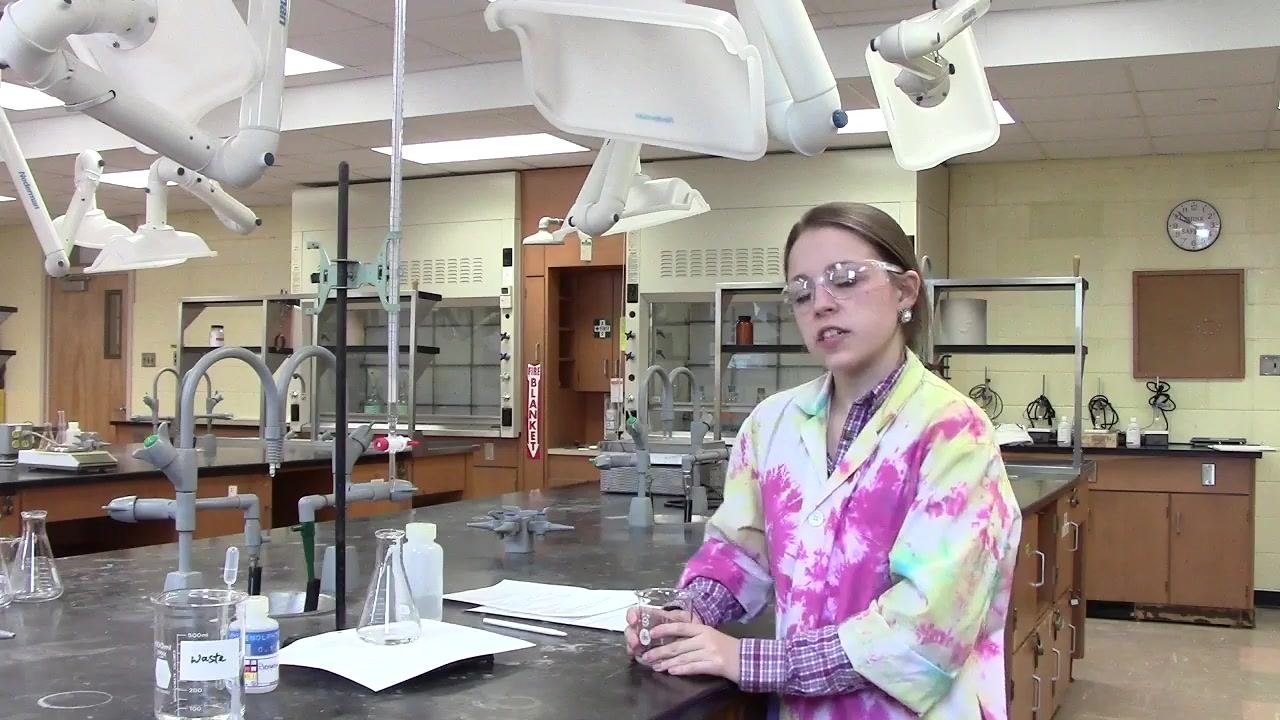
- Gather materials and set up the workspace. Work in a laboratory environment with appropriate safety equipment. Gather a clean burette, a funnel, a beaker labeled "Waste," a wash bottle with distilled water, and the solution to be measured (a base). Place all materials on a clean lab bench and confirm that all glassware is free of soap or detergent residue.
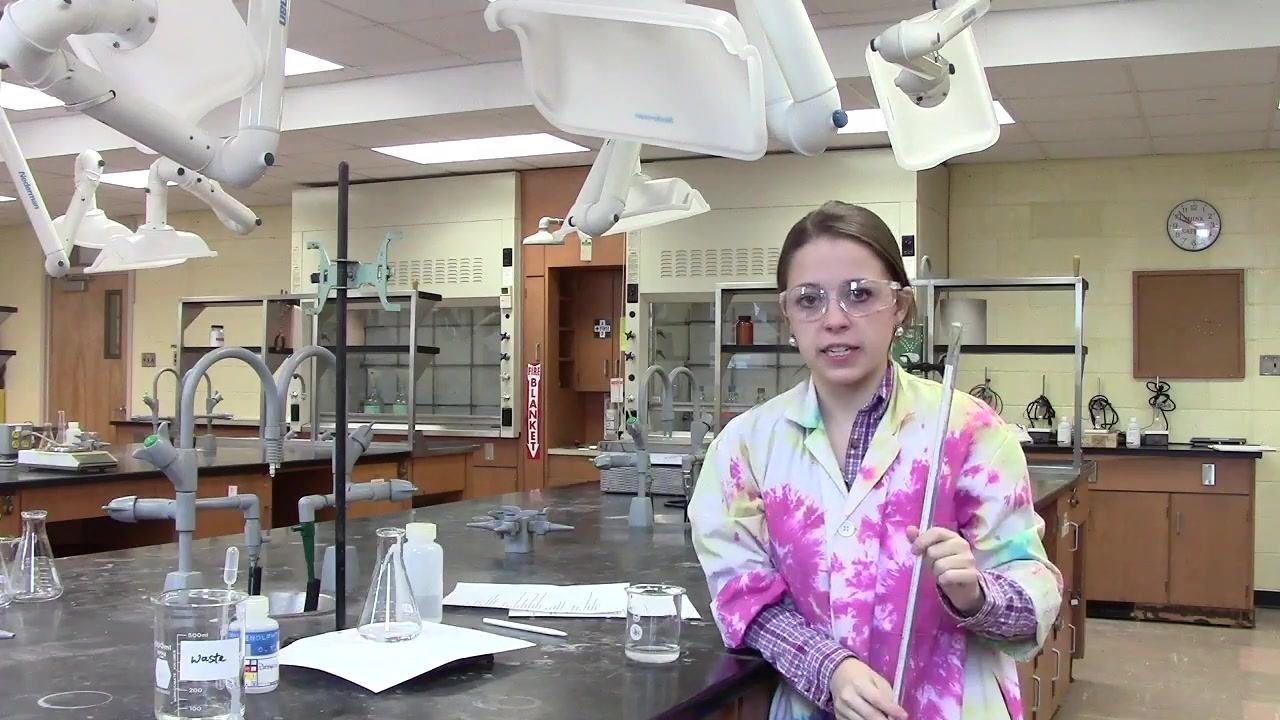
- Clean the burette with water. Hold the burette vertically and rinse the inside thoroughly with distilled water. Do not use soap or detergent. Swirl and rotate the burette so that all internal surfaces are rinsed.
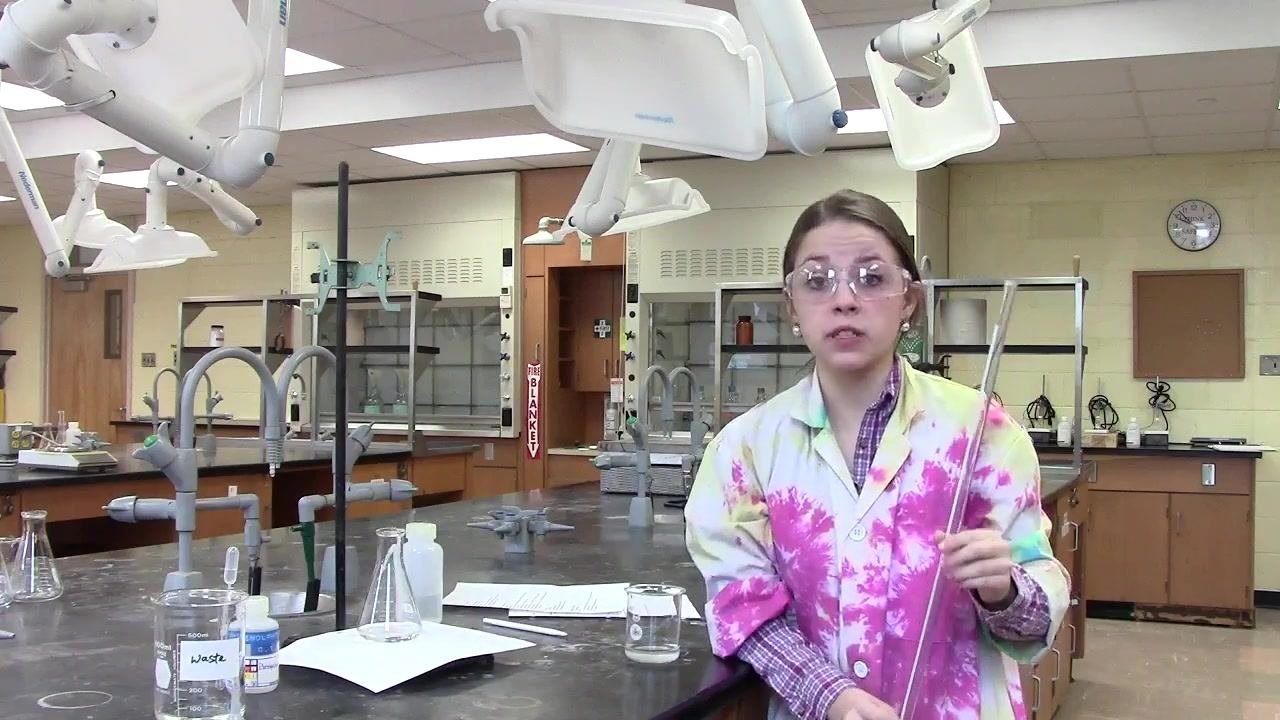
- Rinse the burette with the solution to be measured. Pour a small amount of the titrant (the base) into the burette using a funnel. Rotate and tilt the burette so the solution contacts all internal surfaces, including the tip. This replaces any remaining water with titrant and prevents dilution.
-
Ensure the stopcock is closed. Before adding any solution, confirm that the stopcock is turned perpendicular to the burette, indicating it is closed and will not leak.
-
Add solution to the burette. Insert the funnel into the top of the burette and carefully pour in the solution, avoiding overfilling. Remove the funnel after filling to prevent drips that could alter the volume.
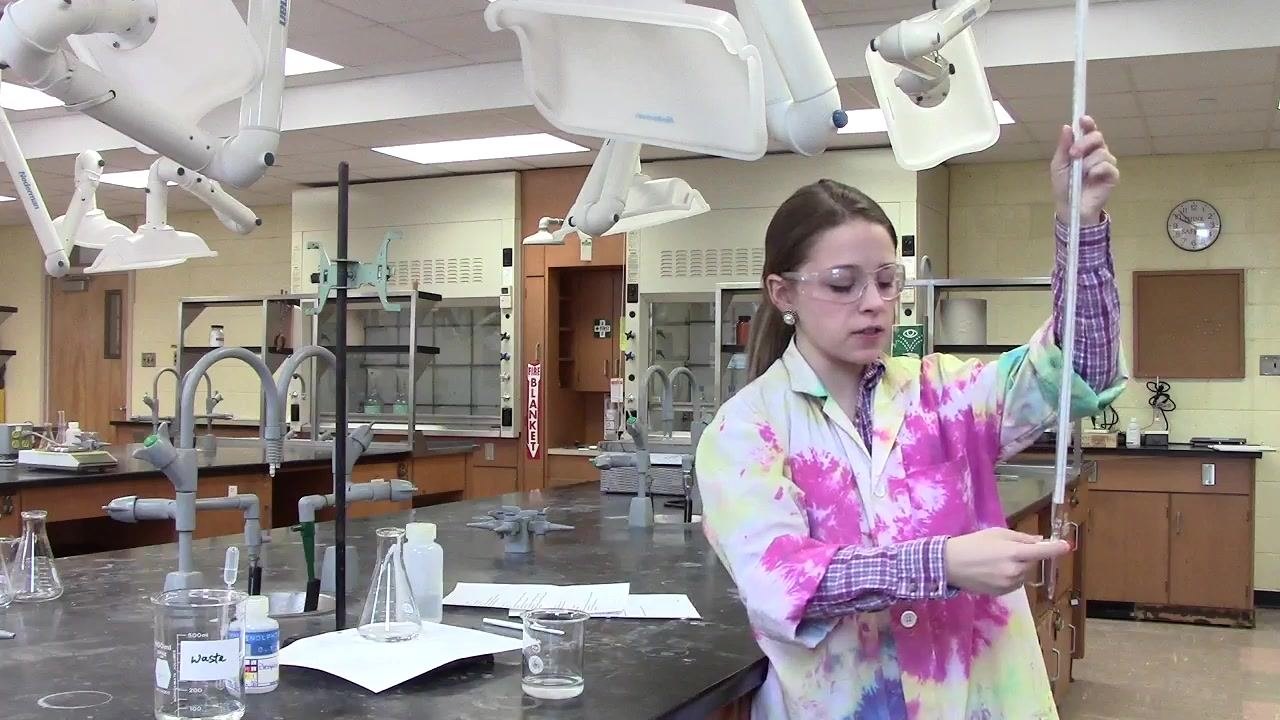
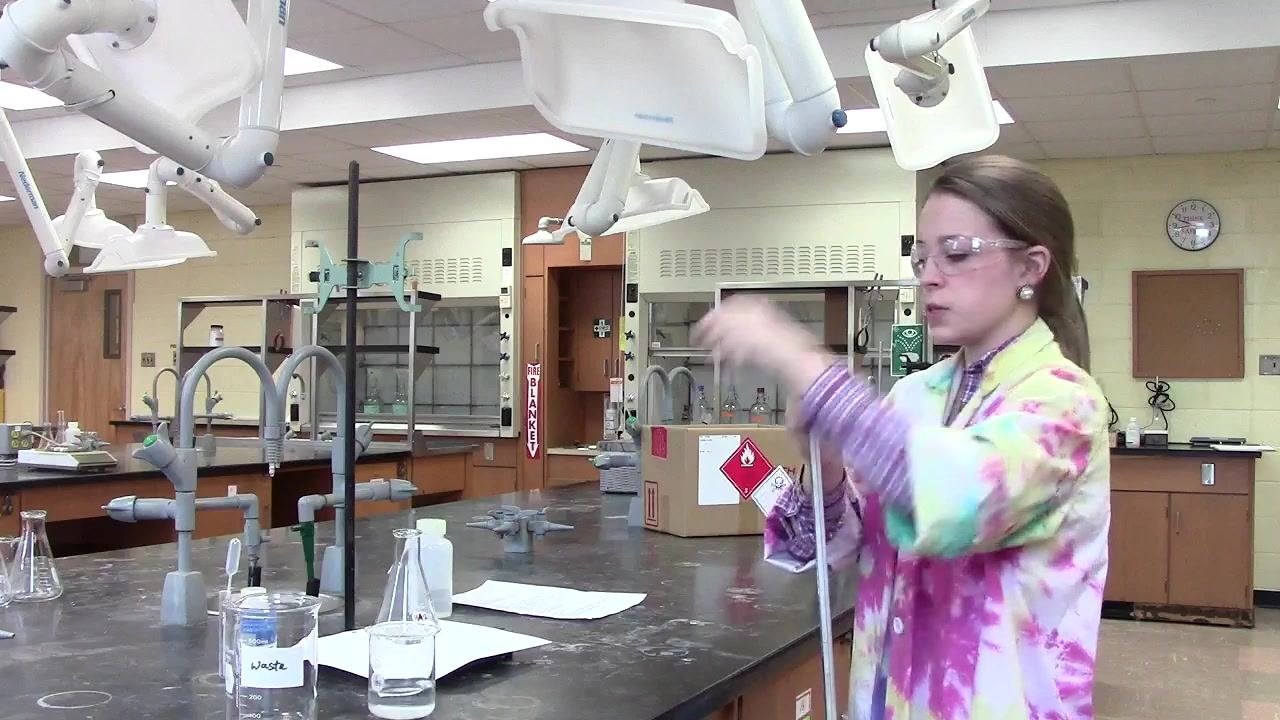
- Rinse all sides and the tip. Hold the burette horizontally and rotate it so the solution coats all internal surfaces. Turn the tip parallel to the ground to ensure it is also rinsed.
-
Drain the rinse solution into the waste beaker. Briefly open the stopcock to let the rinse solution flow through the tip into the waste beaker, ensuring the tip is rinsed with titrant.
-
Repeat rinsing if necessary. If the burette was not sufficiently rinsed, repeat the process with more titrant.
-
Fill the burette with the solution for measurement. Using the funnel, pour the solution to be measured into the burette up to the desired mark, then remove the funnel.
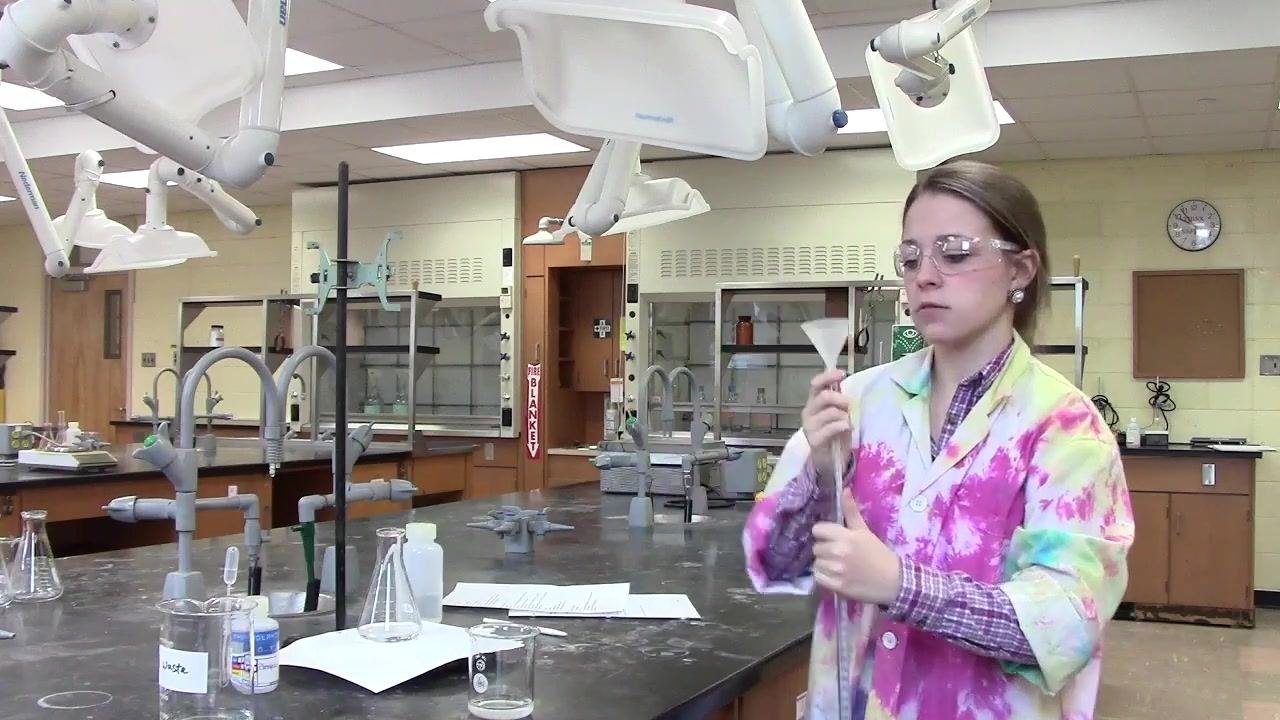
- Fill the tip with solution. Briefly open the stopcock to fill the tip and remove any air bubbles. Ensure the solution level is at or below the zero mark before recording the initial volume.
Take the initial reading and start the titration
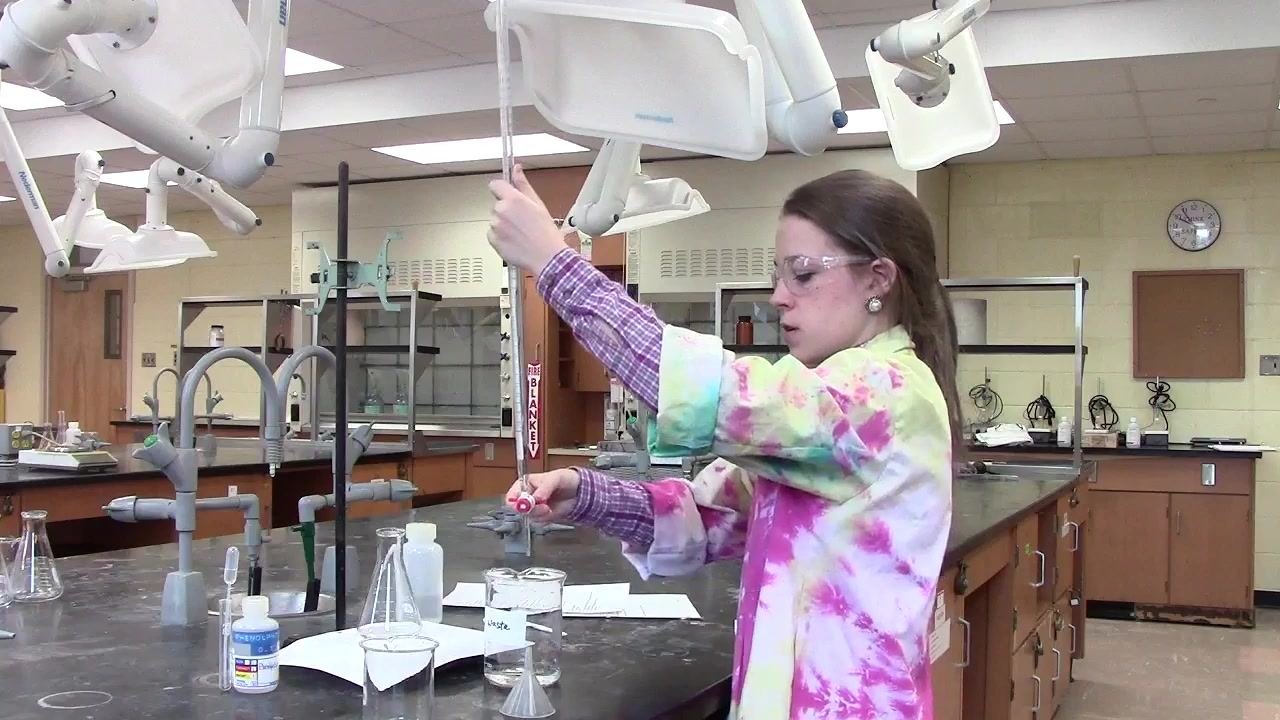
- Close the stopcock before reading. Confirm the stopcock is fully closed (perpendicular to the burette) before taking the initial reading, to prevent leaks and ensure an accurate measurement.
-
Take the initial burette reading. Position yourself at eye level with the meniscus of the solution and read the initial volume. In this example, the initial reading is 31.50 mL. Burette readings should be recorded to two decimal places for precision.
-
Record the initial reading. Write down the initial burette reading (31.50 mL) in your lab notebook or data sheet before proceeding.
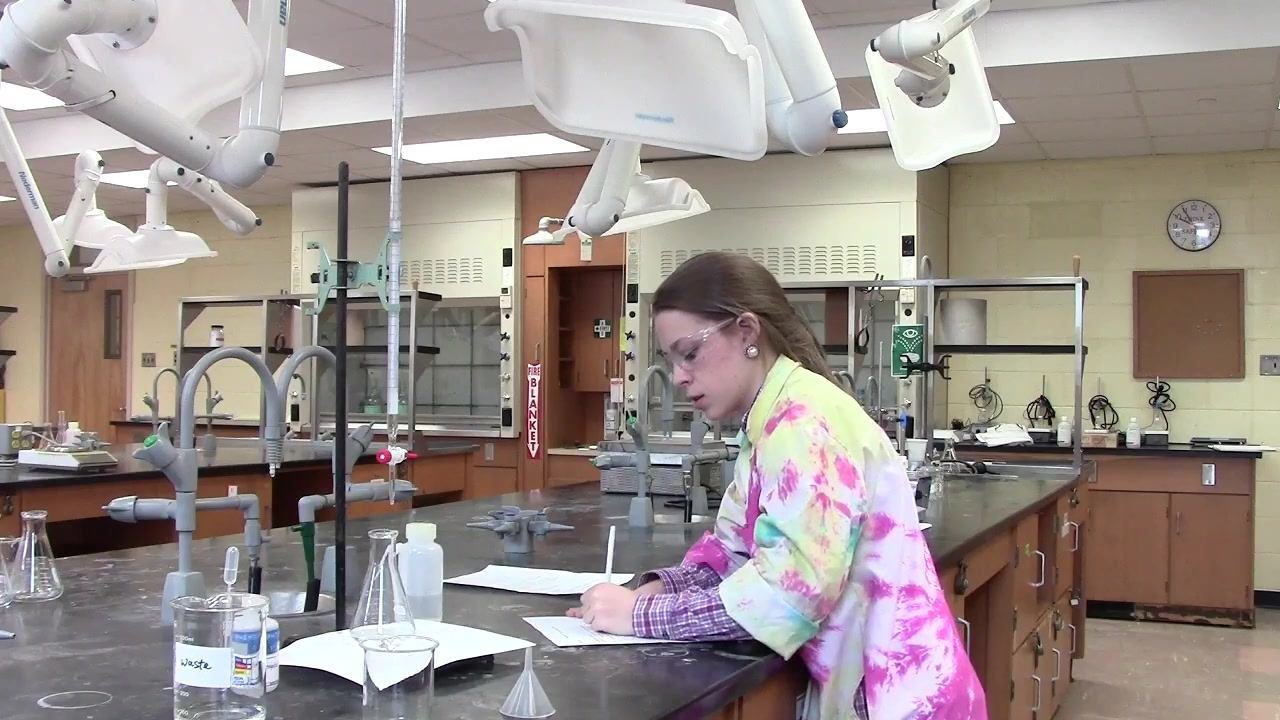
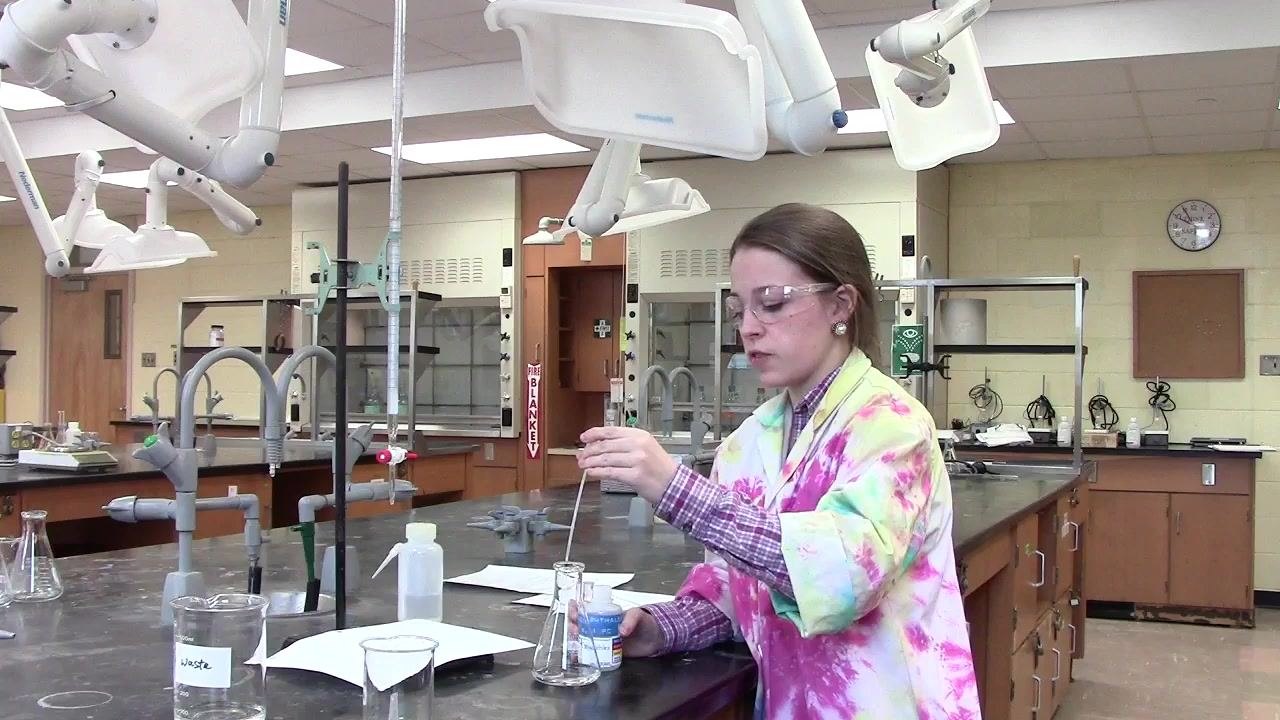
- Prepare the unknown solution with indicator. Add a couple of drops of phenolphthalein indicator to the flask containing the unknown solution, using a dropper or pipette.
-
Position the flask and white paper. Place the flask with the unknown solution and indicator under the burette, and position a white piece of paper beneath the flask to make the color change easier to observe.
-
Begin the titration. Turn the stopcock so it is parallel to the burette, opening the valve and allowing titrant to flow into the flask.
-
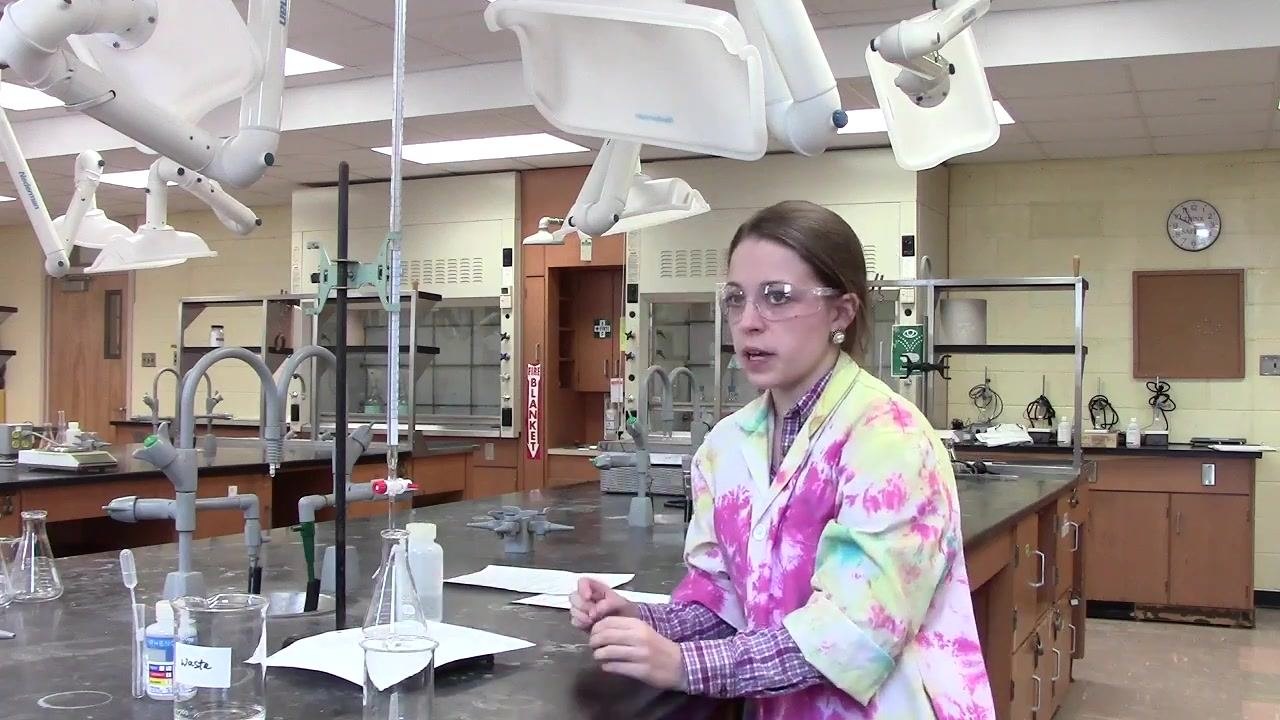
Allow the solution to flow and observe for the endpoint. Let the titrant flow freely into the unknown solution while gently swirling the flask. Watch for the appearance of a faint pink color (the "initial pink flash"), which indicates you are approaching the endpoint. The white paper beneath the flask helps make the color change visible.
-
Slow down near the endpoint. As soon as the pink flash appears, reduce the flow rate by adjusting the stopcock so the titrant drips slowly. Continue swirling the flask to ensure thorough mixing.
-
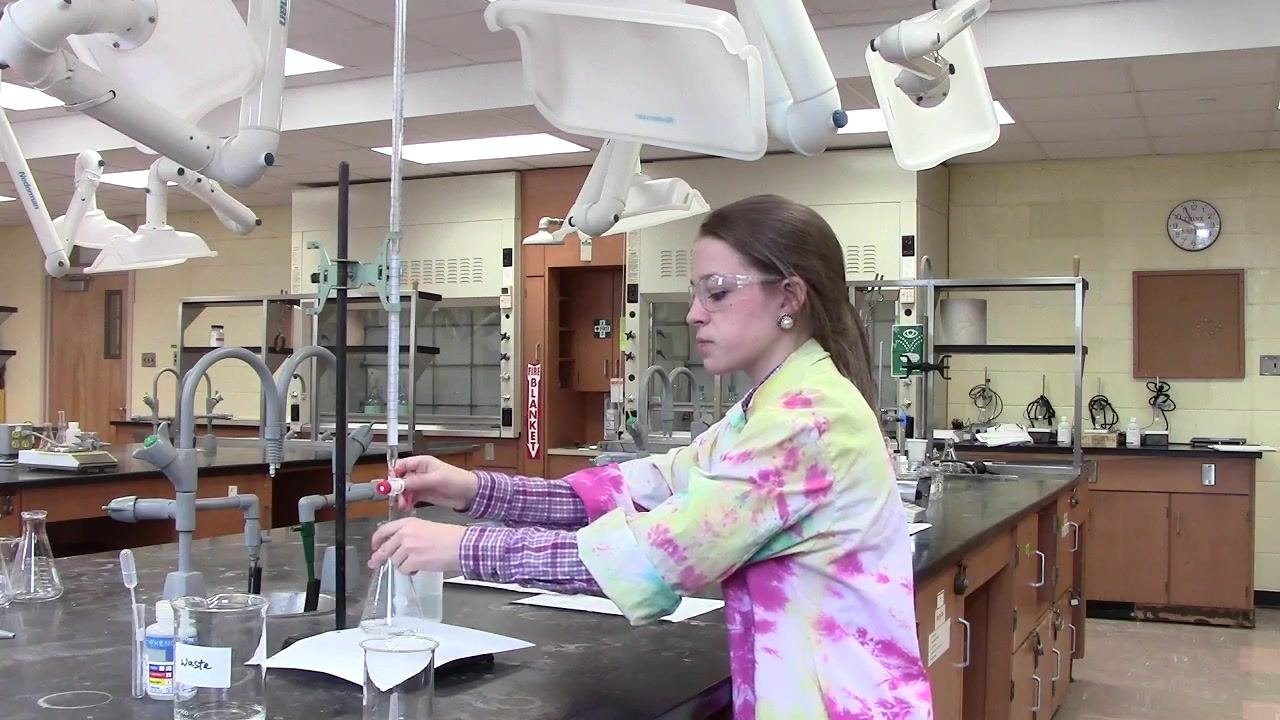
Ensure the solution is stirred. While titrant is being added, keep the unknown solution stirred, either by swirling the flask or using a magnetic stirrer if available, to evenly distribute titrant and indicator.
Complete the titration and identify the endpoint
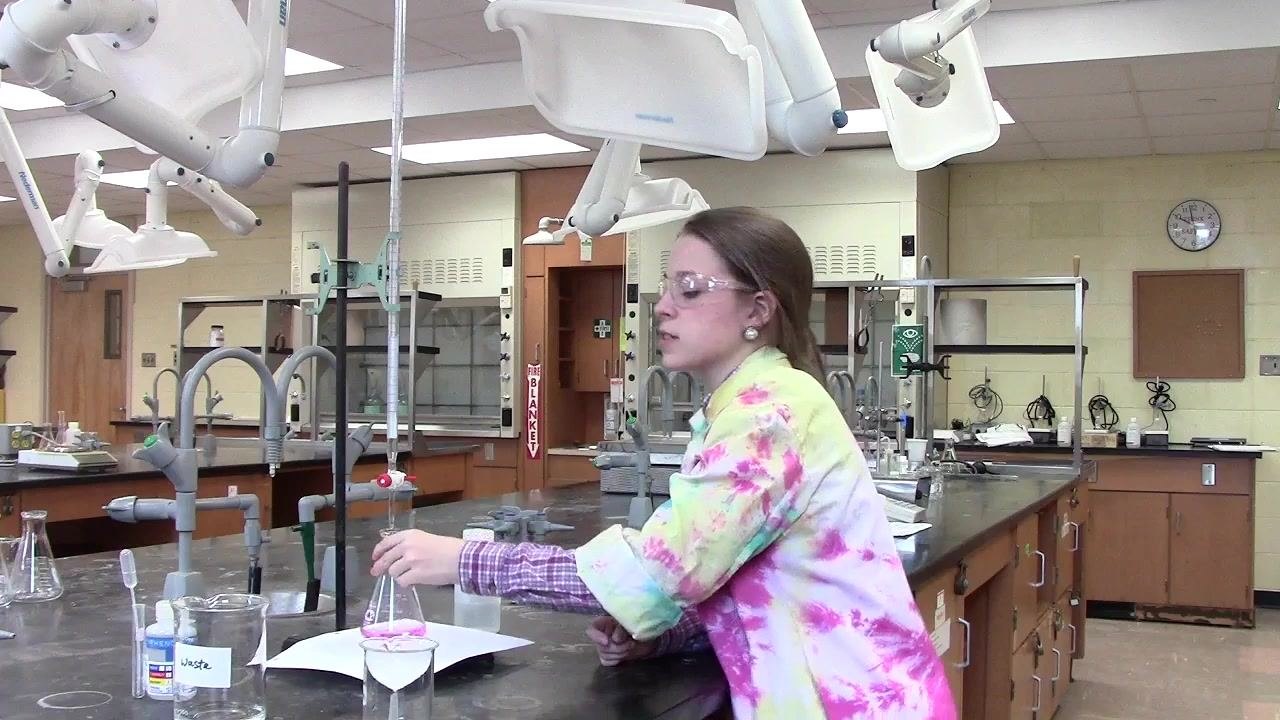
- Slow the addition of titrant as the endpoint approaches. Allow the titrant to flow very slowly from the burette as you near the endpoint. The endpoint is reached when the pink color persists for at least 30 seconds. Continue swirling the flask throughout.
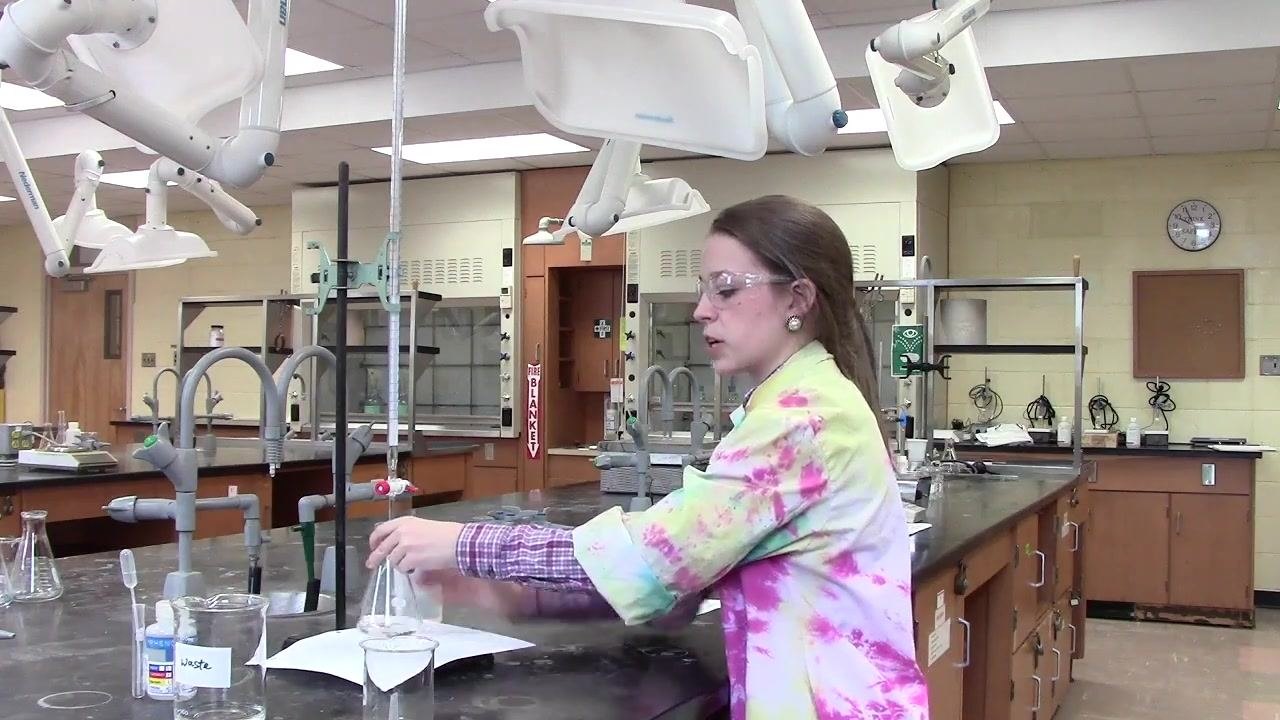
- Use proper hand technique. Use your dominant hand to swirl the flask and your non-dominant (weak) hand to operate the burette stopcock, allowing for better control and mixing.
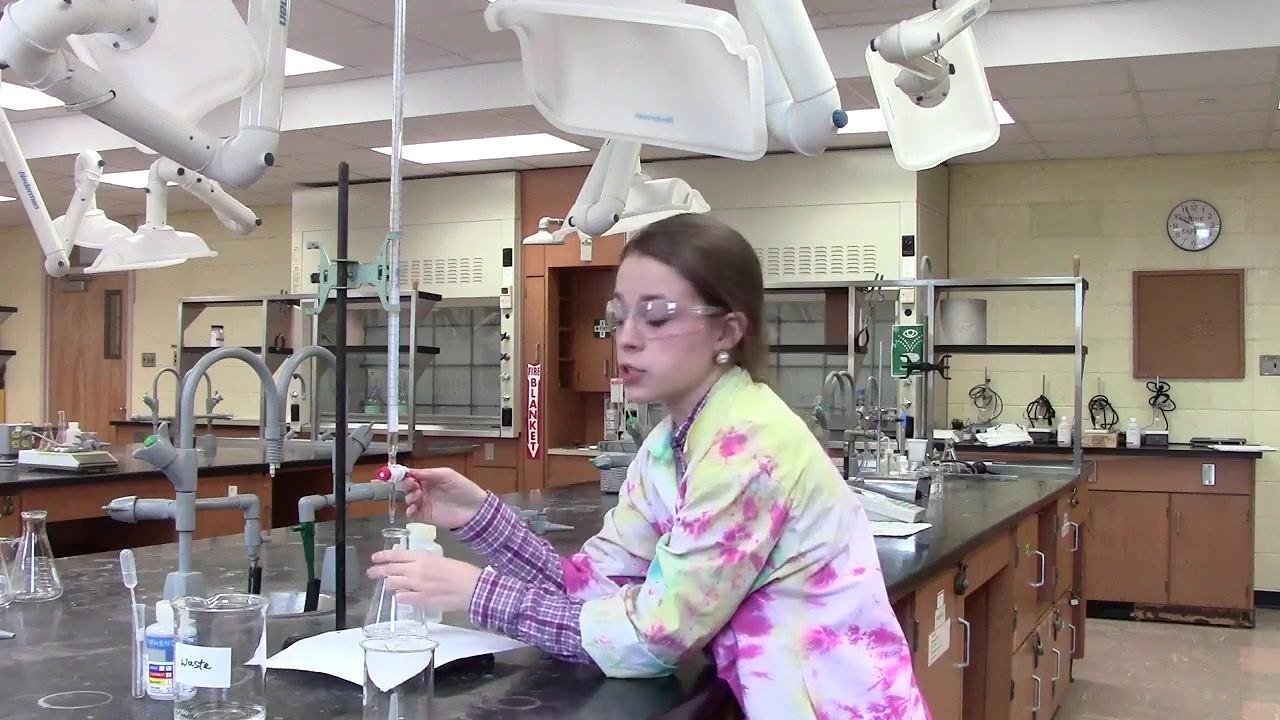
- Rinse down any solution on the flask walls. If acid or base splashes onto the side of the flask, rinse it down with distilled water so all reactants are included in the reaction.
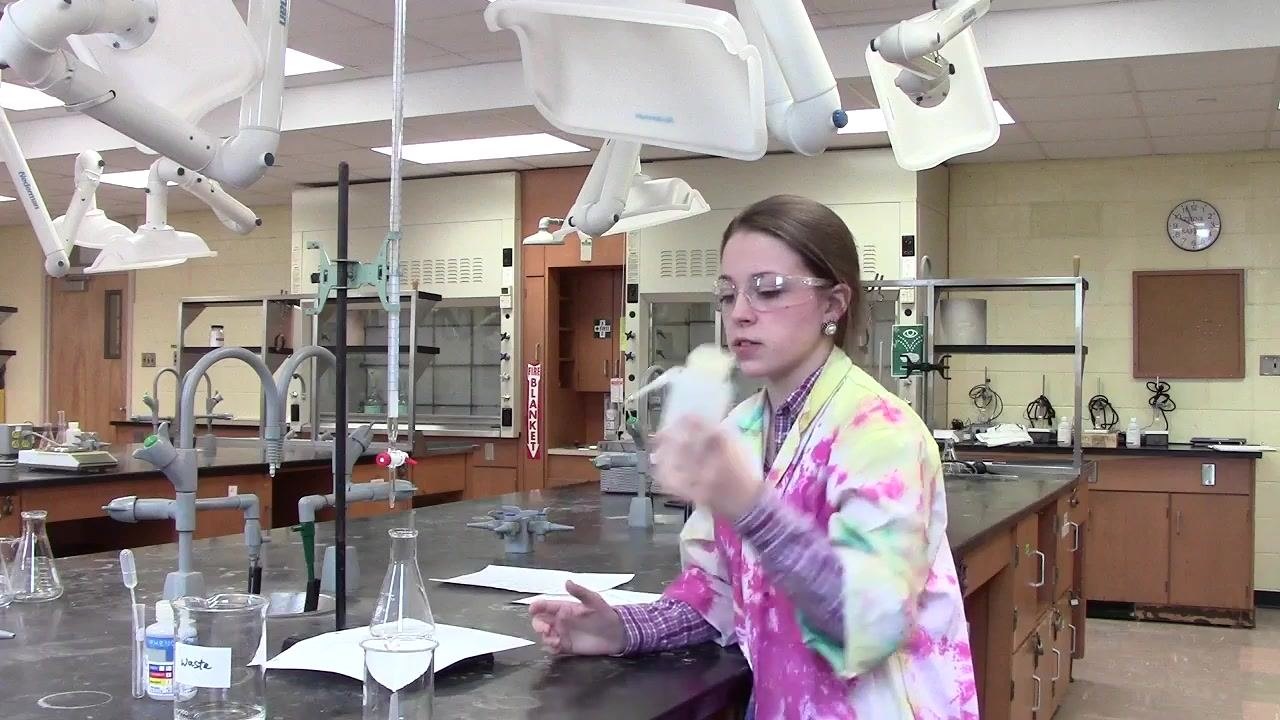
- Observe the persistence of the pink solution. Watch for the pink color to persist longer as you approach the endpoint. When it remains for at least 30 seconds, the endpoint has been reached.
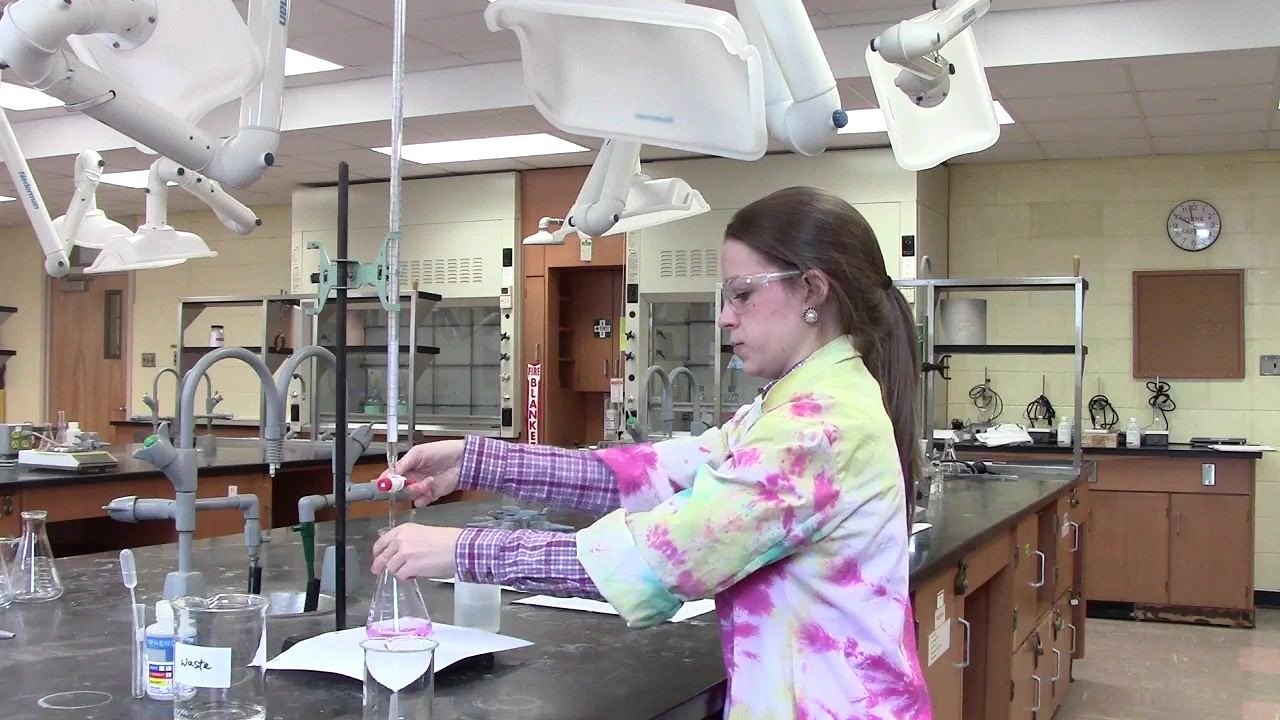
- Confirm the endpoint. The endpoint is confirmed when the pink solution remains stable and does not fade after swirling. Stop adding titrant immediately once this occurs.
-
Account for the final drop. Ensure that any drop hanging from the burette tip has been added to the flask and is included in the final volume. Take the final burette reading only after this drop has been added.
-
Take the final burette reading. Read the final volume directly from the burette at eye level. In this example, the final reading is 41.55 mL.
-
Record the final reading. Write down the final burette reading (41.55 mL) in your lab notebook or data sheet.
Record your titration results
-
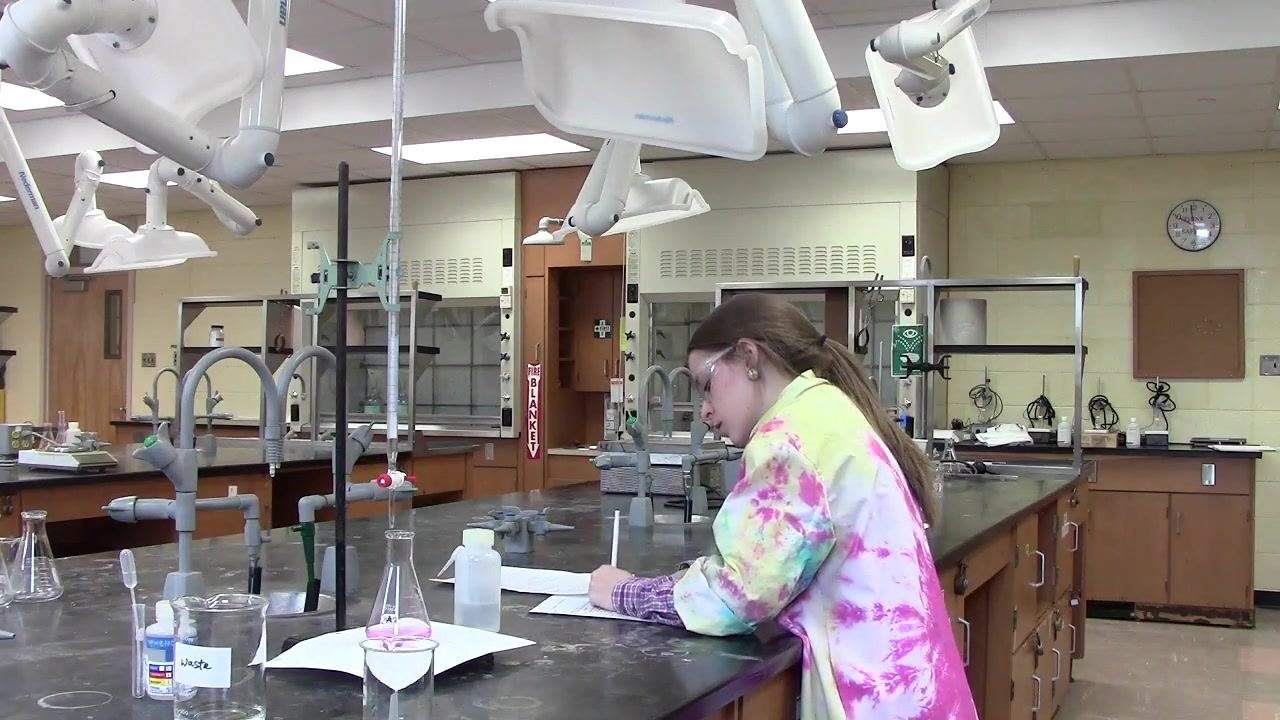
Prepare your data sheet or lab notebook. Have your lab notebook or data sheet ready on the bench beside your titration setup, with a pen or pencil available.
-
Record the final burette reading. Write down the final burette reading (e.g., 41.55 mL) immediately after completing the titration, double-checking the value for accuracy.
-
Include all relevant details. Record additional observations such as the persistence of the pink endpoint, the volume of titrant used, and any anomalies during the titration. Note the date, time, and sample identification if required by your lab protocol.
-
Maintain a clean and organized workspace. Keep your data sheet clear of spills and clutter to avoid smudging or loss of information.
-
Verify your entries. Review your recorded values to ensure they are legible and correct. If you make a mistake, neatly cross it out and write the correct value nearby.
-
Repeat for additional trials. If performing multiple titrations, repeat the recording process for each trial, clearly labeling each entry.
Calculations
The volume of titrant delivered is calculated as the difference between the final and initial burette readings:
Volume delivered = Final burette reading − Initial burette reading
Using the example values from this procedure: 41.55 mL − 31.50 mL = 10.05 mL of titrant delivered.
Burette readings must be recorded to two decimal places for precision, and volumes should be reported in milliliters (mL). The source material does not provide a concentration calculation formula; this section should be completed with the specific molarity or normality equation used to convert the delivered titrant volume into the concentration of the unknown solution, according to your laboratory's requirements.
Quality controls
The following checks help ensure accurate and reliable titration results:
- Confirm all glassware is free of soap or detergent residue before use, as residues can interfere with results.
- Rinse the burette first with distilled water, then with the titrant solution, to prevent dilution of the titrant.
- Verify the stopcock is fully closed (perpendicular to the burette) before filling and before taking readings, to prevent leaks.
- Fill the burette tip and remove air bubbles before recording the initial reading.
- Ensure any drop hanging from the burette tip is added to the flask and counted in the final volume before taking the final reading.
- Confirm the endpoint only when the pink color persists for at least 30 seconds without fading.
- Rinse any acid or base splashed on the flask walls with distilled water so all reactants are included in the reaction.
- Double-check recorded values for accuracy and legibility, correcting mistakes by crossing them out neatly rather than erasing.
- For multiple titrations, repeat and clearly label each trial to support comparison and identify anomalies.
The source material does not specify formal acceptance criteria, blank runs, or procedures for handling a failed titration run; these should be defined according to your laboratory's quality standards.
What's next
Once your titration is complete and results are recorded, use the calculated titrant volume to determine the concentration of the unknown solution according to your laboratory's calculation protocol. If performing multiple trials, repeat the full procedure for each trial and compare results for consistency.
Generation details: cost, quality tiers, downloads
Docsie billed 3,000 credits ($2.10) to analyze this 6-minute video at standard quality. The rewrite, template fill and Word/PDF exports were included. The same video at each quality tier:
| Quality | Frames sampled | Credits | Approx. cost |
|---|---|---|---|
| Draft | every 16-30 s | 1,500 | $1.05 |
| Standard (this guide) | every 8-15 s | 3,000 | $2.10 |
| Detailed | every 4-7 s | 6,000 | $4.20 |
| Ultra | every 1-3 s | 12,000 | $8.40 |
Credits priced at $0.70 per 1,000; plans include a monthly allowance. Enterprise customers on on-premise or bring-your-own-model deployments run this on their own inference and pay no per-video credits.
Generated by Docsie Video-to-Docs on 2026-09-20 from a 5-minute video. It was generated straight into Docsie's Lab Method SOP template, so every section of that template is filled from the video. Screenshots are frames from the source video and belong to their creator, Supreme Science, whose original is embedded above. If you own this video and want the guide removed or credited differently, contact us and we will act within one business day.