
How to Post Grades in Infinite Campus
This guide walks you through how to post grades in Infinite Campus, including resolving missing letter grades in your gradebook, posting final grades, posting conduct grades, and using the bulk fill feature to speed up conduct grade entry for an entire class.
Video: How to post grades properly in Infinite Campus by Todd Benrud (Mr. Benrud). All credit for the demonstration goes to the creator; watch the original on YouTube. The written guide below was generated from this video by Docsie. Creator? Request a change or removal.
This guide walks you through how to post grades in Infinite Campus, including resolving missing letter grades in your gradebook, posting final grades, posting conduct grades, and using the bulk fill feature to speed up conduct grade entry for an entire class.
Prerequisites
- Access to the Infinite Campus Instructor portal.
- At least one class section set up in your Grade Book.
- Appropriate permissions to edit and post grades for your assigned classes.
Part 1: Resolving missing letter grades in the Post Grade column
Step 1: Identify the issue in your gradebook
Open your Infinite Campus Instructor portal and navigate to the Grade Book section. Check the Post Grade column — if you see percentages but no letter grades, the steps below will resolve the issue.
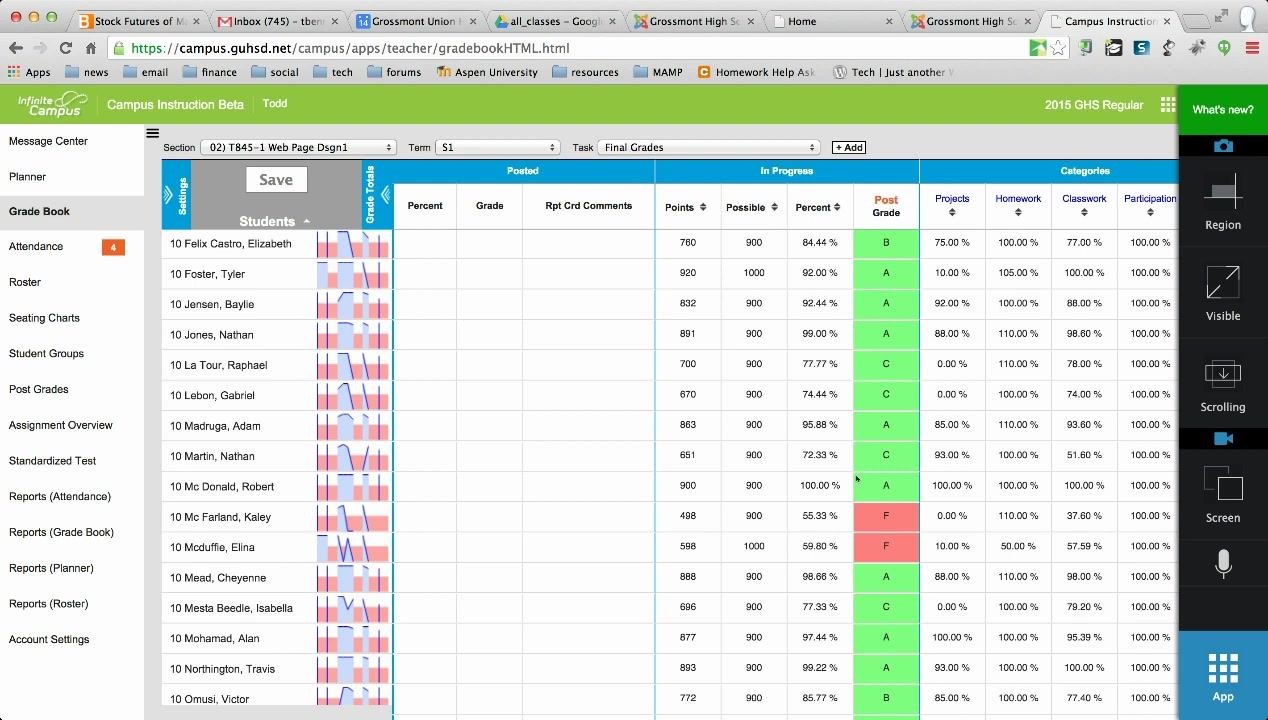
This happens because teachers can see percentages in the Percent column but no letter grades appear in the Post Grade column. The cause is typically a missing or incorrect grade calculation option.
Step 2: Access Grade Calc Options
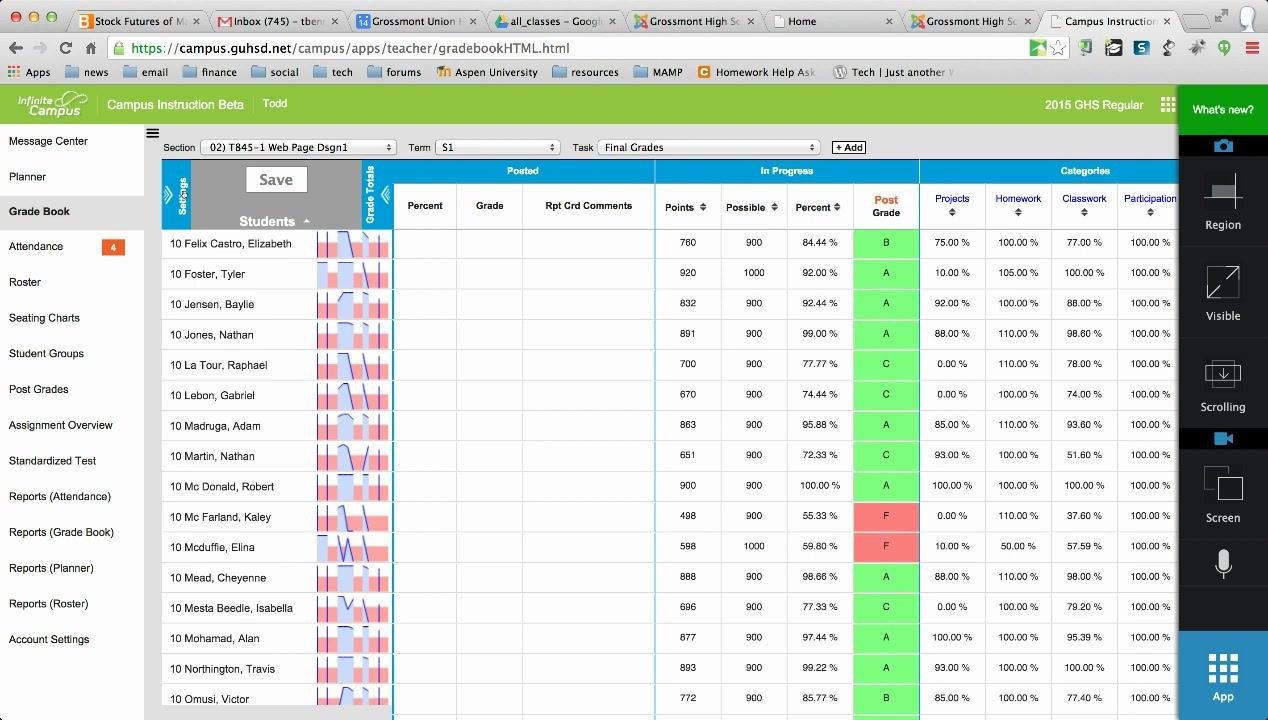
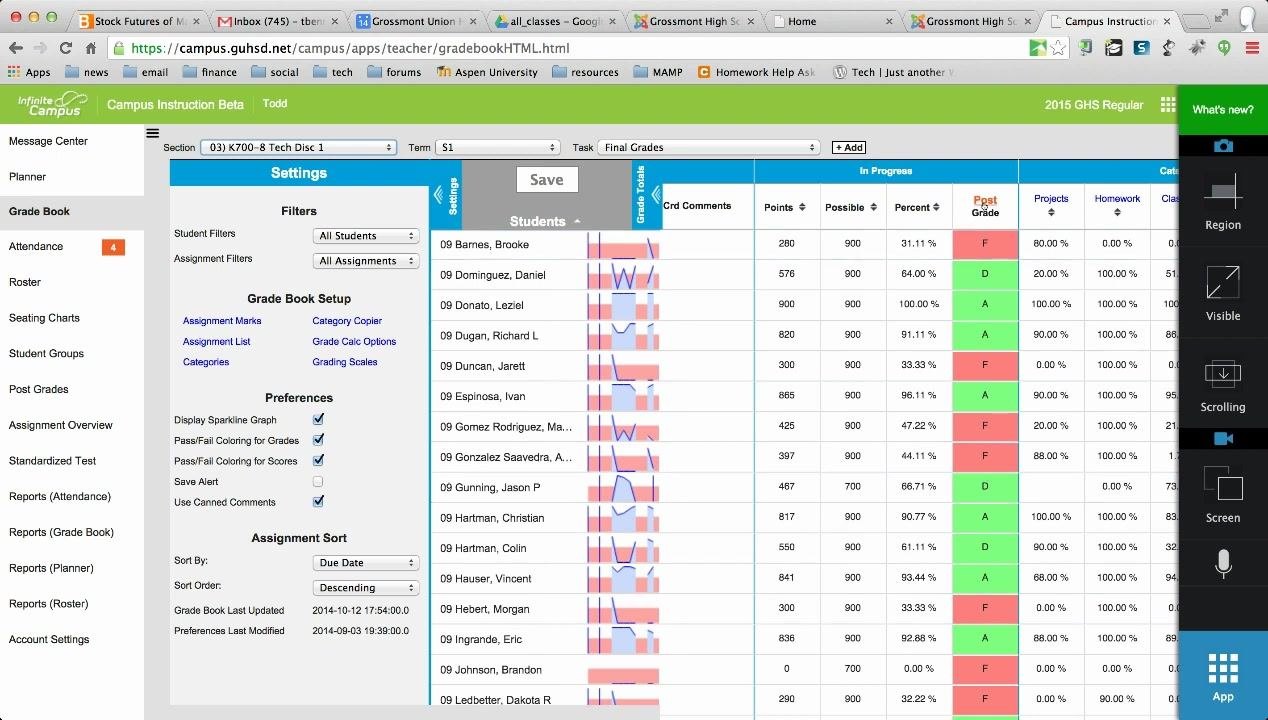
Locate the Settings chevron (the blue button labeled Settings) on the left side of the gradebook screen. Click it to expand the settings menu, then select Grade Calc Options.
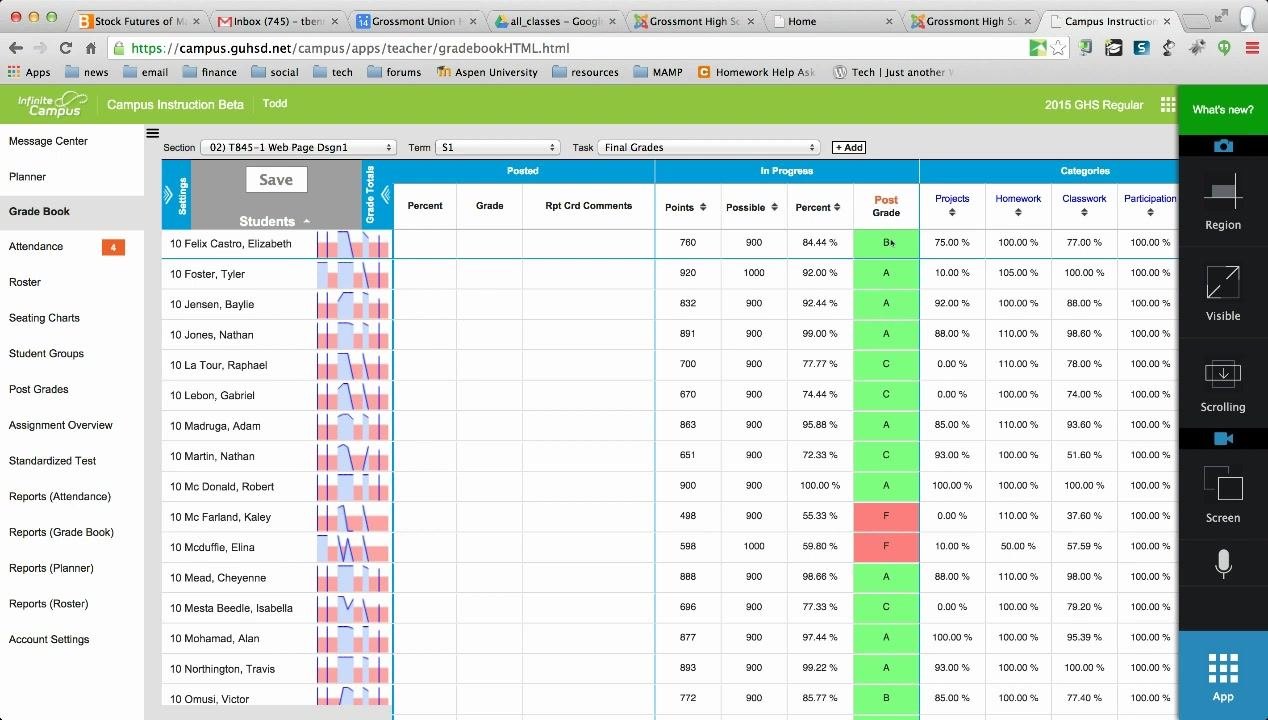
Step 3: Set the grading scale
In the Grade Calculation window, look for the Grading Scale dropdown. If no grading scale is set, this is why letter grades are missing. Select the appropriate option:
- Choose GUHSD Grading Scale, or your custom grading scale if applicable.
The Weight Categories and Use Score's % Value options do not affect whether letter grades display, so you can leave them as needed for your grading method.
Step 4: Save and verify
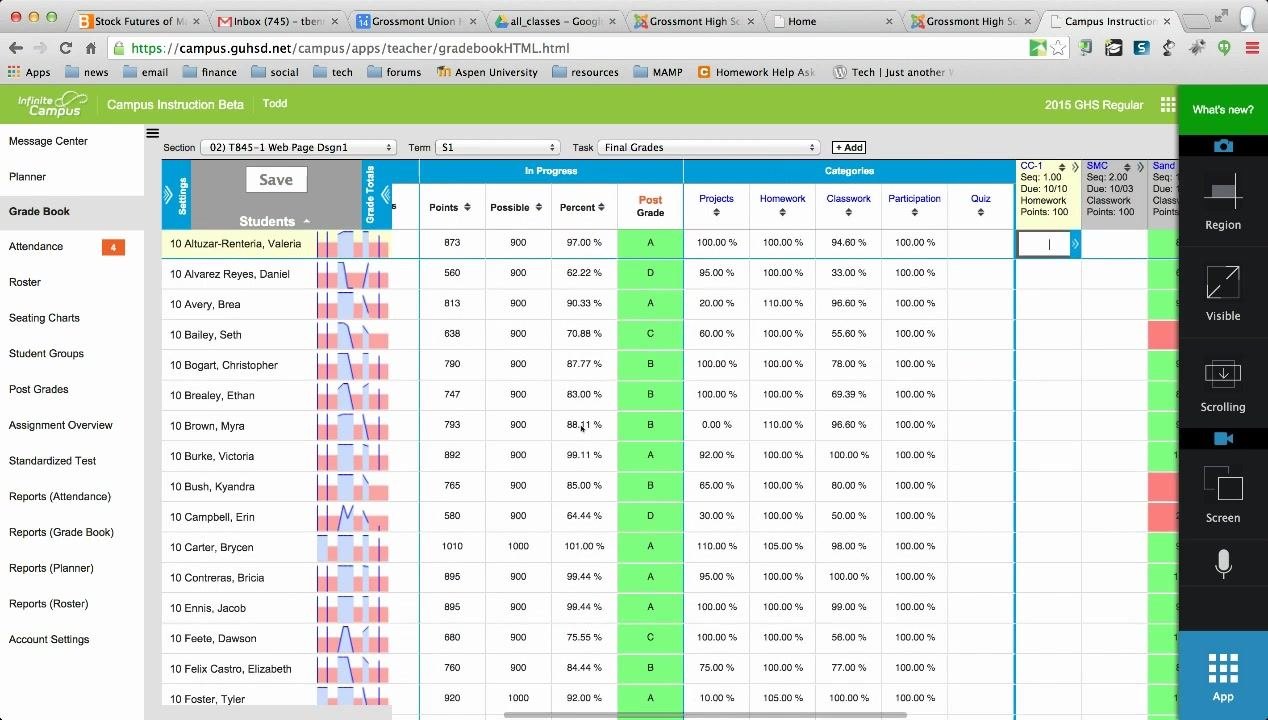
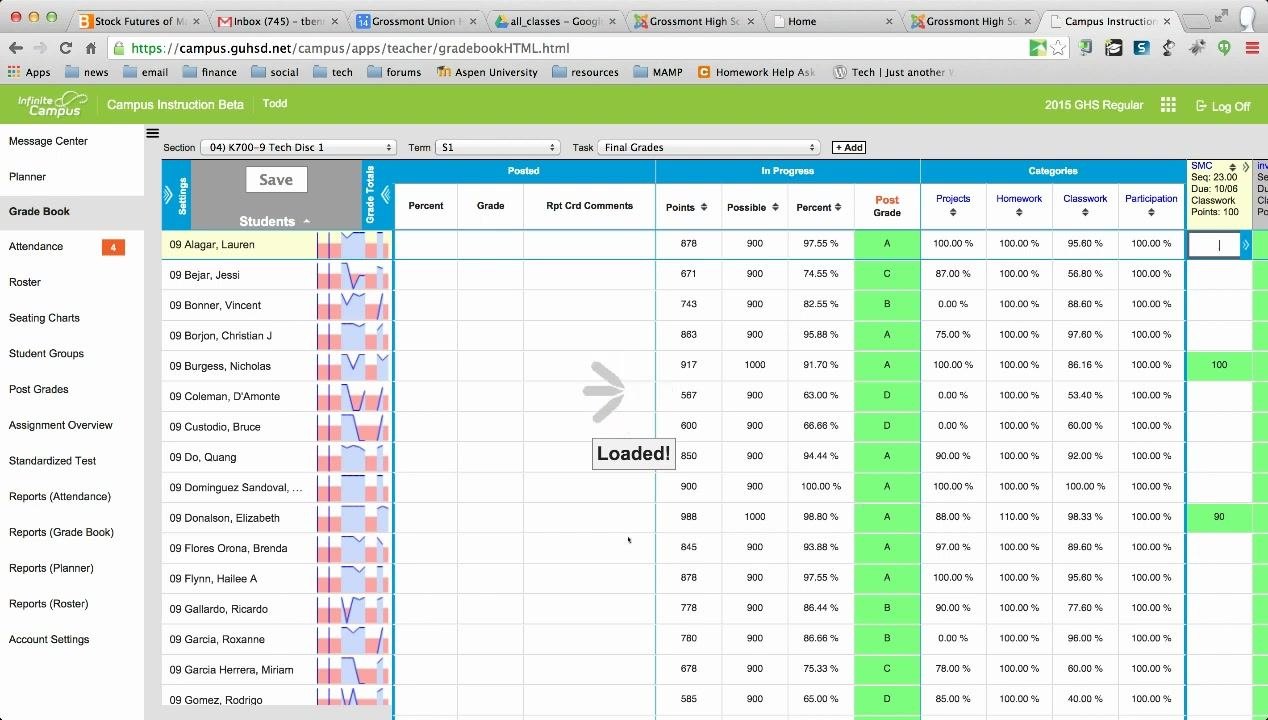
Click Save at the bottom of the Grade Calculation window. Return to your gradebook, where letter grades (A, B, C, and so on) should now appear in the Post Grade column for each student.
Step 5: Repeat for each class
You must repeat this process for every class you teach. After completing the steps for one class, switch to the next class using the section or class selector at the top of the gradebook, and repeat Steps 3–5 until every Post Grade column shows letter grades.
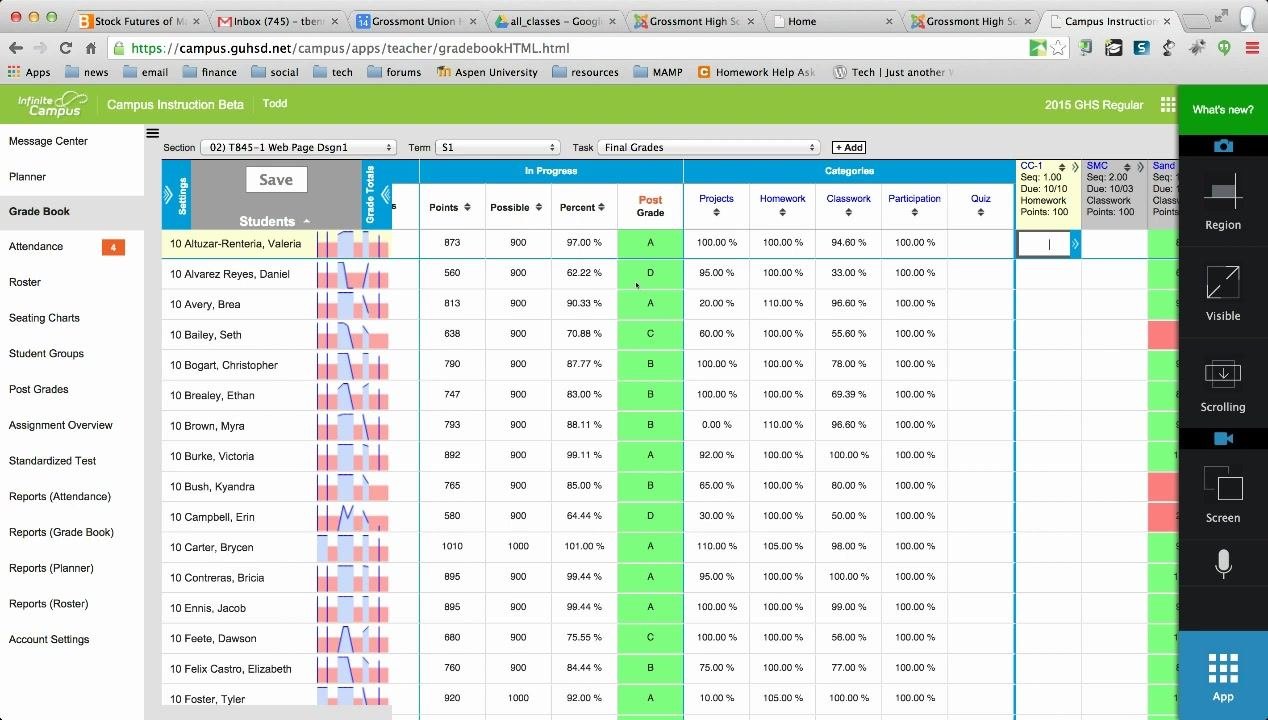
If letter grades still do not appear after these steps, confirm that the correct grading scale is selected for that specific class.
Part 2: Posting final grades
Step 6: Review the gradebook for final grades
Navigate to the Grade Book section and set the Task dropdown to Final Grades. Locate the Post Grade column, scrolling left or right if needed, and click the chevron to expand it if it's collapsed. Confirm that letter grades (A, B, C, D, F) are visible for each student.
Step 7: Start the posting process
Once letter grades appear in the Post Grade column, locate the Post link above the column and click it to begin posting grades.
Step 8: Select the grading period to post
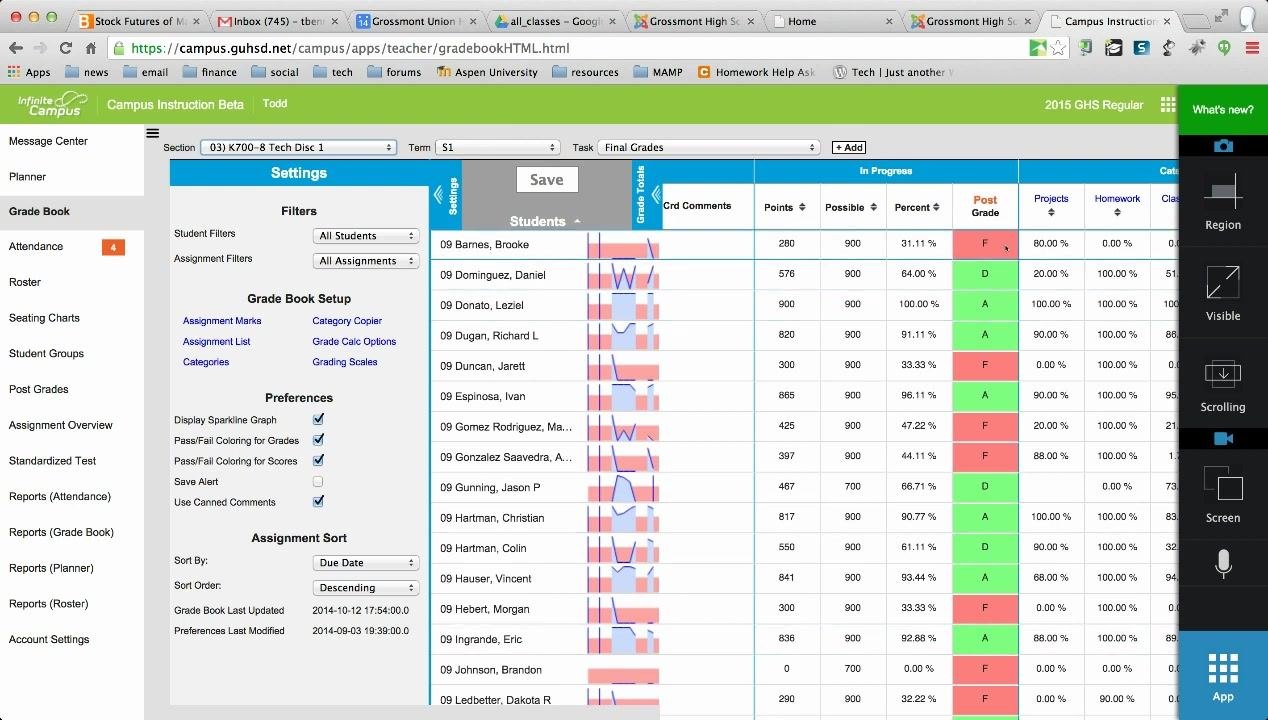
In the dialog that appears, choose the appropriate grading period (for example, Semester 1, Week 6 Grades), then click OK. The screen updates to display grades for the selected period.
Step 9: Edit and save grades if needed
If you need to change a student's grade, click the grade dropdown next to their name and select the new grade (for example, changing from F to D). Click Save at the top to apply the change. If you need to revert, select the original grade and click Save again.
After saving, look for a confirmation message, such as "Saved!", to verify that your changes were recorded.
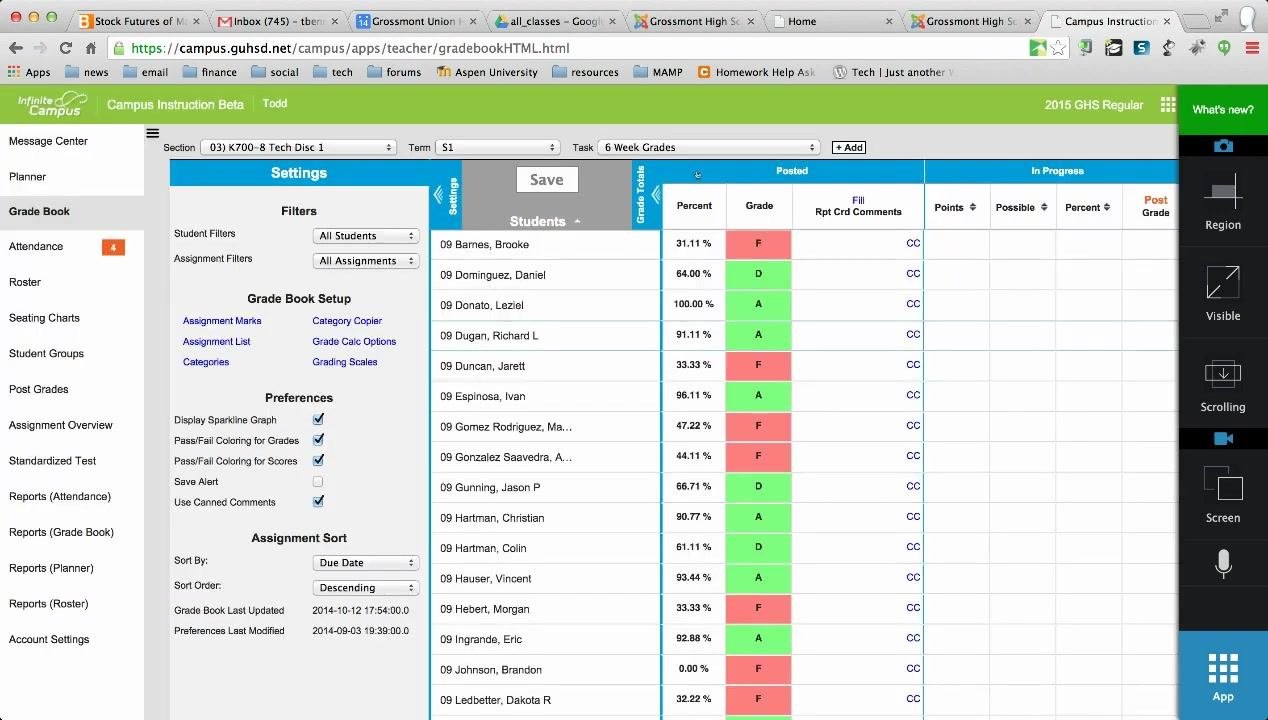
Step 10: Verify grades in the Post Grades tool
Navigate to Post Grades in the left menu and click OK if prompted to confirm. Review the list to ensure all grades were posted as intended.
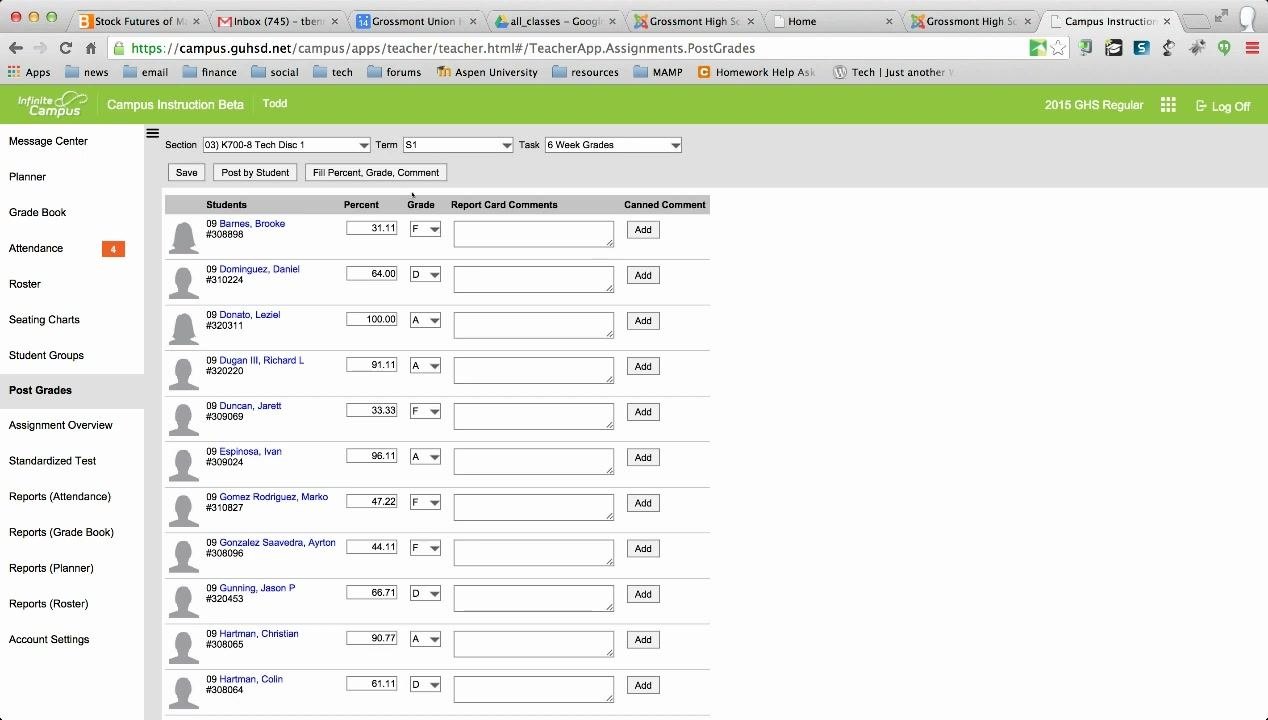
Part 3: Posting conduct grades
Step 11: Select the conduct grades task
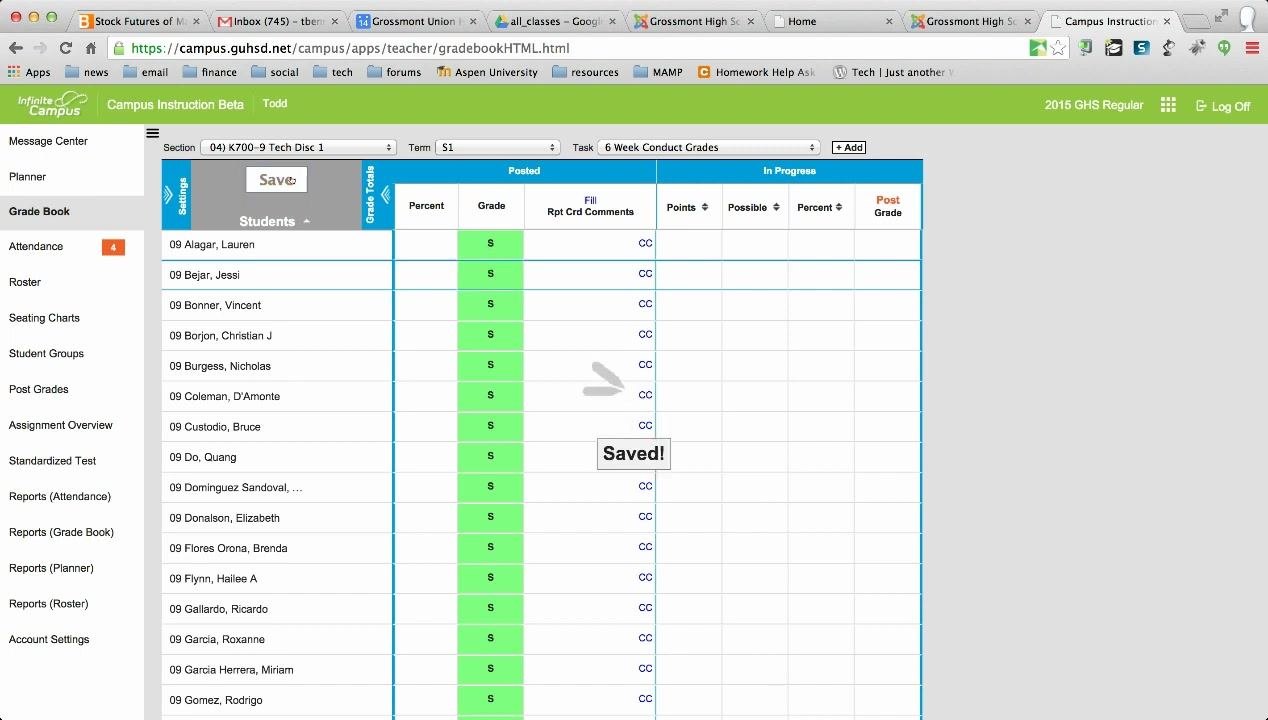
In the Grade Book, set the Task dropdown to 6 Week Conduct Grades and wait for the screen to load. Review the Grade column for each student. Repeat this process for every class section you teach.
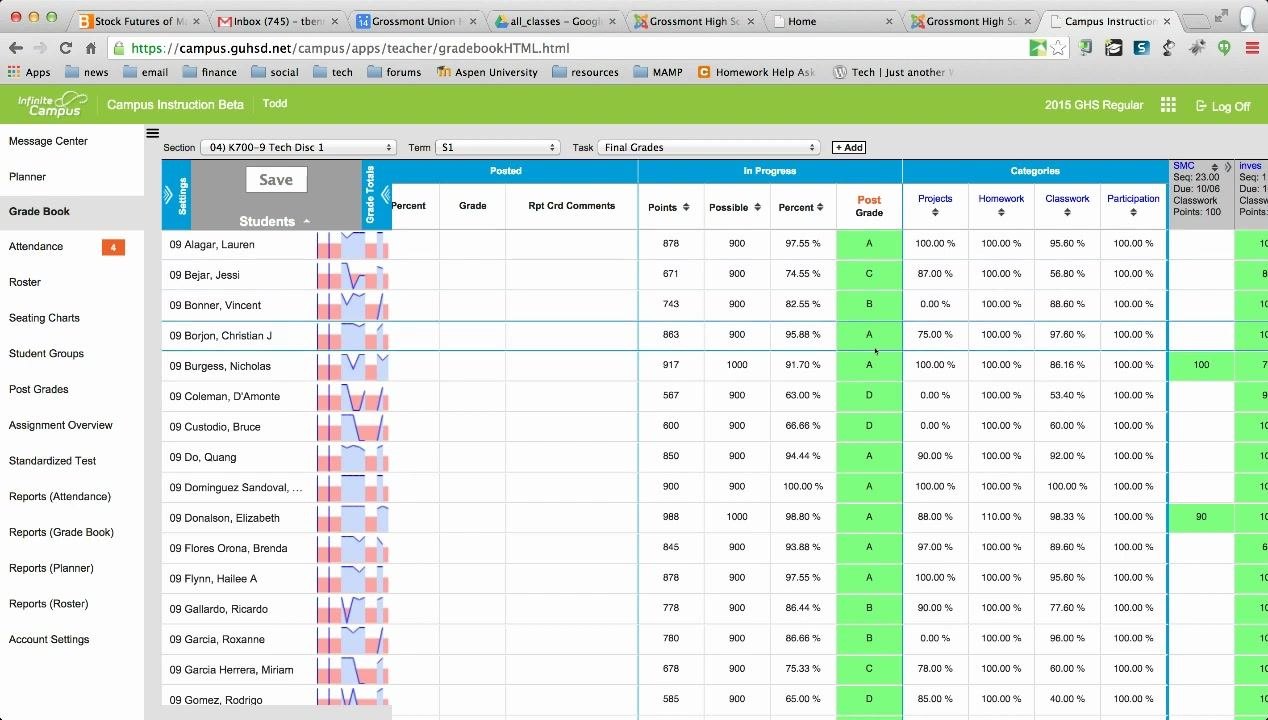
Step 12: Enter or edit conduct grades
Click into the Grade cell for each student and enter the appropriate conduct grade (for example, "S" for Satisfactory or "O" for Outstanding). Use the arrow key to move down the list quickly and fill in grades efficiently.
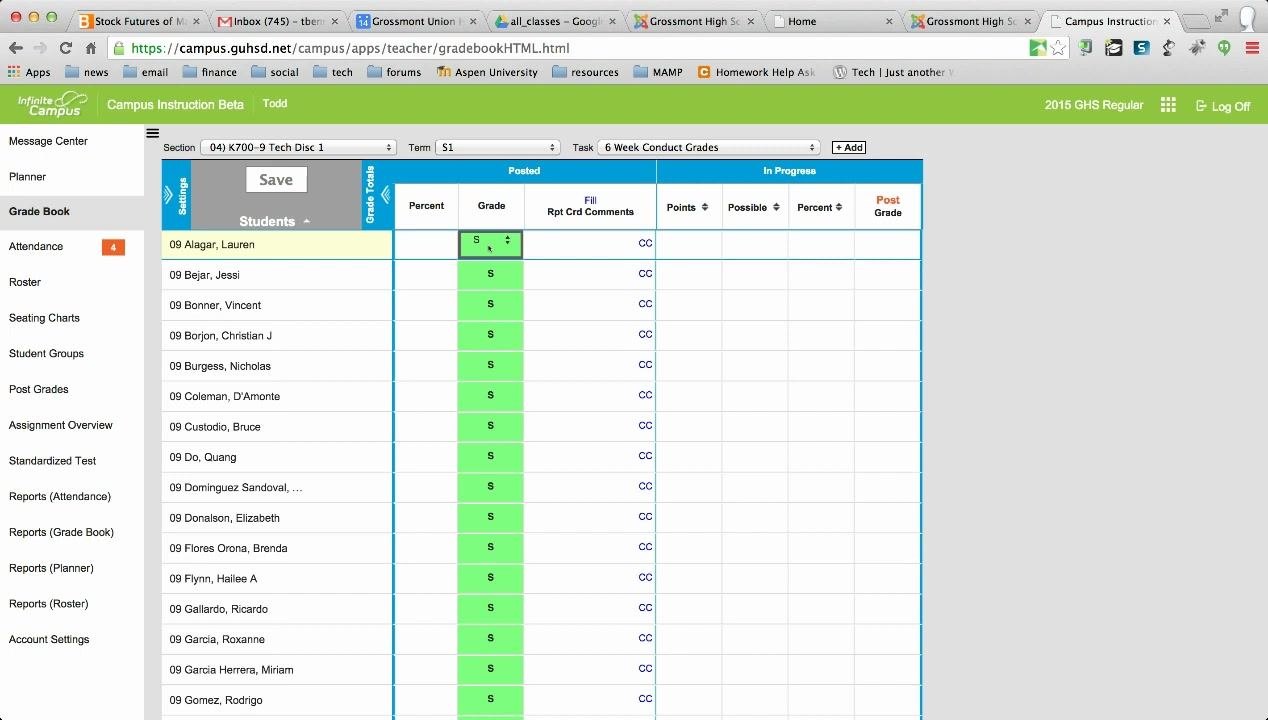
Step 13: Save conduct grades
Click Save at the top of the screen once you've entered or edited conduct grades, then look for a confirmation message, such as "Saved!", to confirm your changes were recorded.
Step 14: Repeat for each class
Use the Section dropdown to switch between classes, repeating the conduct grade posting process for every class you teach.
Part 4: Bulk filling conduct grades
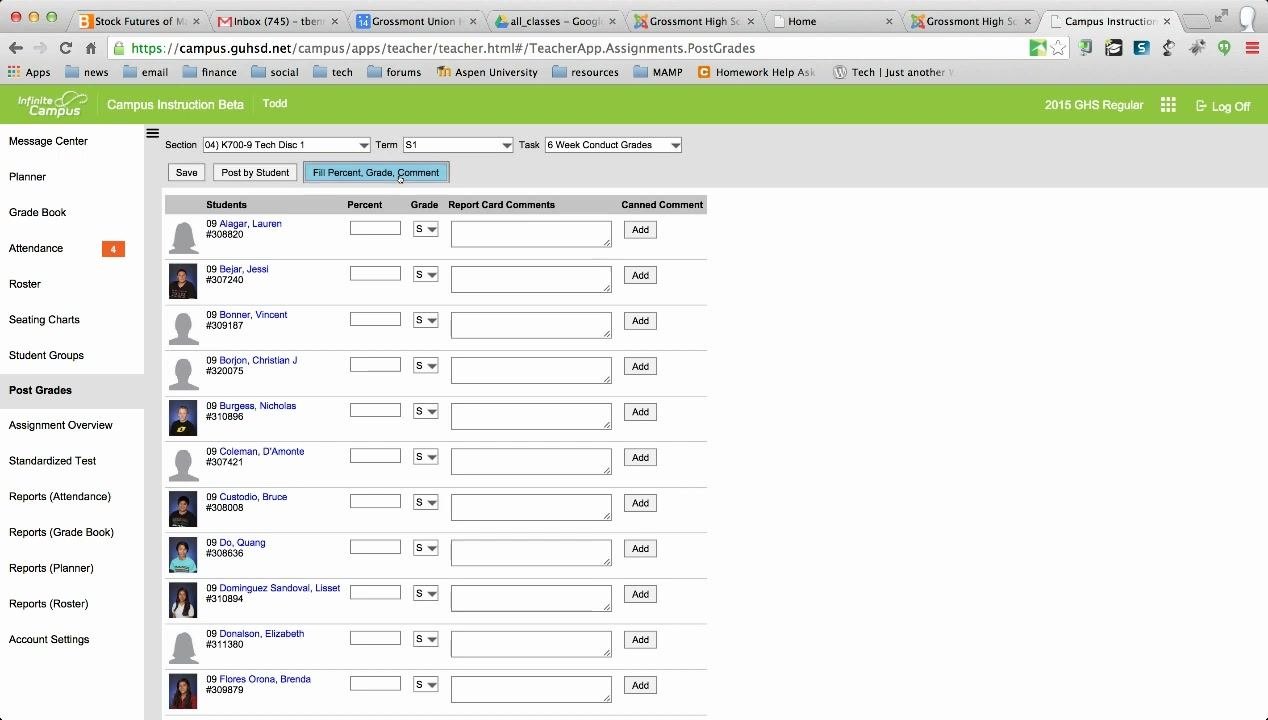
If you want to quickly assign the same conduct grade (such as "S" for Satisfactory) to all students in a class, use the Fill Percent, Grade, Comment feature in the Post Grades tool.
Step 15: Open the Post Grades screen
In the left navigation menu, click Post Grades. Select the desired class section from the Section dropdown at the top, then set the Term (for example, S1) and Task (for example, 6 Week Conduct Grades) to match the grading period.
Step 16: Locate the Fill Percent, Grade, Comment button
At the top of the student list, find and click Fill Percent, Grade, Comment. This button lets you bulk-fill grades and comments for all students in the current class section.
Step 17: Apply the conduct grade in bulk
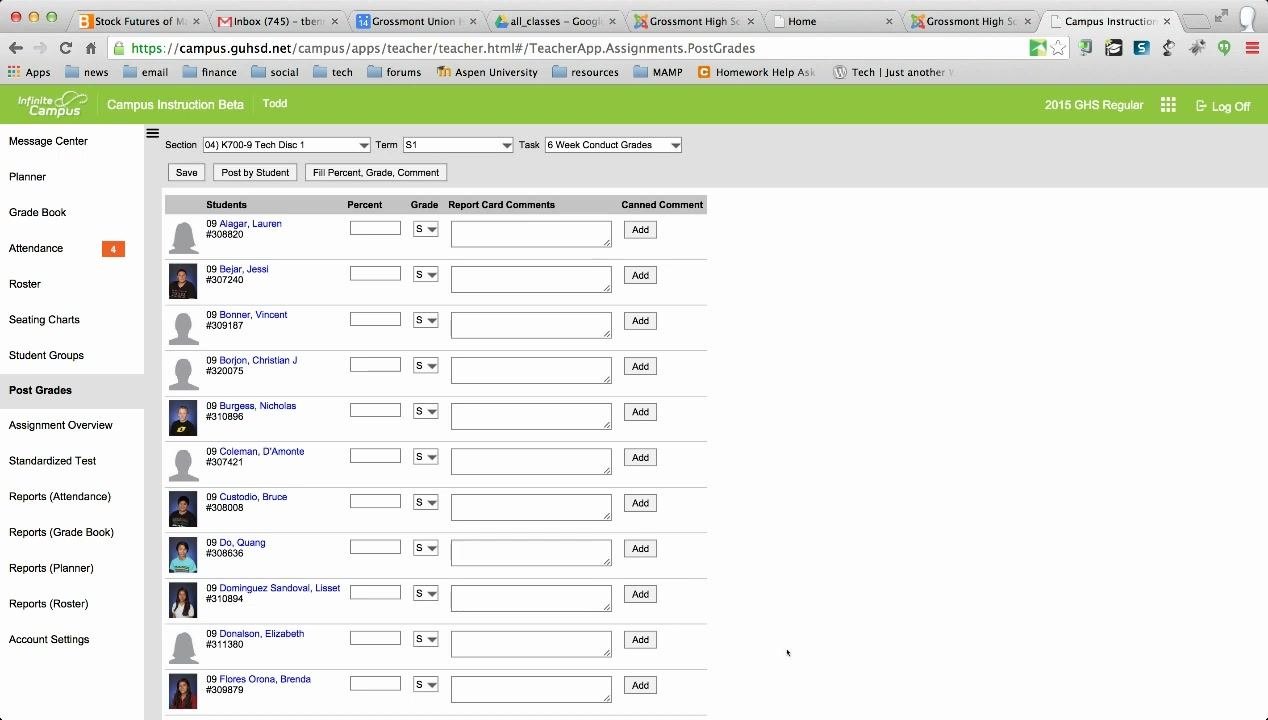
After clicking the button, a dialog or prompt appears. Enter the desired conduct grade (for example, "S" for Satisfactory) in the appropriate field, then confirm the action to apply it to all students in the list.
Step 18: Review and adjust individual grades if needed
Check the Grade column for each student to confirm the correct grade was applied. If necessary, manually adjust an individual student's grade by clicking into their Grade cell and selecting a different value.
Step 19: Save your changes
Click Save at the top of the screen to record your bulk grade entries, and wait for a confirmation message, such as "Saved!", to ensure your changes are stored.
Getting help
If you have questions or run into issues during the grading process, contact support by emailing tbenrude@guhsd.net.
What's next
With your grades posted, review each class section one final time to confirm that letter grades, final grades, and conduct grades all display and save correctly. Using the Fill Percent, Grade, Comment feature for conduct grades helps you save time and maintain consistency — always review and save your entries before moving on to the next class section.
Generation details: cost, quality tiers
Docsie billed 3,000 credits ($2.10) to analyze this 6-minute video at standard quality. The rewrite, template fill and Word/PDF exports were included. The same video at each quality tier:
| Quality | Frames sampled | Credits | Approx. cost |
|---|---|---|---|
| Draft | every 16-30 s | 1,500 | $1.05 |
| Standard (this guide) | every 8-15 s | 3,000 | $2.10 |
| Detailed | every 4-7 s | 6,000 | $4.20 |
| Ultra | every 1-3 s | 12,000 | $8.40 |
Credits priced at $0.70 per 1,000; plans include a monthly allowance. Enterprise customers on on-premise or bring-your-own-model deployments run this on their own inference and pay no per-video credits.
Generated by Docsie Video-to-Docs on 2026-10-12 from a 5-minute video. Screenshots are frames from the source video and belong to their creator, Todd Benrud (Mr. Benrud), whose original is embedded above. If you own this video and want the guide removed or credited differently, contact us and we will act within one business day.