
How to Replace an Ac Compressor
This standard operating procedure explains how to replace an AC compressor's clutch, pulley, bearing, and coil so you can diagnose and fix a faulty compressor without pulling the entire unit or evacuating the refrigerant system. Follow these steps in order to test the compressor, disassemble the failed component, and reassemble the unit correctly.
Video: How to Diagnose and Replace an A/C Compressor Coil, Clutch and Bearing on Your Car by Ratchets And Wrenches (2016). All credit for the demonstration goes to the creator; watch the original on YouTube. The written guide below was generated from this video by Docsie. Creator? Request a change or removal.
This standard operating procedure explains how to replace an AC compressor's clutch, pulley, bearing, and coil so you can diagnose and fix a faulty compressor without pulling the entire unit or evacuating the refrigerant system. Follow these steps in order to test the compressor, disassemble the failed component, and reassemble the unit correctly.
Purpose
This procedure guides you through diagnosing common AC compressor clutch problems and shows you how to replace an AC compressor's individual clutch, pulley, bearing, or coil components when they fail, rather than replacing the entire compressor assembly.
Scope
This SOP covers bench-testing an AC compressor clutch coil, inspecting the clutch and bearing for wear, removing and replacing the clutch plate, pulley, bearing, and coil, and reassembling the unit. You do not need to evacuate the AC system for this procedure, and you can leave the refrigerant lines attached to the compressor.
Required tools and materials
- 12V power supply (a car battery works well)
- Jumper cables or alligator clips
- Basic hand tools (ratchet, sockets, pliers, screwdrivers)
- Snap ring pliers
- Hammer
- Rubber mallet
- Penetrating fluid (such as CRC Freeze-Off Super Penetrant)
- Two- or three-jaw puller
- Blue threadlocker
- Safety gloves
Safety precautions
- Work in a well-lit, ventilated garage or workshop.
- Wear safety gloves throughout the procedure.
- Do not pull or pry against the AC refrigerant lines when moving the compressor; move it carefully to avoid damaging the lines.
- Watch closely for spacers when removing the clutch plate — losing one can prevent proper clutch operation.
Procedure
Step 1: Prepare your workspace and tools
Set up in a well-lit, ventilated garage or workshop. Gather your 12V power supply, jumper cables or alligator clips, basic hand tools, and safety gloves before you begin.
Step 2: Identify the AC compressor and its components
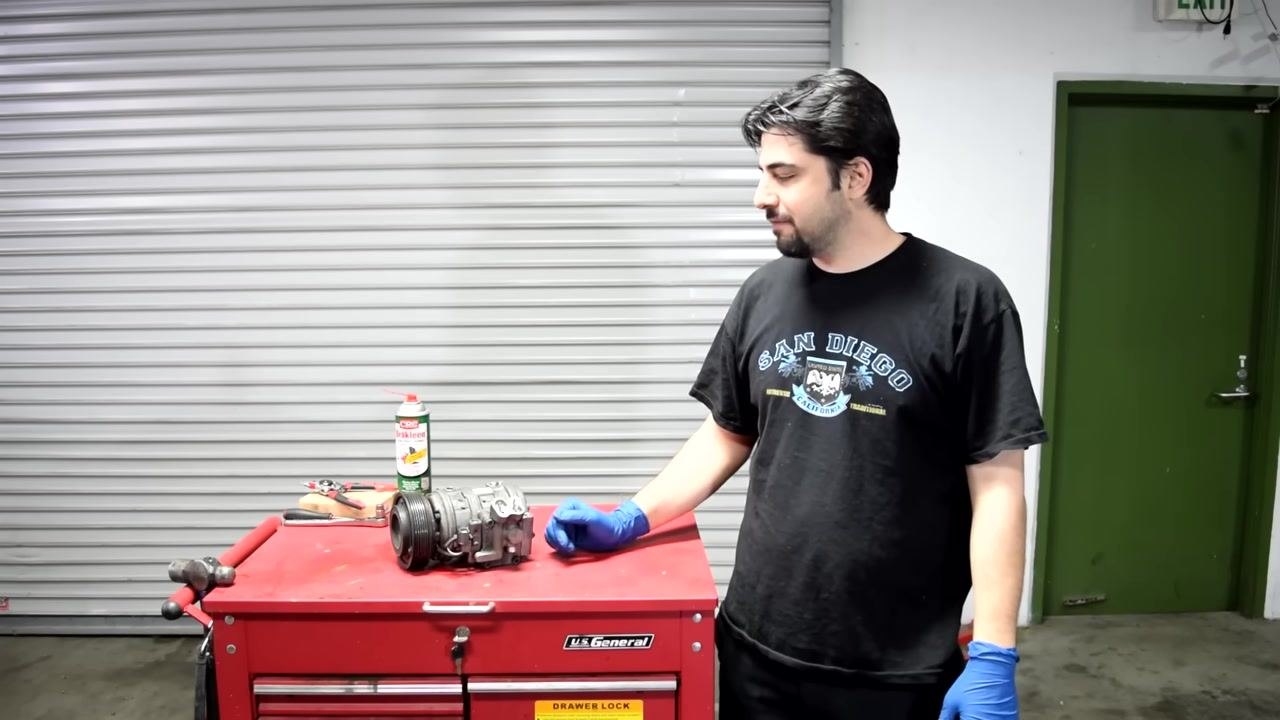
Place the AC compressor on a sturdy workbench or tool chest. Identify the clutch, pulley, and electrical connector on the compressor, and make sure you have clear access to the compressor's wiring and terminals.
Step 3: Set up the power supply for clutch testing
Obtain a 12V power supply, such as a car battery, and place it on the workbench near the compressor. Attach jumper cables or alligator clips to the battery terminals so you can connect them easily during testing.
Step 4: Disconnect the compressor connector
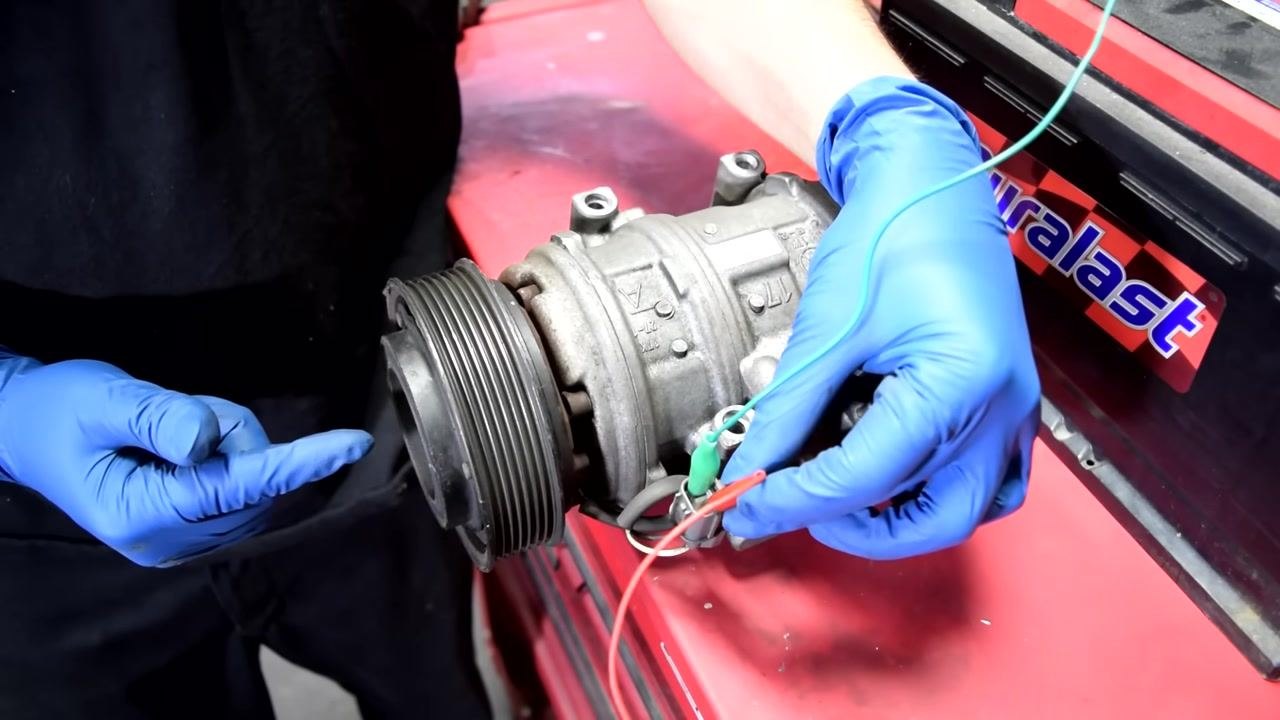
Remove the electrical connector from the AC compressor. On most units, black is ground and white is voltage; if there is only one wire, it supplies 12V power and the compressor grounds through its body.
Step 5: Engage the clutch coil to test operation
If bench testing, connect one jumper cable to the compressor body and the other to the negative battery terminal to ensure proper grounding, then connect the positive lead to the compressor's voltage wire. Attach the alligator clips to the compressor's terminals — positive to voltage, negative to ground. When the clutch is engaged, turning the pulley should also turn the clutch; when disengaged, only the pulley should turn.
Step 6: Inspect the clutch for play and noise
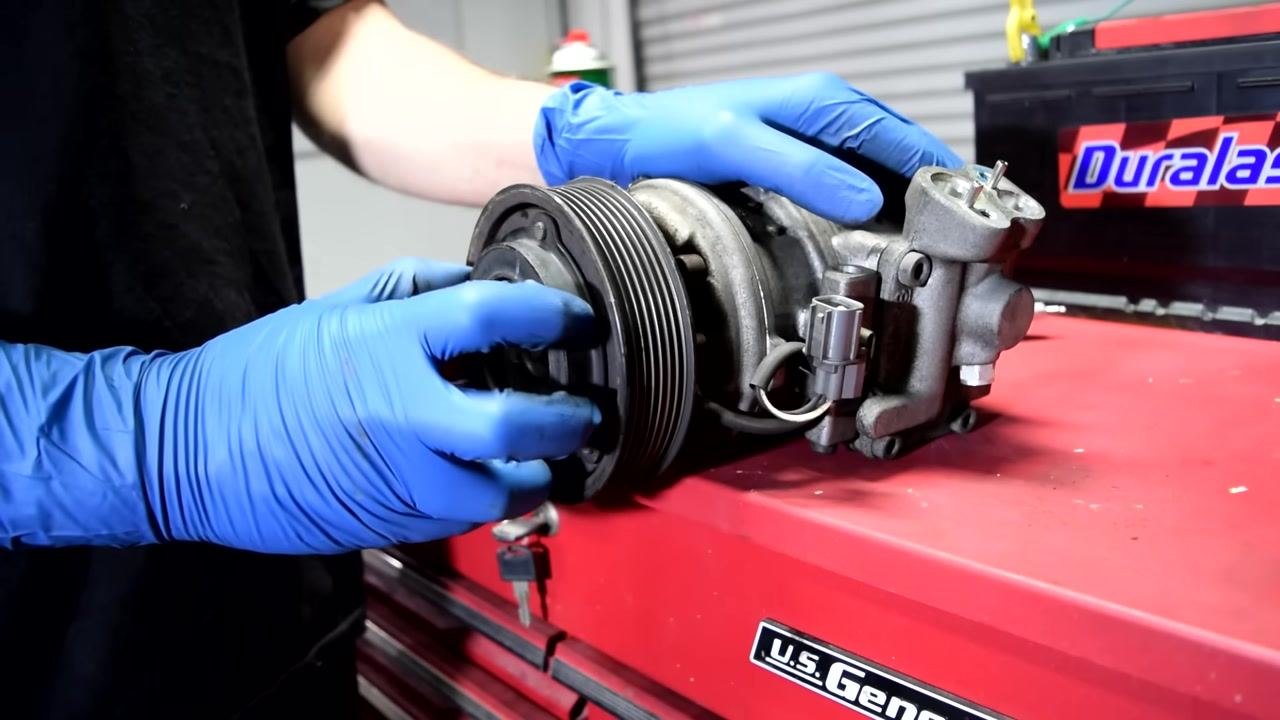
Remove the drive belt from the compressor. Manually move the clutch and pulley and check for excessive play, looseness, or unusual noise.
Step 7: Listen to the bearing for wear
Suspend the pulley and rotate it by hand, listening closely for any rumbling or abnormal sounds from the bearing inside. If you detect noise or play, the bearing is likely faulty and needs replacement.
Step 8: Remove the clutch retaining bolt
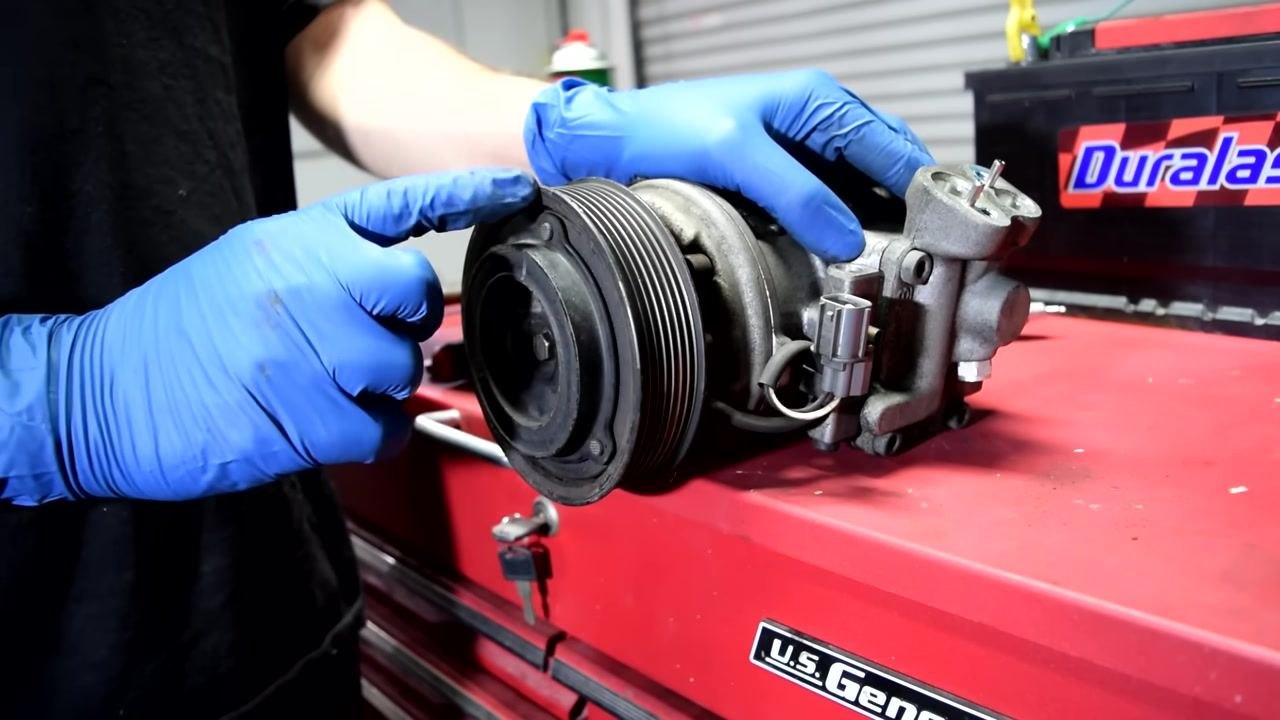
You can purchase the clutch, bearing, pulley, or coil separately, so there is no need to replace the entire AC compressor if only one of these parts is faulty, and you do not need to evacuate the AC system to do this work. If your workspace is limited, unbolt the compressor from its bracket (usually four bolts) and gently move it for better access, taking care not to pull or pry against the AC lines.
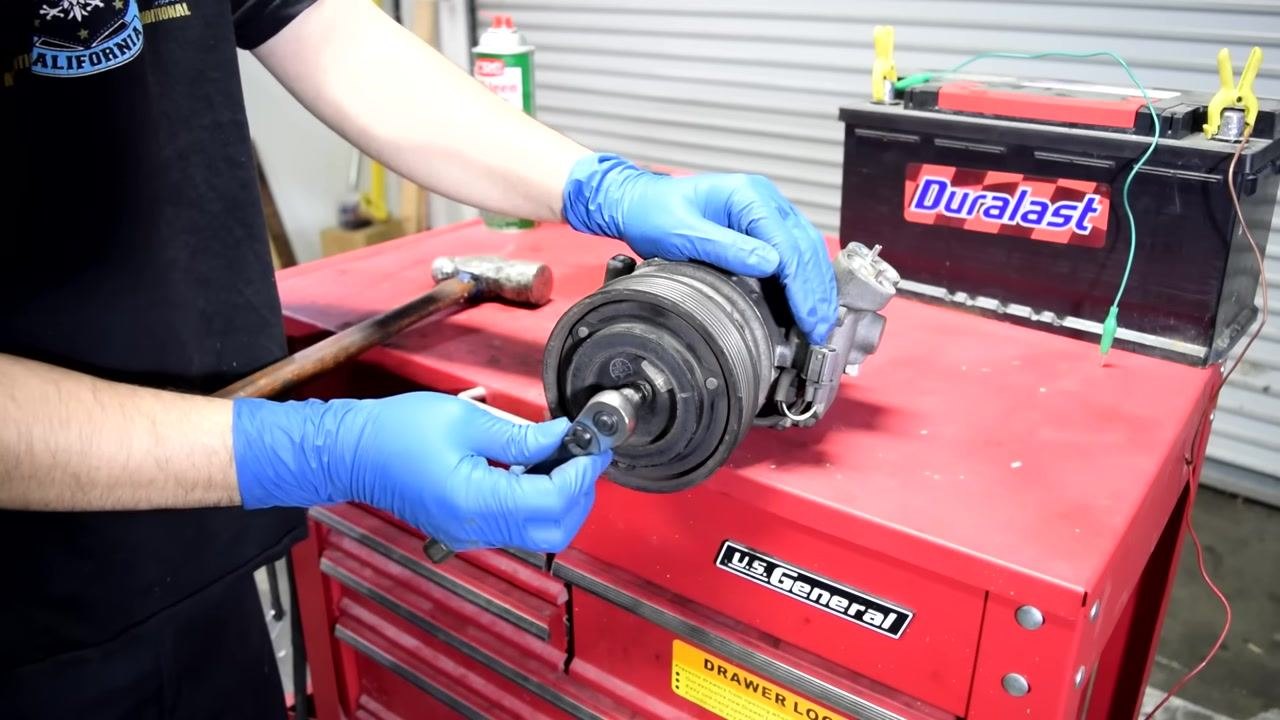
Place a ratchet and socket onto the central clutch bolt and hold the ratchet in place with one finger. Use a hammer to give the ratchet a solid whack to break the bolt loose, repeating as needed until it loosens.
Step 9: Remove the clutch plate and retain the spacers
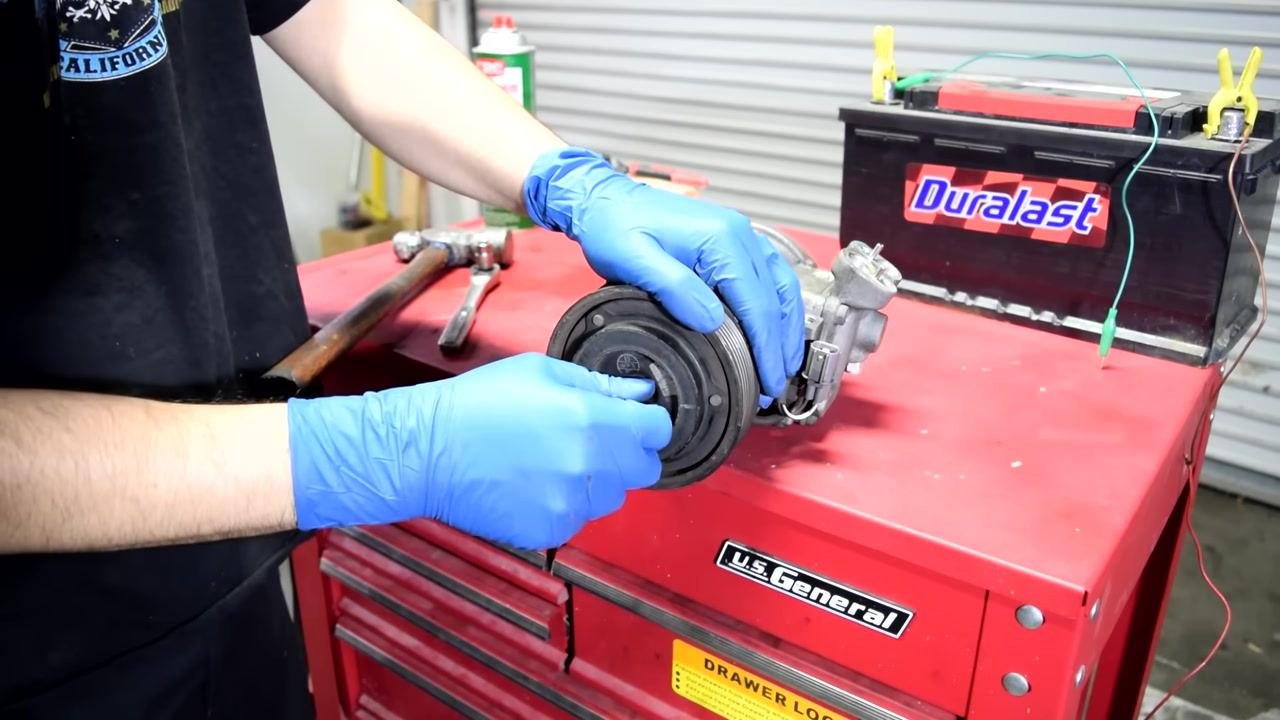
Once the bolt is out, carefully pull the clutch plate straight off the compressor shaft. Watch for thin spacer washers between the clutch and the shaft as you remove it — these are critical for proper clutch operation and must not be lost. Go slowly, note the number and thickness of the spacers you find, and set them aside in a safe place for reinstallation.
Step 10: Inspect the pulley contact surface
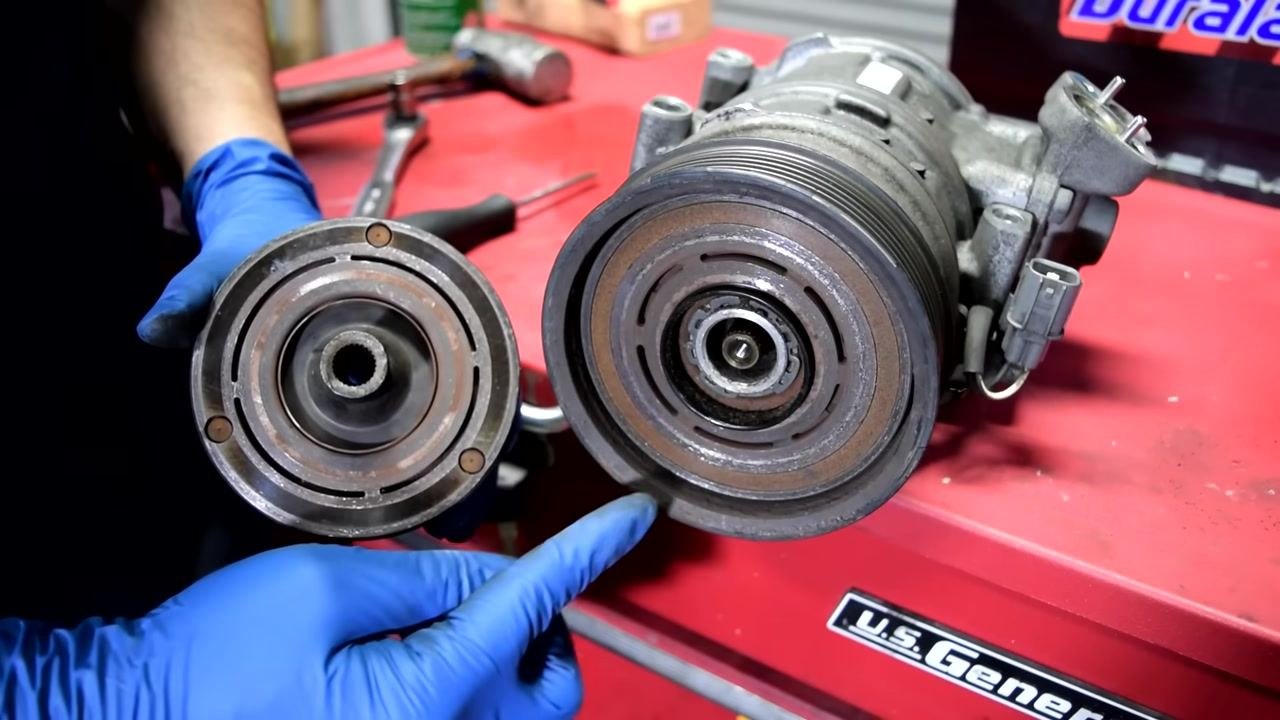
Examine the compressor pulley and note the bearing inside it, then identify the contact surface where the pulley engages the clutch.
Step 11: Remove the pulley snap ring
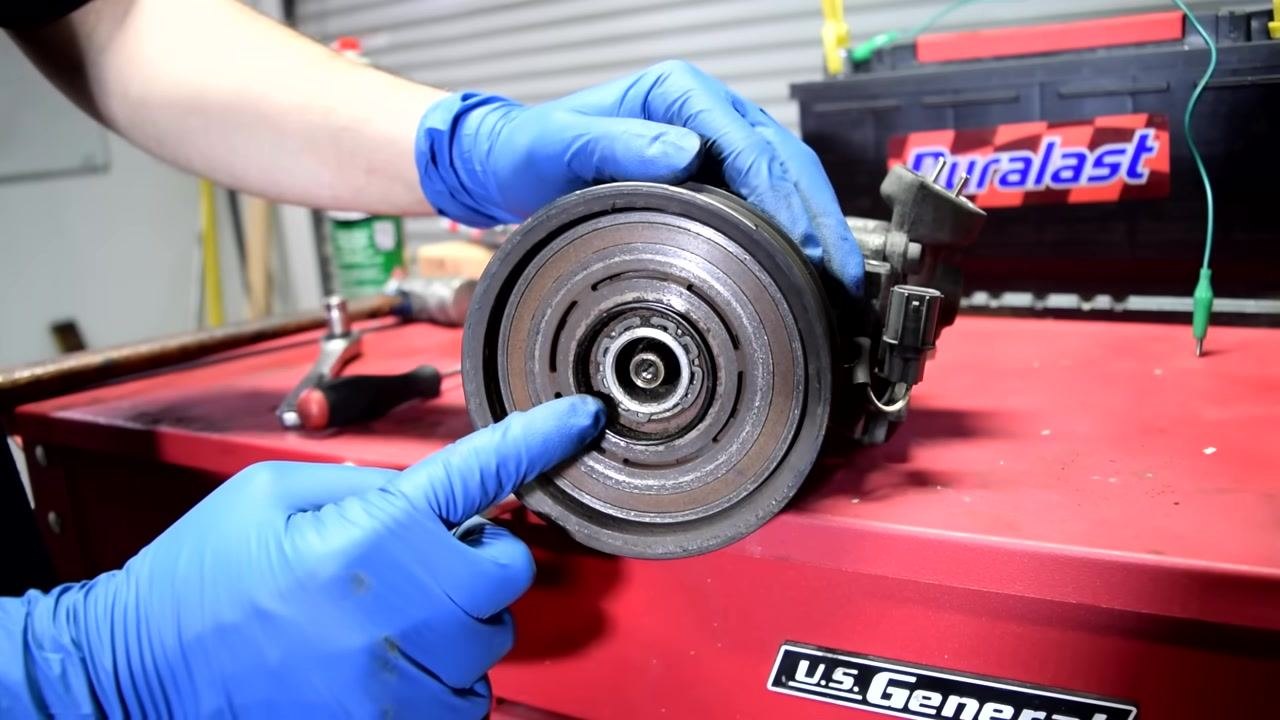
Locate the snap ring securing the pulley to the compressor. Use snap ring pliers to remove it from the pulley groove.
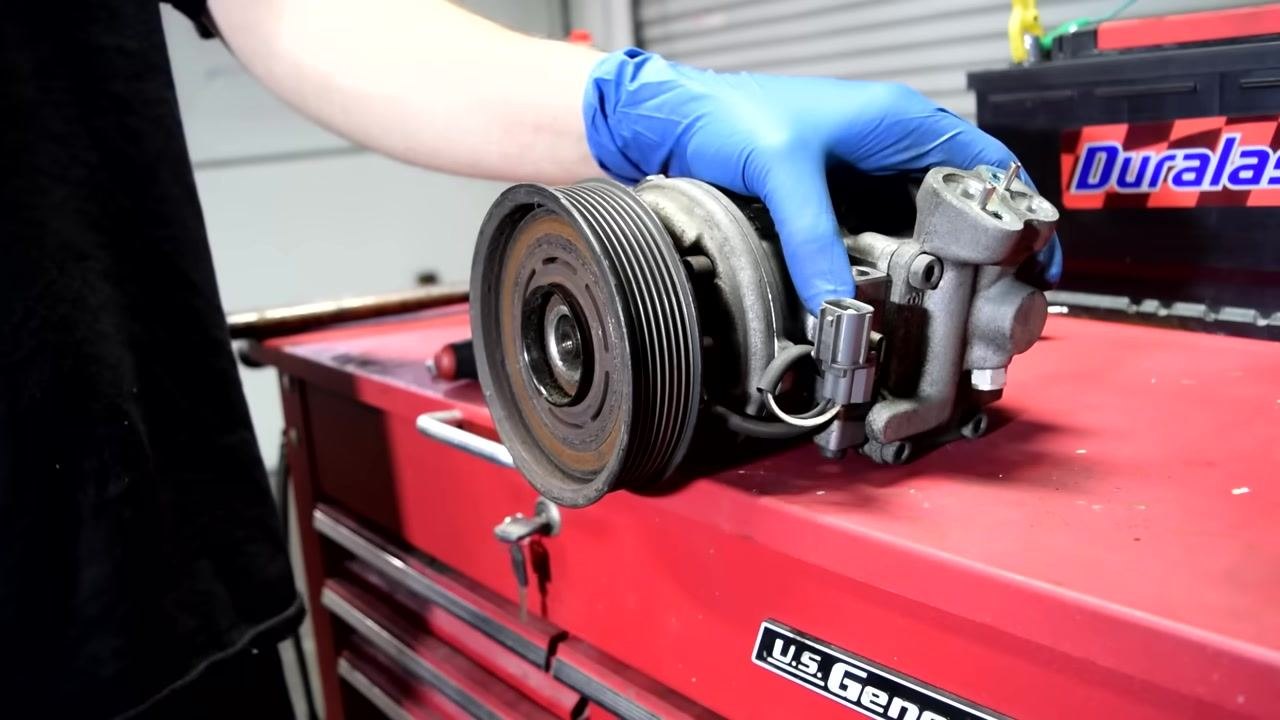
Step 12: Attempt to slide off the pulley
After removing the snap ring, try to pull the pulley straight off the compressor shaft by hand. In some cases it slides off easily; if not, continue to the next steps.
Step 13: Apply penetrating fluid if the pulley is stuck
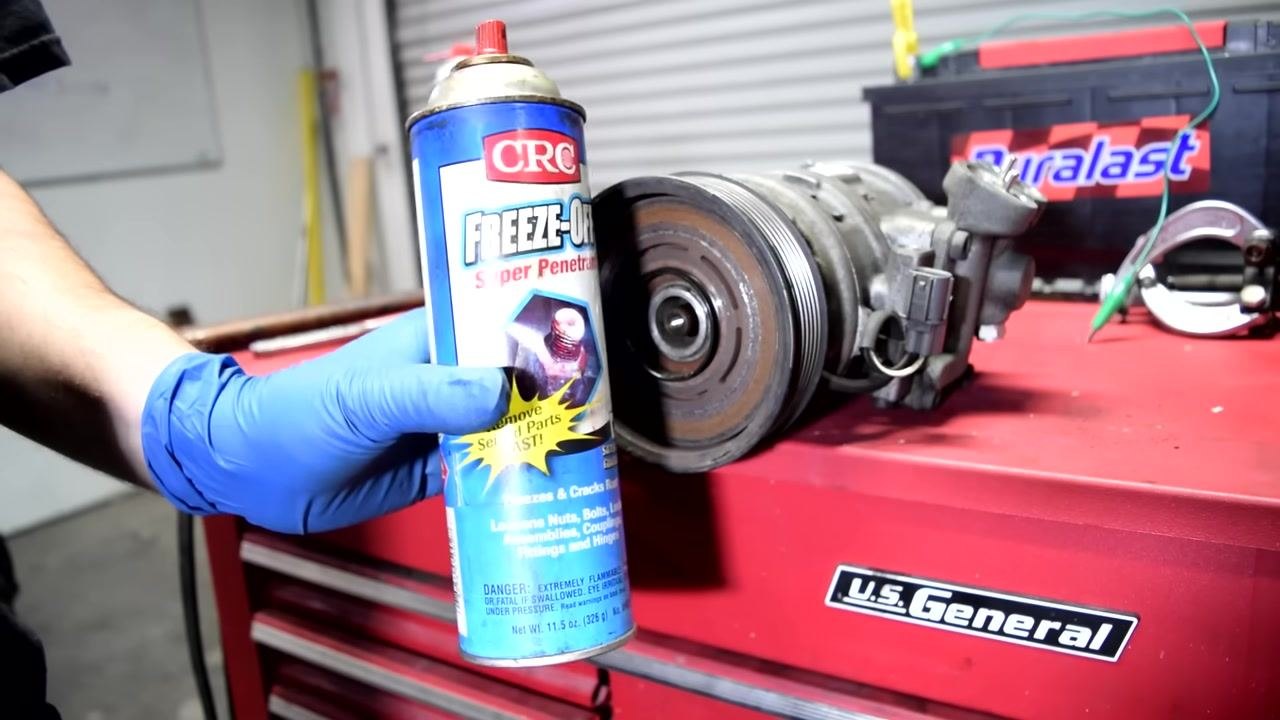
If the pulley does not slide off easily, spray a penetrating fluid such as CRC Freeze-Off Super Penetrant around the base of the pulley where it meets the compressor shaft to help loosen it.
Step 14: Loosen the pulley with a rubber mallet
If there is enough room, use a rubber mallet to gently tap the back of the pulley. Tap a few times, rotate it slightly, and tap again, repeating so the pulley comes off evenly and does not bind on the shaft.
Step 15: Use a jaw puller if the pulley still will not release
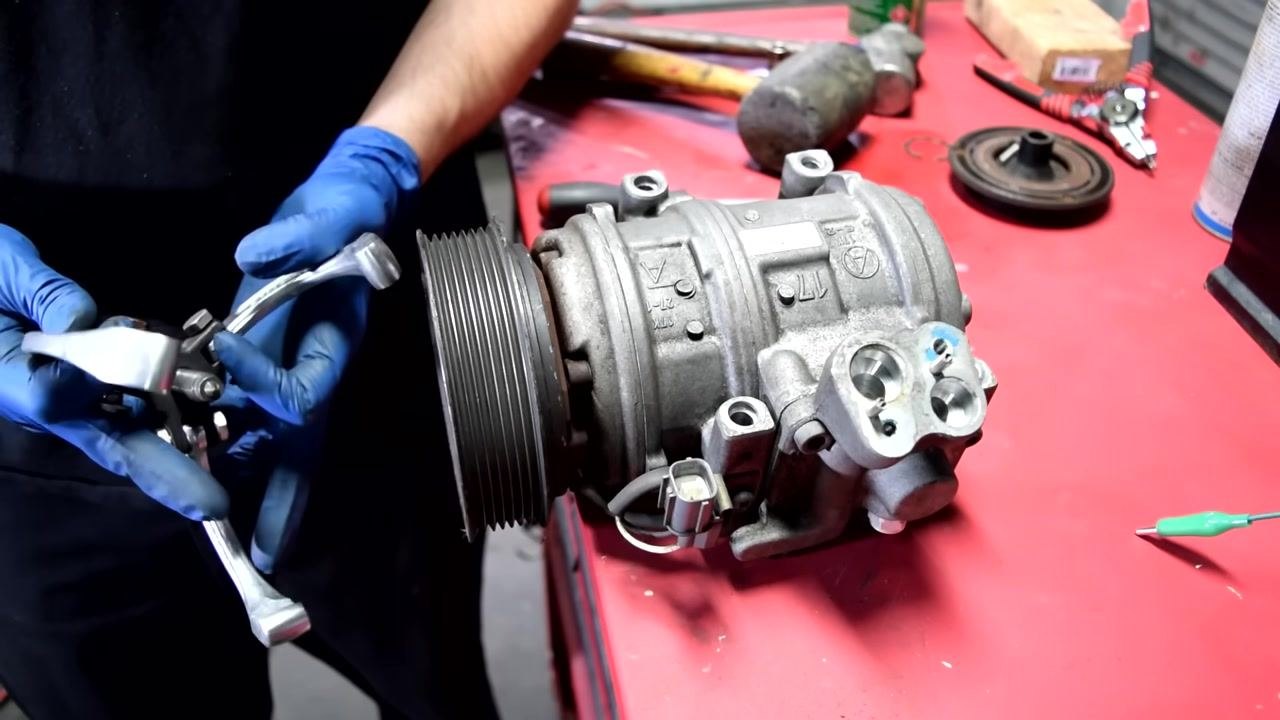
If the pulley still does not come off, use a two- or three-jaw puller. Position the puller arms around the pulley and screw in the center bolt to draw the pulley off the shaft.
Step 16: Remove the pulley and inspect the bearing
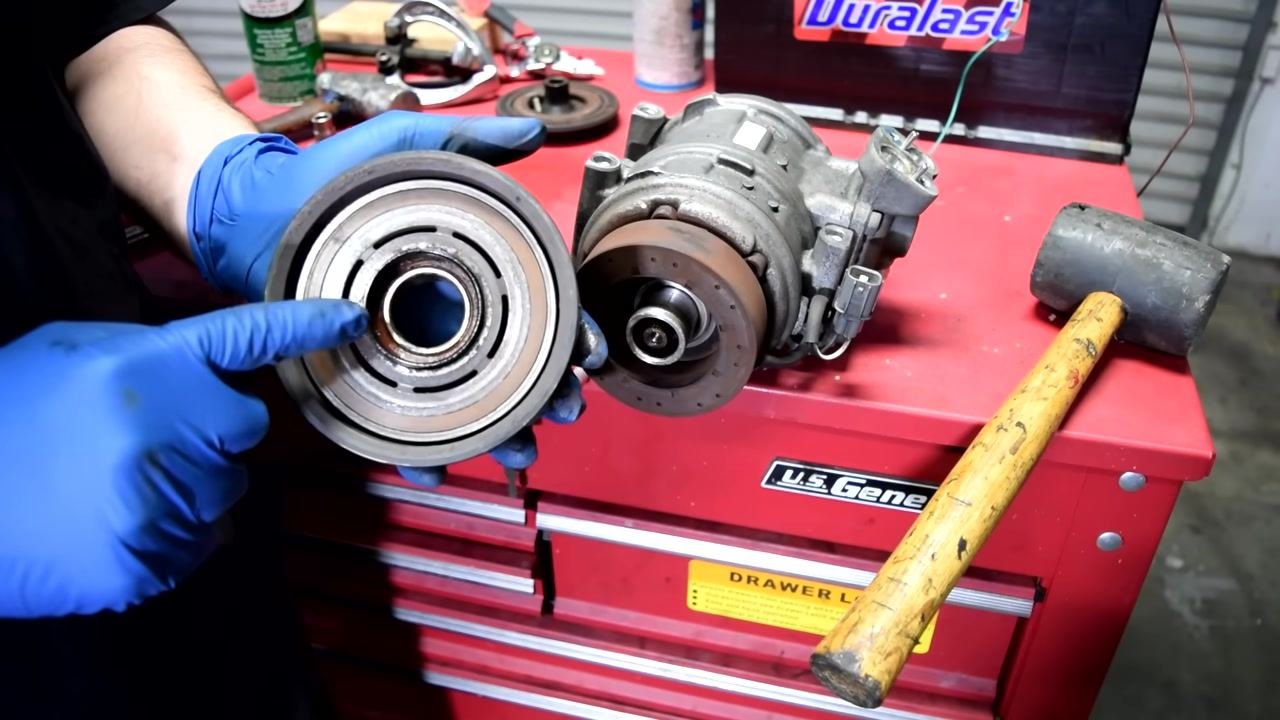
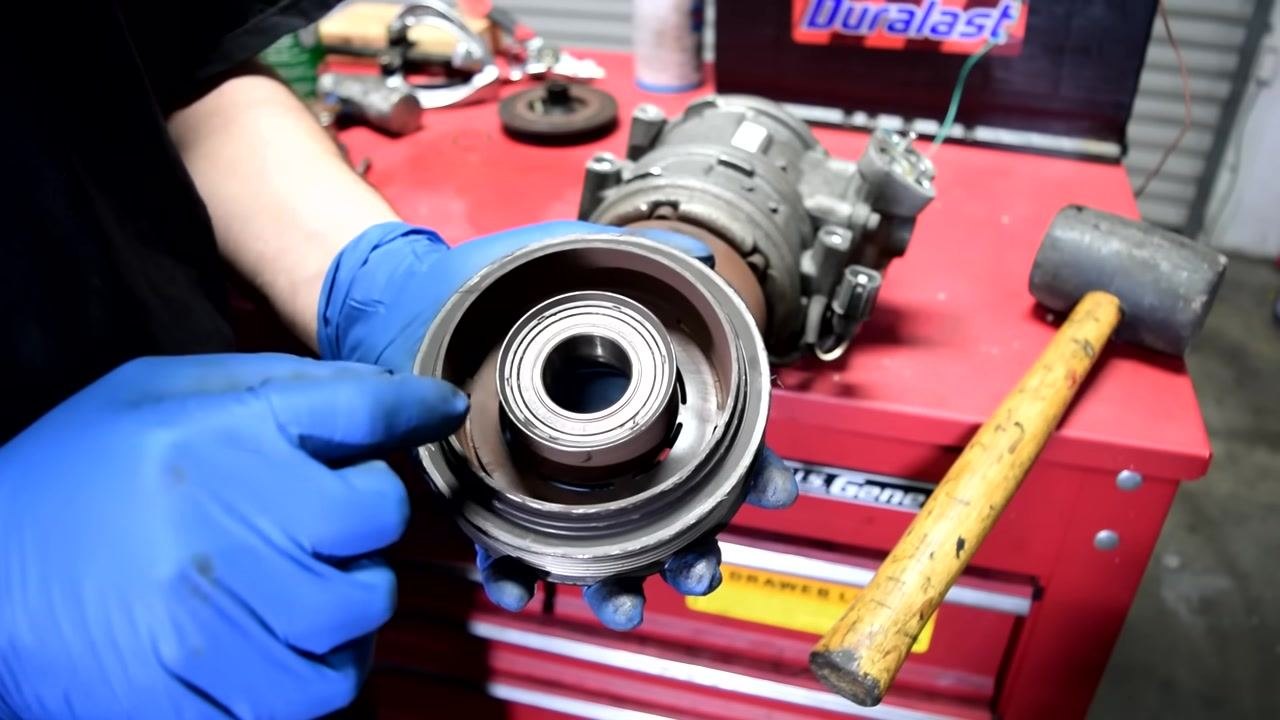
Once the pulley is off, inspect the bearing inside it. Hold the pulley up and visually confirm the bearing's location.
Step 17: Drive out the faulty bearing
If the bearing is faulty and needs replacement, place a socket that matches the bearing's diameter against the bearing and use a hammer to tap the socket, driving the bearing out of the pulley.
Step 18: Identify the outer lip of the bearing
Hold the pulley assembly in your hand and locate the outer lip of the bearing inside it. This is the area you should apply pressure to when installing or removing the bearing.
Step 19: Avoid pressing on the inner lip
When hammering or pressing the bearing, always apply force to the outer lip. Do not press on the inner lip or center piece — doing so can damage the bearing.
Step 20: Select the correct tool for bearing installation
Choose a socket or tool whose circumference matches the outer lip of the bearing exactly. This ensures you apply even pressure and prevents bearing damage during installation.
Step 21: Inspect the stator and coil wiring
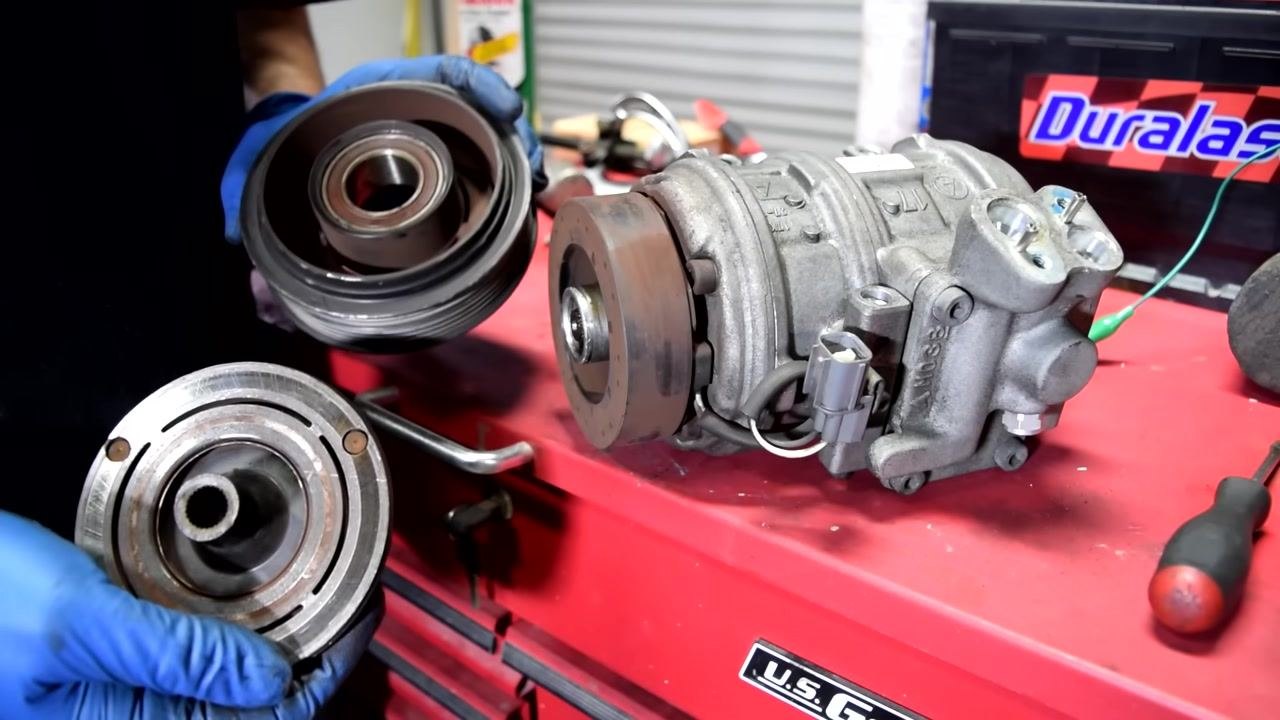
Examine the stator (coil) attached to the AC compressor and note the two wires connected to it through the electrical connector. The coil is responsible for engaging the clutch when it is energized.
Step 22: Prepare the pulley and clutch plate for reassembly
With all components removed, hold the pulley and clutch plate separately to inspect them before reassembly.
Step 23: Begin fitting the pulley onto the compressor
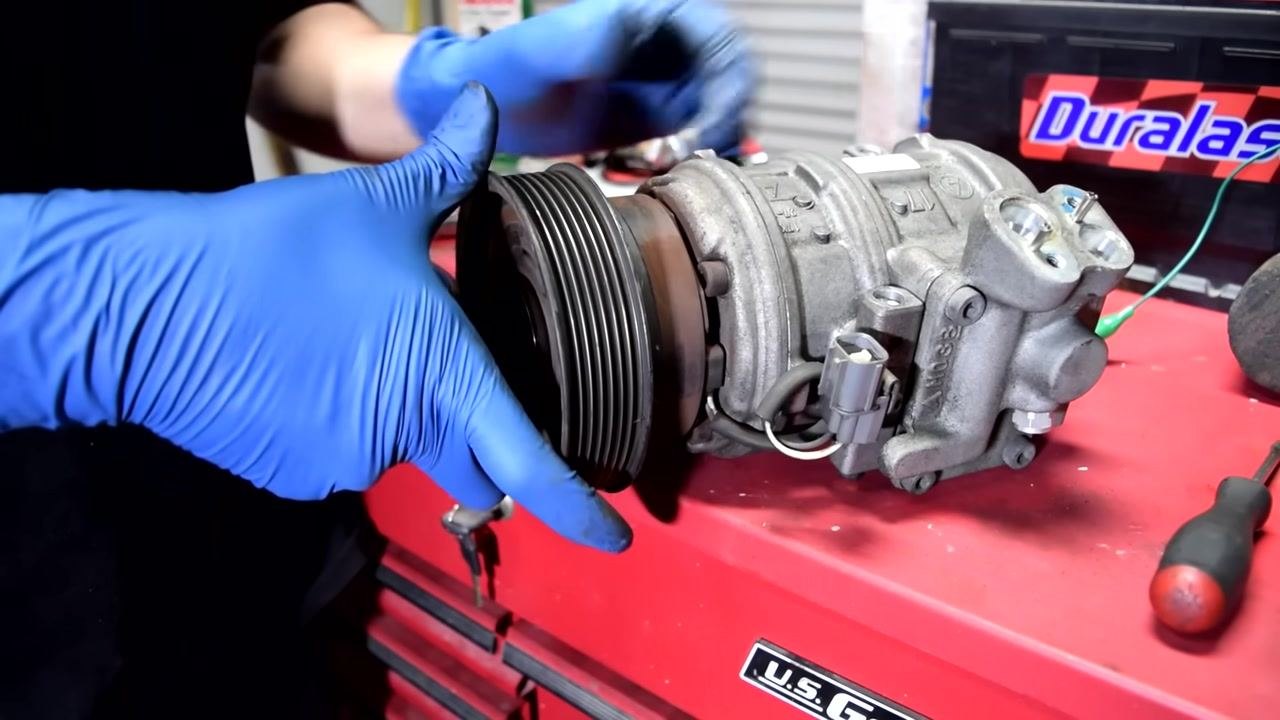
Align the pulley with the compressor shaft and begin sliding it into place. The pulley may not seat fully without additional pressing or tools.
Step 24: Confirm the coil's position inside the pulley
The coil sits inside the pulley assembly. When energized, it creates a magnetic field that engages the clutch, so confirm it is correctly seated before continuing.
Step 25: Fit the pulley and clutch plate together
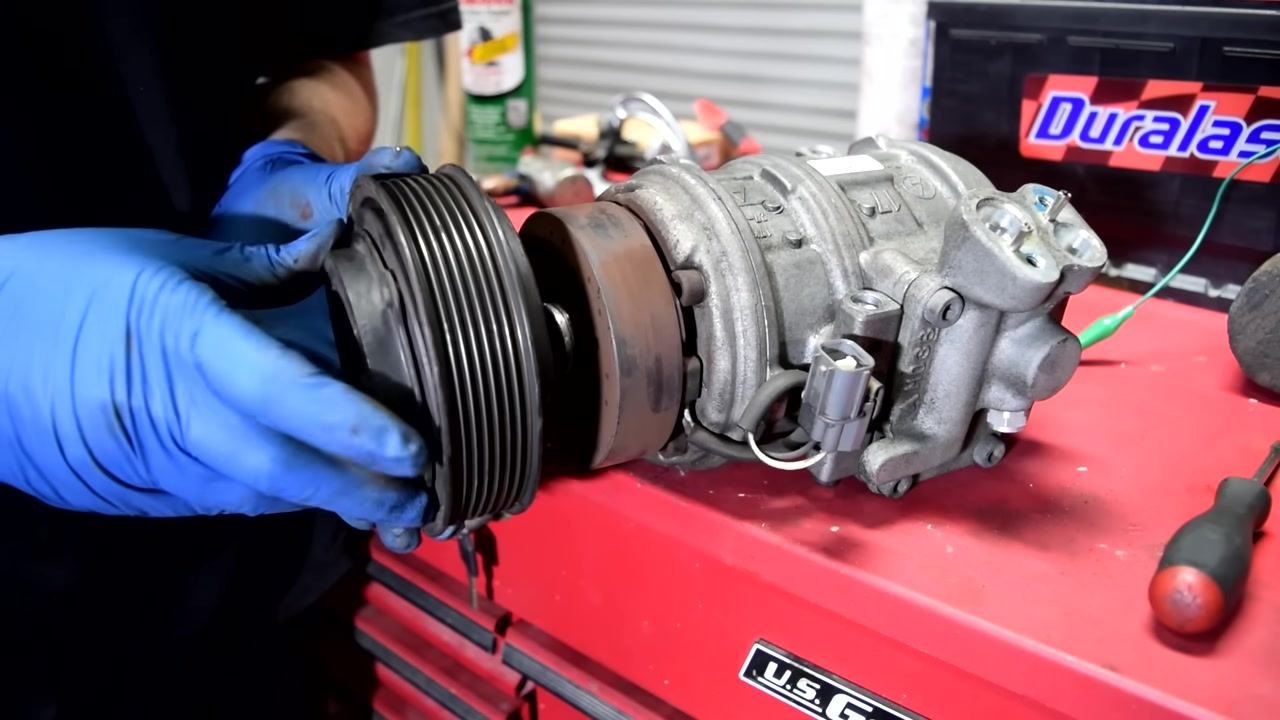
Fit the pulley and clutch plate together on the compressor. When the coil is energized, both parts turn together, driving the compressor shaft.
Step 26: Disconnect the connector before removing the coil
Before removing the coil, disconnect the electrical connector from its bracket. Use snap ring pliers to remove the retaining ring holding the coil in place; this may take some maneuvering to release the connector and ring.
Step 27: Remove the retaining ring from the compressor
Place the AC compressor securely on a stable work surface. Use snap ring pliers to grip and remove the retaining ring from the compressor shaft, holding the compressor steady with one hand while operating the pliers with the other. Keep the electrical connector and wiring clear of the work area to avoid damage. Double-check that the ring is fully removed, and set it aside in a safe place for reinstallation.
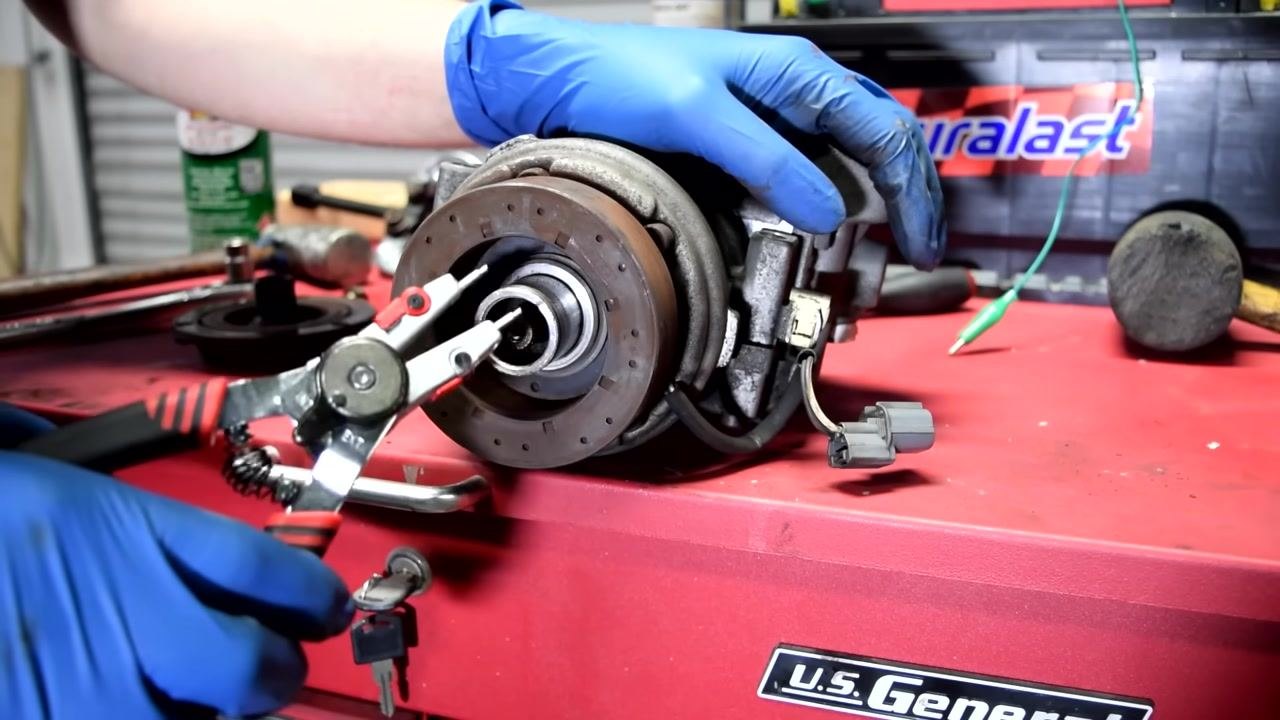
Step 28: Align the coil for installation
Hold the coil (stator) in one hand and the compressor in the other. Identify the alignment pin on the coil and the corresponding hole on the compressor, and confirm the pin lines up precisely with the hole before proceeding — this alignment is critical for proper function.
Step 29: Install the coil onto the compressor
Carefully slide the coil onto the compressor shaft, ensuring the alignment pin fits into the designated hole. Confirm the coil sits flush against the compressor and is properly seated.
Step 30: Inspect the pulley and clutch plate before final assembly
Examine the pulley and clutch plate for any signs of wear or damage before reassembly, and clean the surfaces if necessary to ensure smooth operation.
Step 31: Prepare the clutch plate and bolt
Hold the clutch plate and the mounting bolt. If necessary, apply a small amount of blue threadlocker to the bolt threads to prevent it from loosening during operation.
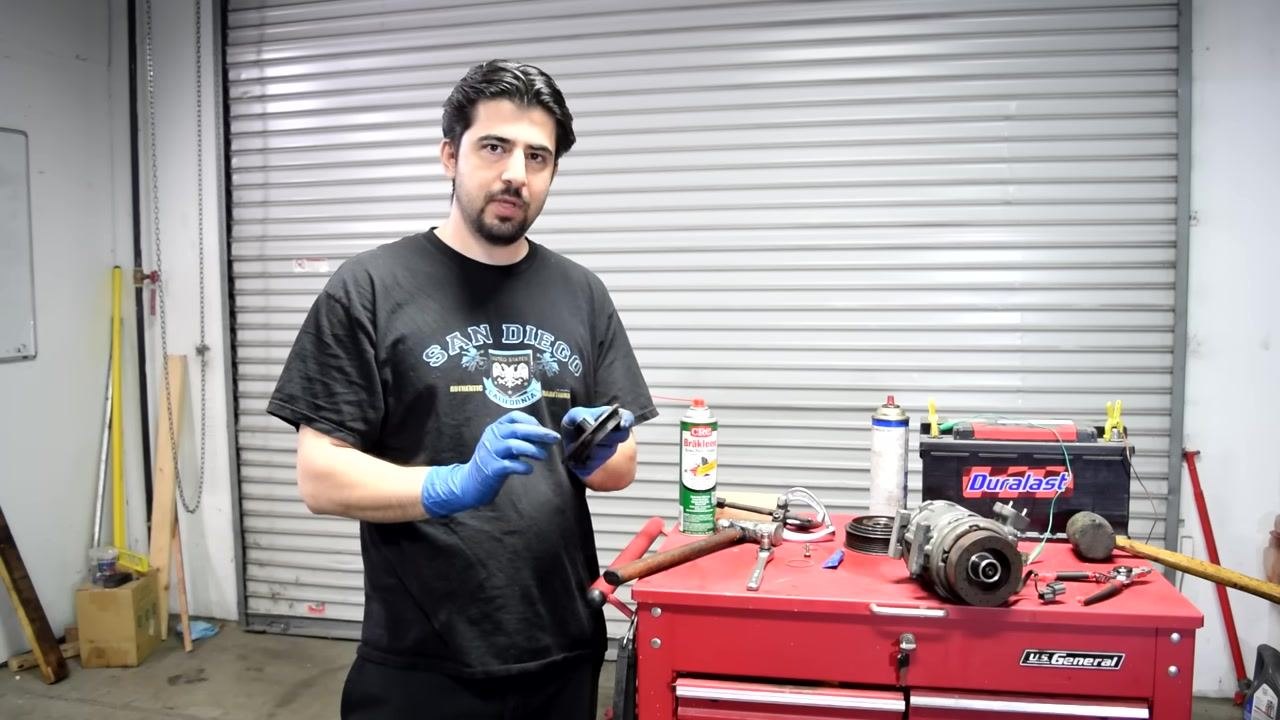
Step 32: Install and tighten the clutch plate bolt
Insert the bolt through the clutch plate and into the compressor shaft, and tighten it securely with the appropriate tool. If you use the hammer method described in Step 8, tap gently and tighten the bolt a couple of times to ensure it is fully seated.
Verification and final checks
After reassembly, check the air gap between the clutch plate and the pulley and confirm it falls within manufacturer specifications for proper clutch operation, adjusting as necessary before considering the repair complete.
Inspect all components for correct installation and a secure fit, and reconnect any electrical connectors that you removed during the procedure. Test the clutch assembly by manually rotating the pulley and clutch plate to confirm smooth engagement.
As a final check, verify the clutch air gap once more to confirm it remains within specification, and address any unusual noises or resistance you notice during manual operation.
What's next
If you encounter issues or need more detailed diagnostics for AC compressor clutch problems, refer to additional troubleshooting resources for the specific symptoms you are seeing.
Generation details: cost, quality tiers
Docsie billed 4,500 credits ($3.15) to analyze this 9-minute video at standard quality. The rewrite, template fill and Word/PDF exports were included. The same video at each quality tier:
| Quality | Frames sampled | Credits | Approx. cost |
|---|---|---|---|
| Draft | every 16-30 s | 2,250 | $1.57 |
| Standard (this guide) | every 8-15 s | 4,500 | $3.15 |
| Detailed | every 4-7 s | 9,000 | $6.30 |
| Ultra | every 1-3 s | 18,000 | $12.60 |
Credits priced at $0.70 per 1,000; plans include a monthly allowance. Enterprise customers on on-premise or bring-your-own-model deployments run this on their own inference and pay no per-video credits.
Generated by Docsie Video-to-Docs on 2026-09-14 from a 8-minute video. Screenshots are frames from the source video and belong to their creator, Ratchets And Wrenches, whose original is embedded above. If you own this video and want the guide removed or credited differently, contact us and we will act within one business day.