
How to Clean Hvac Coils
This procedure explains how to clean HVAC coils safely and thoroughly, covering both indoor and outdoor units. It walks through disconnecting power, applying coil cleaner, rinsing with controlled water flow, inspecting the results, and reassembling the unit. Following these steps helps you remove dirt and debris from coil fins while protecting the system and the surrounding work area.
Video: How To Properly Clean HVAC Coils by Quality HVACR (2023). All credit for the demonstration goes to the creator; watch the original on YouTube. The written guide below was generated from this video by Docsie. Creator? Request a change or removal.
This procedure explains how to clean HVAC coils safely and thoroughly, covering both indoor and outdoor units. It walks through disconnecting power, applying coil cleaner, rinsing with controlled water flow, inspecting the results, and reassembling the unit. Following these steps helps you remove dirt and debris from coil fins while protecting the system and the surrounding work area.
Purpose
This SOP describes the correct method for cleaning indoor and outdoor HVAC coils, including power disconnection, chemical cleaner application, rinsing techniques, and final reassembly and inspection.
Scope
This procedure applies to residential and commercial HVAC package units, such as Goodman condensing units, where indoor and outdoor coils require periodic cleaning as part of routine maintenance.
Required equipment and materials
- Voltage meter for verifying de-energized circuits
- Foaming coil cleaner rated safe for condensers and food prep areas
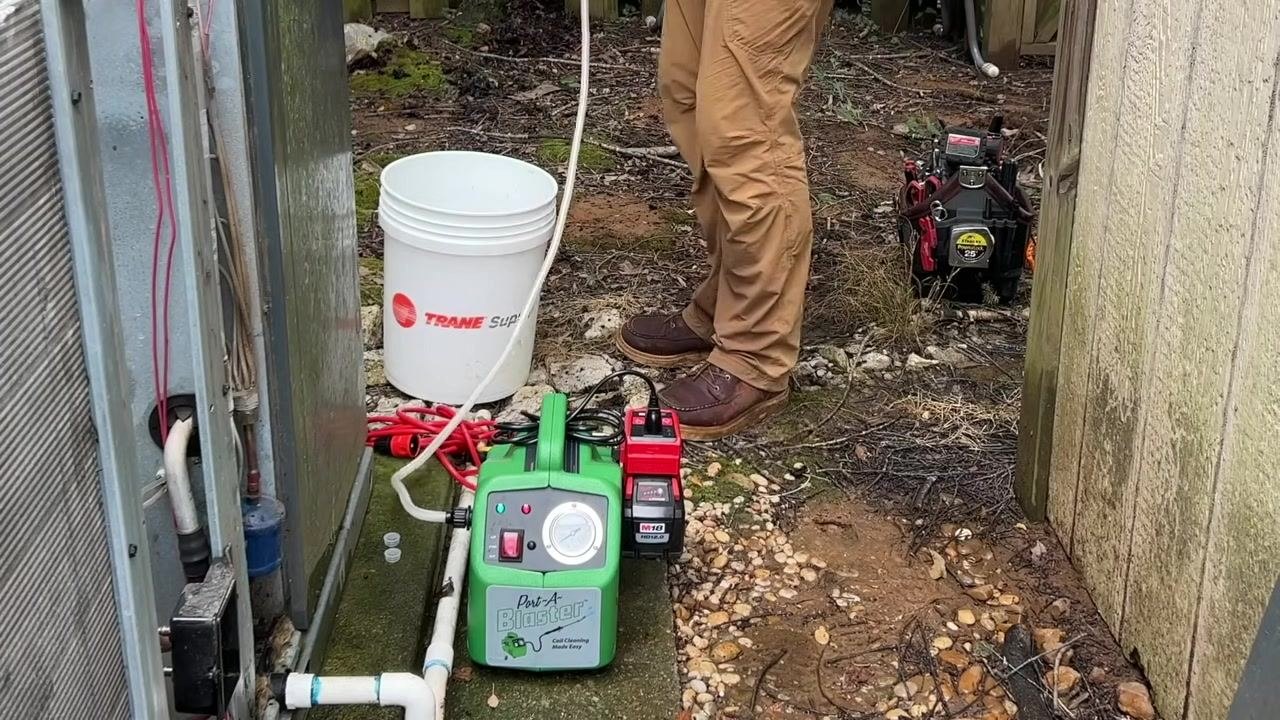
- Portable coil cleaning system (e.g., Port-A-Blaster) with a cleaning wand
- Compact power inverter (e.g., Milwaukee M18) and battery
- Five-gallon bucket of clean water
- Garden hose with spray nozzle (for outdoor rinsing only)
- Scrub brush
- Power drill and fasteners
- Magnetic tray for screws
- Cloth or towel for wiping internal components
- 1/4" refrigerant safety locking caps (e.g., TradeFox SFL1450) and a wrench
- Appropriate personal protective equipment (PPE)
Disconnect power before starting
Do not rely solely on circuit breakers to disconnect power. Always verify that the system is de-energized before working on it.
- Use a voltage meter to check for voltage across each hot leg.
- Measure from each hot leg to ground to confirm all connections to ground are dead.
Locate the condensing fan motor junction
On Goodman package units, locate the condensing fan motor junction behind its designated panel. This junction lets you disconnect the motor without removing wires from the control section.
Disconnect the condensing fan motor wires
Unplug the wires at the junction. Note that the wires may not be color-matched, so record the connections before unplugging them.
- Light brown wire connects to brown.
- Pink wire connects to purple.
- Black wire connects to black.
Take a photo or write down the wiring pattern to ensure correct reconnection later.
Prepare the coil cleaner
Use a foaming coil cleaner suitable for condensers and labeled safe for food prep areas.
Apply coil cleaner to the outdoor condenser coil
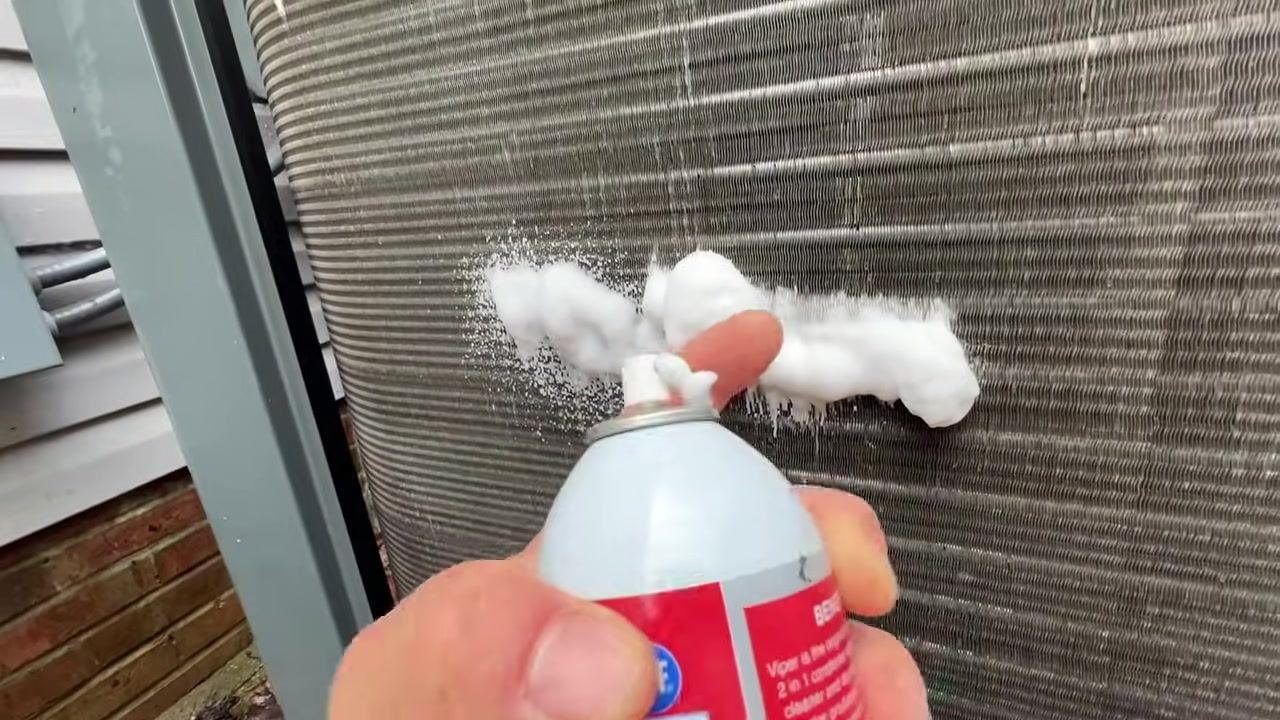
Hold the can close to the coil surface and spray the foam directly onto the coil, ensuring even coverage. The foam will begin to expand and pull debris out of the coil.
Ensure thorough foam coverage
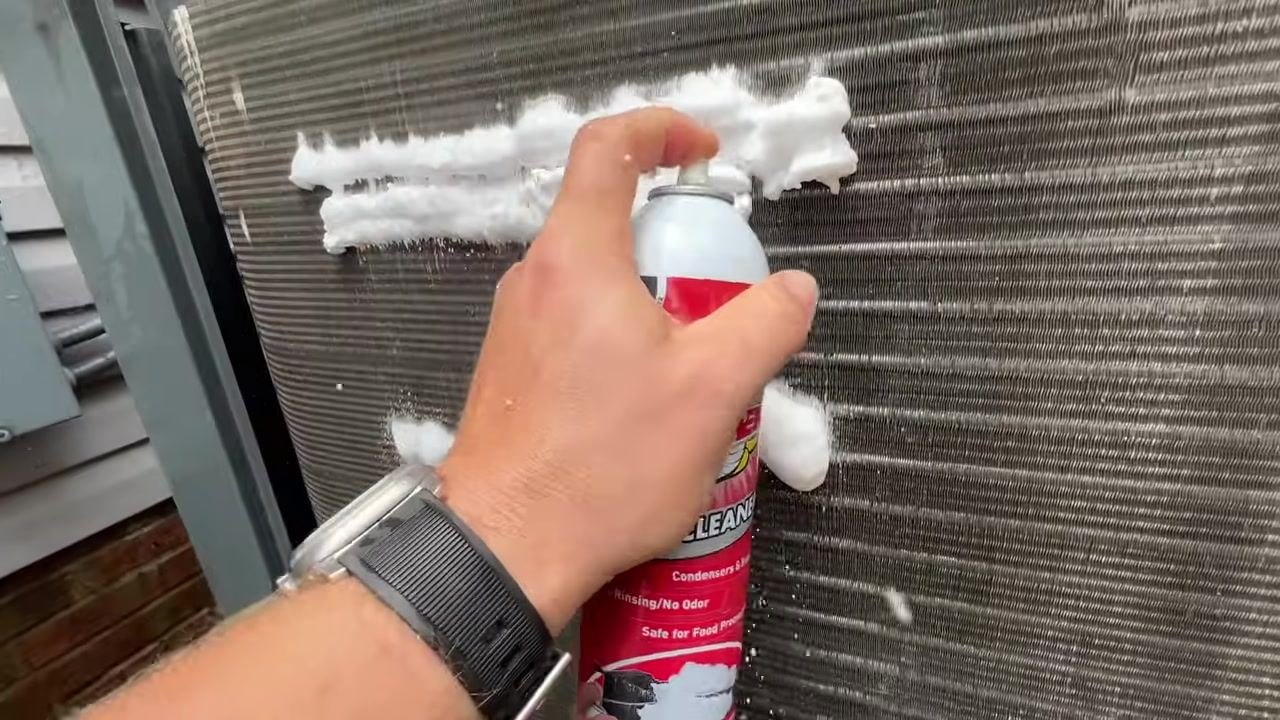
Move the can along the coil to cover all necessary areas. Get close to the coil so the foam penetrates between the fins.
Assess coil cleanliness
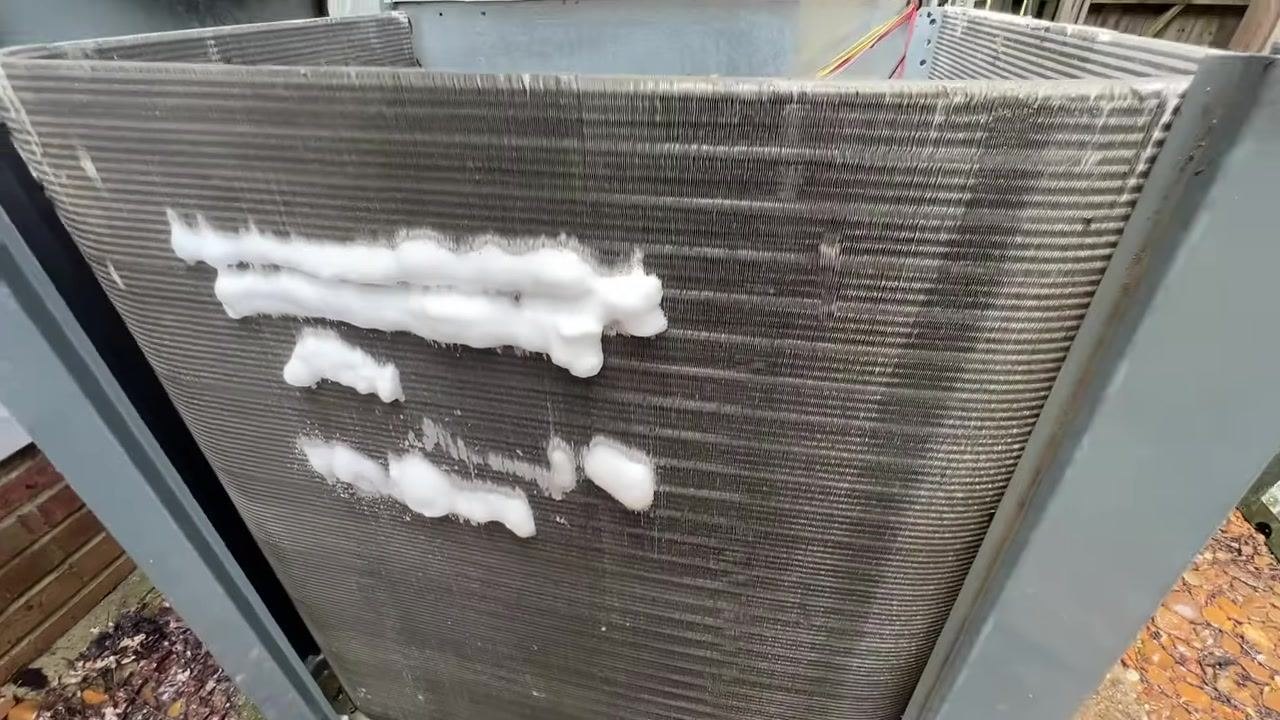
If the coil is not very dirty, you may not see much debris being removed. Continue applying foam as needed until the entire coil is treated.
Safety note: Always follow the manufacturer's instructions for both the HVAC unit and the coil cleaner product. Use proper safety equipment when handling electrical components and chemical cleaners.
Inspect the indoor coil
Look inside the HVAC unit to check the indoor coil for dirt and debris before cleaning.
Apply coil cleaning foam to the indoor coil
Distribute the foam across the coil surface, focusing on areas with visible dirt. The foam should cling to the coil.
Rinse the indoor coil with controlled water flow
Use a hose fitted with a spray nozzle to rinse the foam and debris from the coil. Direct the water flow carefully to avoid damaging the coil fins. The foam and loosened debris wash away and collect at the base of the unit.
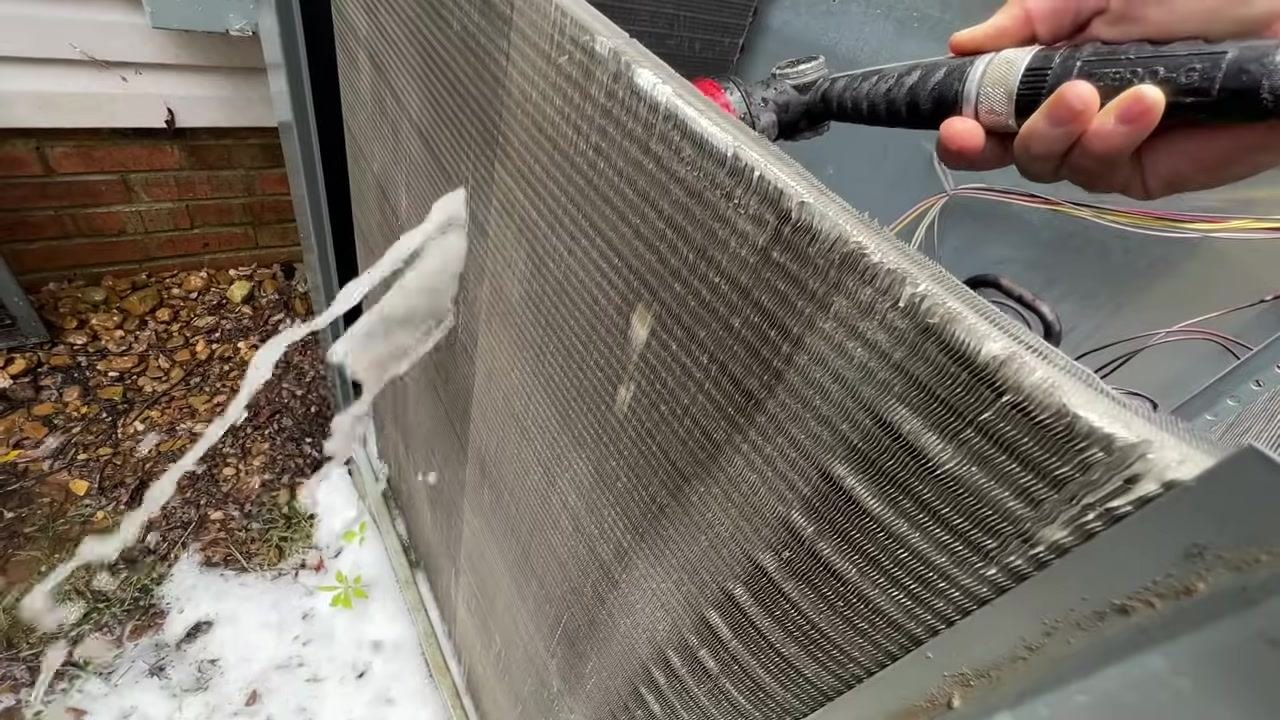
Continue rinsing until residue is fully removed
Keep rinsing until all foam and debris are gone and the coil is thoroughly clean.
Note: Avoid using a standard garden hose for rinsing indoor coils. A garden hose delivers too much water and is difficult to control, which can saturate the surrounding area.
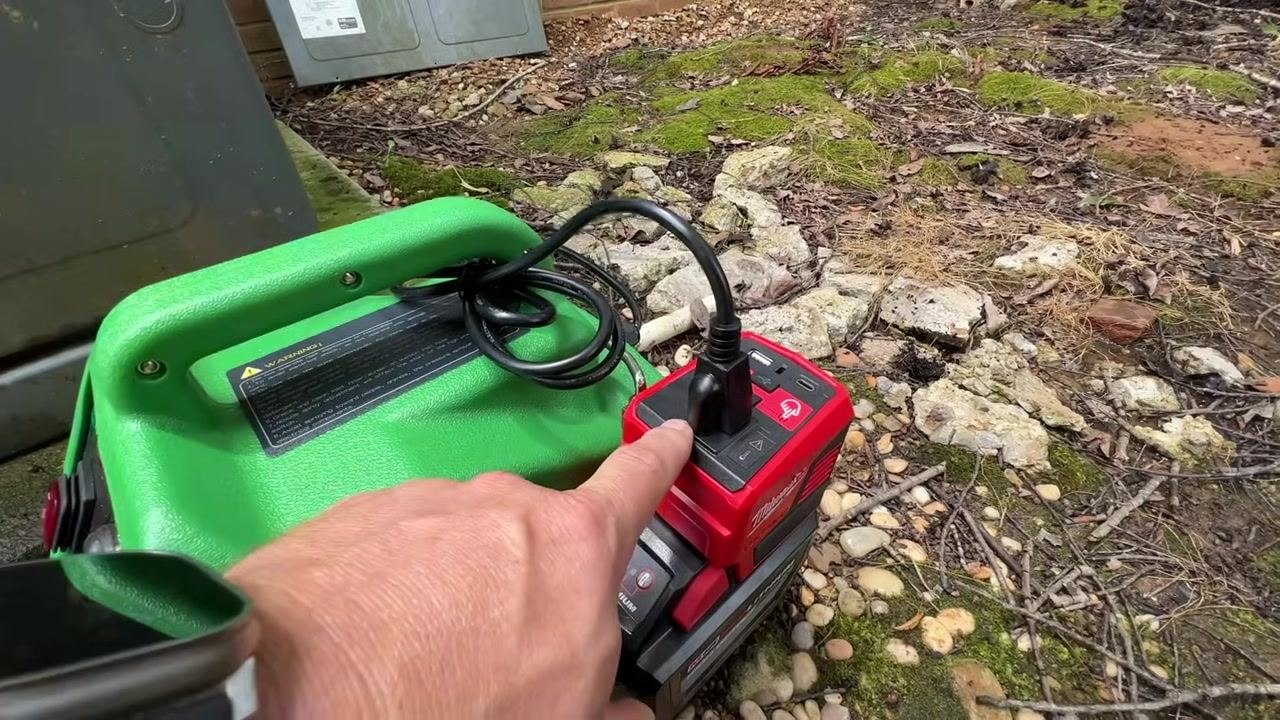
Power your equipment with a portable inverter
Use a compact, battery-powered inverter to power your cleaning equipment, eliminating the need for extension cords.
Select the pressure setting on the cleaning device
The cleaning device includes two pressure settings, labeled L/P (Low Pressure) and H/P (High Pressure). Use the high-pressure setting if you do not have access to a water supply, so you can clean coils using water from a bucket.
Prepare a water source when direct access is unavailable
Fill a five-gallon bucket with water if no direct water supply is available. The compact cleaning device can draw water from the bucket and spray it at high pressure for effective coil cleaning.
Control water usage with the portable setup
Using the portable cleaning setup helps you control the amount of water used, preventing excessive water usage and minimizing mess around the work area.
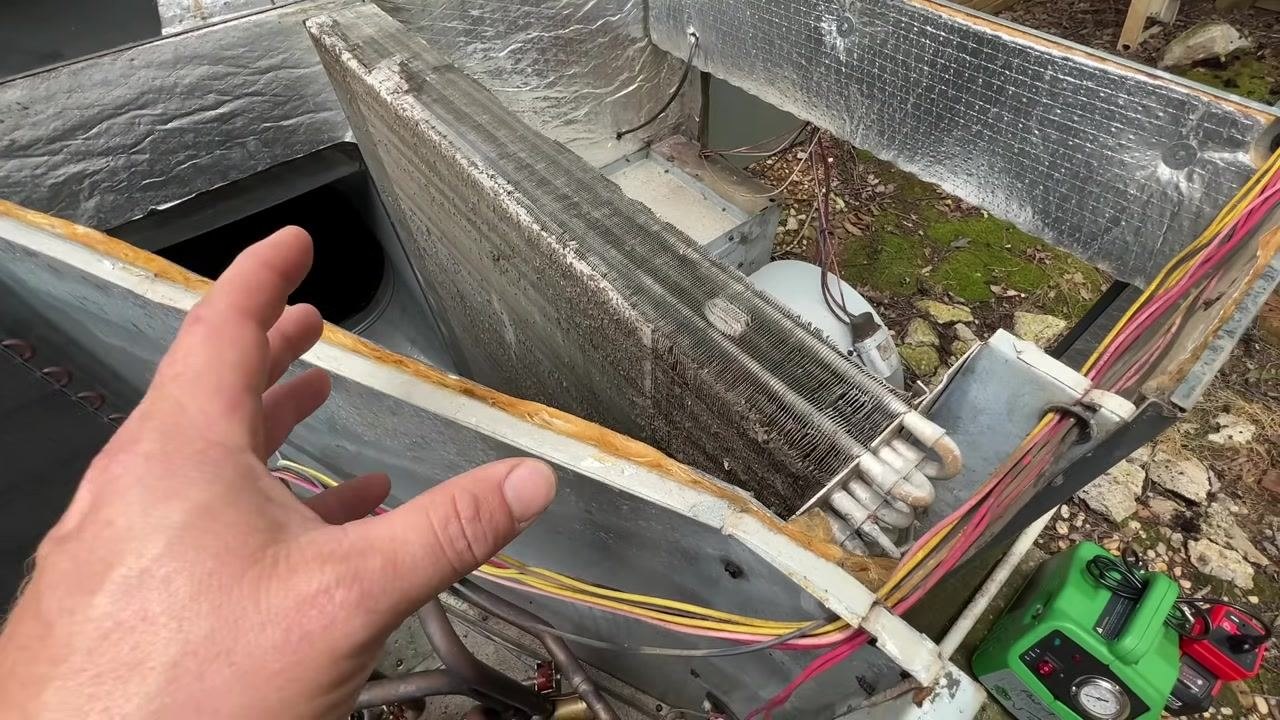
Set up the portable coil cleaning system for outdoor coils
Place the green portable coil cleaning machine (Port-A-Blaster) on a stable surface near the outdoor HVAC unit. Connect the red battery and power inverter to the machine, then attach the water intake hose to a five-gallon bucket filled with clean water. Confirm all hoses are securely connected to the machine and the HVAC coil.
Verify the system is ready
Stand the bucket upright and confirm the intake hose is submerged in the water. Check that the power and water lines are untangled and positioned for easy movement.
Prime the cleaning wand
Hold the cleaning wand attached to the Port-A-Blaster and confirm it is connected to the red hose and ready for spraying.
Apply coil cleaner to the outdoor coil
Use the cleaning wand to spray coil cleaner evenly across the coil surface, focusing on areas with visible dirt and debris.
Continue applying cleaner for full coverage
Move the wand methodically to cover the entire coil surface, ensuring foam appears on all coil fins.
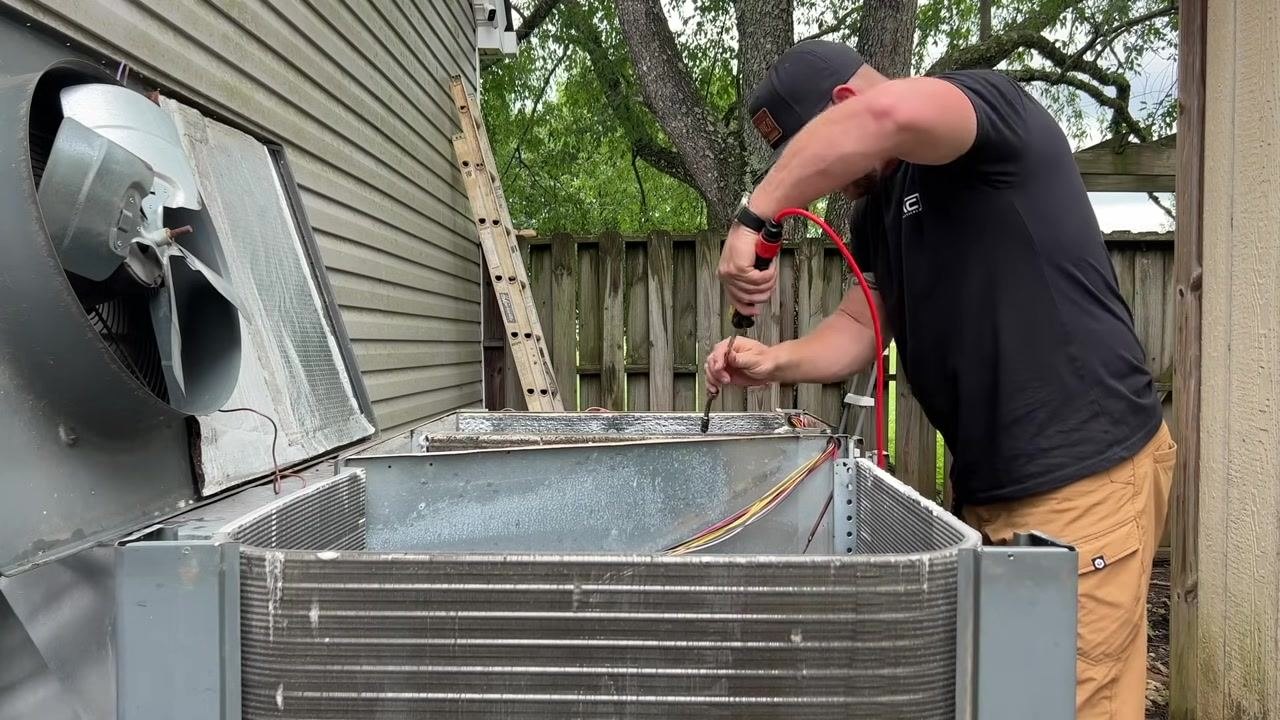
Let the cleaner dwell
Allow the coil cleaner to sit for 5 to 10 minutes so it can break down dirt and debris. Monitor the Port-A-Blaster to confirm it remains powered on, with the gauge and indicator lights active and the switch set to the appropriate pressure setting.
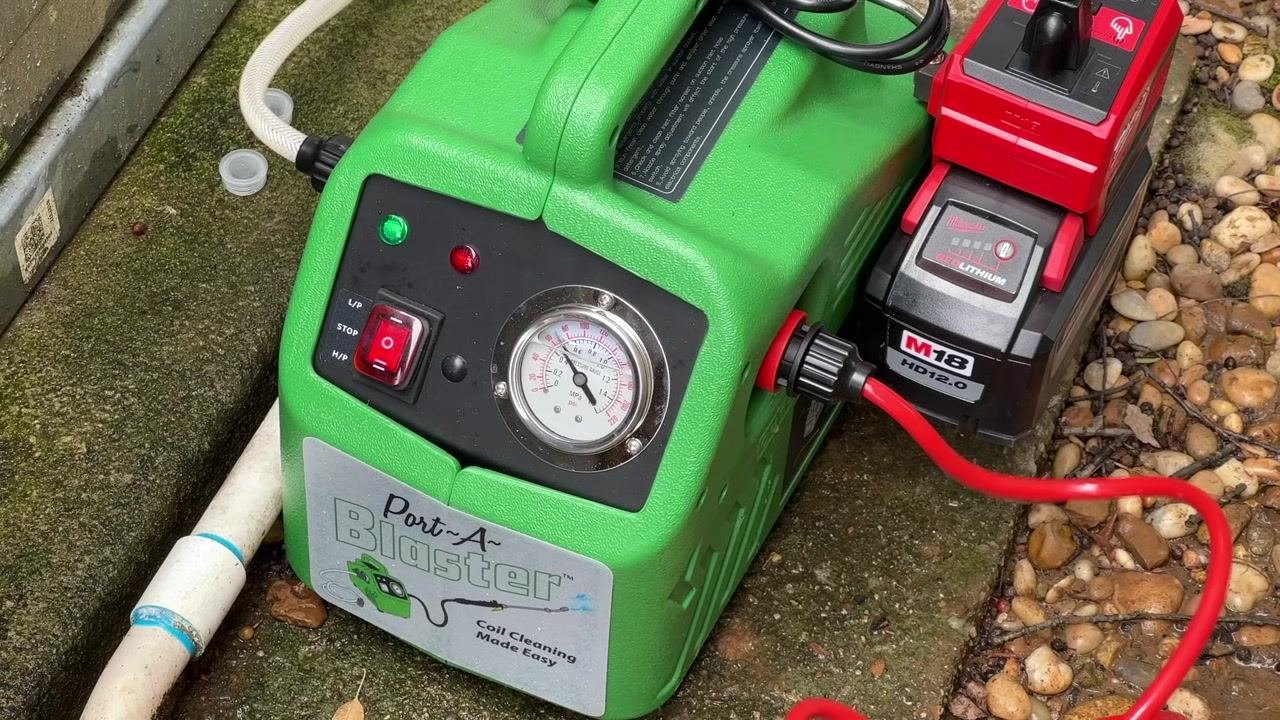
Inspect the coil while cleaner is working
Check the coil for foam coverage and observe the cleaner lifting dirt and debris.
Check both sides of the coil
Confirm that foam and cleaner have reached both sides of the coil, either by using the cleaning wand or visually inspecting the surfaces.
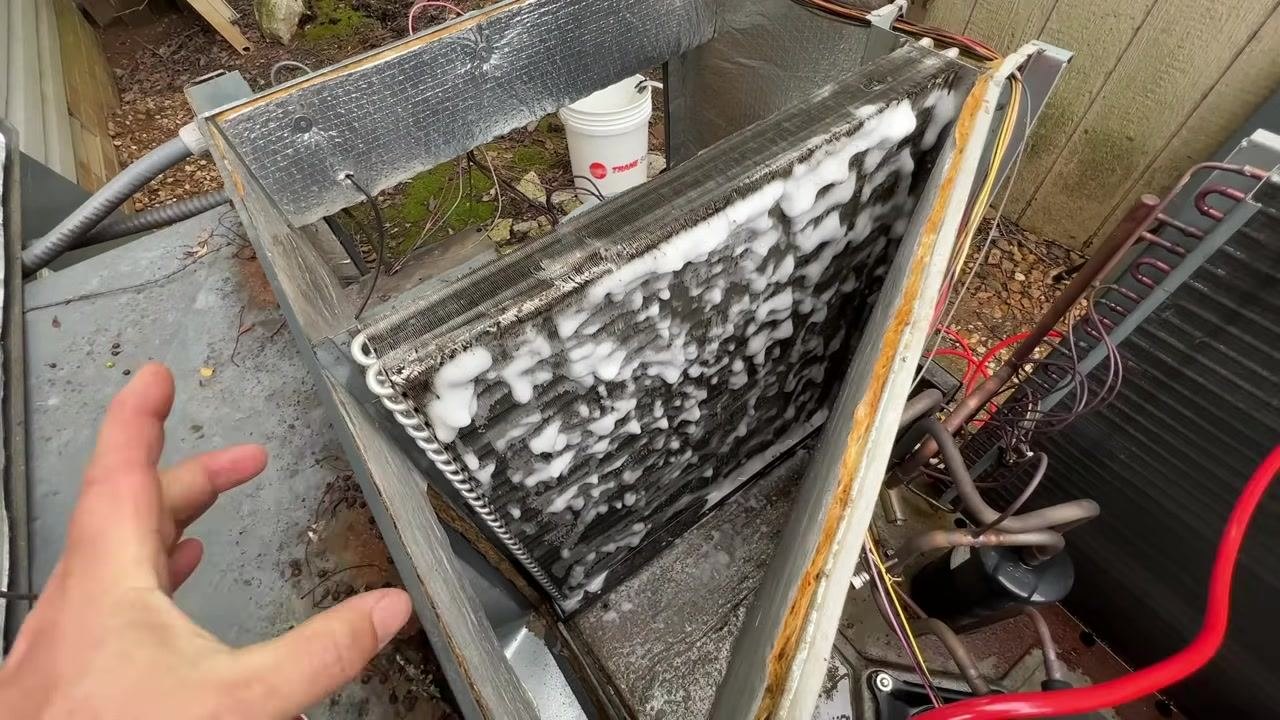
Assess overall cleaning progress
Confirm that the coil appears noticeably cleaner, with foam continuing to break down remaining debris.
Inspect the cleaned coil and drain pan
Look inside the HVAC unit to confirm that both sides of the coil and the drain pan beneath are free of dirt and debris. Ensure the coil fins are clear and the pan is clean.
Double-check the coil and pan from another angle
Inspect the coil and drain pan from a different angle to confirm thorough cleaning and verify that no residue or buildup remains.
Review the full cleaning setup
Observe the entire cleaning arrangement: the open HVAC unit, the portable coil cleaning machine, the battery, and the water bucket connected together.
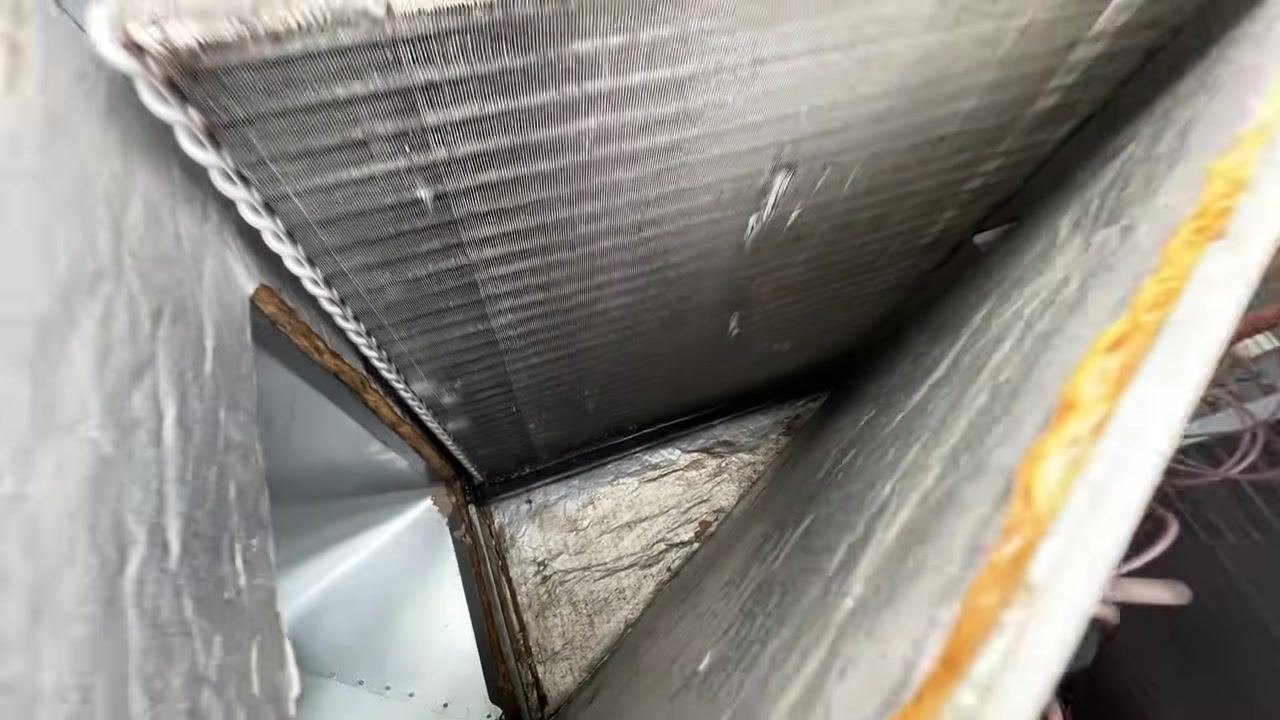
Confirm the portable system's usefulness
The portable coil cleaning system is especially useful when water is not readily available, such as in commercial applications.
Confirm the condenser coil is fully cleaned
Verify that the condenser coil has been thoroughly cleaned using the portable system before moving on.
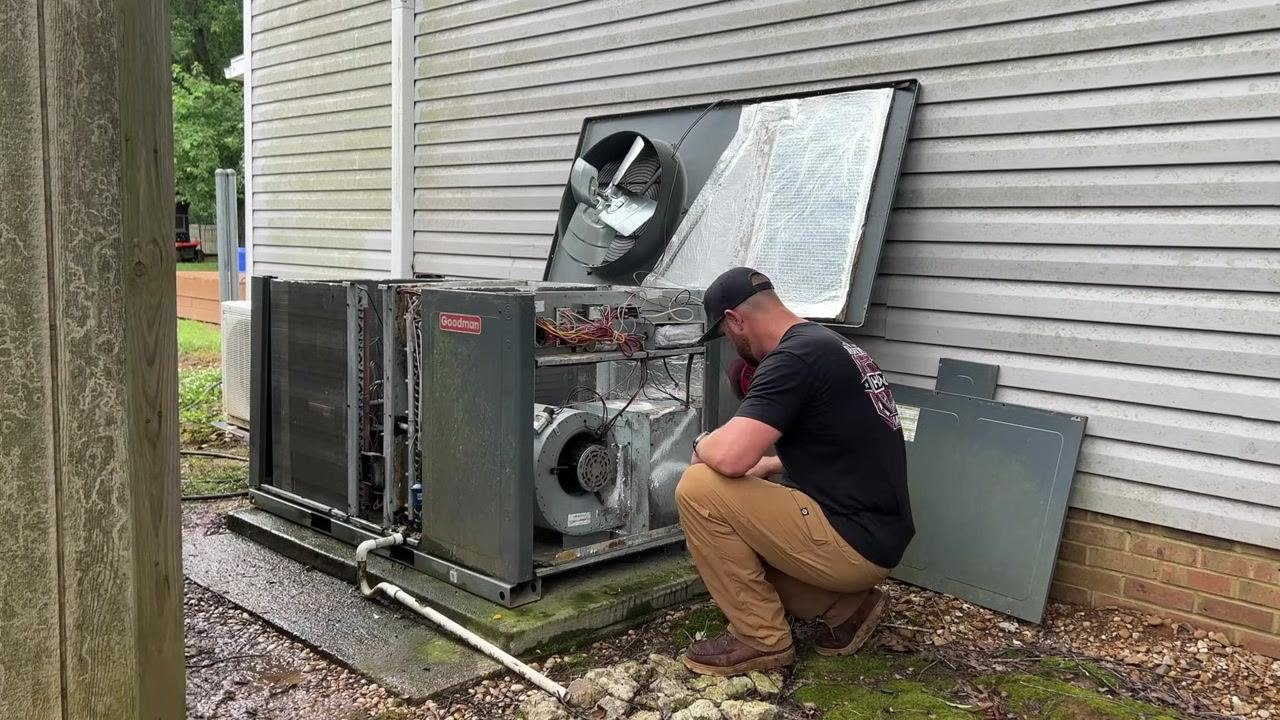
Prepare for reassembly
Remove all cleaning equipment from the immediate work area before beginning reassembly of the HVAC unit.
Clean internal components before closing the unit
Inspect the blower and internal components, applying lubricant or cleaner to the blower motor as needed.
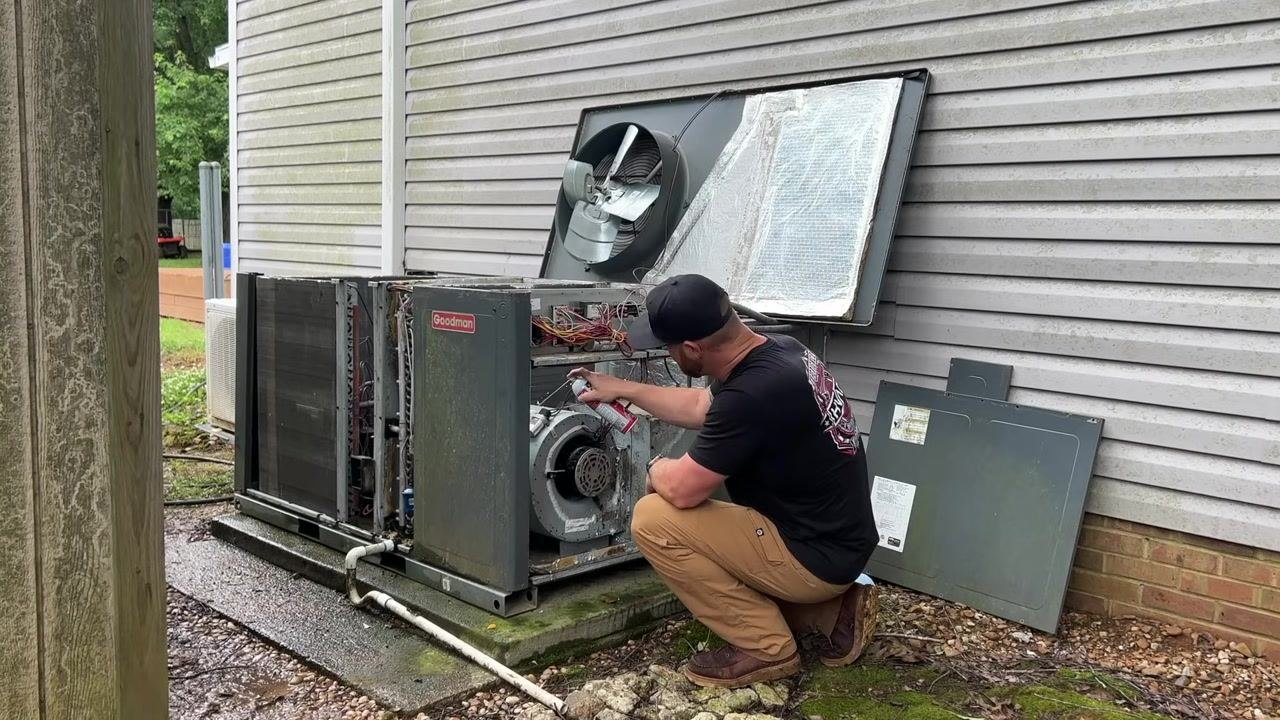
Wipe down internal parts
Use a cloth or towel to wipe down the blower and other internal parts, ensuring all surfaces are clean and dry. Keep cleaning products nearby for easy access.
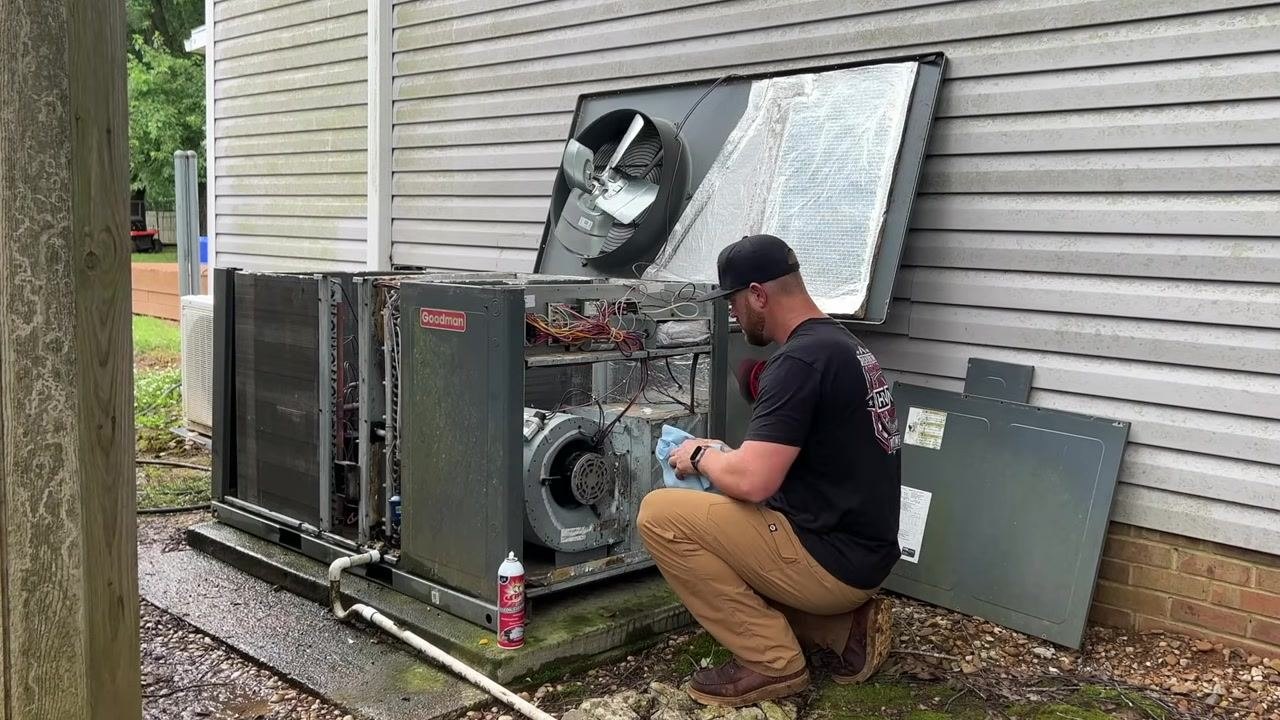
Reinstall the fan assembly and panels
Carefully lift and reposition the fan assembly and any removed panels back onto the HVAC unit. Ensure all wiring is properly routed and no tools or debris remain inside the unit.
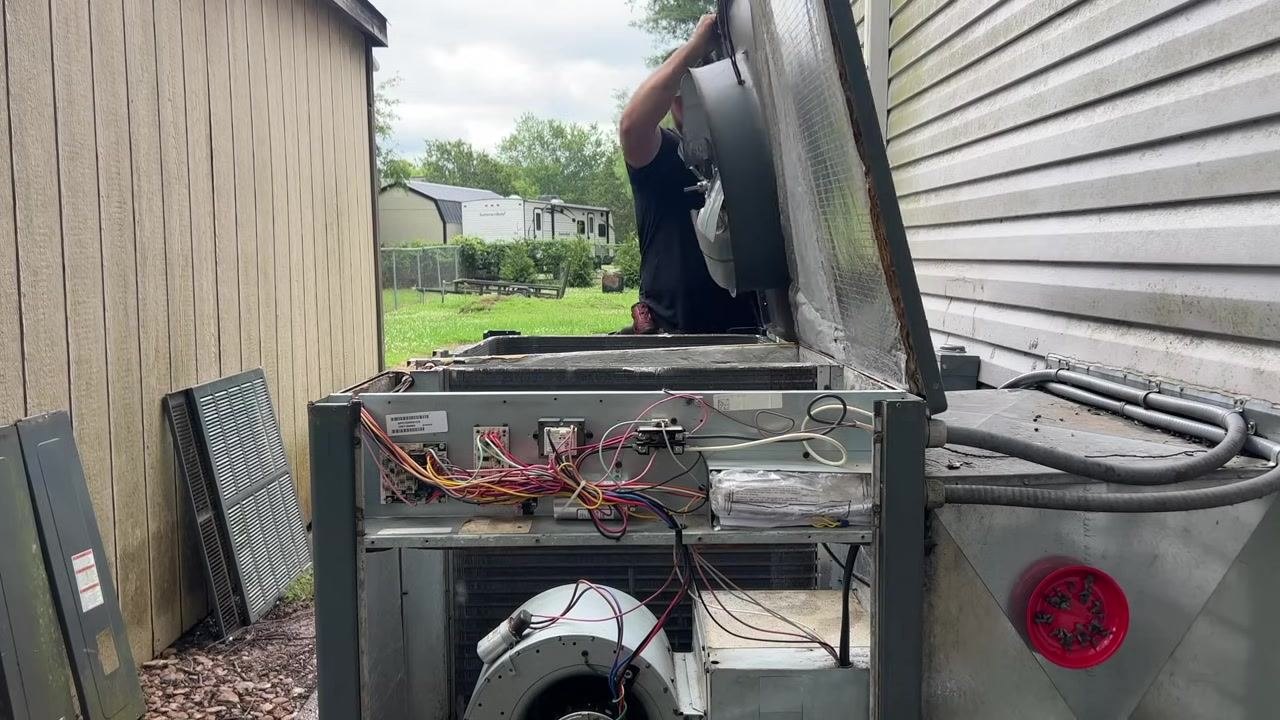
Use the low-pressure setting for indoor coils
When cleaning indoor coils, use the Port-A-Blaster's low-pressure setting to maintain control and prevent oversaturation. Reserve the high-pressure setting for outdoor coils when water access is limited.
- The Port-A-Blaster offers more control over water flow than a standard hose.
- Its compact, portable design suits both residential and commercial job sites.
- A five-gallon bucket of water is sufficient to operate the system.
Continue reassembling the HVAC unit
Gather all screws and fasteners, placing them in a magnetic tray or container to avoid losing them. Use a power drill to reinstall screws and secure the panels, ensuring all wiring is properly routed and no tools or debris are left inside.
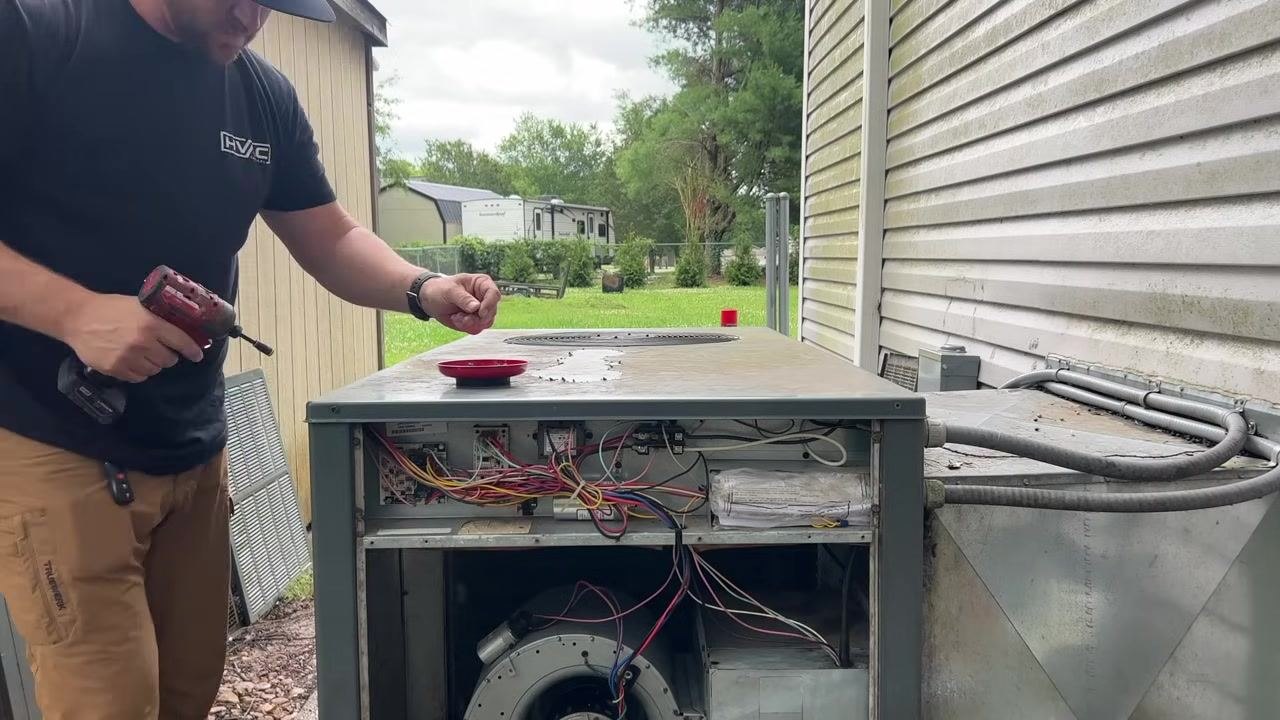
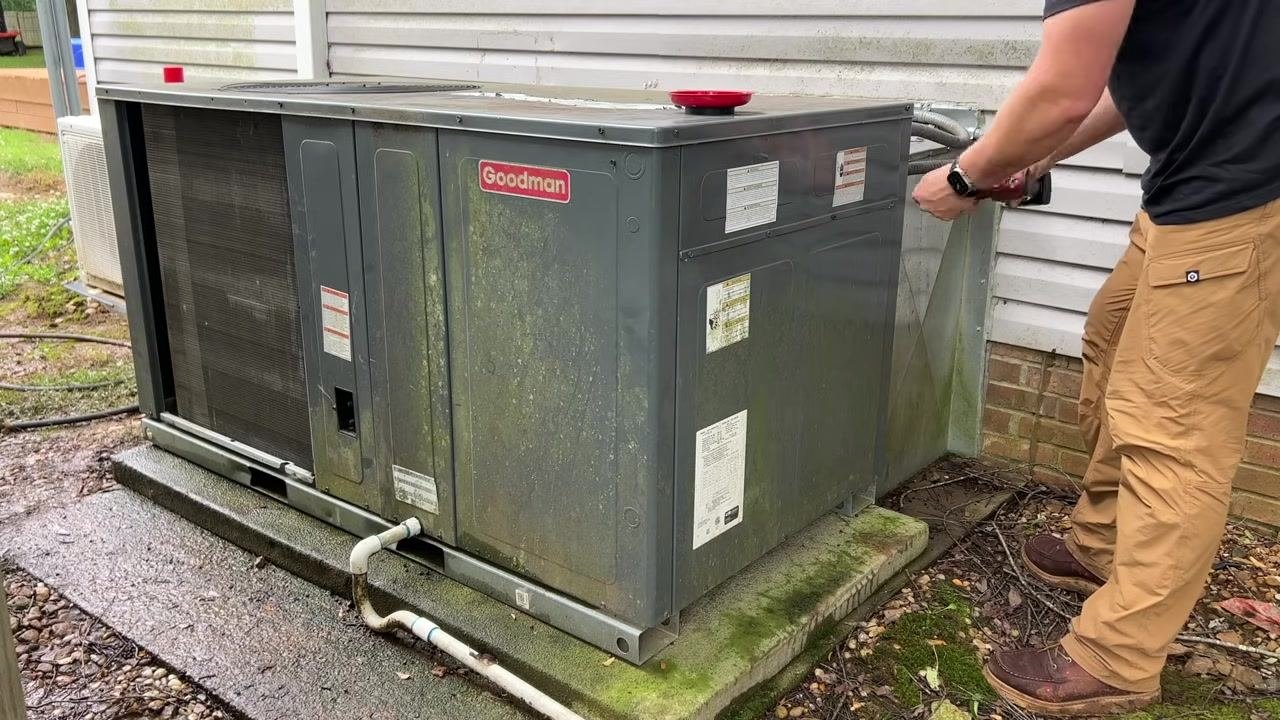
Reattach the outdoor access panel
Use a power tool, such as a cordless drill, to reattach the access panel on the outdoor HVAC unit. Ensure all screws are tightened securely and that all warning and information labels remain visible and unobstructed.
Finish securing the panel
Confirm all fasteners are in place and the panel sits flush with the unit. Double-check that no tools or parts remain on top of the unit.
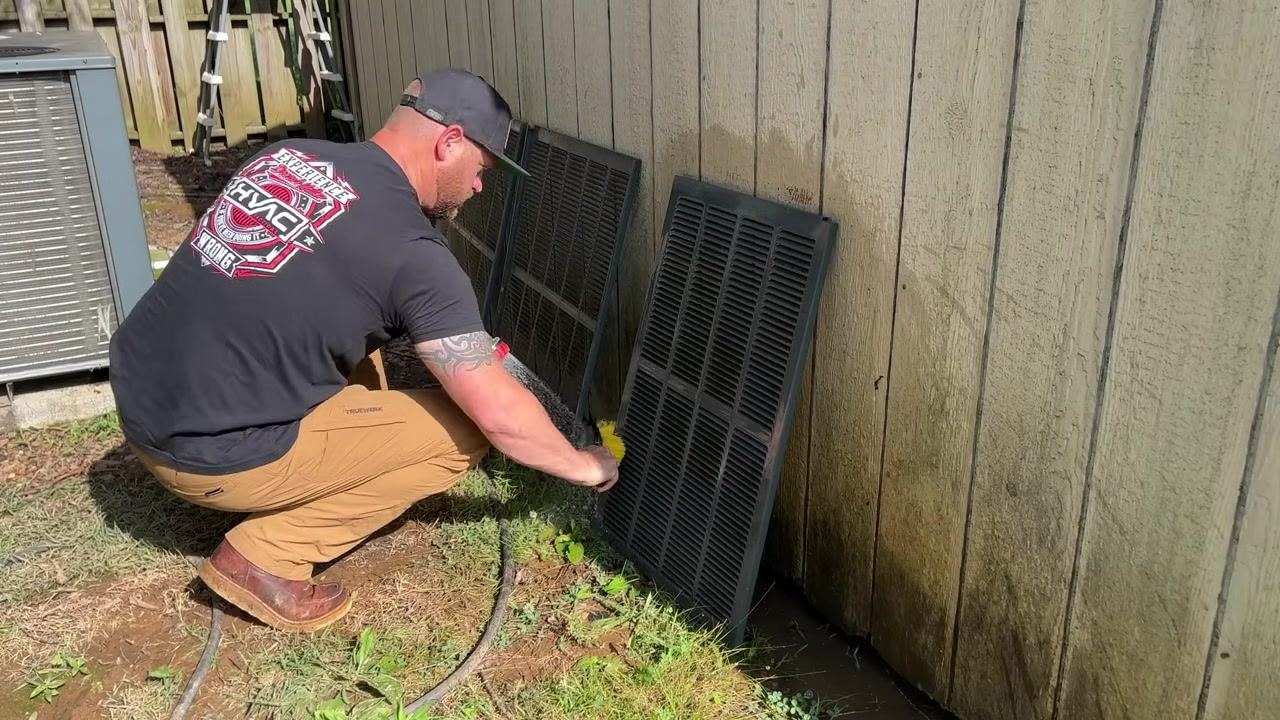
Clean the air intake and exhaust grilles
Remove the grilles from the unit and take them to a suitable cleaning area. Use a hose and brush to thoroughly clean them, ensuring all debris, dirt, and buildup are removed before reinstalling.
Reinstall the cleaned grilles
Align the grilles with the mounting slots and press them into place. Confirm they are securely attached and properly seated.
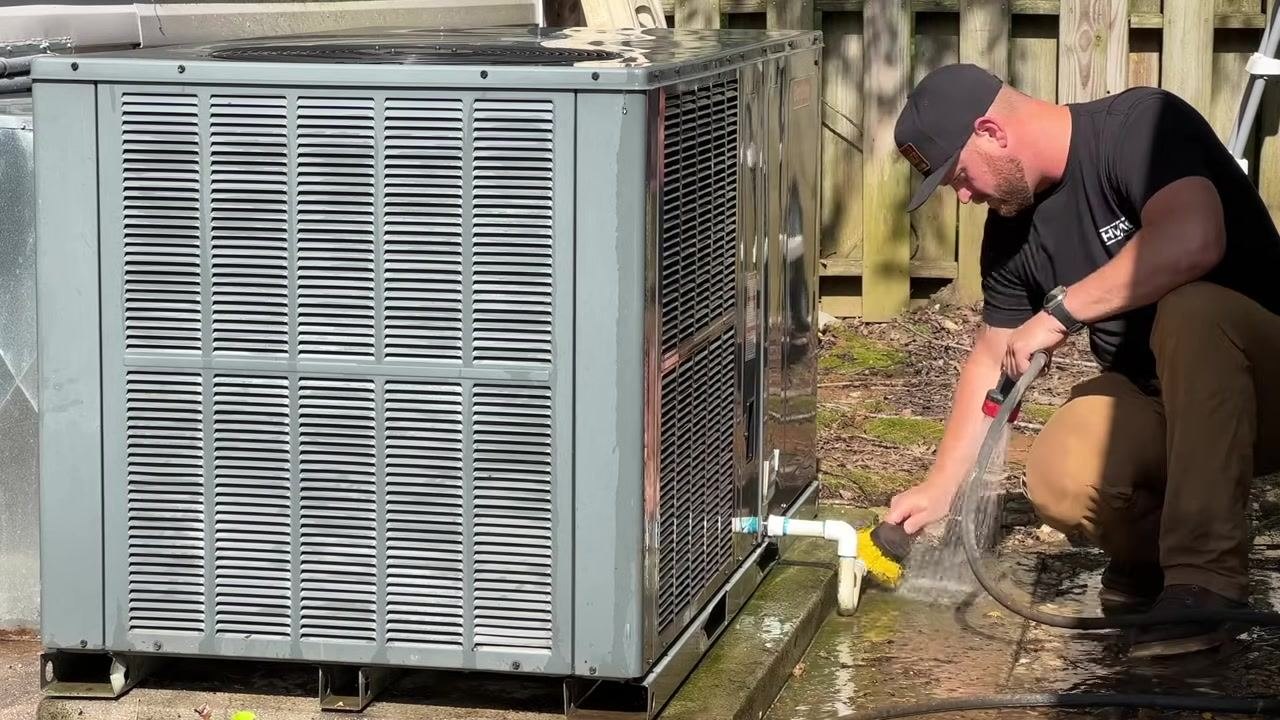
Wash the exterior shroud
Use a hose with a spray nozzle and a brush to clean the entire outer surface of the unit, focusing on removing any remaining dirt, algae, or buildup from the panels and piping.
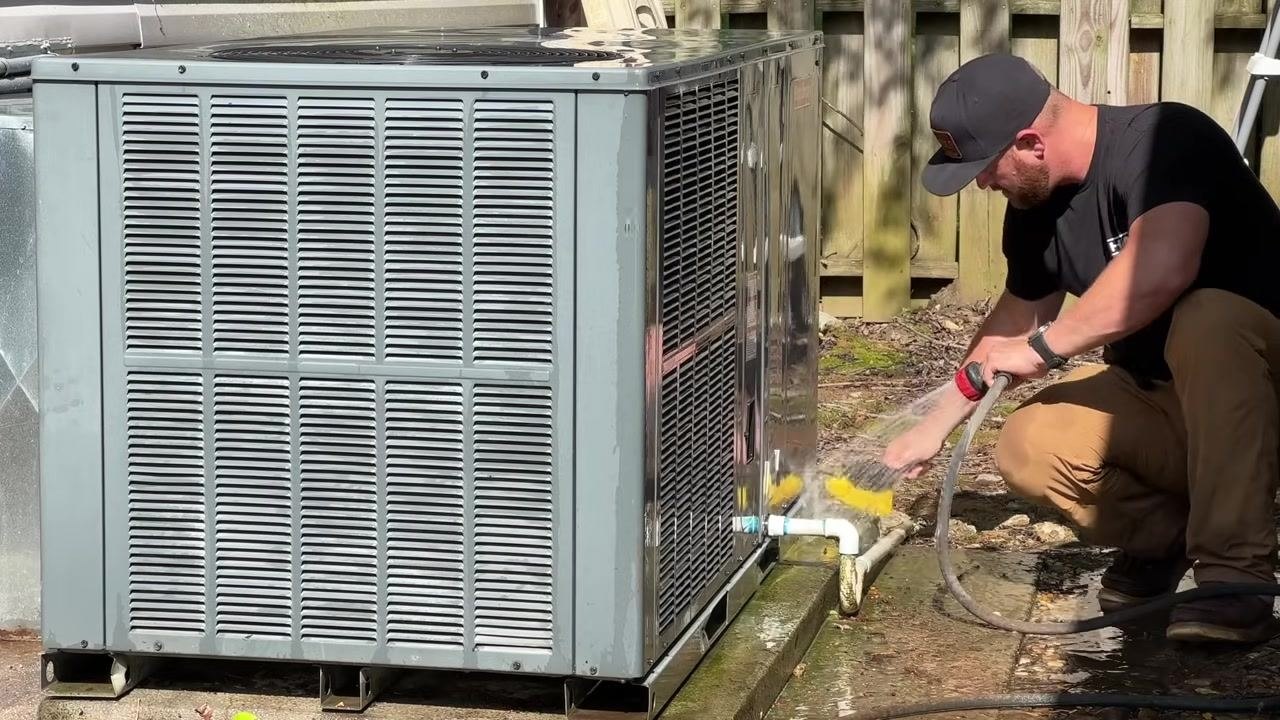
Scrub and rinse remaining surfaces
Continue scrubbing and rinsing the shroud, paying special attention to corners, seams, and the base of the unit. Rinse thoroughly to remove all soap and debris.
Clean the drain line
Rinse and scrub the drain line and surrounding area to ensure it is free of debris and buildup. Clean the seal and tight areas for a professional finish.
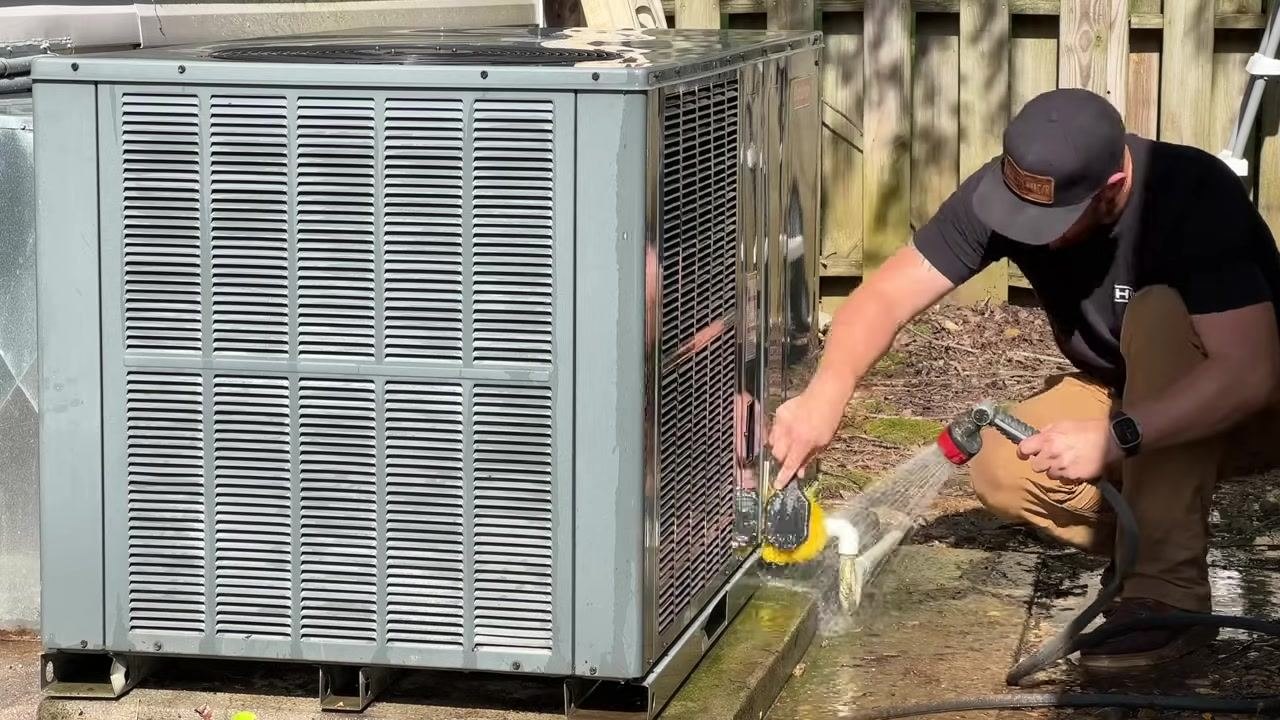
Inspect the cleaned unit
Verify that all panels, grilles, and piping are clean and free of debris. Check that the work area is tidy and all tools are accounted for.
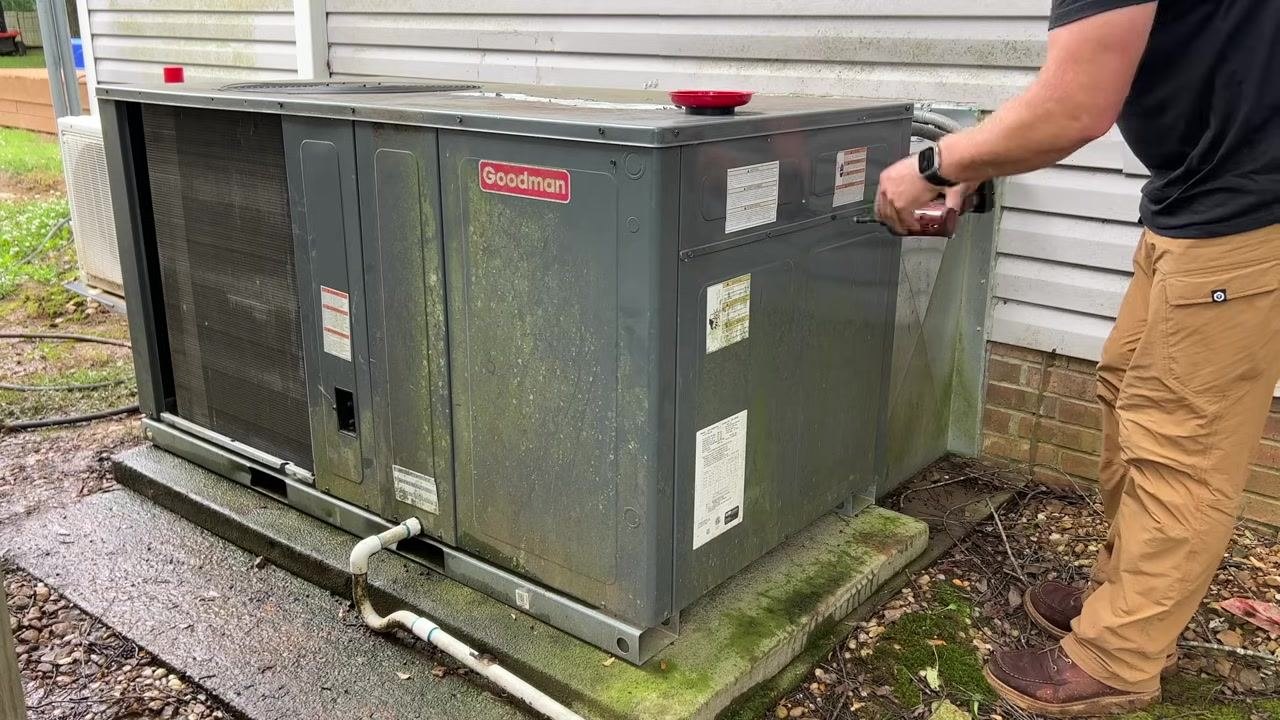
Check for missing components
Look for any service ports missing protective caps, and prepare to install new caps if necessary to ensure the unit is fully protected.
Safety note: Always follow manufacturer guidelines for cleaning and maintenance. Ensure power is disconnected before opening panels or performing any internal service, and use appropriate PPE and tools for all cleaning and inspection tasks.
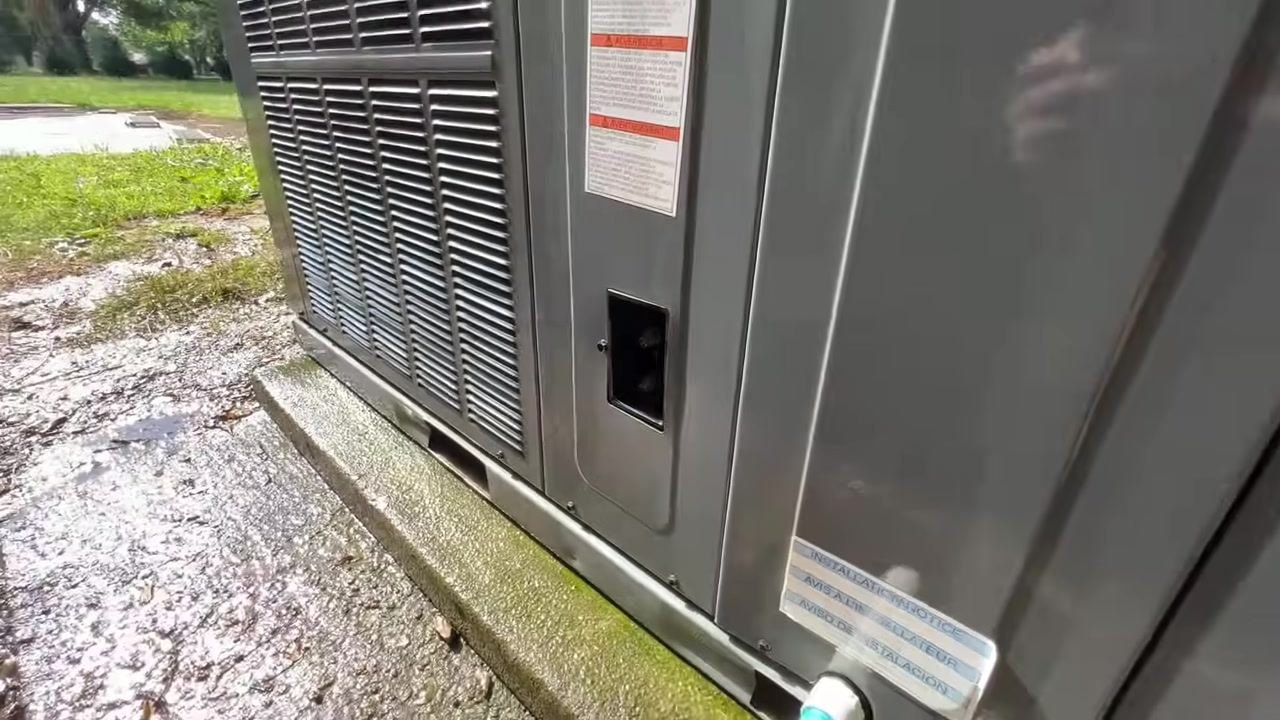
Inspect the service port area
Locate the open service port on the side panel of the outdoor unit. Ensure the area is clean and free of debris before installing new caps, and note any visible warning and installation labels.
Prepare the refrigerant safety locking caps
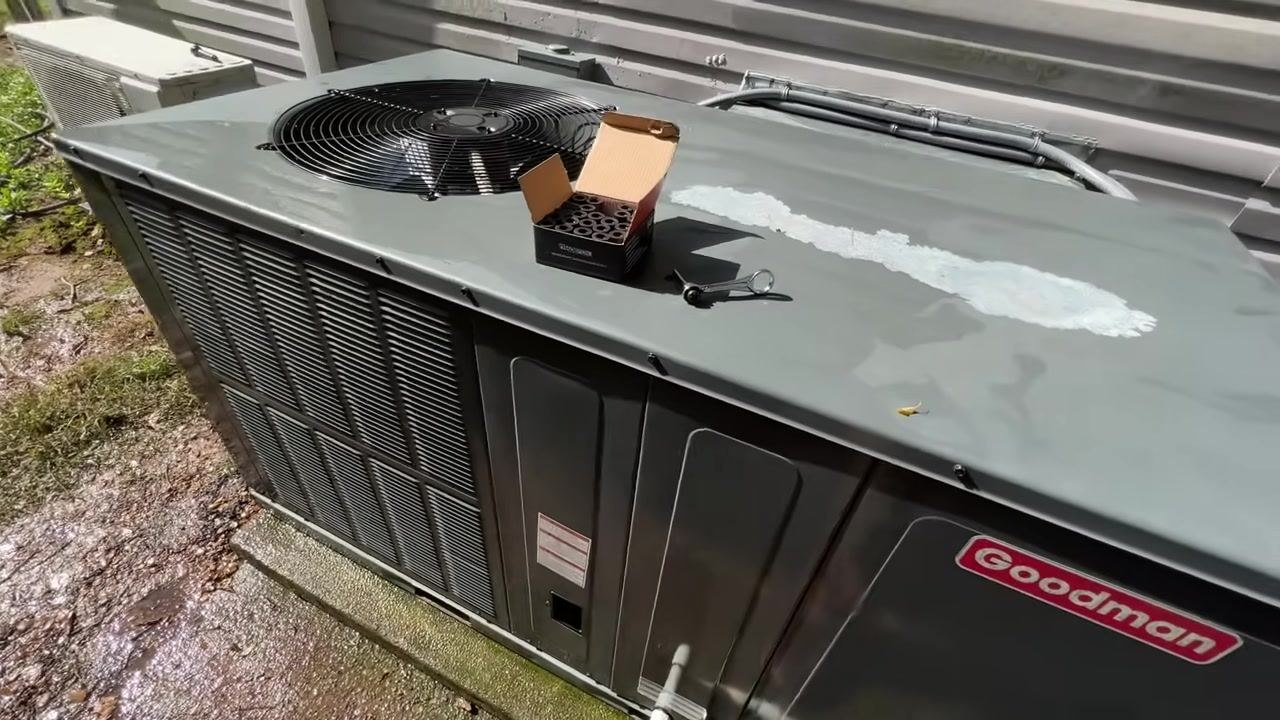
Retrieve a box of 1/4" refrigerant safety locking caps from the top of the unit. Confirm the caps do not require special tools for installation.
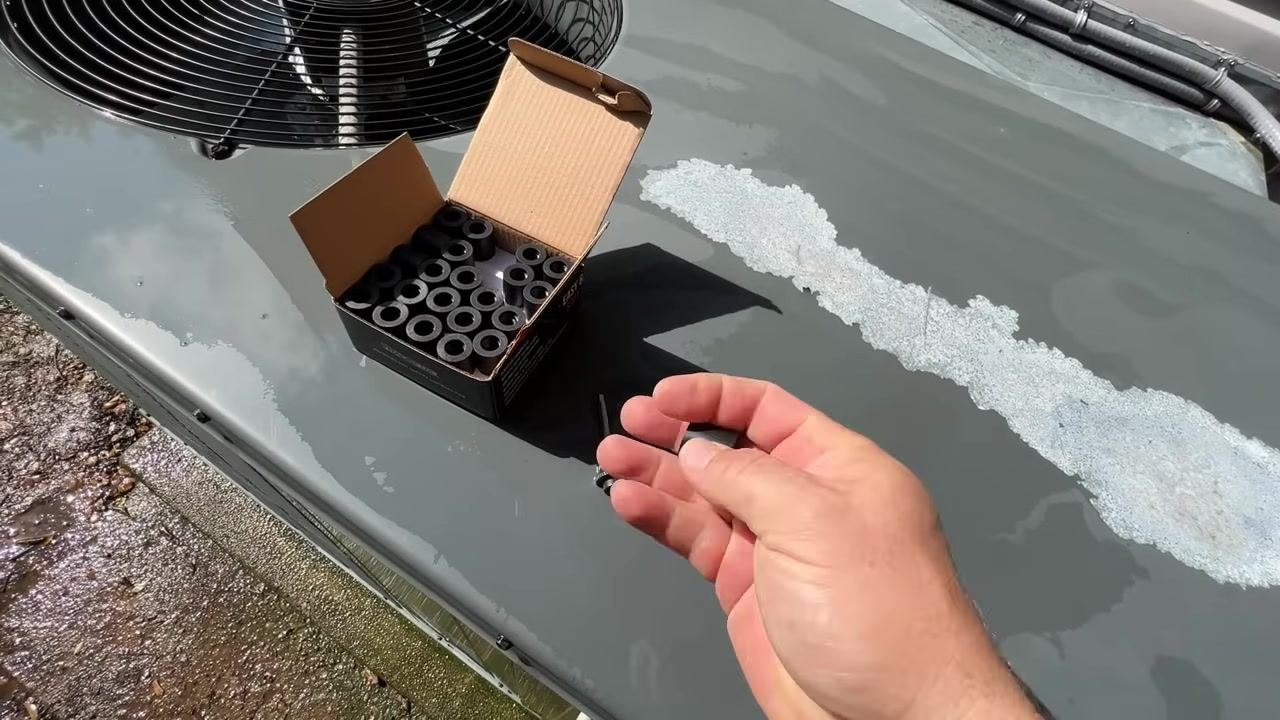
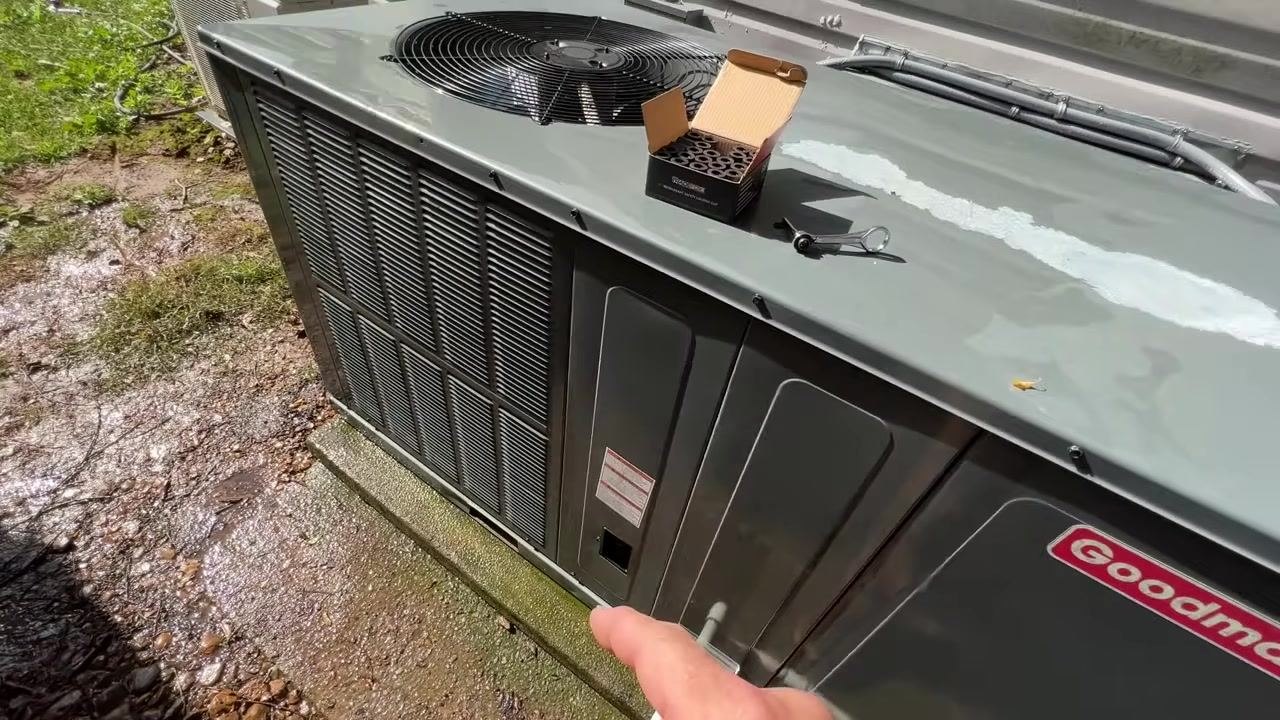
Select a locking cap
Open the box and choose a black locking cap from the neatly arranged set. Keep a wrench nearby in case it is needed.
Prepare to install the cap
Hold the selected cap ready for installation, keeping the box of additional caps and the wrench accessible on the unit.
Install the locking cap
Align the cap with the open service port and screw it on securely by hand. Ensure the cap is tight to prevent tampering or refrigerant leaks, and double-check that all service ports are capped.
Confirm final installation
Verify that all tools and packaging are removed from the unit, and inspect it to ensure all panels, grilles, and ports are secure and clean.
Verification and summary
Before closing out the maintenance session, confirm the following:
- Power was disconnected and verified de-energized before any internal work began.
- Both indoor and outdoor coils were treated with foaming coil cleaner and fully rinsed.
- The drain pan and coil fins show no remaining debris or residue.
- All grilles, shrouds, and piping surfaces are clean of dirt, algae, and buildup.
- The drain line is clear and free of buildup.
- All service ports are fitted with refrigerant safety locking caps.
- All panels are securely reattached and flush with the unit.
- No tools, screws, or packaging remain on or inside the unit.
Note: Always use manufacturer-approved safety locking caps for refrigerant ports to comply with regulations and prevent unauthorized access. Dispose of any old or damaged caps properly, and maintain a clean, organized work area throughout the maintenance process.

Generation details: cost, quality tiers
Docsie billed 7,000 credits ($4.90) to analyze this 14-minute video at standard quality. The rewrite, template fill and Word/PDF exports were included. The same video at each quality tier:
| Quality | Frames sampled | Credits | Approx. cost |
|---|---|---|---|
| Draft | every 16-30 s | 3,500 | $2.45 |
| Standard (this guide) | every 8-15 s | 7,000 | $4.90 |
| Detailed | every 4-7 s | 14,000 | $9.80 |
| Ultra | every 1-3 s | 28,000 | $19.60 |
Credits priced at $0.70 per 1,000; plans include a monthly allowance. Enterprise customers on on-premise or bring-your-own-model deployments run this on their own inference and pay no per-video credits.
Generated by Docsie Video-to-Docs on 2026-09-14 from a 13-minute video. Screenshots are frames from the source video and belong to their creator, Quality HVACR, whose original is embedded above. If you own this video and want the guide removed or credited differently, contact us and we will act within one business day.