
How to Repair Composite Aircraft Panels
This standard operating procedure explains how to repair composite aircraft panels using a damaged Cessna 182 tail cone as a working example. It walks through damage assessment, hole reshaping, interior and exterior fiberglass application, filler work, and final priming and painting so that the finished panel is structurally sound and visually seamless.
Video: Fiberglass repair of Cessna 182 tailcone, aircraft composites by Mark Phillips (2020). All credit for the demonstration goes to the creator; watch the original on YouTube. The written guide below was generated from this video by Docsie. Creator? Request a change or removal.
This standard operating procedure explains how to repair composite aircraft panels using a damaged Cessna 182 tail cone as a working example. It walks through damage assessment, hole reshaping, interior and exterior fiberglass application, filler work, and final priming and painting so that the finished panel is structurally sound and visually seamless.
Purpose
The purpose of this procedure is to provide a consistent, repeatable method for repairing composite aircraft panels that have sustained impact damage, punctures, or stress cracks. Following these steps ensures that damaged areas are properly reshaped, reinforced with fiberglass, filled, sanded, and protected before the part is returned to service.
Scope
This procedure applies to composite aircraft components, such as a Cessna 182 tail cone, that show visible damage including holes, jagged edges, or cracks radiating from attachment points. It covers the full workflow from initial inspection through interior and exterior fiberglass layup, surface filling, sanding, UV protection, and final painting.
Required equipment and PPE
- Safety glasses (worn throughout the repair process)
- Visible ID badge for workshop identification
- Sturdy workbench
- Grinding and sanding tools, including a sander and sanding blocks
- Sandpaper of varying grits
- Fiberglass cloth (pre-cut pieces, including thin bi-directional cloth)
- Mixed resin
- Dry micro filler
- Body filler
- Peel ply
- 70% isopropyl alcohol solution for surface cleaning
- Marking pen
- Scissors for trimming fiberglass
- UV-protectant primer
- Spray gun and yellow air hose
- Paint booth with active ventilation and metal grating
- Respirators and gloves for painting personnel
Assessing and preparing the damaged tail cone
1. Identify the work area and gather materials. Enter a well-equipped workshop with organized shelves, tools, and safety equipment. Wear safety glasses and a visible ID badge for safety and identification. Place the damaged Cessna 182 tail cone on a sturdy workbench and ensure all necessary composite repair materials and tools are within reach.
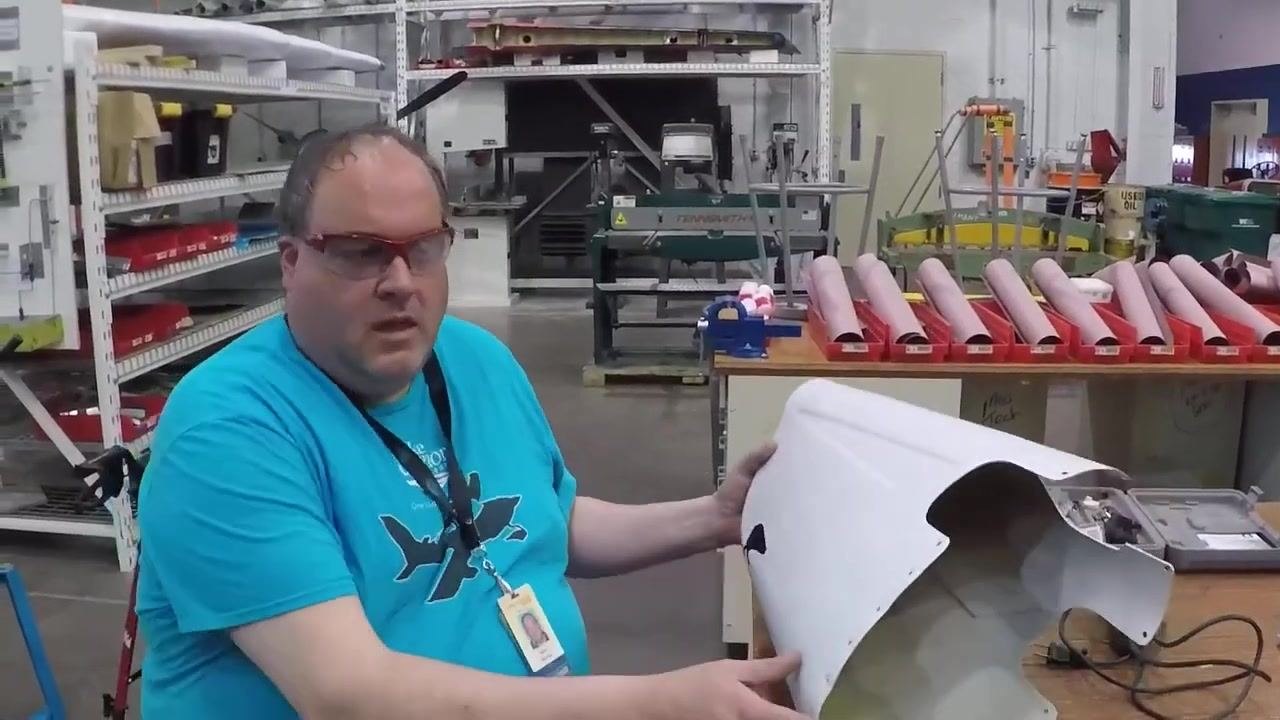
2. Inspect the damage. Examine the tail cone for visible damage, such as holes, cracks, or jagged edges. Note the primary area of damage, which may appear as a puncture or tear likely caused by an impact, such as a rock strike. Identify additional areas of concern, including cracks around attachment holes.
3. Plan the repair approach. Decide to stop-drill the end of any cracks to prevent further propagation. Plan to grind away the jagged edges of the hole, reshaping it into a smooth oval or teardrop shape. Prepare to clean up both the exterior and interior surfaces around the damaged area.
4. Prepare the damaged area. Mark the area to be reshaped, ensuring the final contour will be smooth and free of sharp edges. Anticipate that the reshaped hole will be more of a teardrop than a perfect oval. Plan to sand the area down to bare material, removing all paint and debris.
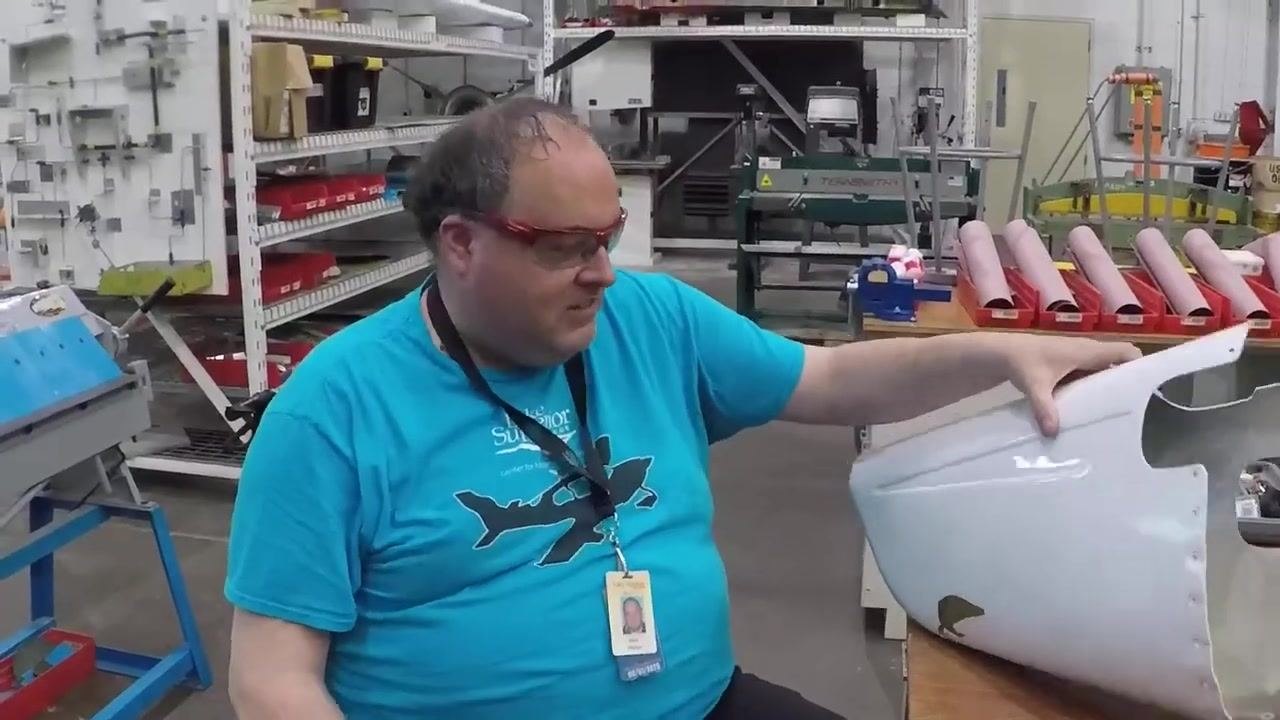
5. Clean and sand the interior. Before applying any composite materials, thoroughly clean the inside of the tail cone around the damaged area. Sand the interior surface to ensure proper adhesion for the fiberglass repair.
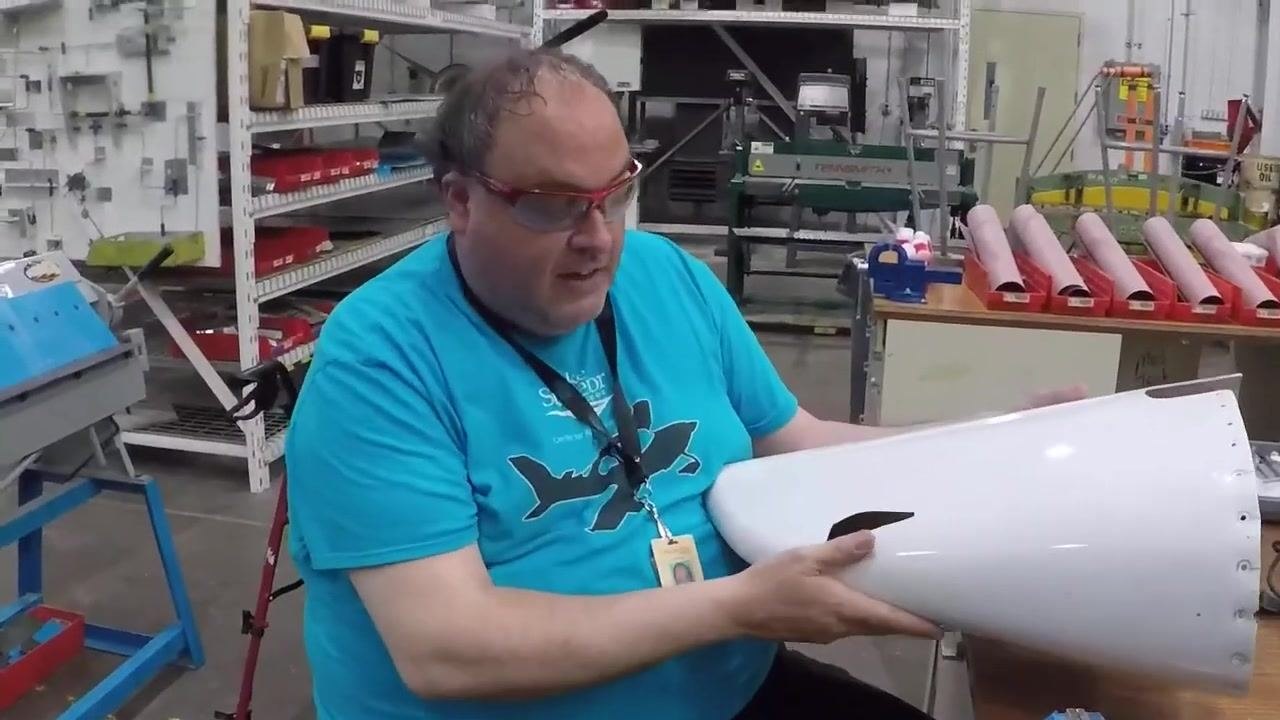
6. Lay the first layer of fiberglass. Cut a piece of fiberglass cloth to fit the interior contour of the reshaped hole. Lay the fiberglass inside the cone, ensuring it conforms to the surface. Allow the fiberglass to harden and cure fully, creating a strong backer for the repair.
7. Build up the repair from the outside. Once the interior fiberglass has cured, prepare to lay another layer of fiberglass on the exterior surface. Apply body filler as needed to smooth the transition between the original material and the repair. After shaping and sanding, plan to apply a final layer of fiberglass over the entire repair area, feathering the edges for a seamless finish.
8. Perform final surface preparation. Sand the repaired area to blend it smoothly with the surrounding surface. Ensure all paint is removed from the repair zone to allow for proper adhesion of new materials.
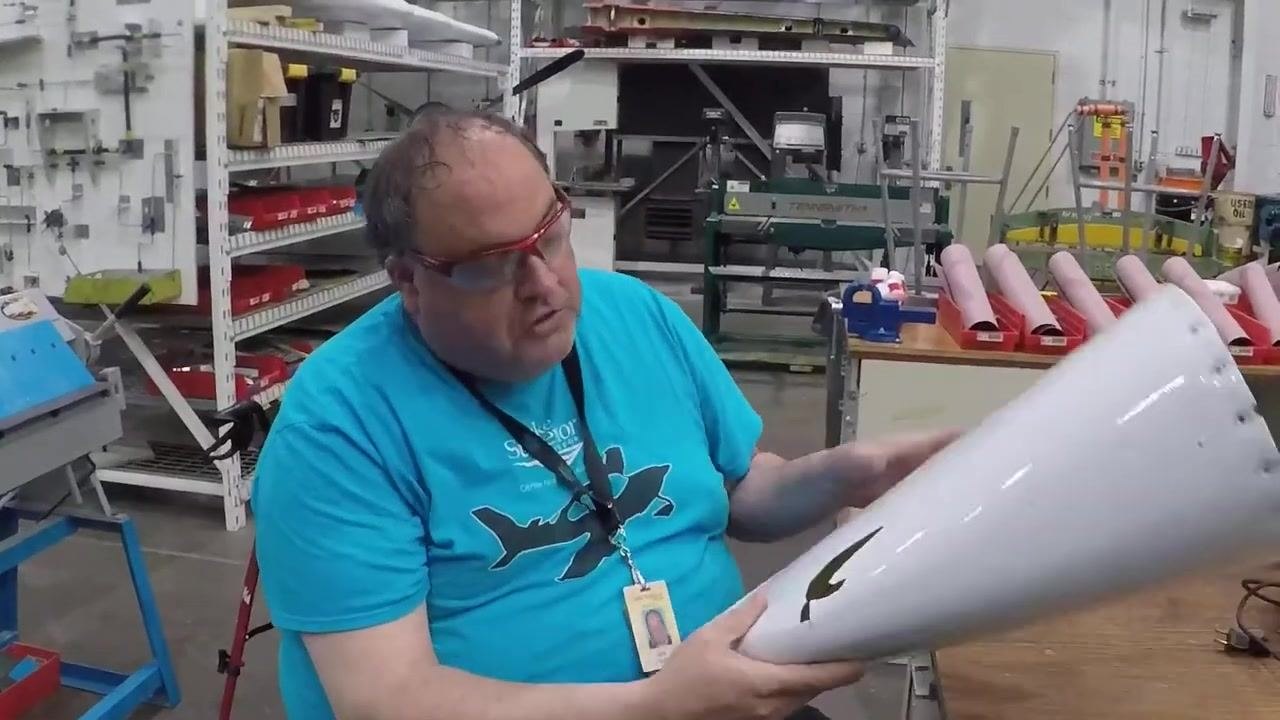
9. Inspect attachment holes for cracks. Examine the row of attachment holes at the rear of the tail cone. Identify any cracks radiating from these holes, which are common in stressed areas. Plan to reinforce these holes by laying a couple of layers of fiberglass around them.
Completing surface prep and laying exterior fiberglass
10. Re-drill attachment holes and prepare for painting. After reinforcing the cracked attachment holes with fiberglass, re-drill the holes to restore their original size and alignment. Plan to paint the repaired area after all composite work is complete.
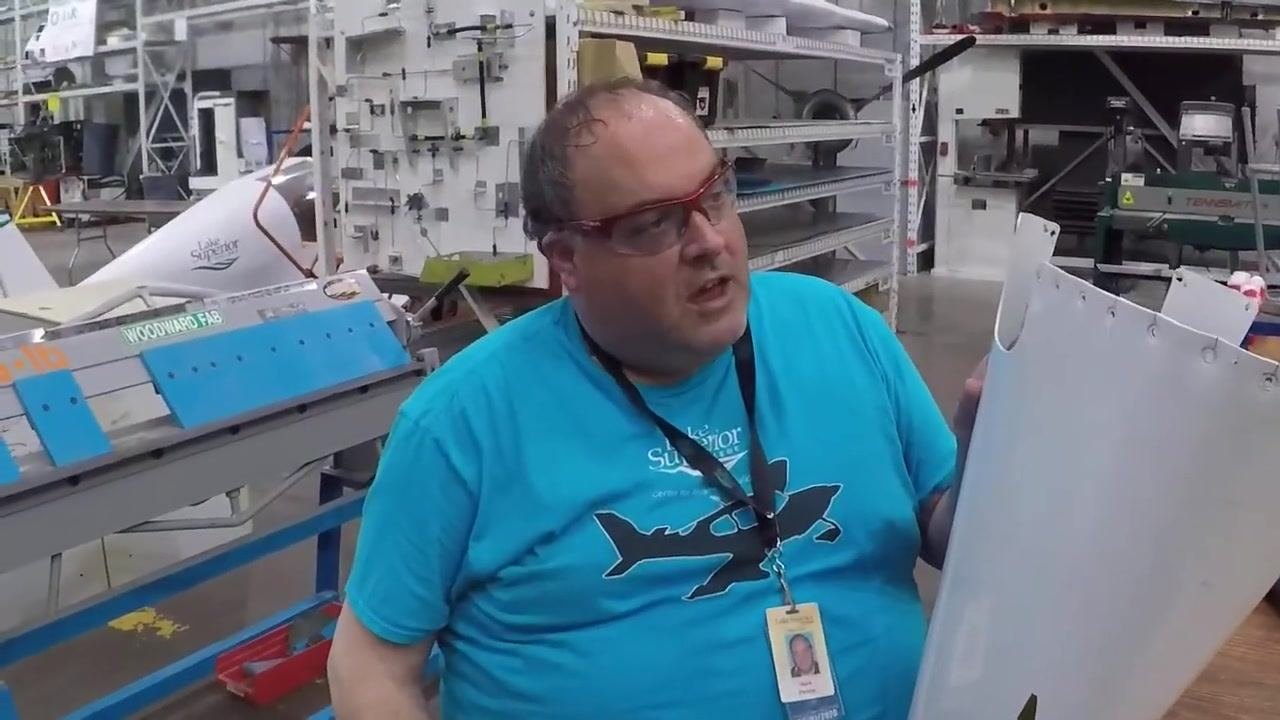
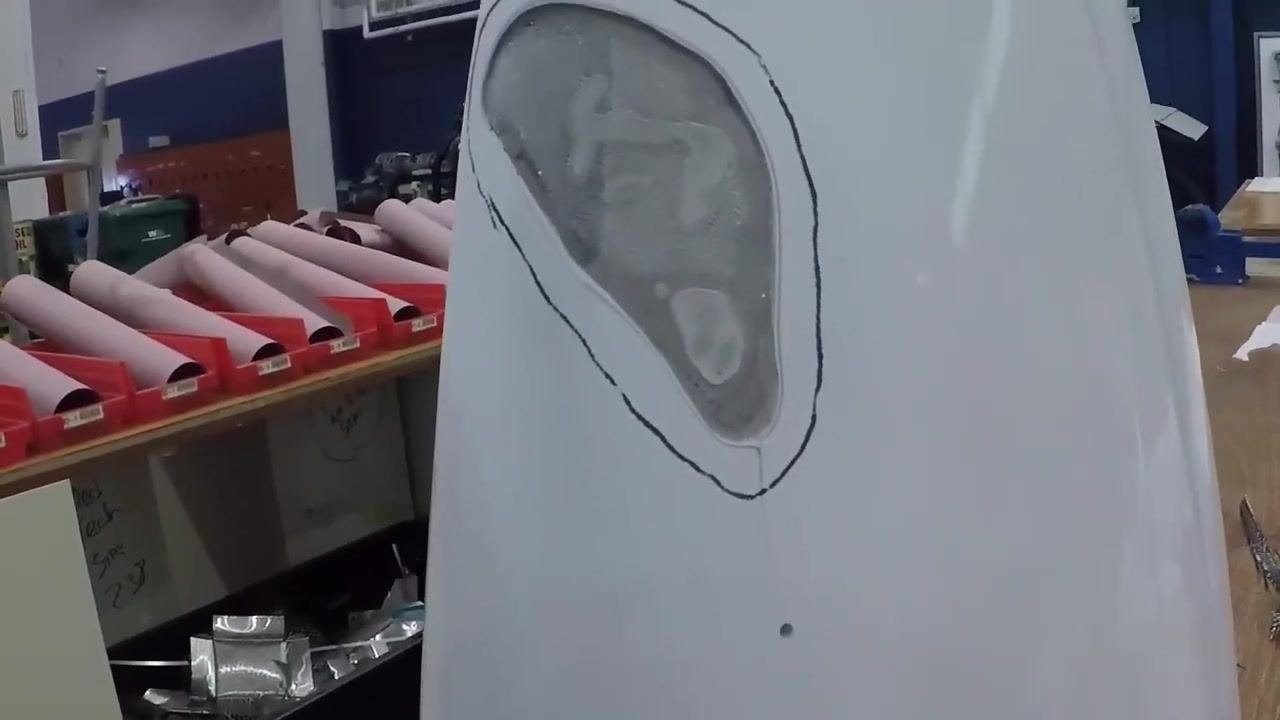
11. Review the prepped damage area. Inspect the tail cone after initial prep work. Observe that the gouge has been reshaped into a smooth teardrop or oval shape. Confirm that all edges have been sanded smooth and any cracks have been stop-drilled. Note that the area is ready for fiberglass backing.
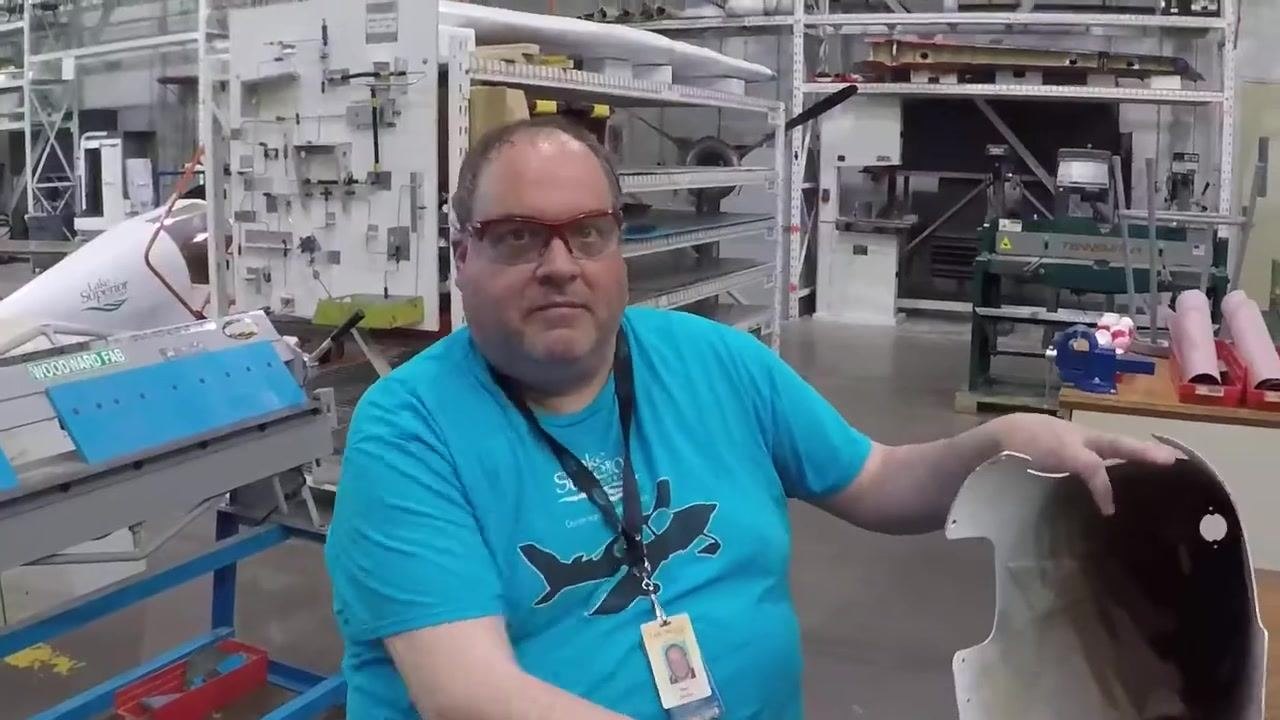
12. Examine the detail of the reshaped hole. Examine the exterior of the tail cone to see the reshaped, sanded hole. Ensure the contour is smooth and free of sharp edges, matching the planned teardrop shape.
13. Inspect the attachment holes. Place the tail cone on the workbench and closely inspect the row of attachment holes. Confirm that cracks have been stop-drilled and the area is ready for reinforcement.
14. Clean and sand the interior again. Thoroughly clean the inside of the tail cone around the damaged area. Sand the interior surface to ensure it is ready to accept a layer of fiberglass.
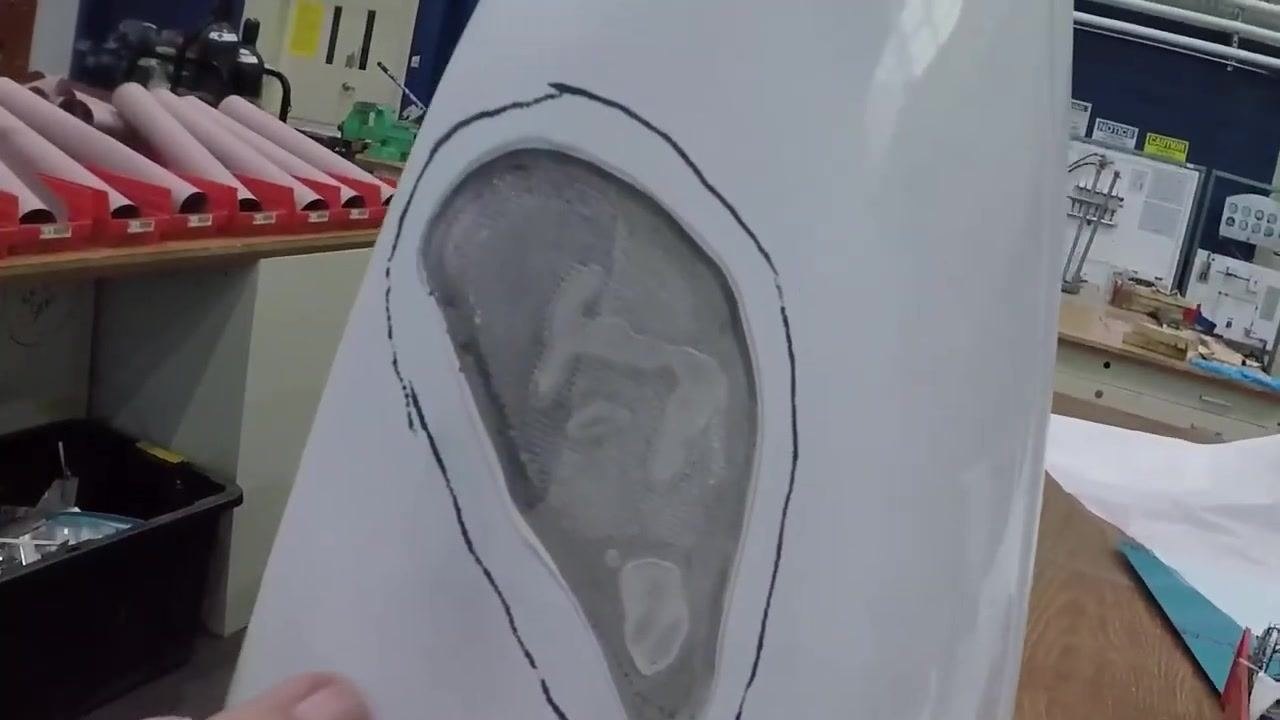
15. Check the cured fiberglass backing. Allow the fiberglass applied to the interior to cure fully. Inspect the cured fiberglass backing from the exterior, noting the pen mark used to measure the required size for the next fiberglass layer.
16. Prepare for exterior fiberglass application. Sand the exterior repair area to ensure proper adhesion. Use 70% isopropyl alcohol to clean the surface and remove any pen marks or debris. Gather all necessary materials, including pre-cut fiberglass pieces, mixed resin, and dry micro filler.
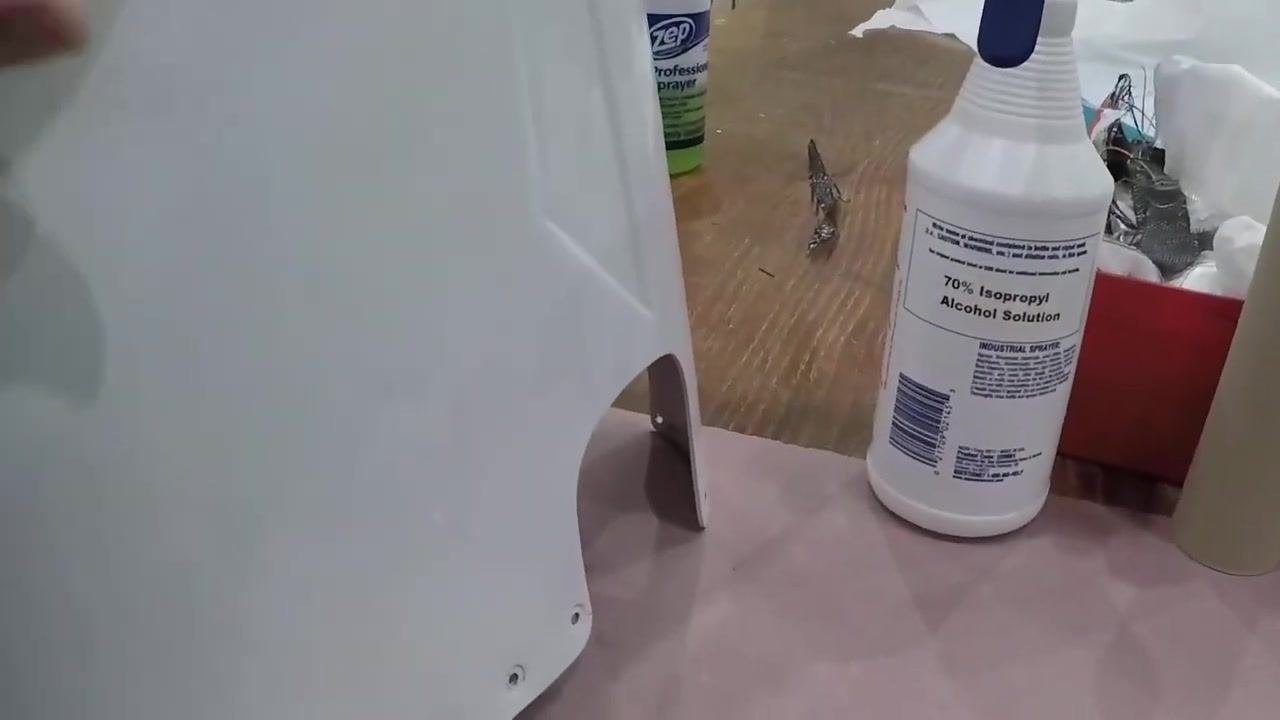
17. Perform a final surface check before laying fiberglass. Double-check that the repair area is sanded, cleaned, and free of contaminants. Confirm the pen outline matches the area to be covered with fiberglass.
18. Lay exterior fiberglass and apply micro filler. Lay the pre-cut fiberglass pieces over the sanded and cleaned repair area, ensuring full coverage within the pen outline. Apply dry micro filler as needed to fill any low spots and ensure a smooth transition. Allow the repair to cure fully before proceeding to final sanding and painting.
Filling, sanding, and final surface preparation
19. Apply dry micro to low spots and pinholes. Fill the previously repaired area with dry micro, a lightweight filler. Ensure the dry micro fills all low spots and pinholes left after the initial fiberglass and sanding steps. Treat the dry micro as you would a body filler, applying it smoothly and evenly. Allow the dry micro to cure fully before proceeding.
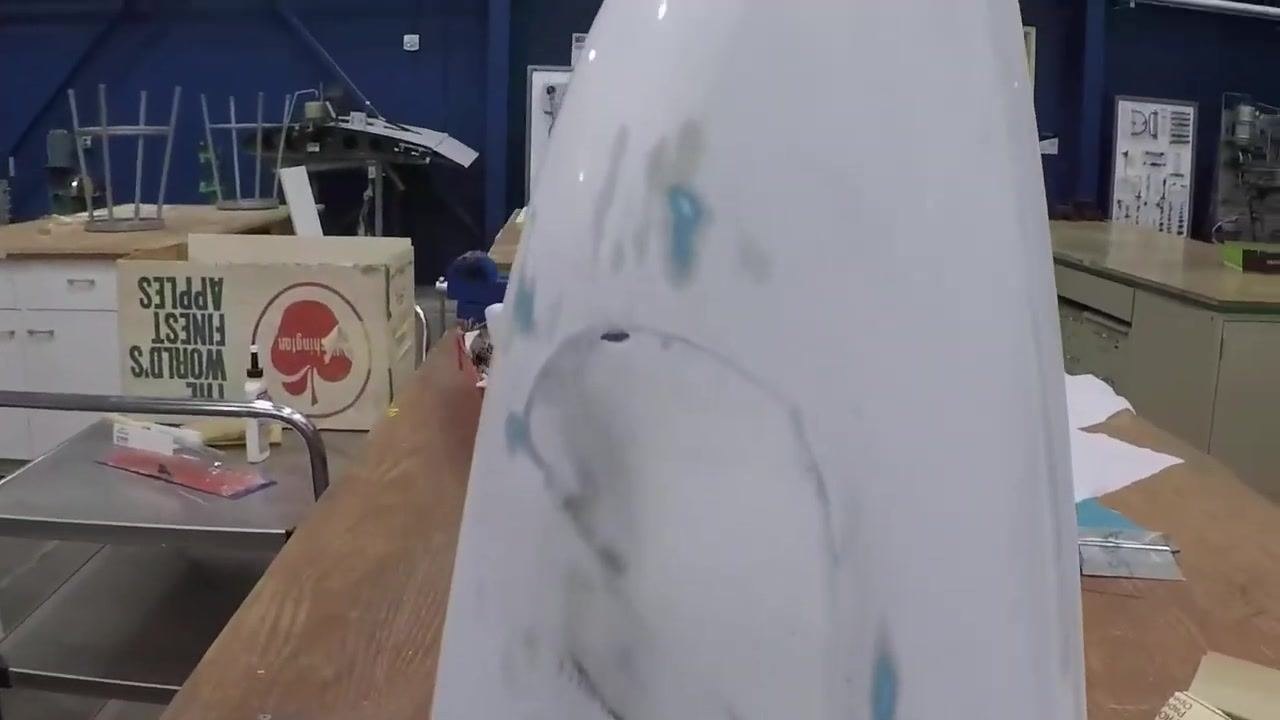
20. Sand the filled area for a smooth contour. Sand the dry micro-filled area until it is flush and contoured with the rest of the tail cone. Check that the surface is smooth and matches the original shape of the part. Inspect for any remaining pinholes or imperfections; these are normal and can be filled with additional dry micro as needed.
21. Inspect the repair area. Examine the filled and sanded area for uniformity and smoothness. Confirm that the repair area is properly contoured and ready for further finishing.
22. Continue sanding the entire tail cone. Begin sanding the entire tail cone to prepare for painting. Pay special attention to prepping the edges and blending the repair area with the rest of the surface.
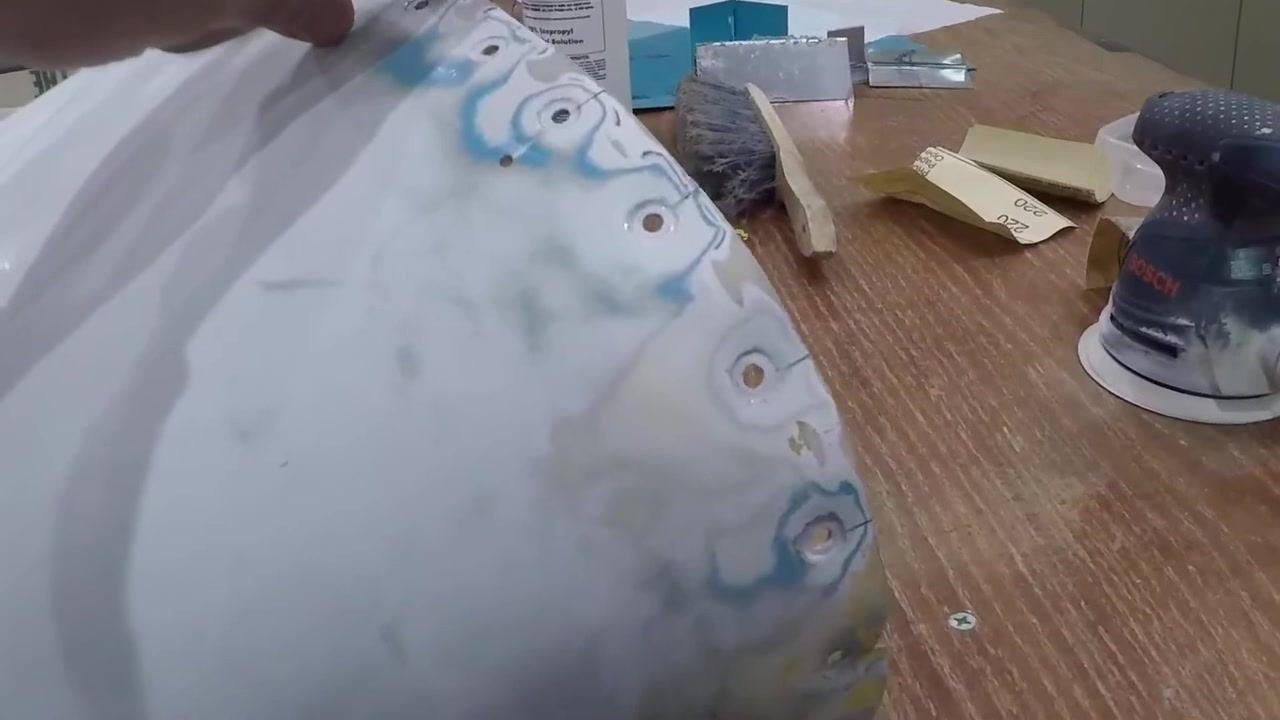
23. Prepare for additional fiberglass layers. Plan to lay additional layers of fiberglass over the repaired area, especially at the end of the tail cone. Cut fiberglass pieces to size: one layer approximately 1 inch wide, and another about 1.5 inches wide, to reinforce the area. Identify any cracks that have been stop-drilled; these will be covered and filled with dry micro resin before fiberglass application.
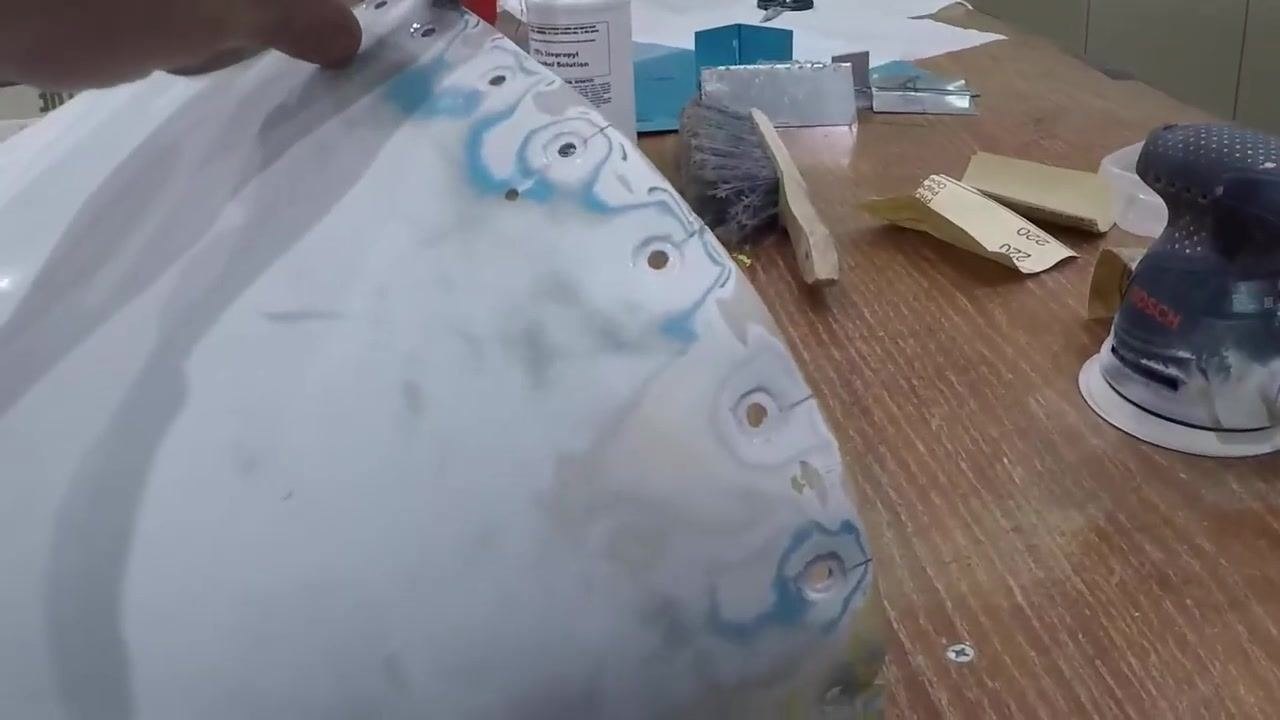
24. Fill stop-drilled cracks with dry micro resin. Locate all stop-drilled cracks around the attachment holes. Fill each stop-drilled crack with dry micro resin to ensure structural integrity. Allow the resin to cure before proceeding to fiberglass application.
Safety note: Allow adequate cure time before further handling to avoid disturbing uncured resin.
25. Perform a final surface inspection before fiberglass application. Inspect the entire repair area, ensuring all cracks are filled and the surface is smooth. Confirm that the area is ready for the final layers of fiberglass and eventual painting.
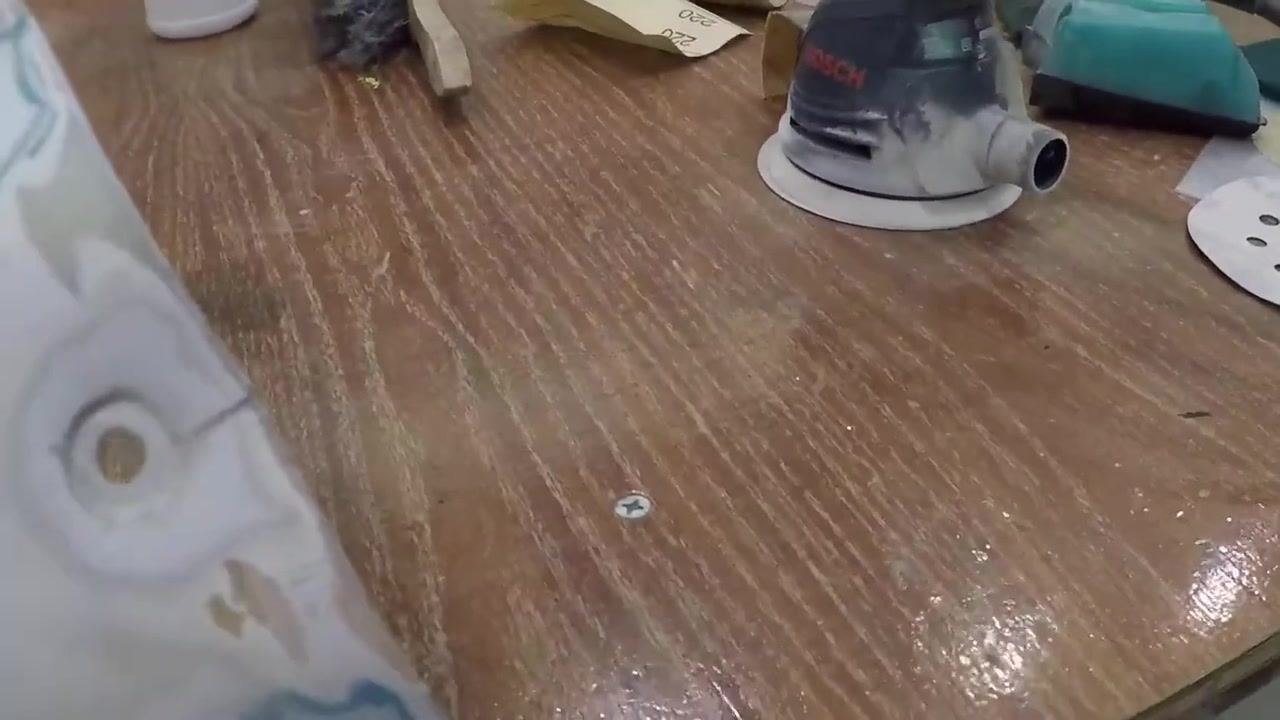
Inspecting the repaired surface and fiberglass buildup
26. Examine the repaired surface for results. Inspect the area for smoothness and uniformity after sanding and initial repair. Look for any visible imperfections, such as pinholes or uneven patches.
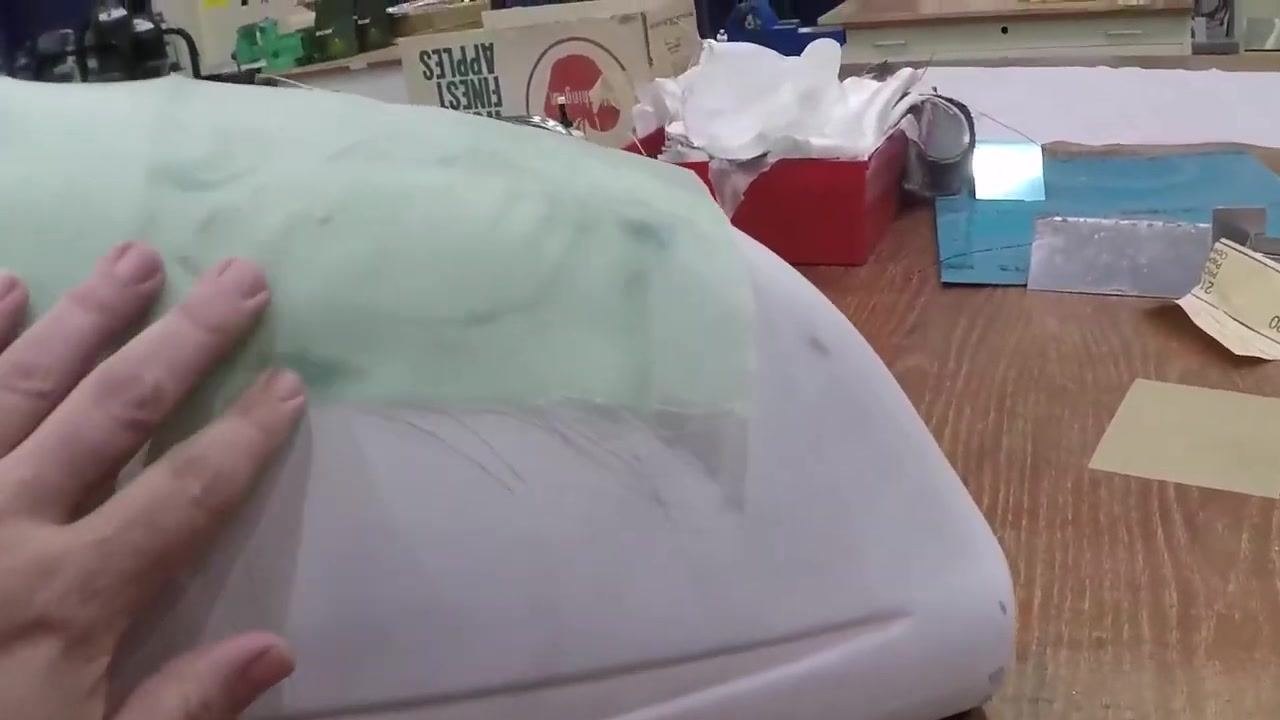
27. Identify remaining imperfections. Observe the surface for small pinholes or areas where the repair material may not have fully filled the damage. Note any color variations or marks that indicate incomplete coverage.
28. Assess the fiberglass buildup. Place your hand on the area where fiberglass has been applied to check for proper coverage and thickness. Ensure the fiberglass patch extends beyond the damaged area for structural integrity. Inspect the transition between the original surface and the fiberglass for smooth blending.
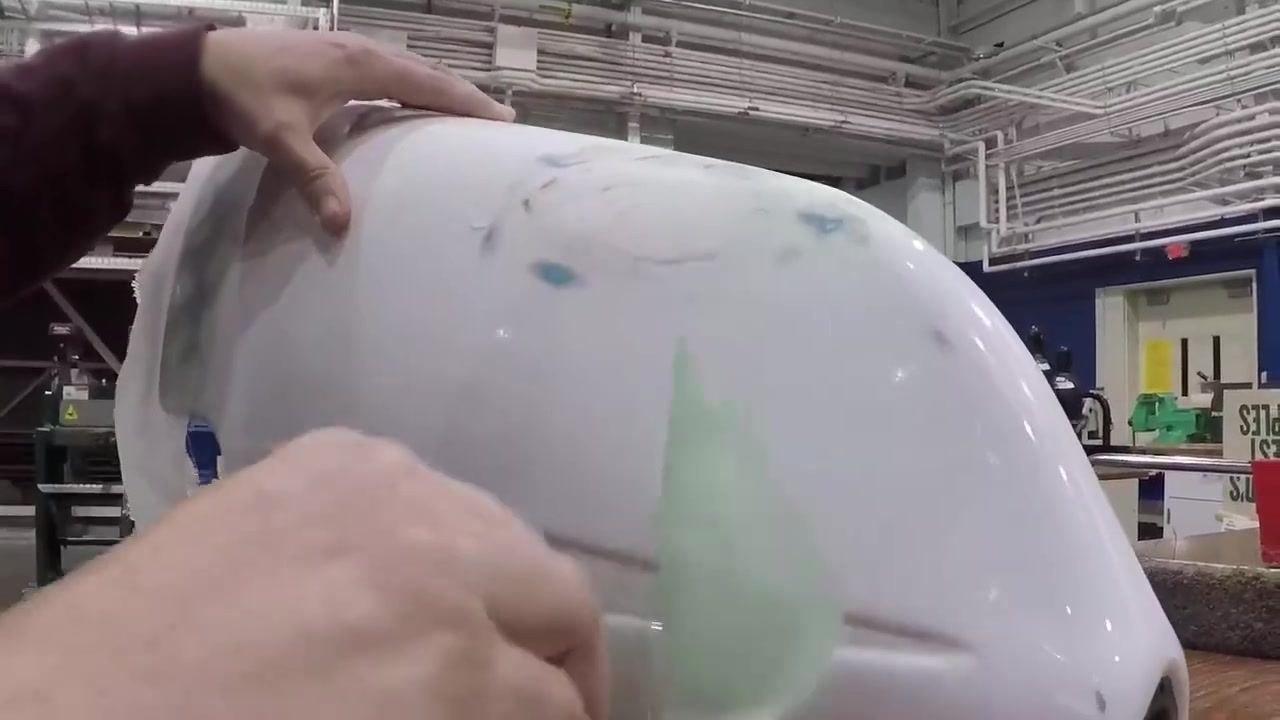
29. Confirm the fiberglass application. Double-check the fiberglass area for air bubbles, loose edges, or insufficient resin. Make sure the patch is firmly adhered and covers all intended damage.
30. Inspect the repair from multiple angles. Rotate or reposition the object to view the repair from different perspectives. Look for any missed spots or inconsistencies in the fiberglass application.
31. Smooth the repaired area. Run your hand over the surface to feel for any rough spots or raised edges. Prepare to sand or fill any remaining imperfections as needed.
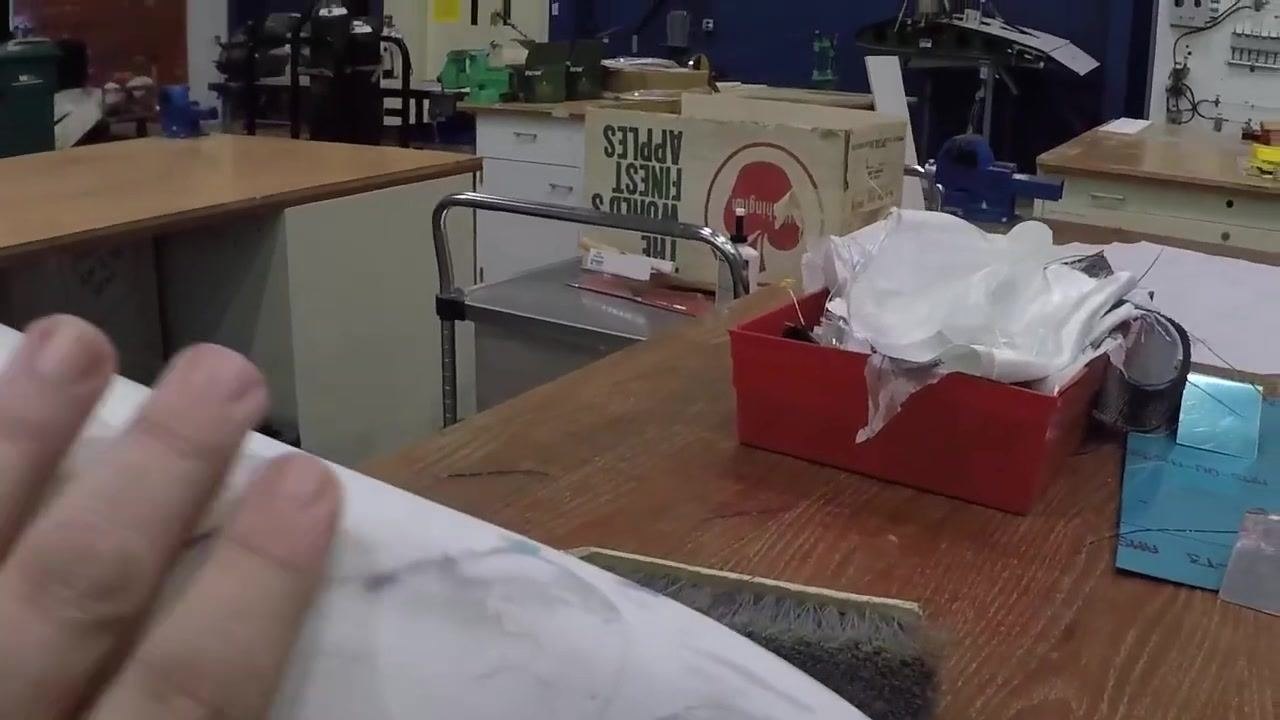
32. Review the area where cracks were previously present. Focus on the section where cracks were stop-drilled and covered with fiberglass. Ensure the cracks are no longer visible and the repair is solid.
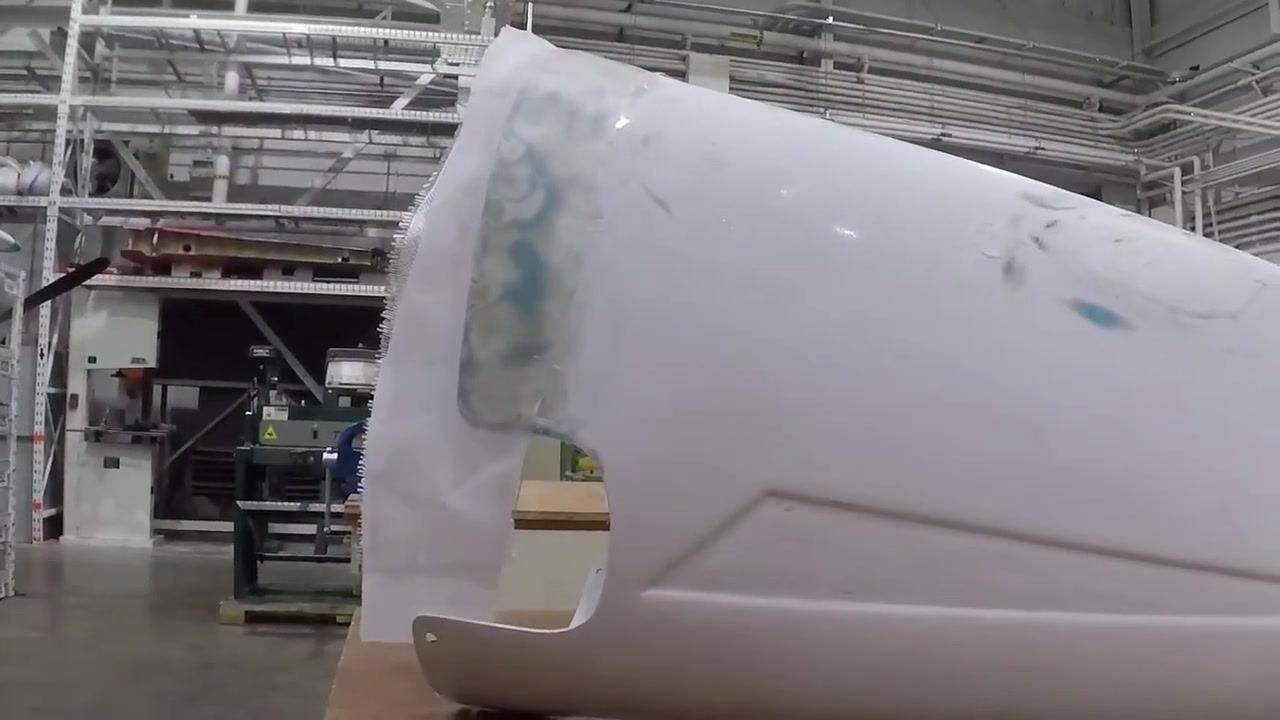
33. Inspect the edge repair for cracks. Examine the edge of the object where a large fiberglass patch has been applied. Confirm that all cracks in this area are fully covered and reinforced.
34. Double-check the edge for complete crack coverage. Ensure the fiberglass patch extends well beyond the cracked area for maximum strength. Look for any signs of incomplete bonding or exposed cracks.
Finalizing the fiberglass repair
35. Clean up the repair area. Hold the repaired object securely on the workbench. Prepare to tidy up the edges and surface of the newly applied fiberglass patch. Ensure the workspace is clear and well-lit for detailed work.
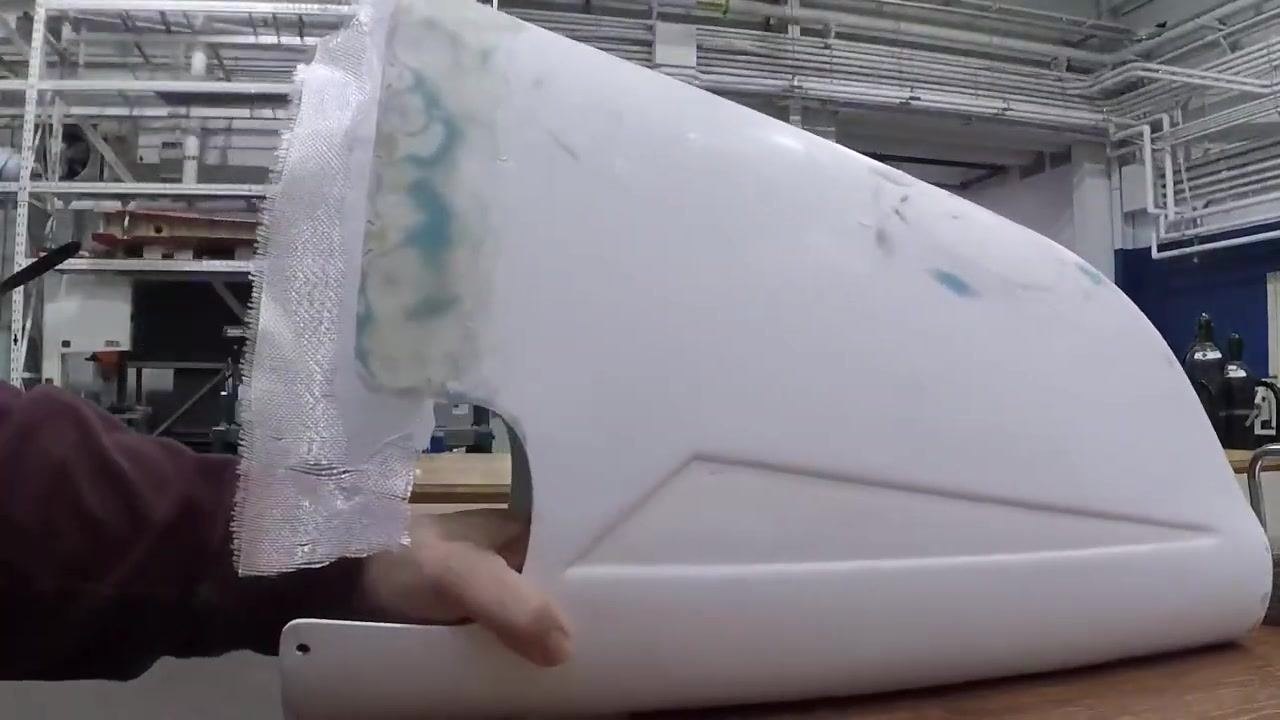
36. Press and smooth the fiberglass patch. Use your hands to press down and smooth the fiberglass cloth against the surface, ensuring it adheres well and contours to the shape. Check that the patch is flush with the original surface and there are no air pockets.
37. Confirm the number of fiberglass layers. Inspect the repair to verify that two layers of fiberglass cloth have been applied. Ensure the area is adequately reinforced and the patch covers the damaged section completely. Note that additional layers provide extra strength to the repair.
38. Trim excess fiberglass. Use scissors to carefully trim away any excess fiberglass cloth that extends beyond the edge of the repair area. Cut along the contour of the object to maintain a clean, even edge. Remove all loose or frayed fibers for a neat finish.
39. Sand and contour the repair. Sand the entire repaired area to smooth out any rough spots and blend the patch with the original surface. Shape the repair as needed to match the original contour of the object. Prepare the surface for any additional finishing steps.
40. Inspect for imperfections and apply body filler if necessary. Examine the repair for any uneven or messy spots. If needed, apply a small amount of body filler to fill in low spots or imperfections. Allow the filler to cure, then sand smooth.
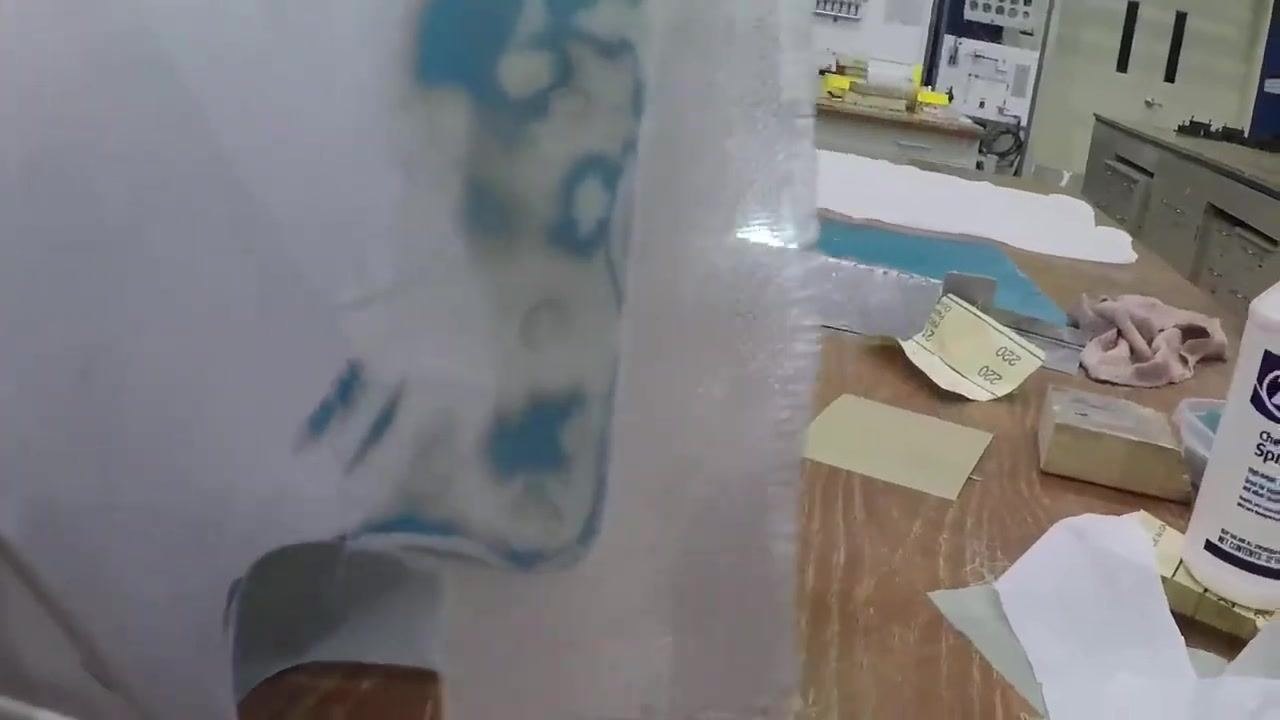
41. Evaluate the need for additional body filler. Assess the repair after sanding and filling. Determine if the surface is smooth and even; in most cases, no further body filler will be required.
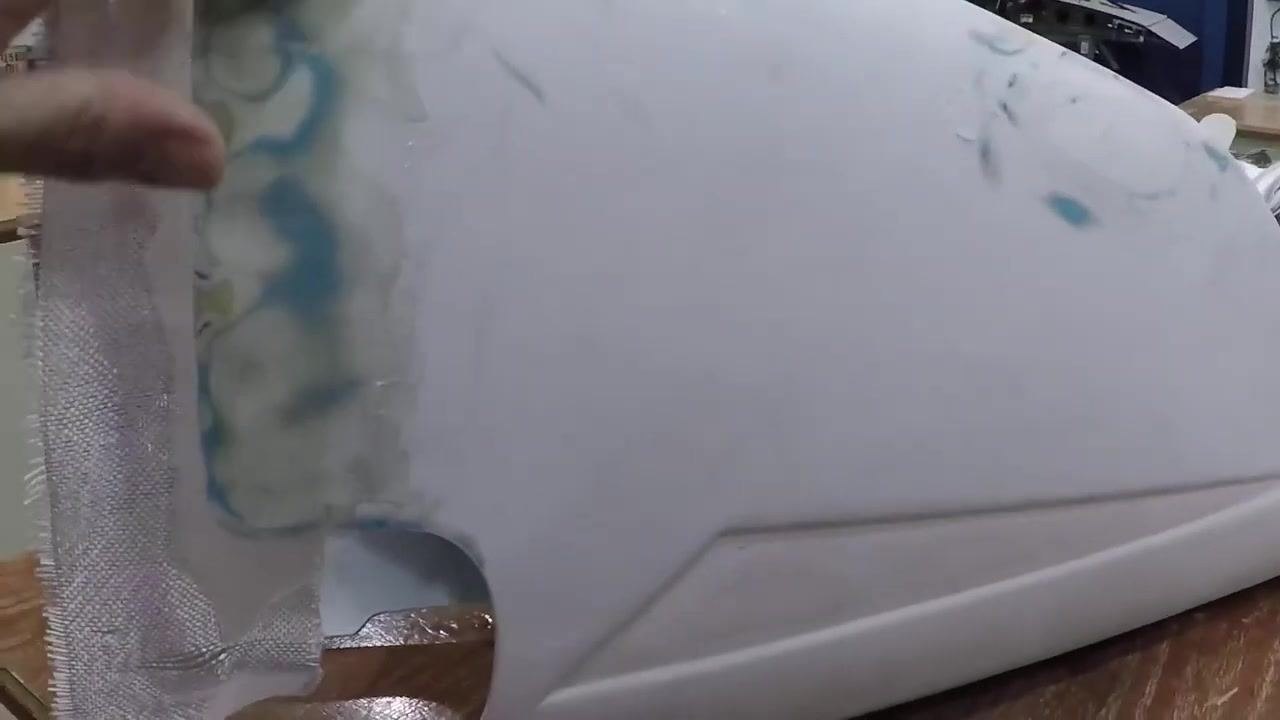
42. Apply a UV-protectant coat. Prepare to apply a UV-protectant primer or paint to the repaired area. This step is essential to protect the new fiberglass from sun damage and ensure long-term durability.
43. Ensure full coverage with UV-protectant primer. Apply an even coat of UV-protectant primer over the entire repaired area. Make sure all new fiberglass is covered to prevent UV degradation.
44. Review the completed fiberglass buildup. Inspect the final repair to confirm the fiberglass has built up the area as needed. Check that the patch is smooth, fully integrated, and ready for any final finishing or painting.
Priming and painting the repaired part
45. Identify the location of the original damage. Hold the repaired fiberglass part up for inspection. Point out the area where the hole was previously located, ensuring the repair is smooth and fully covered. Observe the part under good lighting to confirm the repair is not visible.
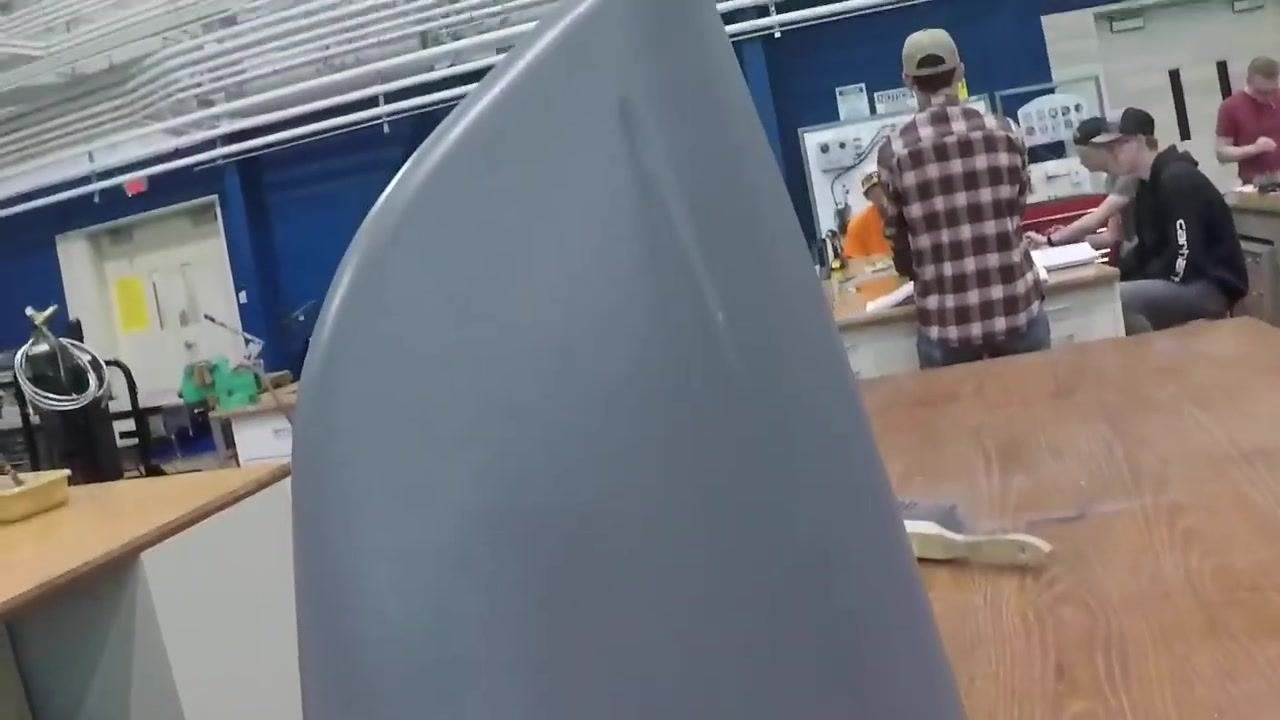
46. Confirm the application of the UV-protectant coat. Inspect the surface to ensure an even coat of UV-protectant primer has been applied. Check for uniform coverage and no missed spots. The part should have a consistent, matte finish indicating proper primer application.
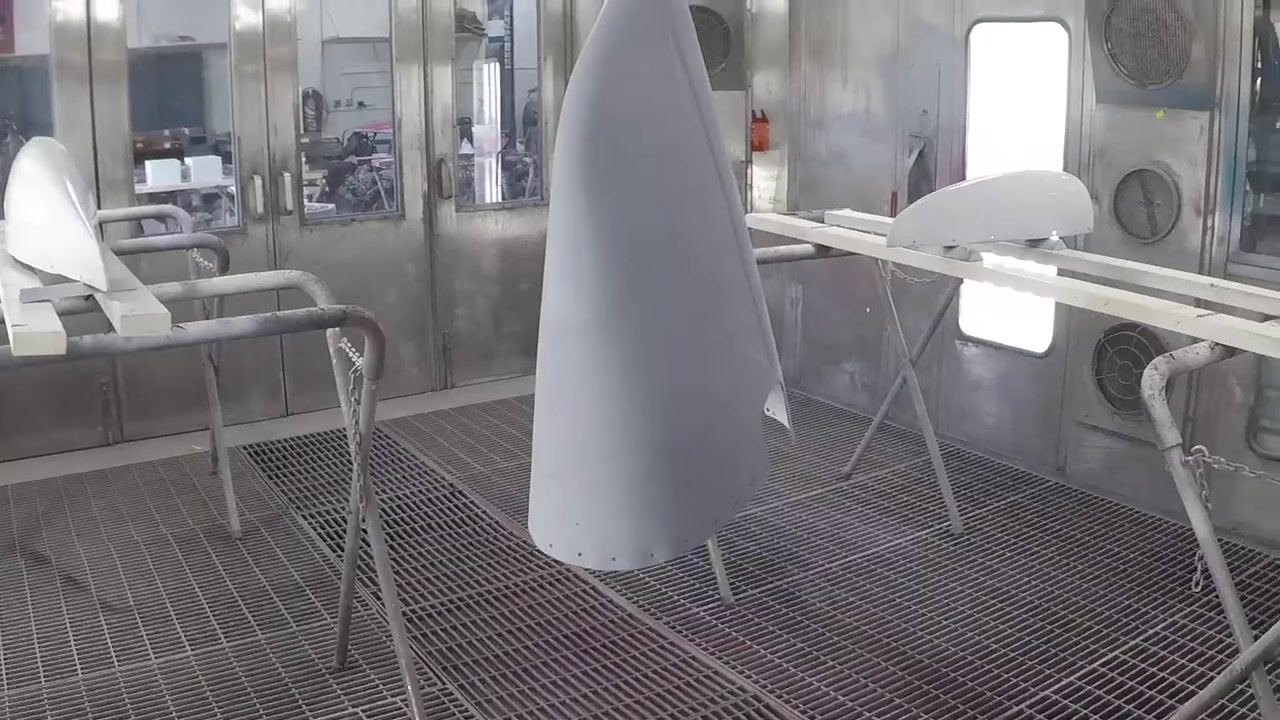
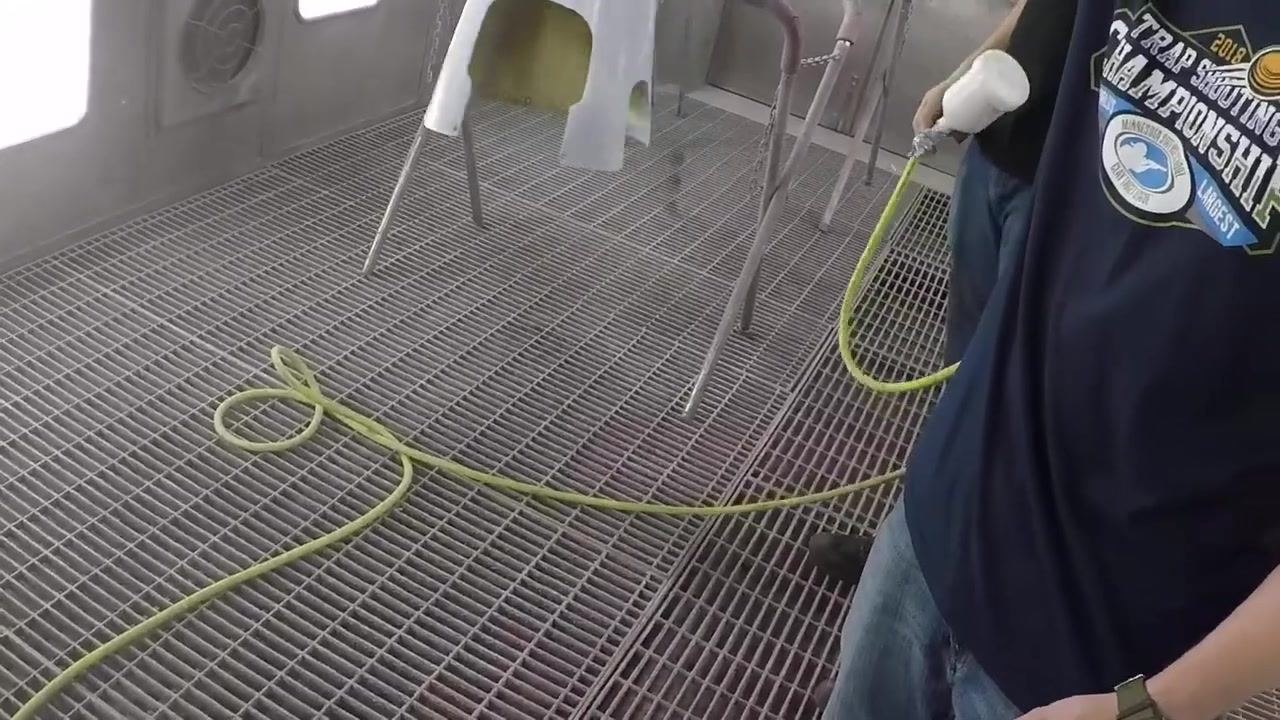
47. Prepare the part for painting. Move the primed fiberglass part into a paint booth or a well-ventilated, dust-free area suitable for painting. Suspend or support the part so all surfaces are accessible for spraying. Ensure the area is clean and free of contaminants.
Safety note: Confirm booth ventilation is active before beginning any painting operation.
48. Begin the painting process. Use a spray gun to apply the first coat of paint to the primed fiberglass part. Hold the spray gun at an appropriate distance, typically 6–12 inches, from the surface. Apply paint in smooth, even passes to avoid runs or uneven coverage.
49. Continue painting with assistance. Have an assistant hold the part steady to ensure complete and even coverage during spraying. The painter should continue applying paint, focusing on all surfaces and edges. Both individuals should wear appropriate personal protective equipment, such as respirators and gloves.
Safety note: Respirators and gloves are required for anyone in the booth during spraying.
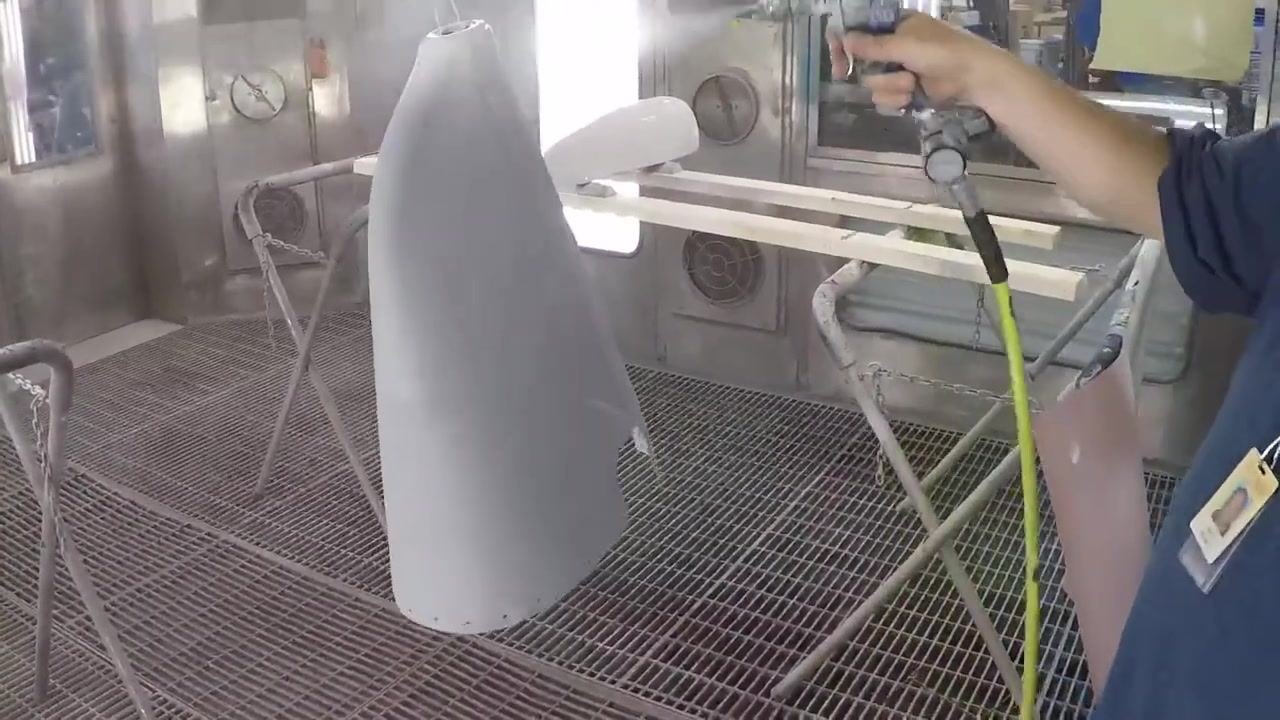
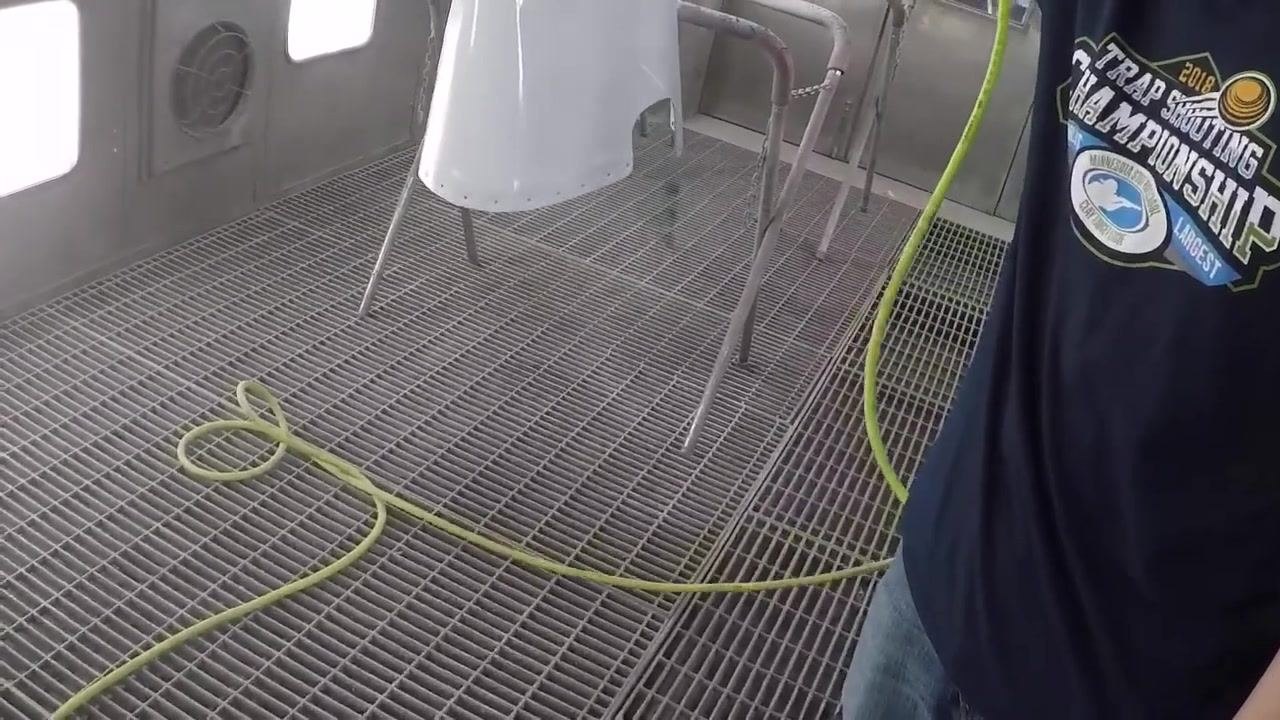
50. Maintain safety and proper technique. Avoid spraying paint near drains or open grates to prevent environmental contamination. Ensure the spray booth ventilation is active and functioning. Keep hoses and equipment organized to prevent tripping hazards.
Safety note: Never spray near open drains; verify ventilation and organize hoses to eliminate trip hazards.
Final inspection and results
51. Inspect the filled and glassed area. Examine the tail cone where body filler has been applied to fill small pinholes. Observe the area where additional fiberglass was built up and peel ply has been applied. Note that the peel ply is still present on the repair, which will help achieve a smooth finish after sanding.
52. Remove the peel ply from the repaired area. Carefully peel off the peel ply from the surface of the fiberglass repair. Understand that the surface may look rough initially, but it will sand smooth. Prepare to sand the area to achieve the desired contour and finish.
53. Sand the repaired area for a smooth finish. Use a sander to smooth and contour the area where the peel ply was removed. Ensure the surface is even and blends seamlessly with the surrounding material. Focus on achieving a perfect finish before proceeding to the next step.
54. Apply a layer of thin bi-directional fiberglass cloth. Cut a piece of thin bi-directional fiberglass to cover the entire repaired area, including where a crack was stop-drilled. Lay the fiberglass cloth over the repair, ensuring full coverage. This step reinforces the repair and ensures structural integrity.
55. Inspect the painted part in the spray booth. Observe the part suspended in the spray booth, now with a glossy, even coat of paint. Check for uniform coverage, gloss, and absence of defects. Ensure the part is fully cured and ready for handling.
56. Perform a final quality check. Hold the part up to the light to inspect the finish from multiple angles. Confirm that all repairs are invisible and the surface is smooth and professional. Ensure the part is ready for installation or further assembly.
Summary of key steps
- Assess and document all damage, including holes, cracks, and jagged edges.
- Stop-drill cracks and grind jagged holes into a smooth, teardrop-shaped contour.
- Clean and sand both interior and exterior surfaces before any composite application.
- Lay fiberglass on the interior and exterior of the repair, using body filler and dry micro as needed.
- Reinforce cracked attachment holes with additional fiberglass layers, then re-drill to original size.
- Fill low spots and pinholes with dry micro, sanding until the contour is flush with the surrounding surface.
- Apply peel ply and additional bi-directional fiberglass layers where extra reinforcement is required.
- Trim excess fiberglass and confirm the correct number of layers for structural integrity.
- Apply a UV-protectant primer coat to protect the fiberglass from sun damage.
- Prime and paint the part in a well-ventilated booth using appropriate PPE and spray technique.
- Perform a final inspection under good lighting to confirm the repair is invisible and the finish is smooth and professional before returning the part to service.
Generation details: cost, quality tiers
Docsie billed 5,500 credits ($3.85) to analyze this 11-minute video at standard quality. The rewrite, template fill and Word/PDF exports were included. The same video at each quality tier:
| Quality | Frames sampled | Credits | Approx. cost |
|---|---|---|---|
| Draft | every 16-30 s | 2,750 | $1.92 |
| Standard (this guide) | every 8-15 s | 5,500 | $3.85 |
| Detailed | every 4-7 s | 11,000 | $7.70 |
| Ultra | every 1-3 s | 22,000 | $15.40 |
Credits priced at $0.70 per 1,000; plans include a monthly allowance. Enterprise customers on on-premise or bring-your-own-model deployments run this on their own inference and pay no per-video credits.
Generated by Docsie Video-to-Docs on 2026-09-14 from a 10-minute video. Screenshots are frames from the source video and belong to their creator, Mark Phillips, whose original is embedded above. If you own this video and want the guide removed or credited differently, contact us and we will act within one business day.