
How to Reassign a Worker to a New Manager in Workday
This guide walks you through how to reassign a worker to a new manager in Workday by moving them to a new supervisory organization or department. You can use this process when a worker is being promoted, relocated, or otherwise needs to report to a different manager. Workday lets you transfer a single worker or multiple workers at the same time, and you can assign each worker to a different supervisory organization as needed.
Video: How to Transfer employee from one to another manager/department in Workday? by Wizard of HCM (2024). All credit for the demonstration goes to the creator; watch the original on YouTube. The written guide below was generated from this video by Docsie. Creator? Request a change or removal.
This guide walks you through how to reassign a worker to a new manager in Workday by moving them to a new supervisory organization or department. You can use this process when a worker is being promoted, relocated, or otherwise needs to report to a different manager. Workday lets you transfer a single worker or multiple workers at the same time, and you can assign each worker to a different supervisory organization as needed.
Prerequisites
- You must have the appropriate permissions in Workday to perform worker transfers.
- Know the worker's current department, position, and employee ID before starting.
- Have the correct effective date and the name of the new supervisory organization or department ready.
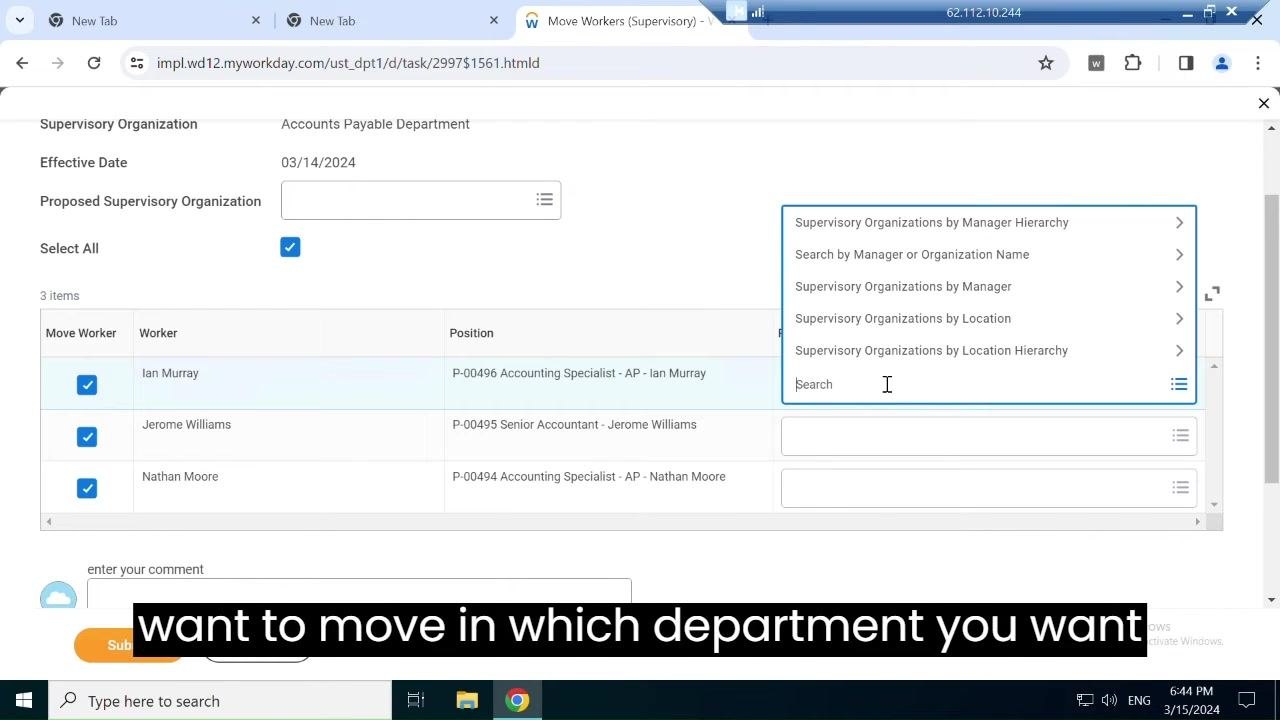
- If a department does not appear in search results, be prepared to search by manager, organization name, or location instead.
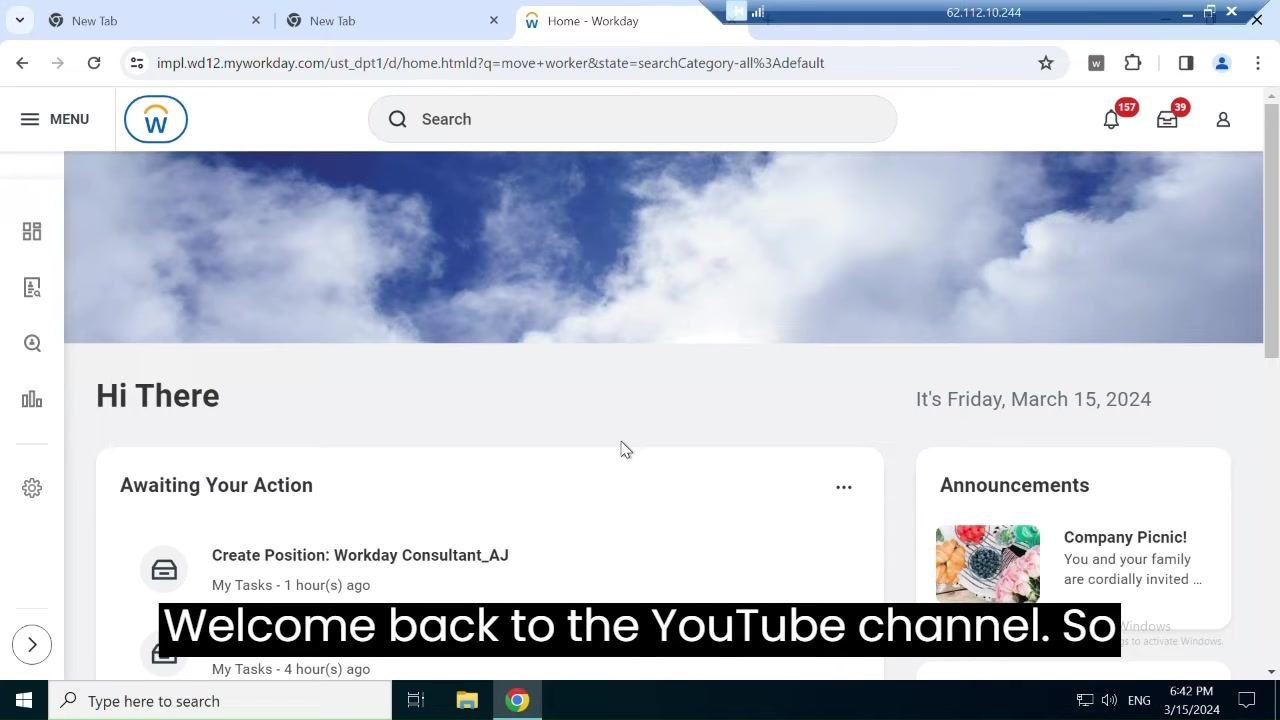
Navigate to the Workday home page
Open your browser and log in to your Workday instance. The home page greets you (for example, "Hi There" or "Good Evening, [Your Name]") and displays panels such as Awaiting Your Action and Announcements.
Find the worker to reassign
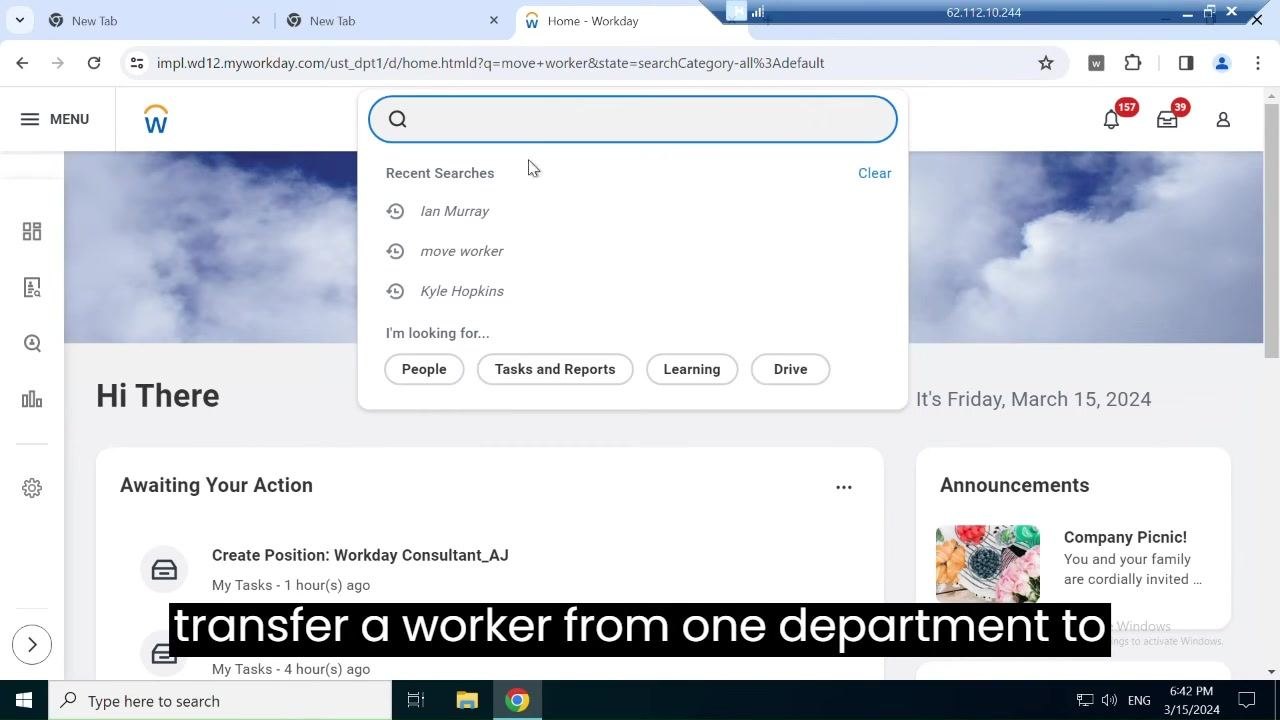
Transfers in Workday can move a worker between managers, supervisory organizations, or departments. Use the search bar at the top of the home page, type the worker's name (for example, "Ian Murray"), or select them from your recent searches. Click the worker's name to open their profile.
Review the worker's current department
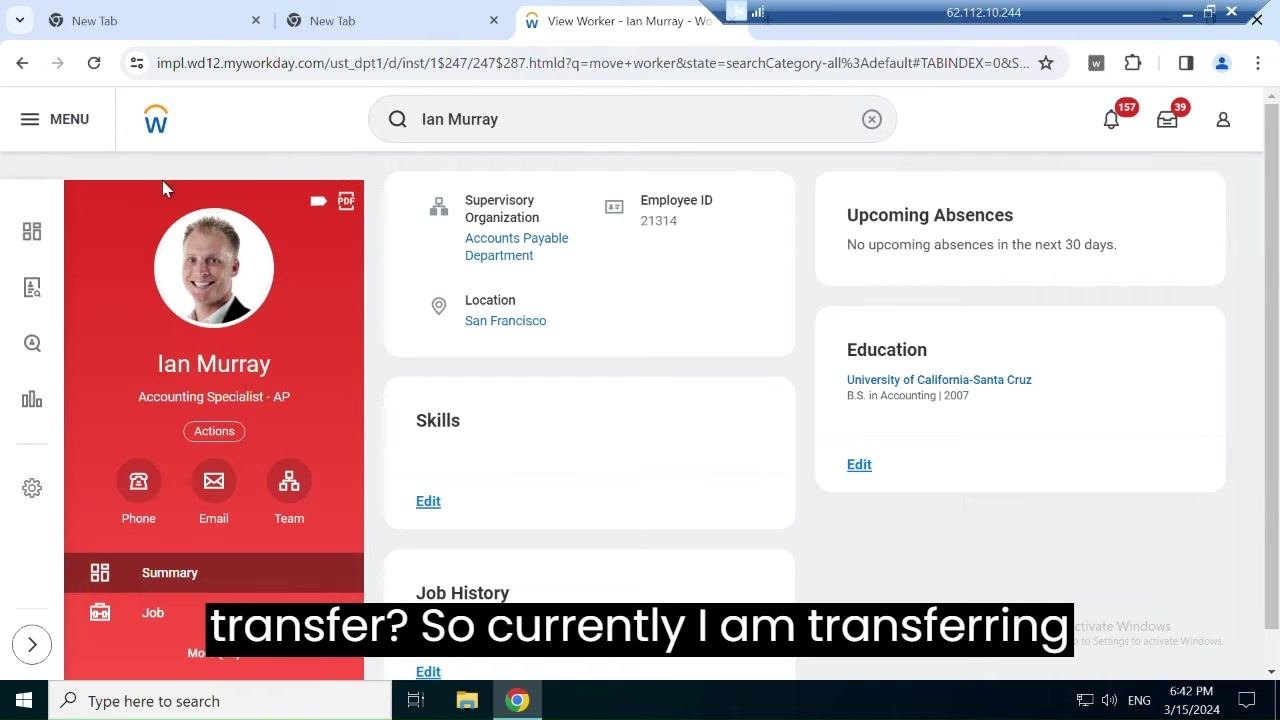
On the worker's profile page, confirm their current details before making any changes:
- Name: Ian Murray
- Position: Accounting Specialist - AP
- Supervisory Organization: Accounts Payable Department
- Location: San Francisco
- Employee ID: 21314
Verify that this is the correct worker and department before proceeding with the transfer.
Return to the home page
Click the Workday logo or Home to go back to the main dashboard before launching the transfer task.
Search for the Move Worker task
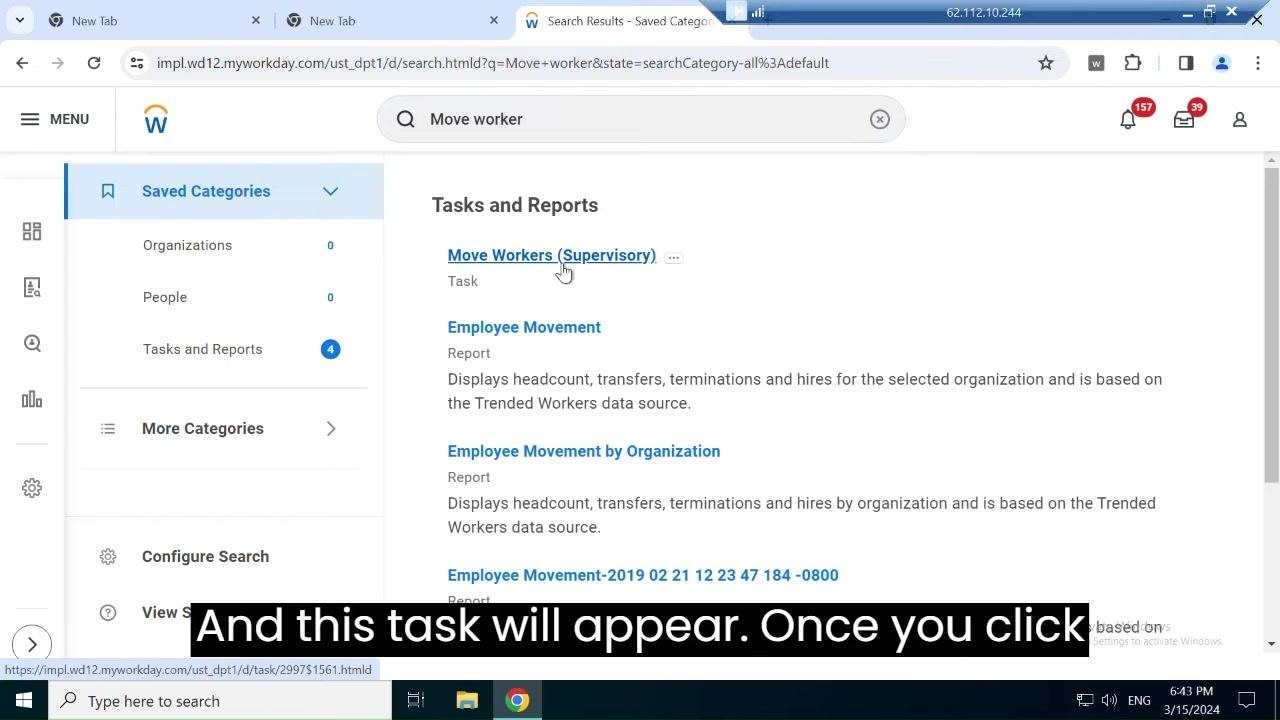
Type "Move worker" into the search bar, then select Move Workers (Supervisory) from the results under Tasks and Reports.
Start the Move Worker task
Click Move Workers (Supervisory) to open the transfer dialog, then enter:
- Effective Date: The date the transfer should take effect (for example, 03/14/2024).
- Supervisory Organization: Start typing the new department or organization name (for example, "accounts payable department").
If the department does not appear, try an alternative search method, such as searching by manager, organization name, or location.
Select the worker or workers to transfer
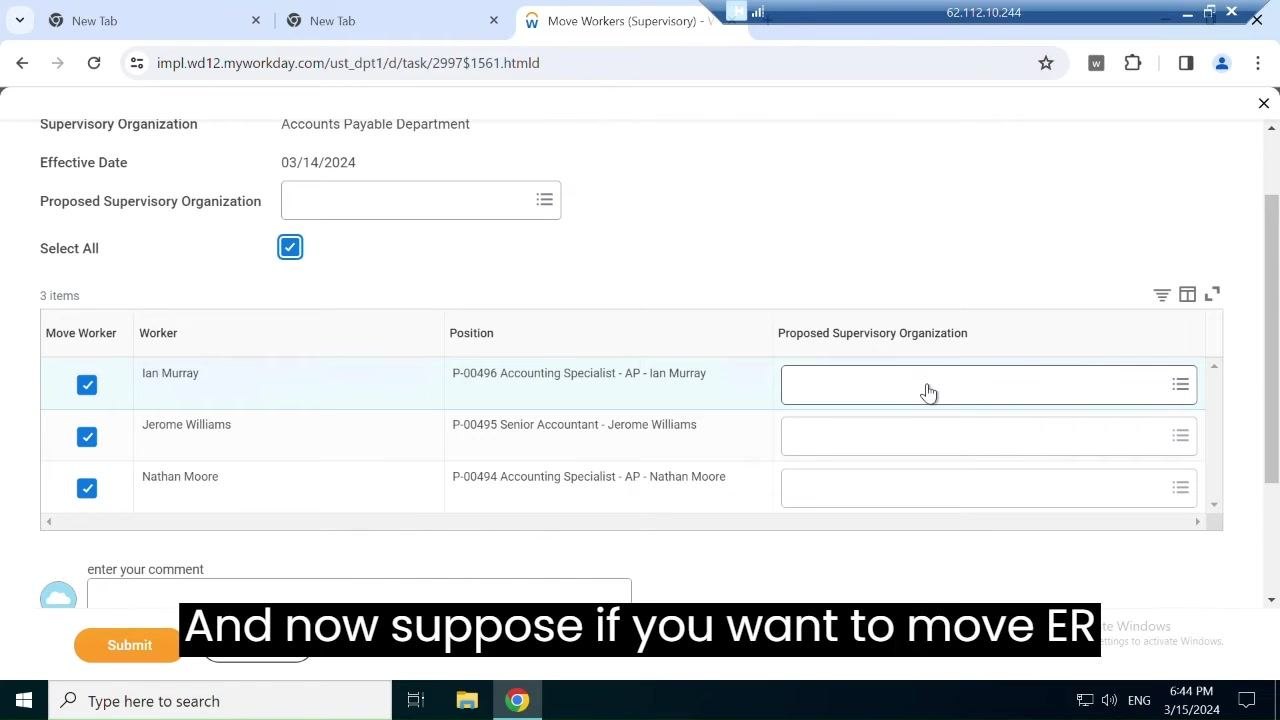
The dialog lists each available worker by name and current position. Check the box next to a single worker, such as Ian Murray, to transfer only them. To transfer everyone listed at once, check Select All.
Assign the new supervisory organization to each worker
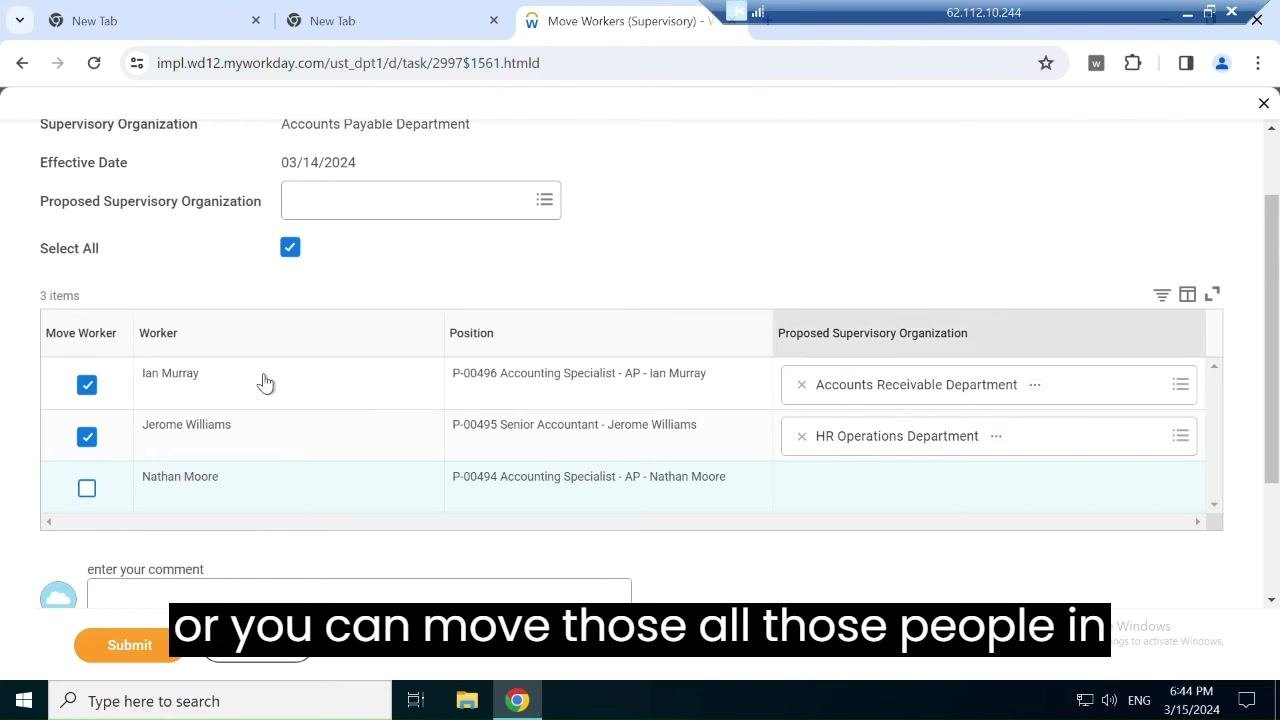
For each selected worker, enter the name of the department or supervisory organization you want them moved to in the Proposed Supervisory Organization field. Use the search feature to confirm the correct department, searching by manager, organization name, or location if needed. You can assign different departments to different workers in the same batch.
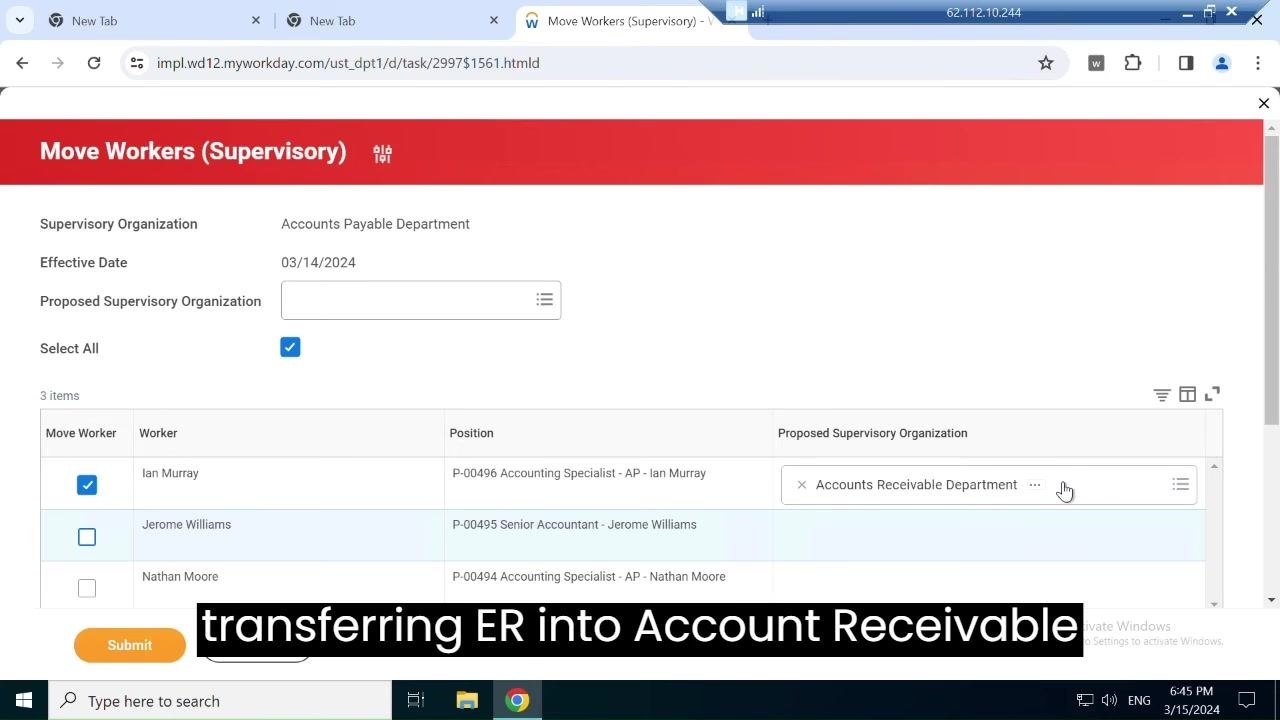
For example, enter "Accounts Receivable Department" for Ian Murray and "HR Operations Department" for Jerome Williams. Leave the field blank for any worker you do not want to transfer yet.
Review your selections
If you only want to transfer specific workers, uncheck the boxes for anyone you want to exclude. Confirm that each selected worker shows the correct target department.
Submit the transfer
Once all selections and department assignments are correct, click Submit at the bottom of the dialog. Workday processes the transfer and displays a confirmation message once it is successful.
Confirm the submission was successful
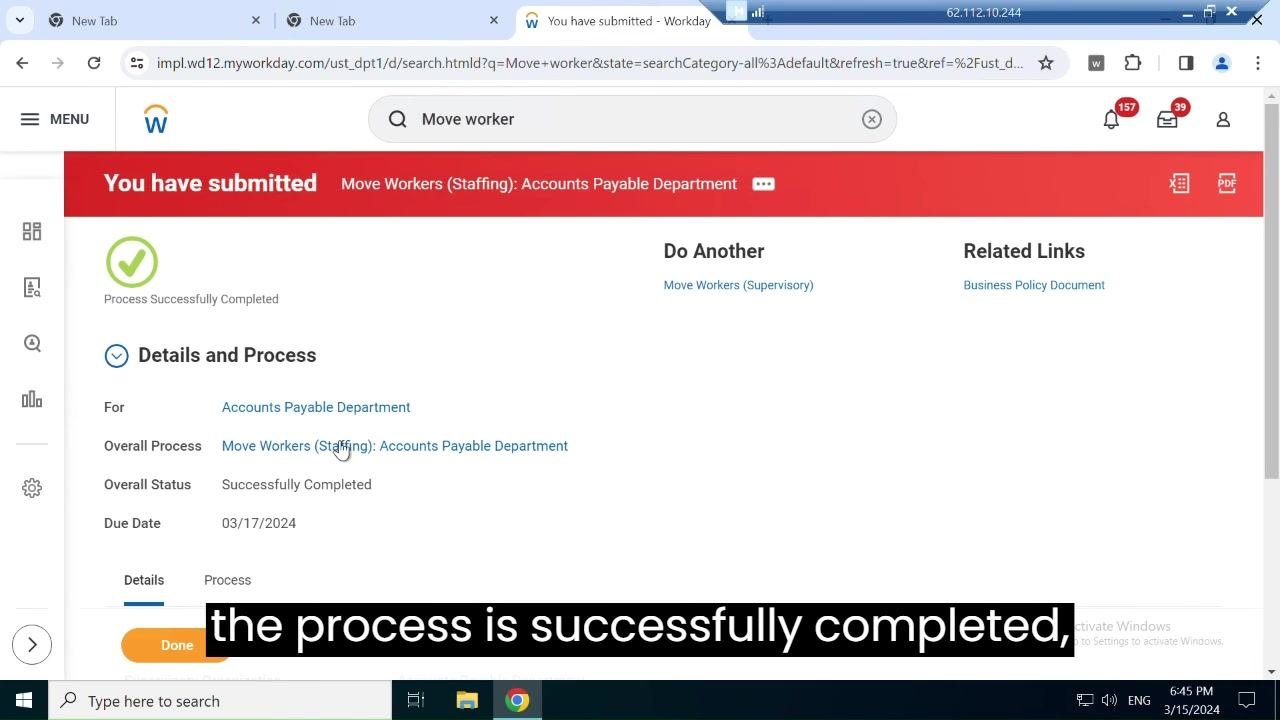
After submitting, a confirmation screen appears with a red banner reading "You have submitted Move Workers (Staffing): Accounts Payable Department." Look for the green checkmark and the message "Process Successfully Completed." The Details and Process section shows:
- For: Accounts Payable Department
- Overall Process: Move Workers (Staffing): Accounts Payable Department
- Overall Status: Successfully Completed
- Due Date: 03/17/2024
Click Done to finish the process.
Verify the worker's new department assignment
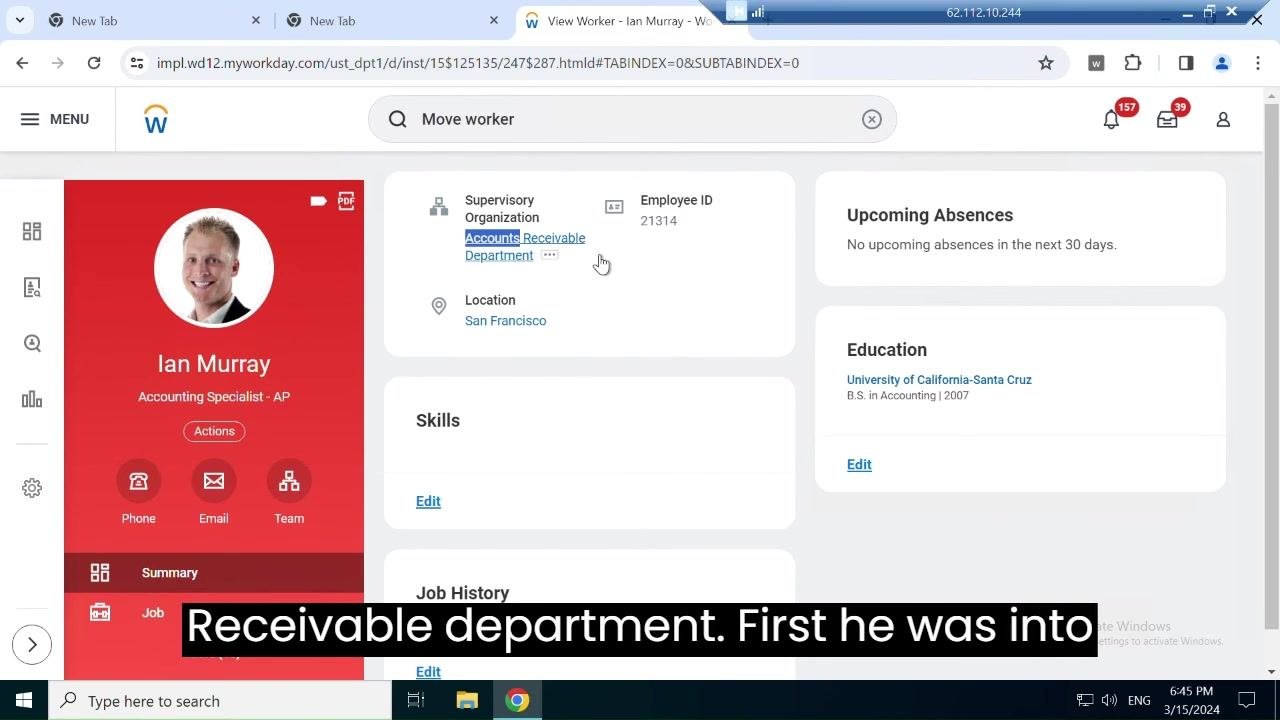
Navigate to the worker's profile, such as Ian Murray's, and check the Supervisory Organization field in the profile summary. Confirm the worker now appears under the new department, Accounts Receivable Department. Other details remain visible for reference:
- Employee Name: Ian Murray
- Position: Accounting Specialist - AP
- Employee ID: 21314
- Location: San Francisco
- Education: University of California-Santa Cruz, B.S. in Accounting, 2007
- Upcoming Absences: No upcoming absences in the next 30 days
Review the updated profile
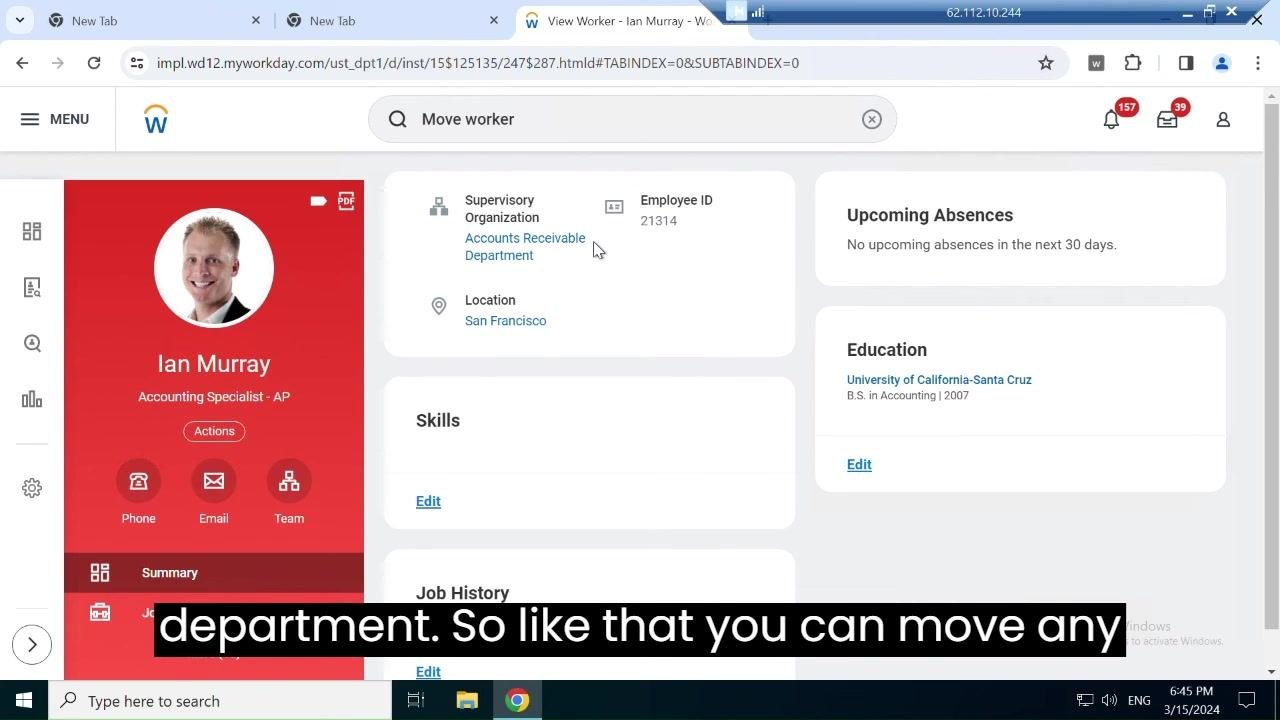
Confirm that all other details, including skills, job history, education, and absences, remain accurate, and that the Supervisory Organization field now reflects the new department.
Summary
You have now reassigned a worker to a new manager in Workday by moving them to a new supervisory organization. Keep the following in mind for future transfers:
- You can transfer one worker or several workers in the same batch.
- Each worker can be assigned to a different department or supervisory organization as needed.
- Use the search and filter options to accurately locate the correct department if it does not appear immediately.
- Always review your selections and department assignments before clicking Submit to ensure accuracy.
- Confirm the transfer afterward by checking the worker's profile for the updated Supervisory Organization.
Generation details: cost, quality tiers
Docsie billed 2,500 credits ($1.75) to analyze this 5-minute video at standard quality. The rewrite, template fill and Word/PDF exports were included. The same video at each quality tier:
| Quality | Frames sampled | Credits | Approx. cost |
|---|---|---|---|
| Draft | every 16-30 s | 1,250 | $0.88 |
| Standard (this guide) | every 8-15 s | 2,500 | $1.75 |
| Detailed | every 4-7 s | 5,000 | $3.50 |
| Ultra | every 1-3 s | 10,000 | $7.00 |
Credits priced at $0.70 per 1,000; plans include a monthly allowance. Enterprise customers on on-premise or bring-your-own-model deployments run this on their own inference and pay no per-video credits.
Generated by Docsie Video-to-Docs on 2026-10-11 from a 4-minute video. Screenshots are frames from the source video and belong to their creator, Wizard of HCM, whose original is embedded above. If you own this video and want the guide removed or credited differently, contact us and we will act within one business day.