
How to Use Telehealth in TherapyNotes
TherapyNotes Telehealth lets you meet with clients through secure, remote video technology directly from your practice's scheduling and documentation system. This guide explains how to use telehealth in TherapyNotes, from enabling the feature and scheduling an appointment to running the session and troubleshooting disconnections.
Video: Basic Telehealth in TherapyNotes® by TherapyNotes (2021). All credit for the demonstration goes to the creator; watch the original on YouTube. The written guide below was generated from this video by Docsie. Creator? Request a change or removal.
TherapyNotes Telehealth lets you meet with clients through secure, remote video technology directly from your practice's scheduling and documentation system. This guide explains how to use telehealth in TherapyNotes, from enabling the feature and scheduling an appointment to running the session and troubleshooting disconnections.
Prerequisites
Before you use telehealth in TherapyNotes, confirm the following:
- Device requirements: You need a device with a camera, microphone, and internet access, such as a laptop or smartphone.
- Browser requirements: Use an up-to-date web browser, such as the latest version of Google Chrome, Microsoft Edge, Apple Safari, or Mozilla Firefox.
- Security: All telehealth calls use peer-to-peer connections with end-to-end encryption, so your sessions remain private and secure.
- Client portal setup: The client portal must be enabled for your practice, and the patient you plan to see must have set up their TherapyPortal account.
Enable telehealth in TherapyNotes
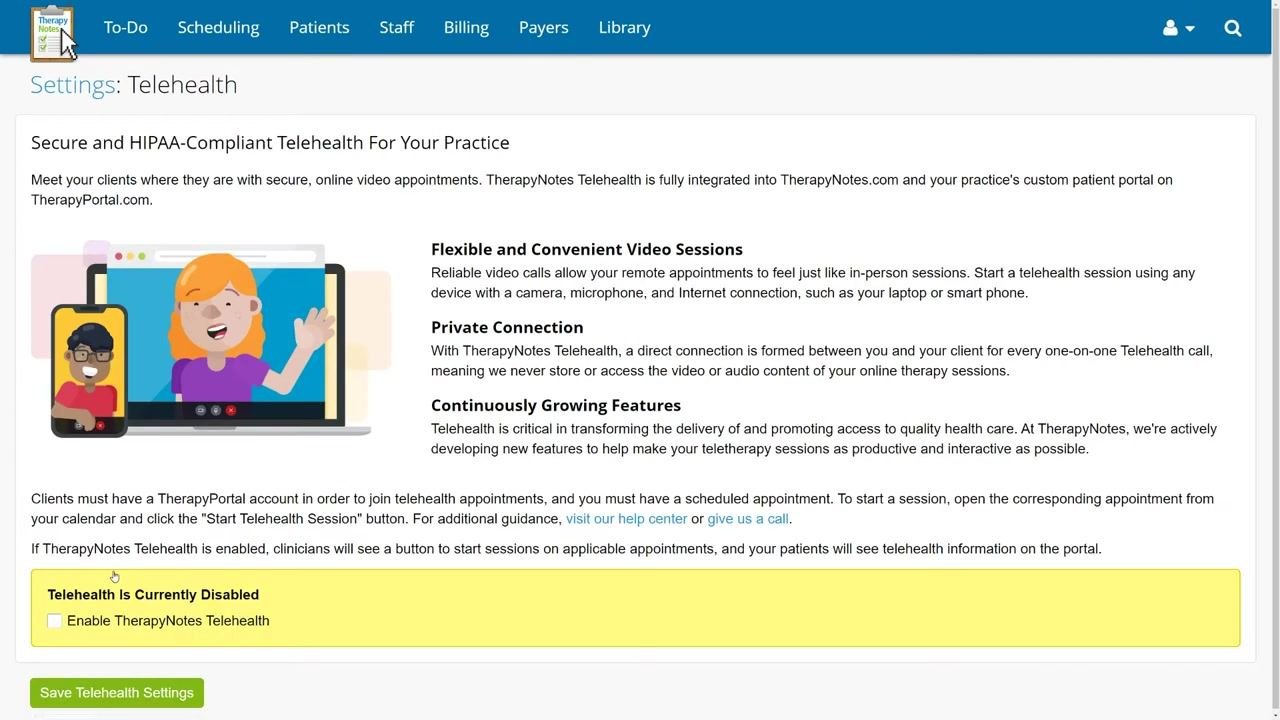
Before scheduling any sessions, turn on the telehealth feature for your practice.
- Click the user icon in the upper right corner of the TherapyNotes dashboard.
- Click Settings.
- Select Telehealth from the settings menu.
- Check the box labeled Enable TherapyNotes Telehealth.
- Click Save Telehealth Settings to apply the changes.
Schedule a telehealth appointment
Once telehealth is enabled, you can schedule a session from the calendar.
- Navigate to the Scheduling tab at the top of the TherapyNotes interface.
- Click New Appointment to begin scheduling.
Keep in mind that telehealth appointments cannot be scheduled as the following types:
- Group Therapy
- Scheduled Event
- Vacation or Blackout Period
Enter appointment details
In the Create New Appointment window, fill in the following fields:
- Appointment Type: Select an eligible type, such as Therapy Session, Therapy Intake, Psychiatry Session, Consultation, or Psychological Evaluation.
- Patient: Choose the patient (for example, Demo Patient).
- Clinician: Select the clinician (for example, Sample User).
- Location: Choose the appropriate location (for example, Main Office).
- Service Code: Select the relevant service code (for example, 90834: Psychotherapy, 45 min).
- Scheduled Time: Enter the date and time (for example, 7/9/2021 at 9:00 AM).
- Duration: Enter the session length (for example, 45 minutes).
- Frequency: Choose the frequency (for example, One time).
- Appointment Alert: Optionally add an alert.
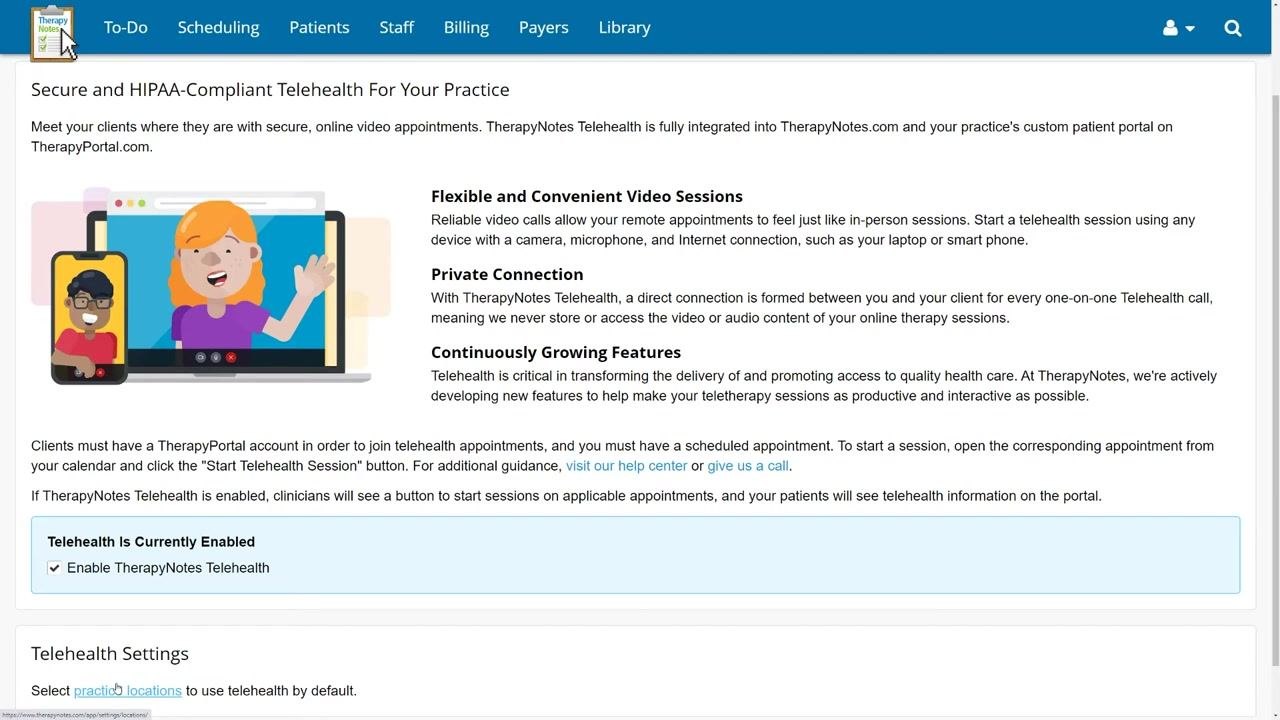
Check the box labeled Use TherapyNotes Telehealth to designate the appointment as a telehealth session.
Save the new appointment
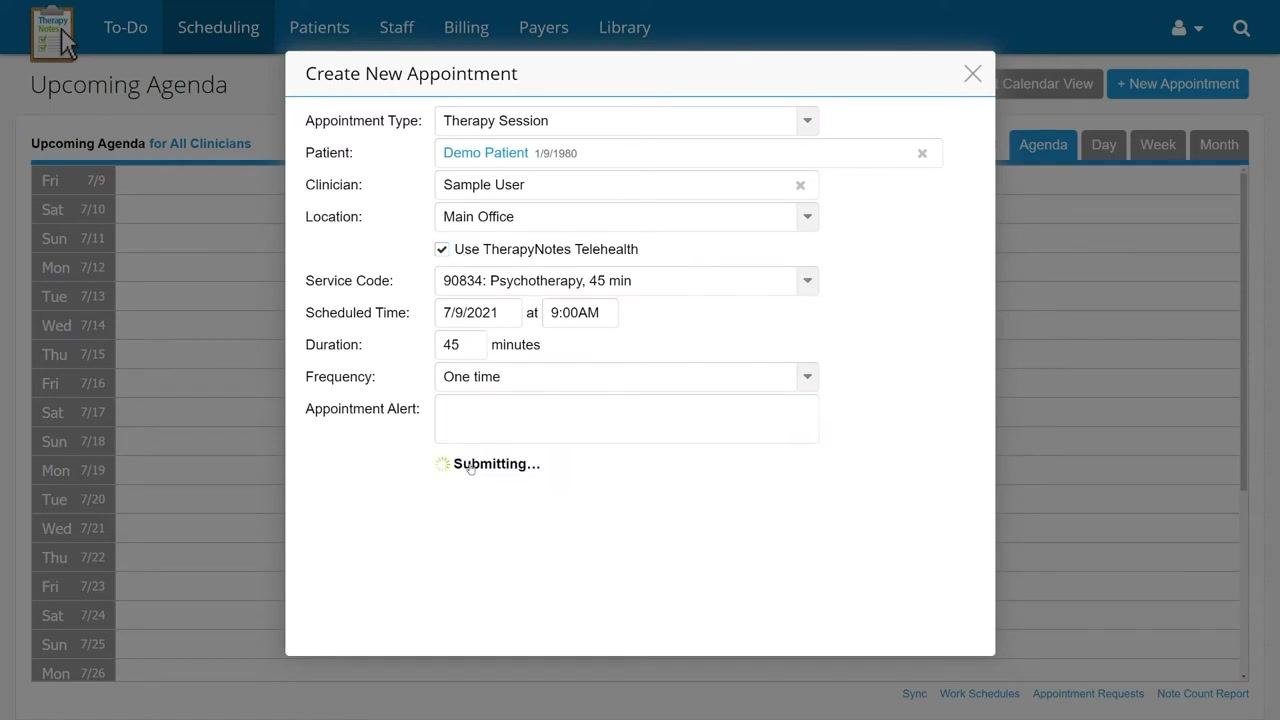
Click Save New Appointment to add the appointment to the calendar. Wait for the system to process and confirm the appointment; a "Submitting..." indicator will appear while this happens.
Start the telehealth session
When it's time for the appointment, locate and open it from your schedule.
- Locate your appointment in the Upcoming Agenda or calendar view.
-
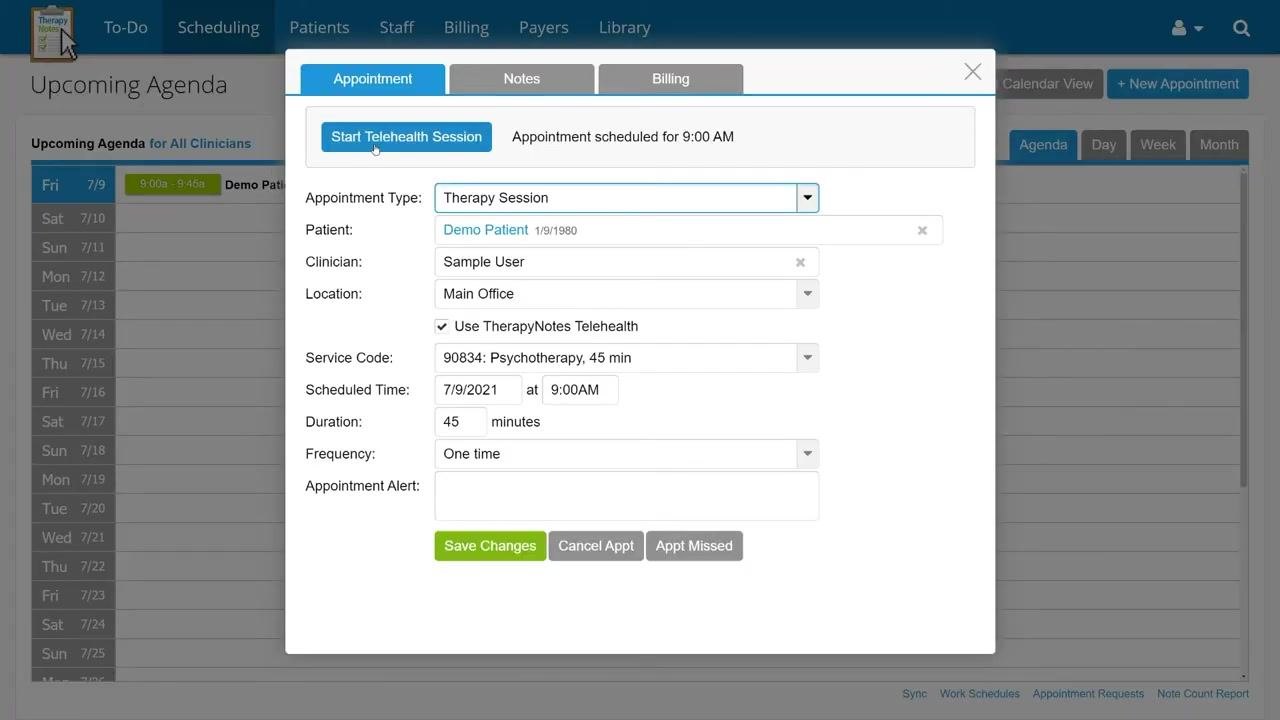
Click the scheduled appointment, for example, "Demo Patient: Therapy Session (90834): Sample User" on 7/9/2021 from 9:00 AM to 9:45 AM.
-
In the appointment details window, click the Start Telehealth Session button. You can start a telehealth session up to five hours before or after the scheduled appointment time.
Allow browser access to camera and microphone
- When prompted, allow your web browser to access your camera and microphone.
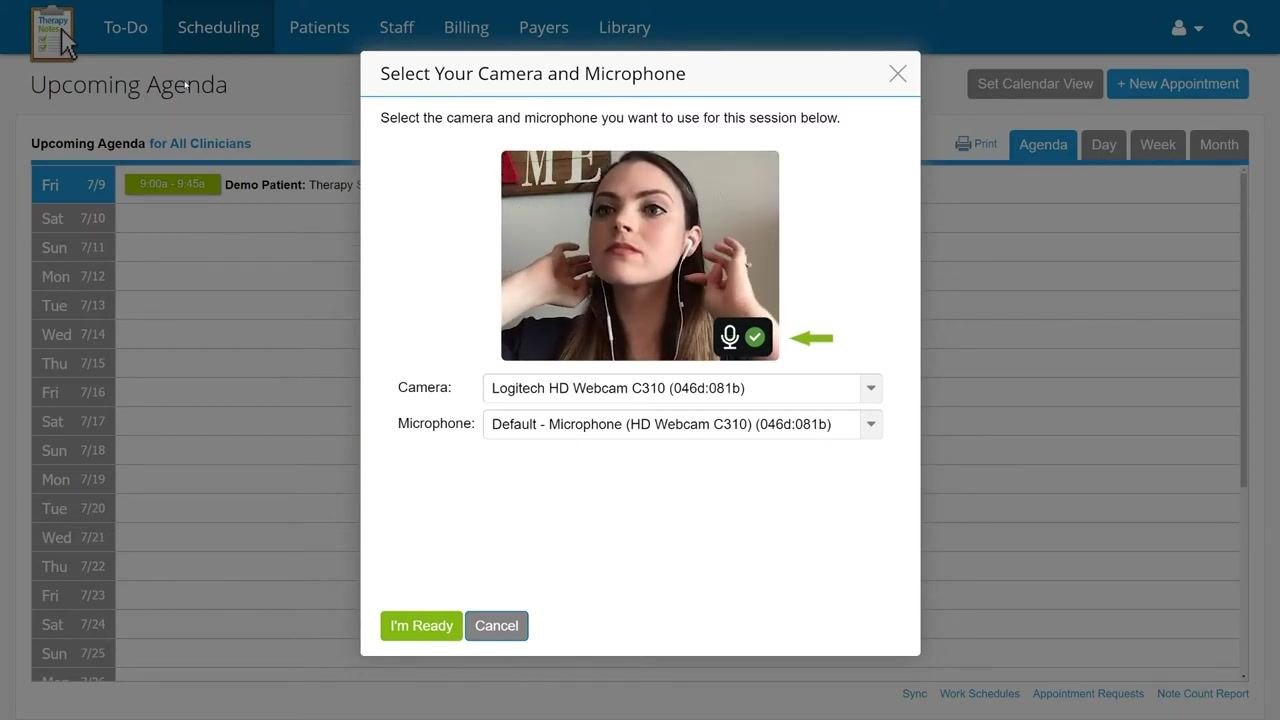
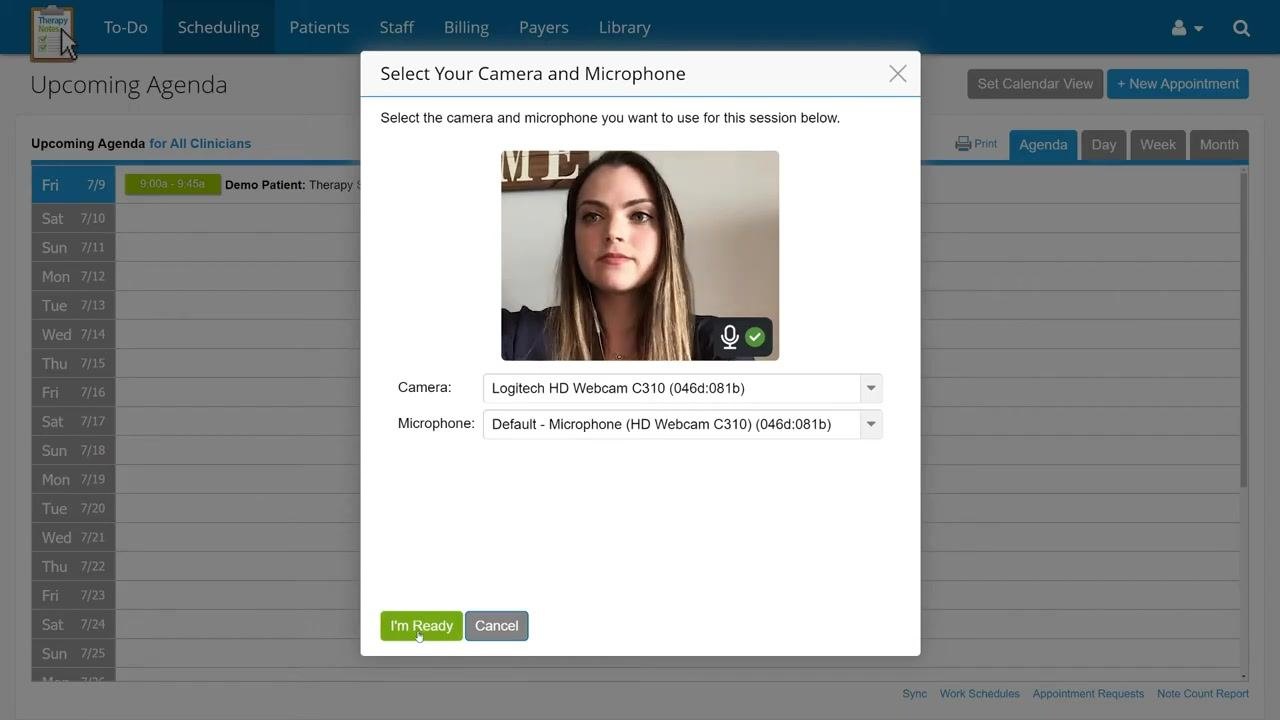
- Select the camera and microphone you want to use for the session from the dropdown menus.
- Confirm that your video preview is visible and that the audio meter responds to your voice.
- Once your camera and microphone are set up to your preferences, click I'm Ready.
Wait for your patient to join
When your patient is ready to join, a notification appears in the middle of your screen stating, "Demo is ready for your session!" Click the Start Session button to connect with your patient.
Manage the telehealth session
During the session, use the control tray at the bottom of the screen to manage your call:
- Disable your camera using the video icon.
- Mute your microphone using the microphone icon.
- Share your screen or application using the screen share icon.
- End the session using the red X icon.
Both you and your client appear in separate video windows throughout the call.
Share your screen or application
- Click the Start Screen Share button (screen icon) in the control tray.
- Follow your browser's instructions to select what to share — your entire screen, a specific window, or a browser tab.
Screen sharing is available only on desktop or laptop computers, though clients can view the shared screen on tablets. Use screen sharing to work through activities, review worksheets, or display other resources with your client.
Stop sharing your screen
When you're finished, click the Stop sharing button in the notification bar or control tray. The session returns to standard video mode.
End the telehealth session
- Once you have completed the full session with your patient, click the End button, typically shown as a red X or similar icon in the control tray.
- In the confirmation dialog, click End Session to finalize the call.
Ending the session immediately removes both you and your patient from the video call.
Handle accidental disconnections
If you or your patient are accidentally disconnected, you can both rejoin the session:
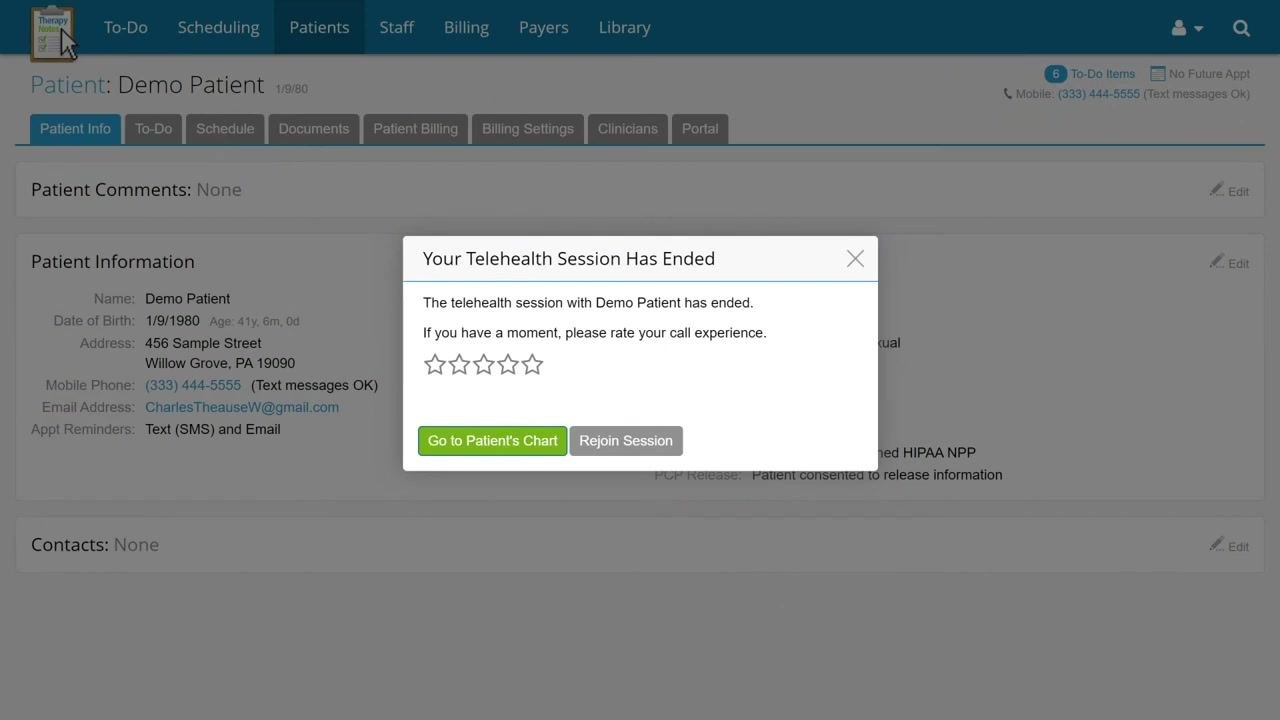
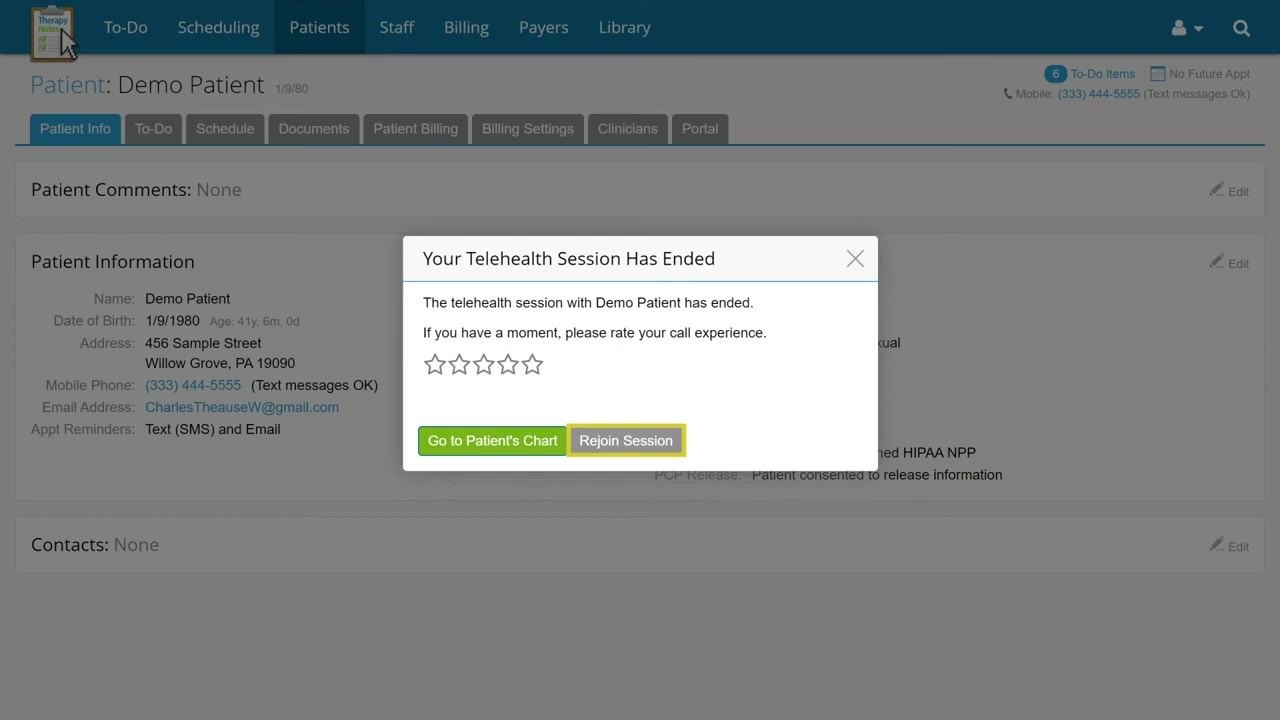
- On the "Your Telehealth Session Has Ended" dialog, click the Rejoin Session button.
- Both you and your patient must click Rejoin Session on your respective screens to reconnect.
Rate the call experience (optional)
After the session ends, you may be prompted to rate your call experience using a star rating system. Provide feedback if you'd like, then proceed or close the dialog.
Return to the patient chart
Click Go to Patient's Chart to return to the patient's information and continue documentation or follow-up tasks.
What's next
With your session complete, you can continue to the patient's chart to finish documentation or follow-up tasks.
If you need one-on-one support for telehealth or any other TherapyNotes feature, contact the TherapyNotes support team:
- Phone: (215) 658-4550
- Email: support@therapynotes.com
- Support hours: Weekdays 8 AM – 9 PM ET, Weekends 8 AM – 4 PM ET
Generation details: cost, quality tiers
Docsie billed 2,500 credits ($1.75) to analyze this 5-minute video at standard quality. The rewrite, template fill and Word/PDF exports were included. The same video at each quality tier:
| Quality | Frames sampled | Credits | Approx. cost |
|---|---|---|---|
| Draft | every 16-30 s | 1,250 | $0.88 |
| Standard (this guide) | every 8-15 s | 2,500 | $1.75 |
| Detailed | every 4-7 s | 5,000 | $3.50 |
| Ultra | every 1-3 s | 10,000 | $7.00 |
Credits priced at $0.70 per 1,000; plans include a monthly allowance. Enterprise customers on on-premise or bring-your-own-model deployments run this on their own inference and pay no per-video credits.
Generated by Docsie Video-to-Docs on 2026-10-11 from a 4-minute video. Screenshots are frames from the source video and belong to their creator, TherapyNotes, whose original is embedded above. If you own this video and want the guide removed or credited differently, contact us and we will act within one business day.