
How to Install Data Loader in Salesforce
Salesforce Data Loader is a tool used to insert, update, upsert, delete, hard delete, export, and export all records in your Salesforce org. This guide walks you through how to install Data Loader in Salesforce, from checking the required permissions to launching the application for the first time.
Video: How to Download and Install Data Loader | Salesforce by Salesforce Support (2019). All credit for the demonstration goes to the creator; watch the original on YouTube. The written guide below was generated from this video by Docsie. Creator? Request a change or removal.
Salesforce Data Loader is a tool used to insert, update, upsert, delete, hard delete, export, and export all records in your Salesforce org. This guide walks you through how to install Data Loader in Salesforce, from checking the required permissions to launching the application for the first time.
Prerequisites
Before you install Data Loader in Salesforce, confirm the following:
- You have access to a Salesforce org and can log in.
- Your user profile has the necessary administrative permissions enabled.
- You have a web browser available to download the required Java component and the Data Loader installer.
Open Salesforce and access Setup
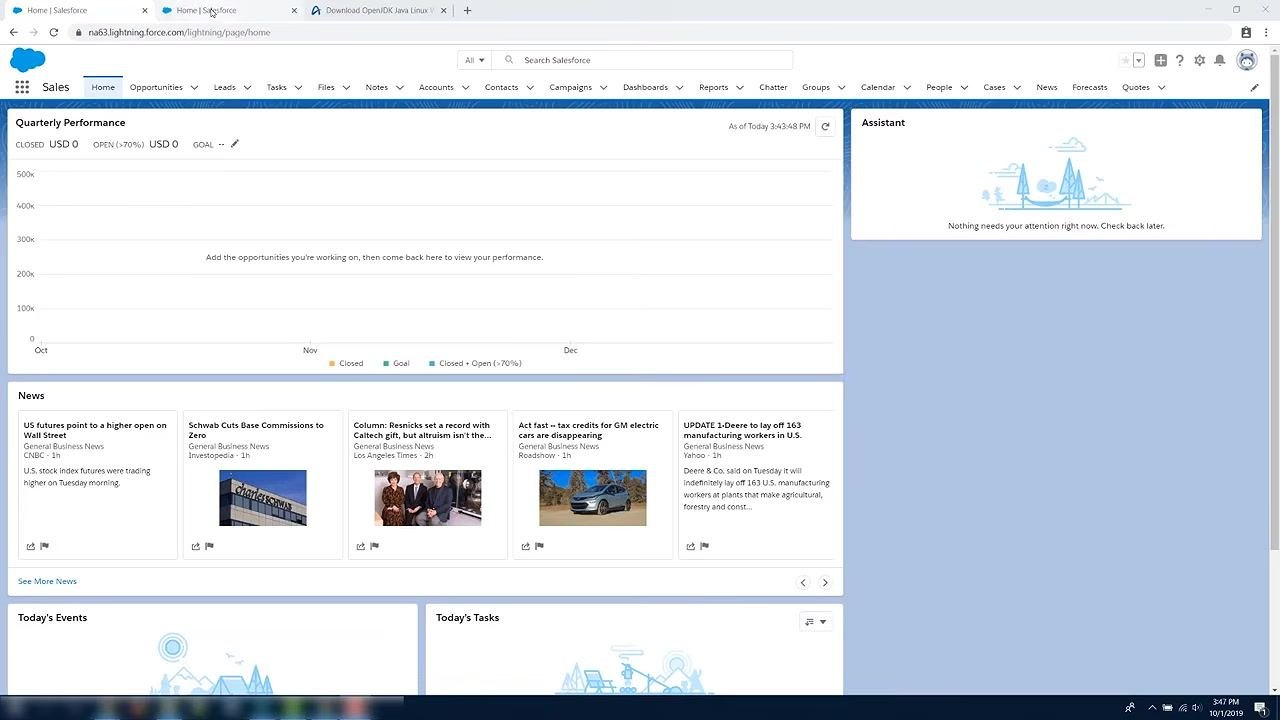
Log in to your Salesforce org. You land on the main Salesforce home page, which displays the navigation bar, a quarterly performance chart, and panels for news, events, and tasks.
Click the gear icon (⚙️) in the upper right corner and select Setup. The Setup Home page appears, showing options such as Mobile Publisher, Go Mobile, and Visit AppExchange. Locate the Quick Find search box in the left sidebar, which you will use throughout this process.
Review required permissions
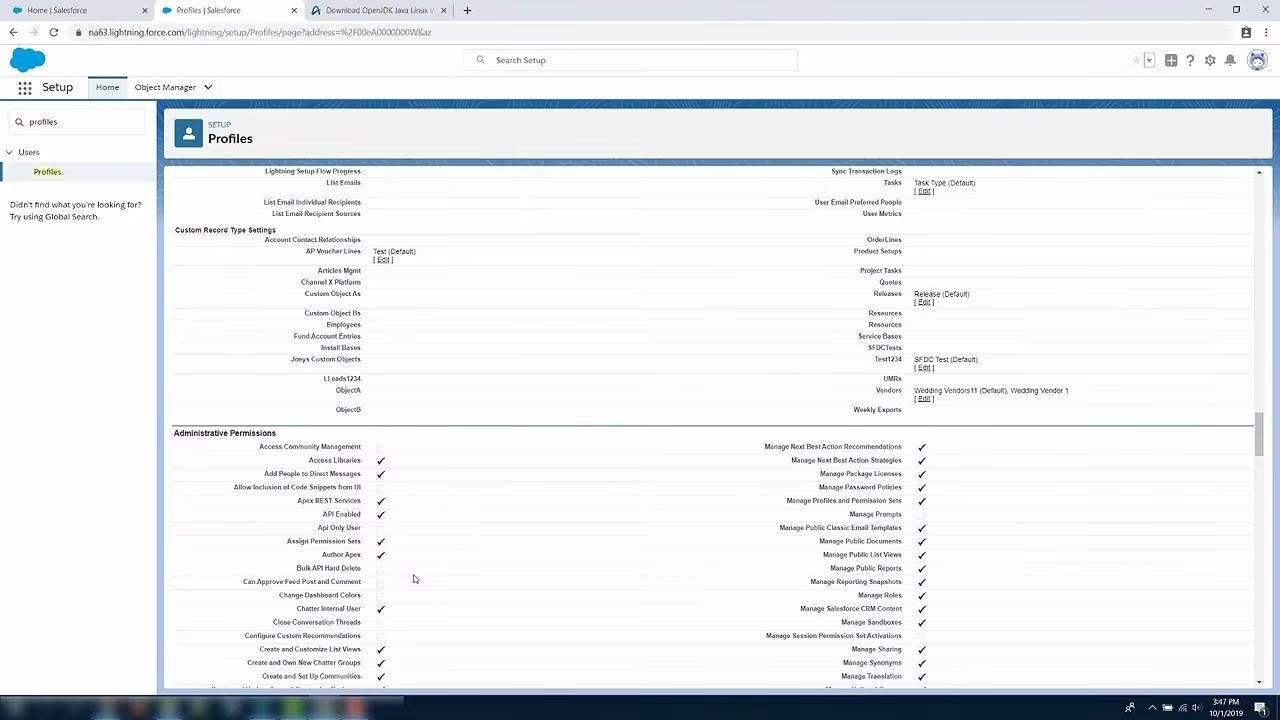
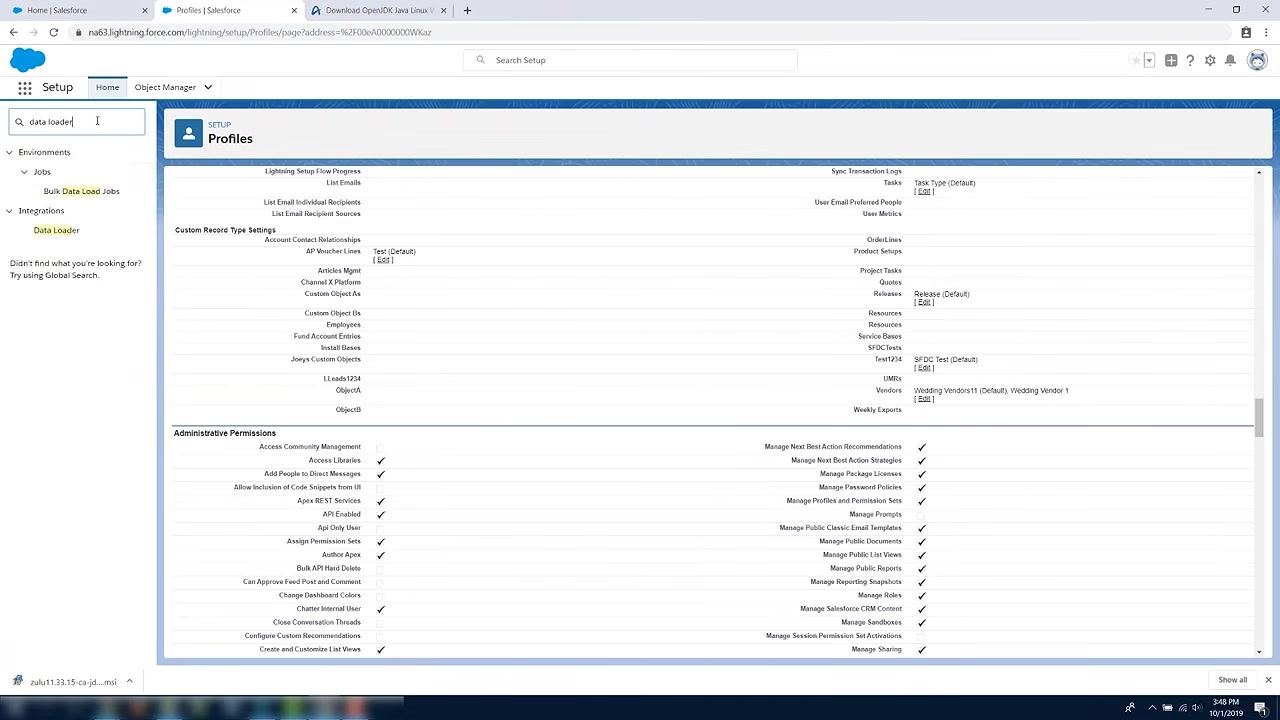
In Salesforce Setup, search for Profiles in the Quick Find box, then select your user profile (for example, System Administrator).
Under Administrative Permissions, confirm that the following are checked:
- API Enabled
- Bulk API Hard Delete (if needed)
Download Zulu OpenJDK 11 or higher
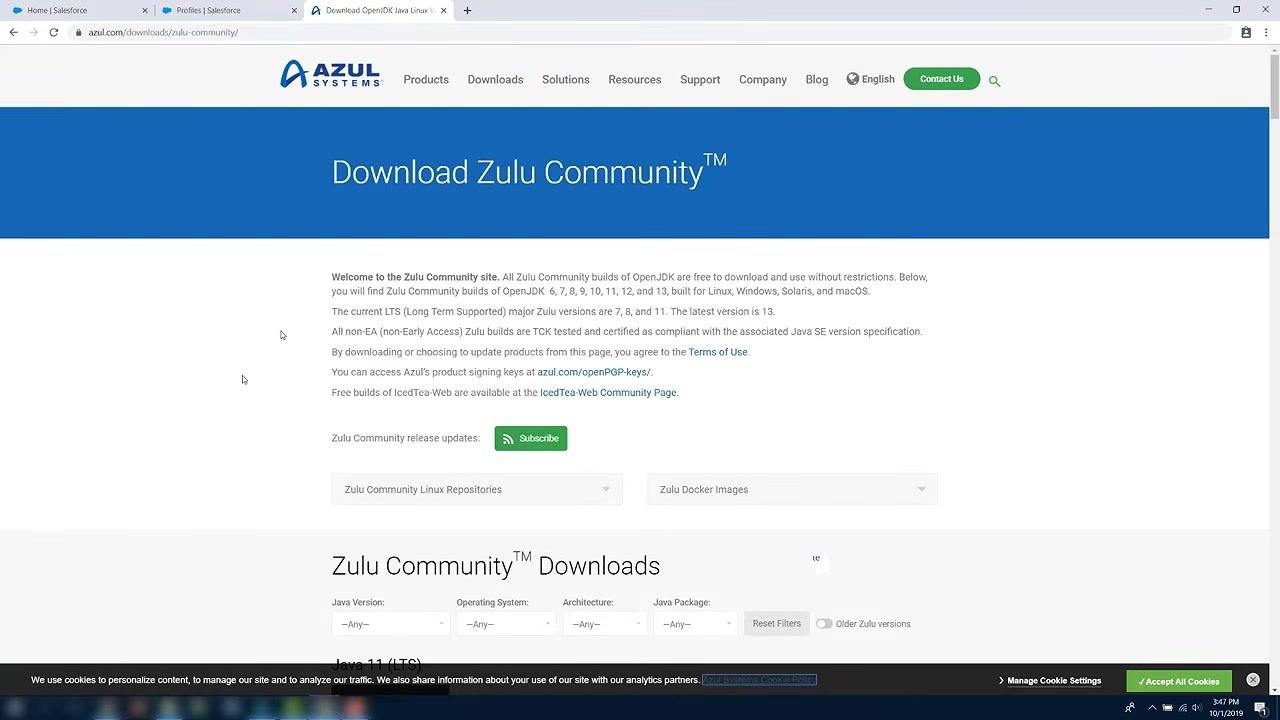
Data Loader requires Zulu OpenJDK 11 or higher. Open your web browser and go to the Azul Zulu Community downloads page at https://www.azul.com/downloads/zulu-community/. This site provides free downloads of Zulu OpenJDK for Windows, Mac, and Linux.
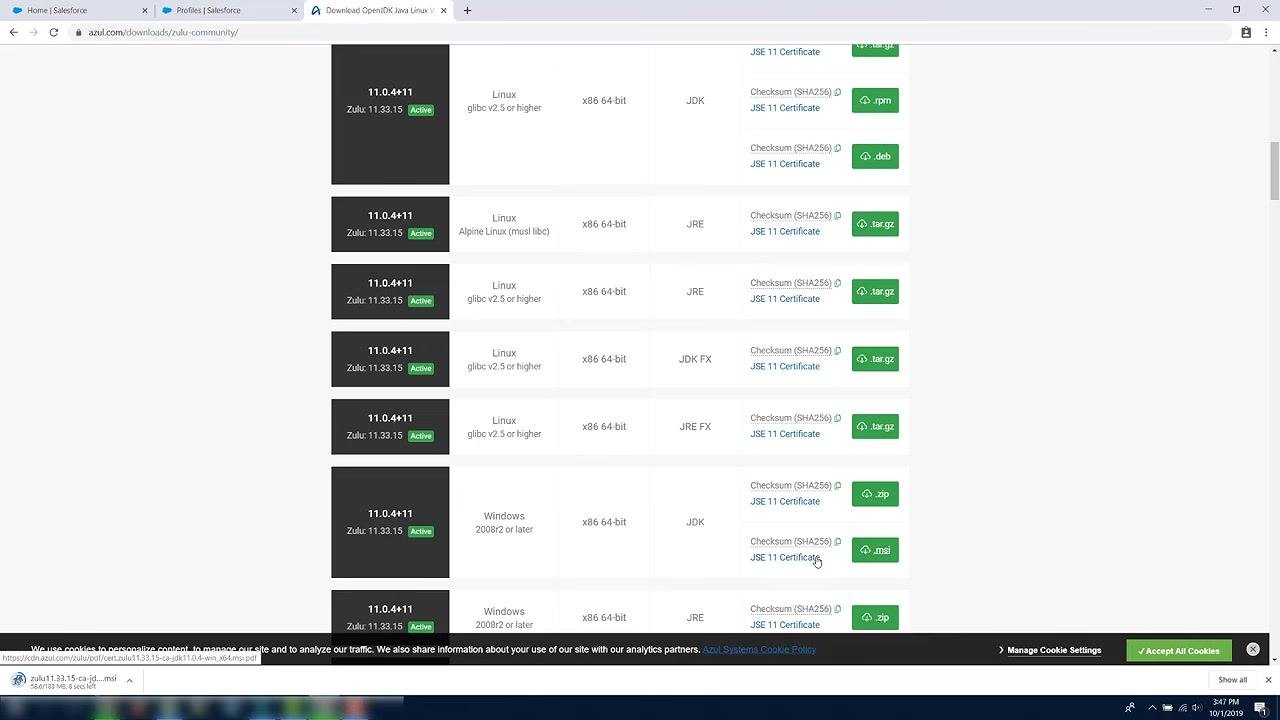
Scroll down to the Zulu Community Downloads section. For Windows, locate the latest Java 11 (LTS) version and click the .msi installer link for Windows x86 64-bit (for example, zulu11.33.15-ca-jdk11.0.4-win_x64.msi). Save the file to your desktop.
Install Zulu OpenJDK
Locate the downloaded .msi file on your desktop or in your Downloads folder and double-click it to start the installation. The Zulu Setup Wizard opens. Click Next and follow the prompts, clicking Continue or Next as needed to complete the installation.
Download Salesforce Data Loader
In Salesforce Setup, type Data Loader in the Quick Find box, then click the Data Loader link under the Integrations section in the left sidebar.
On the Data Loader page, click Download Data Loader for Windows or Download Data Loader for Mac, depending on your operating system.
Extract the Data Loader zip file
Navigate to the folder where the Data Loader .zip file was saved, such as your Downloads folder. Right-click the downloaded file (for example, dataloader_win.zip for Windows) and select Open or Extract All from the context menu to extract its contents. A new folder is created, such as dataloader_win for Windows or dataloader_mac for Mac.
Run the Data Loader installer
Open the newly created Data Loader folder:
- On Windows, double-click the
install.batfile to start the installation. - On Mac, double-click the
installer.commandfile.
If you see an "unidentified developer" message on Mac, hold the Control key, click the installer.command file, and select Open from the menu. If you still cannot open the file, allow the app under Security and Privacy settings or contact your IT department for assistance.
Handle Windows security warnings
If Windows Defender SmartScreen displays a "Windows protected your PC" message, verify that the app listed is install.bat and the publisher is "Unknown publisher." Click Run anyway to proceed with the installation.
Complete the Data Loader installation
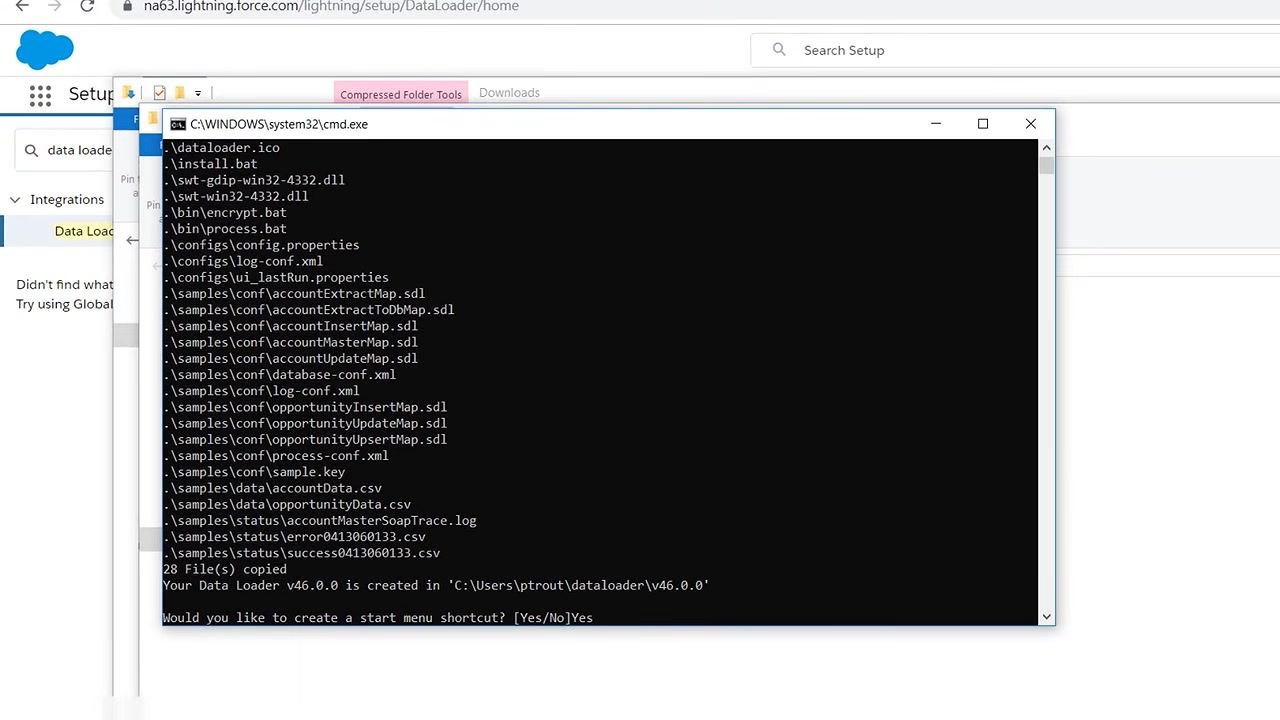
A command prompt window opens and displays the installation process. When prompted, specify the installation directory or press Enter to accept the default location.
When asked, type Yes or No to:
- Create a Start Menu shortcut
- Create a Desktop icon
For example, type Yes when prompted to create shortcuts.
Verify the installation and launch Data Loader
After installation completes, a confirmation message appears in the command prompt. Press any key to close the command prompt window.
Locate the Data Loader shortcut on your Desktop or in the Start Menu, then double-click it to launch Salesforce Data Loader. The Data Loader application window opens, displaying options for Insert, Update, Upsert, Delete, Hard Delete, Export, and Export All.
Summary
You have now successfully installed Salesforce Data Loader and are ready to insert, update, delete, or export records.
What's Next
For additional help, visit help.salesforce.com or join the community at trailblazer.salesforce.com.
Generation details: cost, quality tiers
Docsie billed 2,000 credits ($1.40) to analyze this 4-minute video at standard quality. The rewrite, template fill and Word/PDF exports were included. The same video at each quality tier:
| Quality | Frames sampled | Credits | Approx. cost |
|---|---|---|---|
| Draft | every 16-30 s | 1,000 | $0.70 |
| Standard (this guide) | every 8-15 s | 2,000 | $1.40 |
| Detailed | every 4-7 s | 4,000 | $2.80 |
| Ultra | every 1-3 s | 8,000 | $5.60 |
Credits priced at $0.70 per 1,000; plans include a monthly allowance. Enterprise customers on on-premise or bring-your-own-model deployments run this on their own inference and pay no per-video credits.
Generated by Docsie Video-to-Docs on 2026-10-11 from a 3-minute video. Screenshots are frames from the source video and belong to their creator, Salesforce Support, whose original is embedded above. If you own this video and want the guide removed or credited differently, contact us and we will act within one business day.