
How to Streak a Plate for Isolation
This standard operating procedure describes how to streak a plate for isolation of pure bacterial colonies from a mixed population using the four-quadrant streak plate technique. The method is intended for microbiology laboratories that need to separate individual bacterial colonies from a mixed culture in order to obtain a pure isolate for further identification, subculturing, or downstream testing.
Video: Streak Plate Technique for The Isolation of Pure Culture_A Complete Procedure (Microbiology) by MicroChem's Experiments (2020). All credit for the demonstration goes to the creator; watch the original on YouTube. The written guide below was generated from this video by Docsie. Creator? Request a change or removal.
Purpose
This standard operating procedure describes how to streak a plate for isolation of pure bacterial colonies from a mixed population using the four-quadrant streak plate technique. The method is intended for microbiology laboratories that need to separate individual bacterial colonies from a mixed culture in order to obtain a pure isolate for further identification, subculturing, or downstream testing.
Scope
This procedure applies to the isolation of bacteria from a mixed bacterial culture onto Tryptic Soya Agar (TSA) plates. It covers:
- Sample type: mixed bacterial culture supplied on a culture plate.
- Matrix: solid agar culture media (TSA), prepared in sterile petri dishes.
- Equipment: biological safety cabinet, incubator, Bunsen burner or spirit lamp, inoculating loop, colony counter.
- Analysts: laboratory personnel trained in aseptic technique and biological safety cabinet operation.

This procedure does not cover species identification, biochemical confirmation testing, or quantitative colony counting beyond visual assessment of isolation quality. Media preparation is included only to the extent needed to produce a suitable plate for streaking.
Principle
The streak plate technique physically dilutes a mixed bacterial population across the surface of an agar plate by repeatedly dragging a sterile loop through progressively smaller amounts of inoculum. As the loop is re-sterilized and dragged through fewer bacterial cells at each stage, the density of bacteria deposited on the agar decreases from the first quadrant to the fourth quadrant.
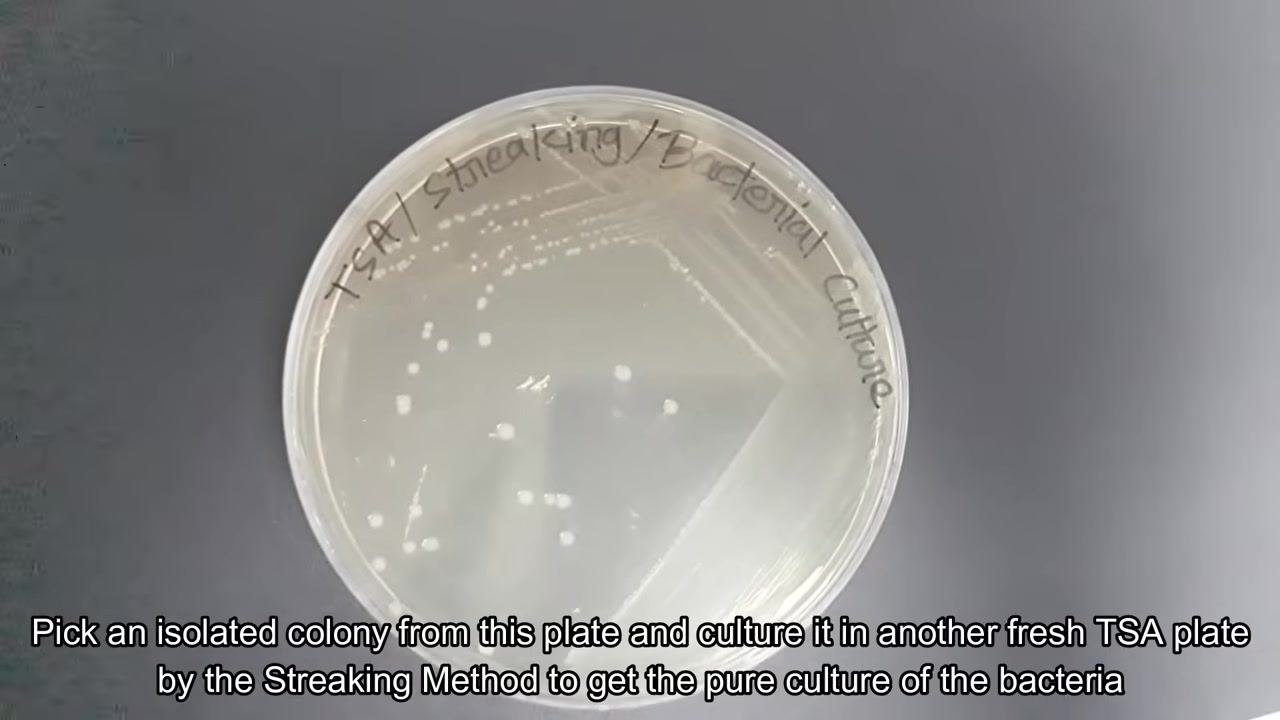
After incubation, this dilution effect produces confluent growth in the early quadrants and well-separated, individual colonies in the later quadrants. Each well-isolated colony visible in the third and fourth quadrants represents the growth of a single bacterial cell, allowing it to be picked and subcultured as a pure isolate.
Materials and Reagents
The following equipment, consumables, and media are required to perform the streak plate procedure.
| Item | Purpose / Description |
|---|---|
| Biological safety cabinet | Provides an aseptic work area for handling cultures and performing the streak |
| Incubator | Used to grow media quality-control plates and inoculated streak plates at a controlled temperature (e.g., 37°C) |
| Bunsen burner / spirit lamp | Used to sterilize the inoculating loop by flaming it until red hot |
| Inoculating loop (nichrome wire) | Transfers bacterial culture onto the agar surface during streaking |
| Colony counter | Assists in observing and assessing isolated colonies after incubation |
| Prepared TSA (Tryptic Soya Agar) culture media plate | Solid growth medium onto which the mixed culture is streaked |
| Agar media powder and distilled water | Combined and weighed according to label instructions to prepare the growth medium |
| Digital thermostatic water bath or autoclave | Sterilizes the prepared media (boiling at 100°C, autoclaving at 121°C/15 lb for 15 minutes, or microwave boiling for 2 minutes, depending on manufacturer instructions) |
| Sterile petri dishes | Receive the hot, sterilized media before it cools and solidifies |
| Permanent marker | Used to label the fresh plate with media name, test name, date, and method |
| Mixed bacterial culture plate | Source culture to be isolated |
| Pink/red tube rack | Holds the loop and supporting items inside the cabinet during the procedure |
Procedure
Preparing the culture media
- Weigh the required amount of agar media and mix it with distilled water, following the label instructions on the media container.
- Sterilize the media according to the manufacturer's instructions. Depending on the product, this may require boiling at 100°C, autoclaving at 121°C and 15 pounds pressure for 15 minutes, or boiling in a microwave oven for 2 minutes.
- Pour the hot, sterilized media aseptically into sterile petri dishes and allow it to cool and solidify.
Quality control of prepared media
-
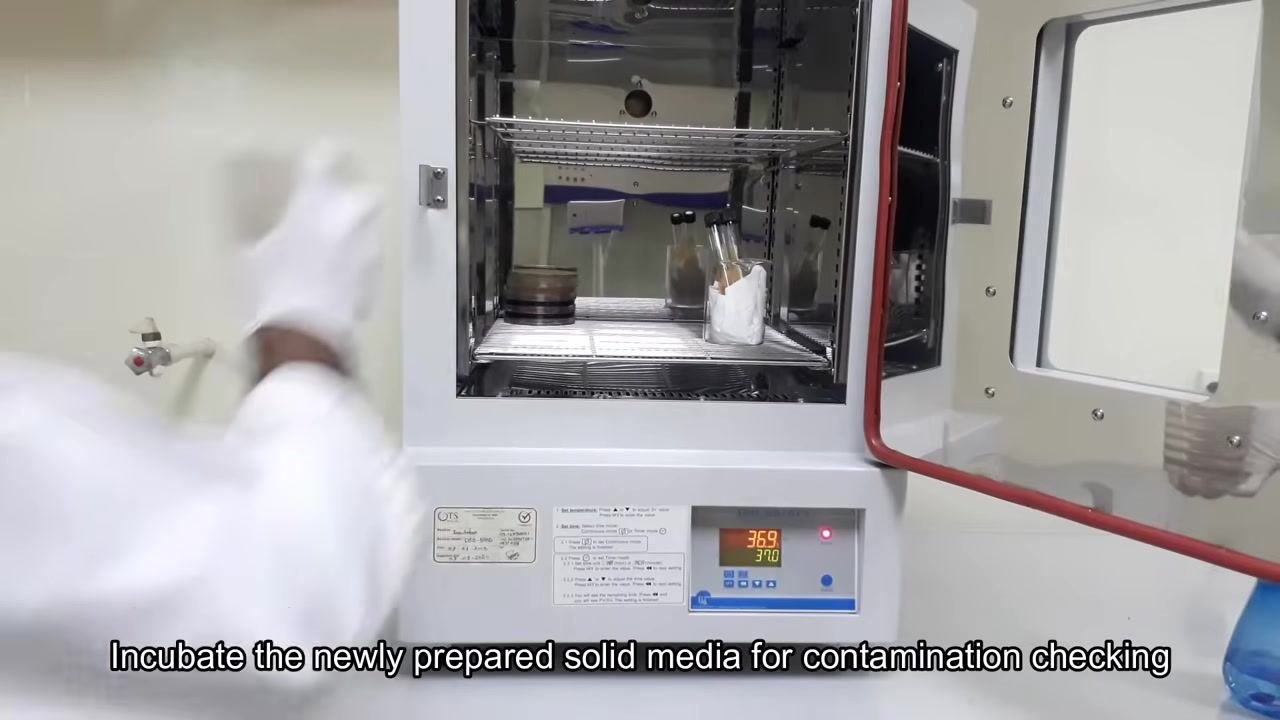
Place the solidified media plates in the incubator and set it to the appropriate temperature (e.g., 37°C) to check the newly prepared media for contamination.
-
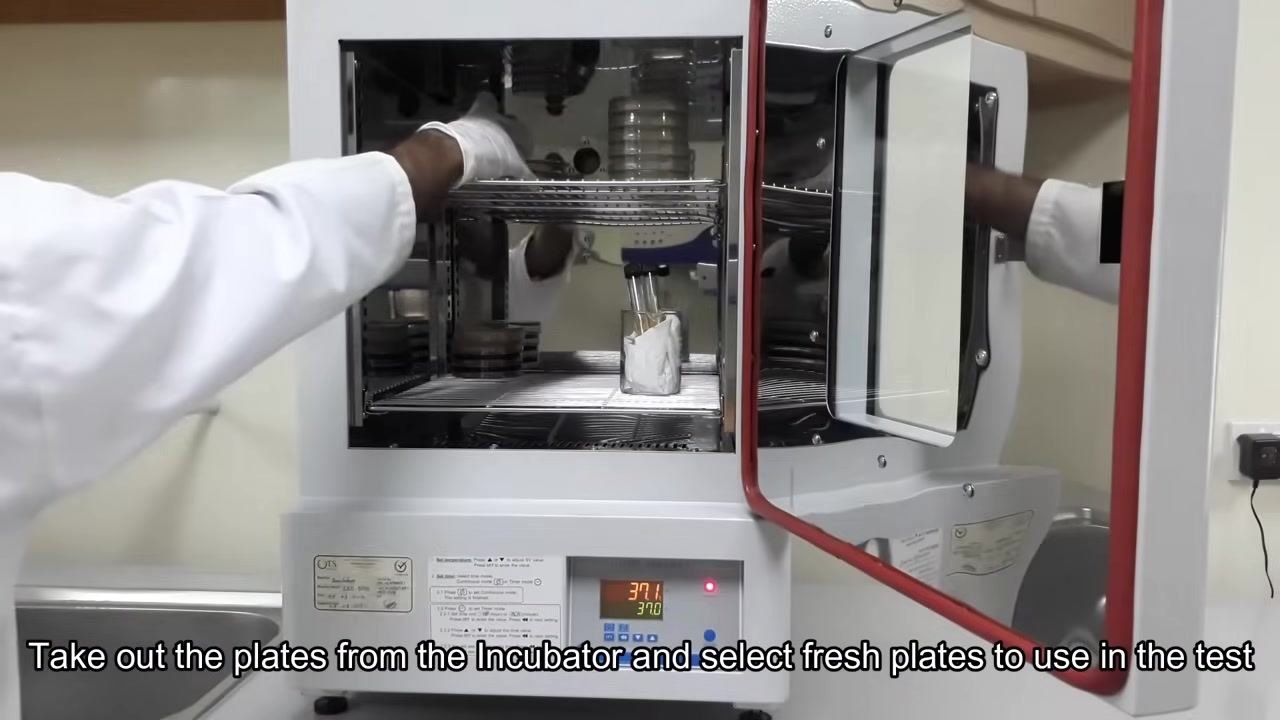
After incubation, remove the plates from the incubator and inspect them, selecting only the fresh plates that show no signs of contamination for use in the test.
Setting up for inoculation
- Clean your workstation inside the biological safety cabinet to maintain aseptic conditions.
-
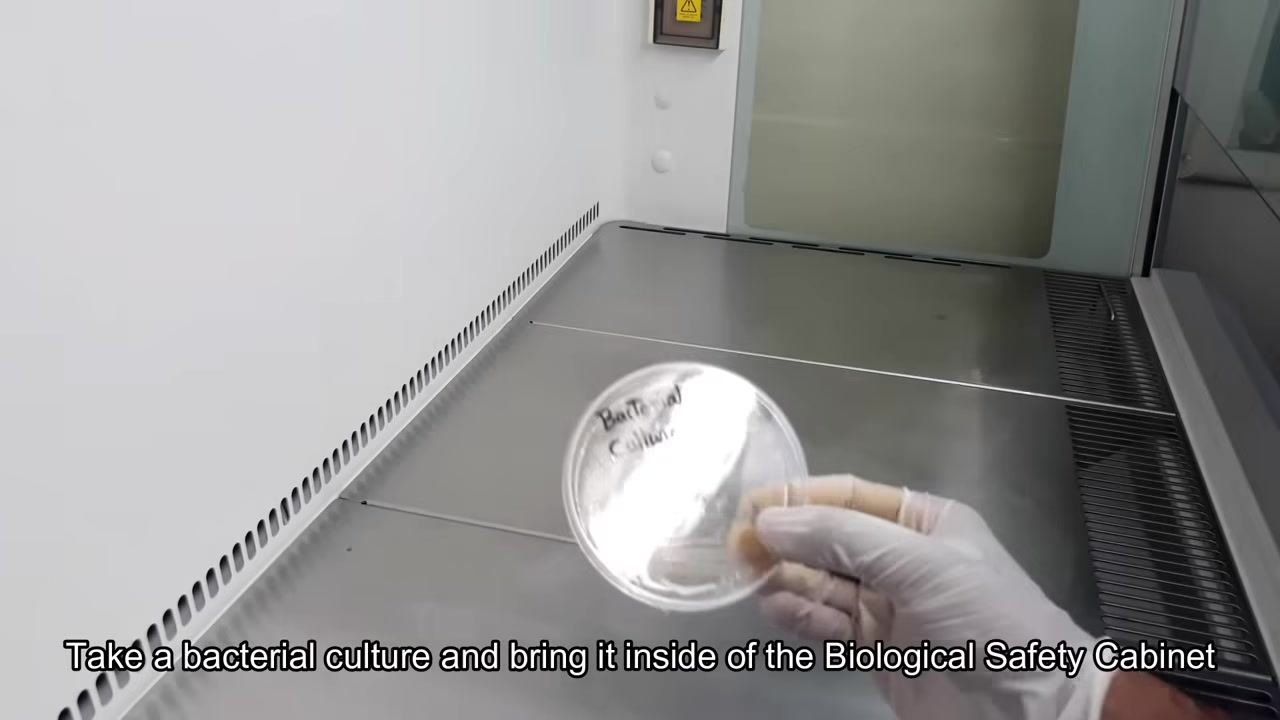
Bring the mixed bacterial culture you wish to isolate into the biological safety cabinet.
-
Bring a previously prepared, fresh TSA culture plate into the biological safety cabinet alongside the bacterial culture plate.
Sterilizing and labeling before streaking
- Take an inoculating loop made of nichrome wire and sterilize it by holding it in the flame of a Bunsen burner or spirit lamp until it becomes red hot.
-
Hold the loop in the hottest part of the flame and rotate it so that all surfaces are sterilized, waiting until it glows red to confirm complete sterilization.
-
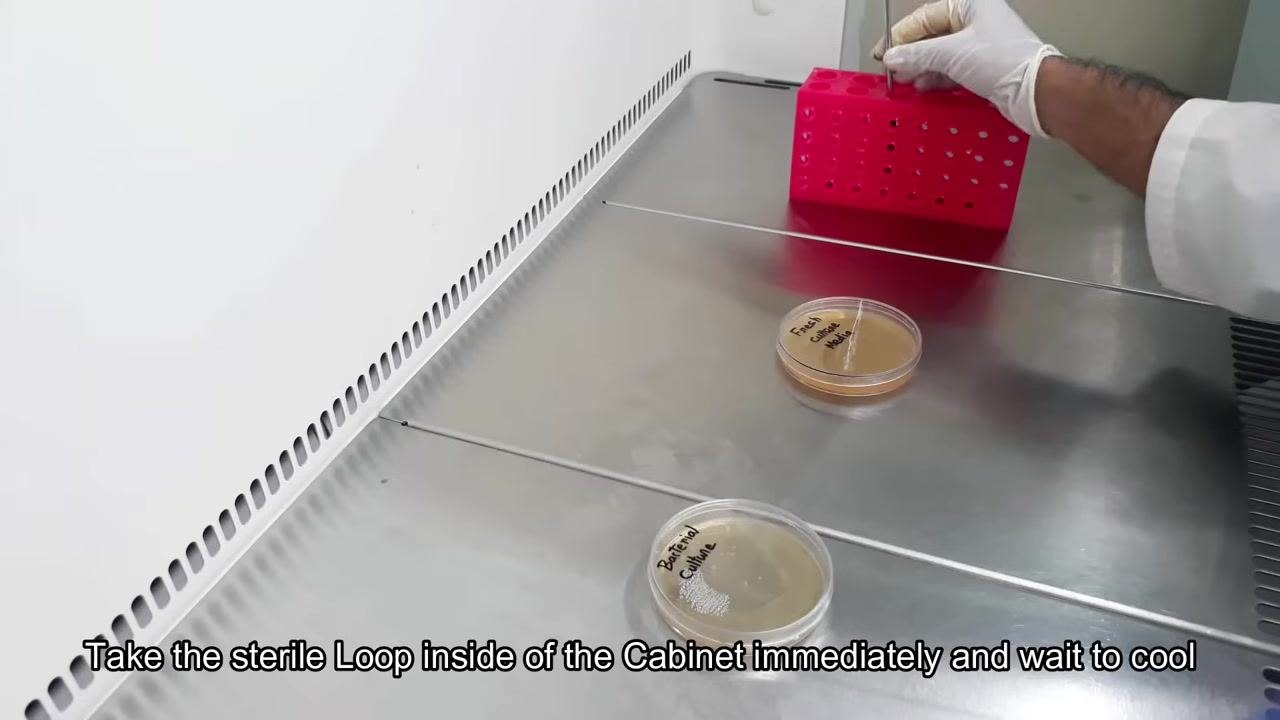
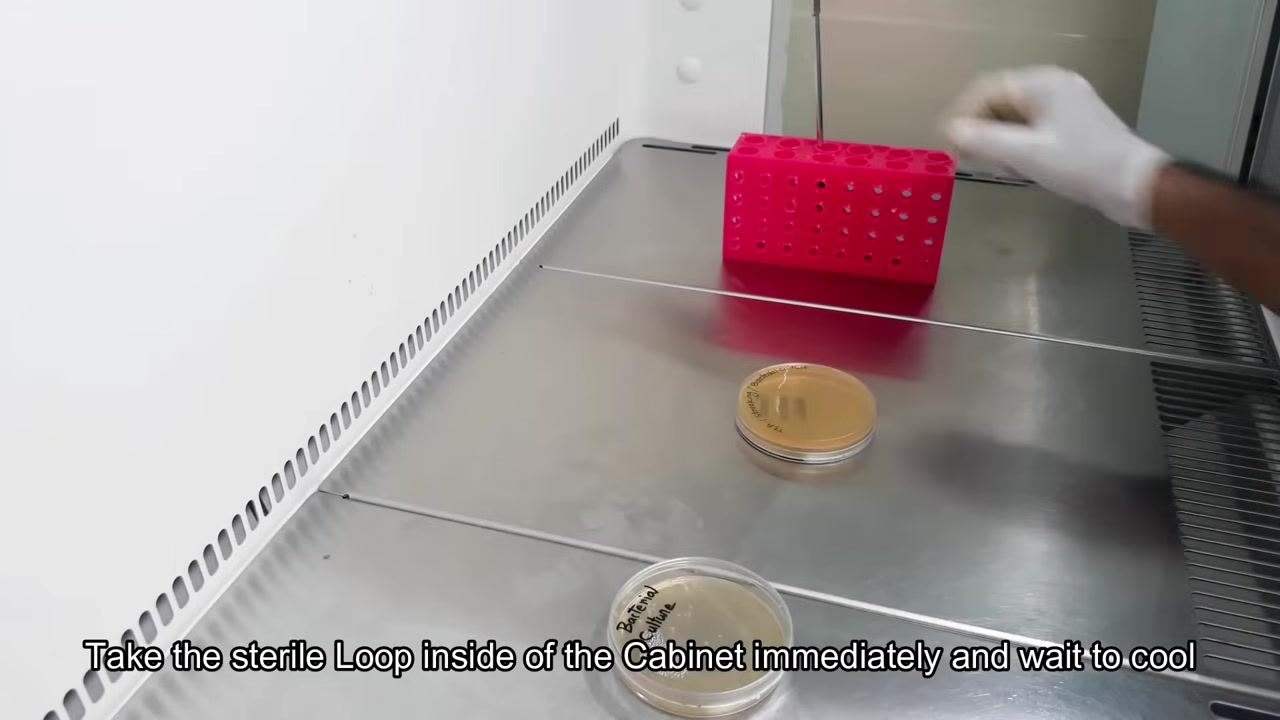
Immediately bring the sterile loop inside the biological safety cabinet to avoid contamination, and allow it to cool at room temperature inside the cabinet before touching it to any surface.
-
Label the bottom (agar side) of the fresh media plate with a permanent marker, recording the media name (e.g., TSA), test name, date, and method for traceability.
-
Set the labeled plate aside in a clean area within the cabinet, ready for inoculation.
Creating the initial smear
-
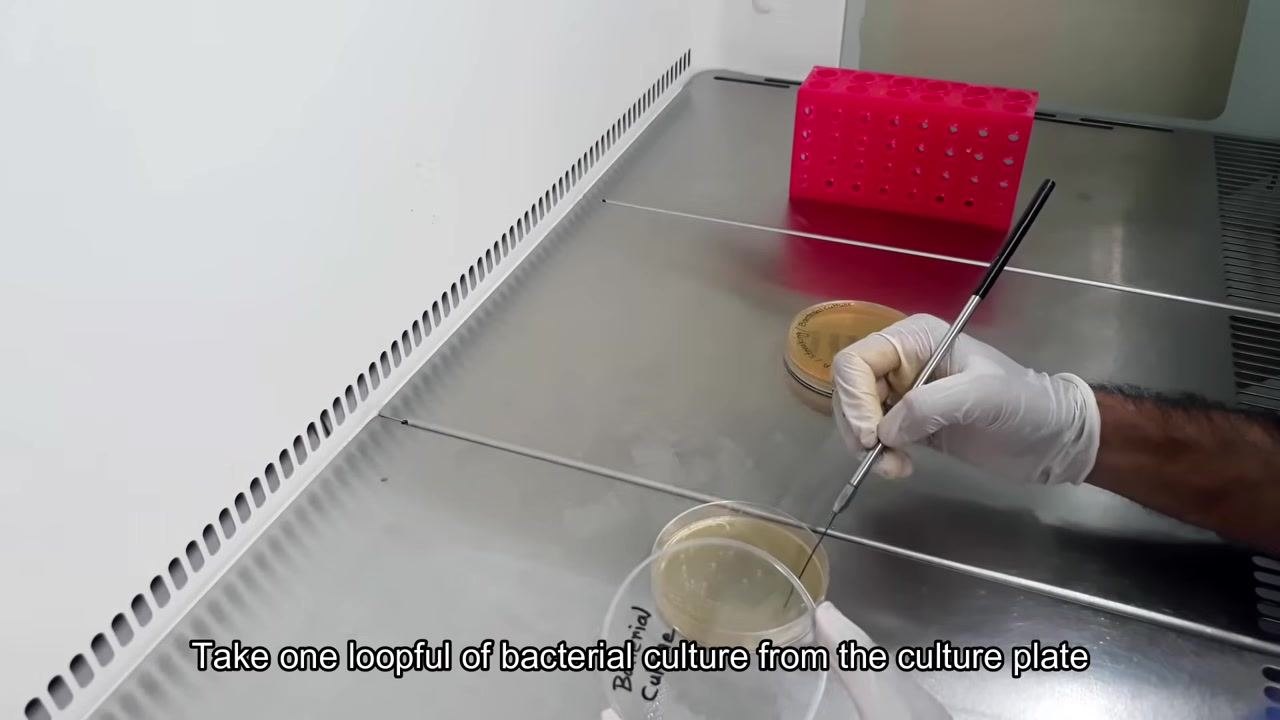
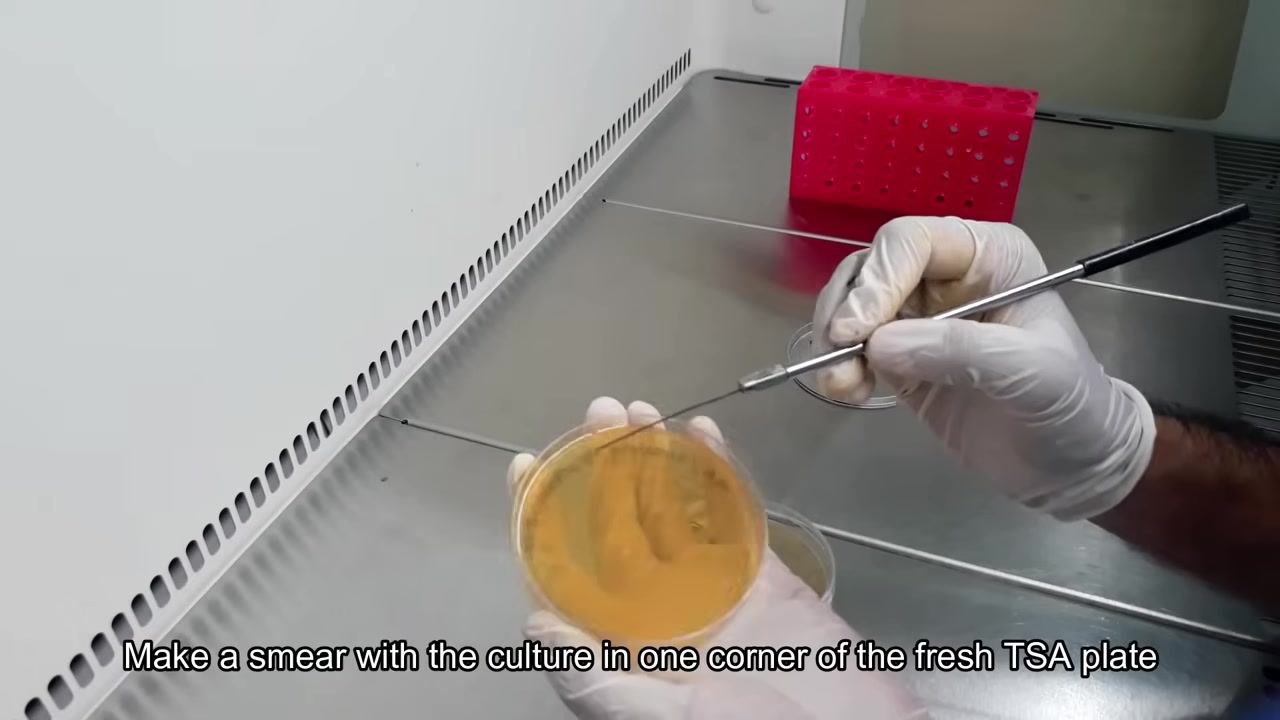
Gently touch the cooled, sterile loop to the surface of the bacterial culture plate to pick up one loopful of bacterial culture — just enough to fill the loop.
-
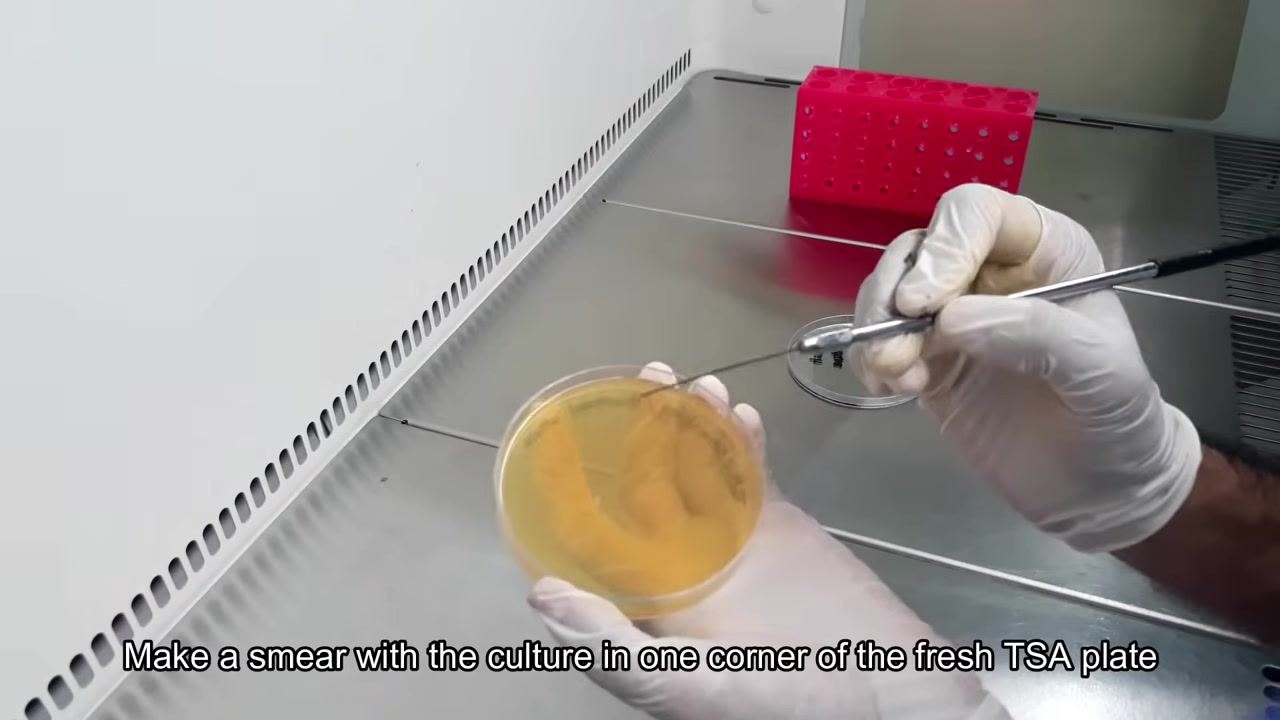
Gently touch the loop to the surface of the fresh TSA plate and smear the collected bacteria in a small area in one corner of the plate. Keep the smear thin and even to support good isolation.
-
If the first smear is insufficient, gently repeat the process in the same corner area to ensure an even initial inoculum.
Streaking the first quadrant
-
After sterilizing the loop again, place it inside the biological safety cabinet and allow it to cool for approximately five minutes without touching any surfaces.
-
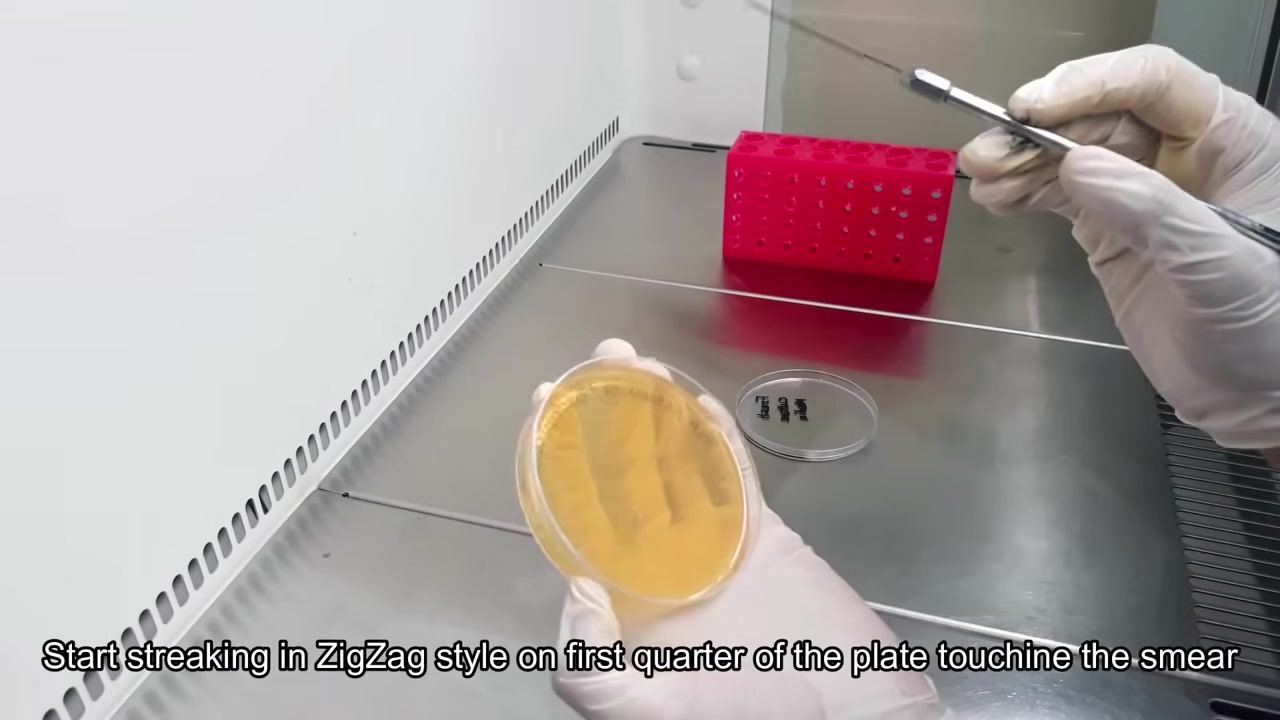
Hold the fresh TSA plate with one hand and the cooled loop with the other. Starting from the initial bacterial smear, streak the loop in a zigzag pattern across the first quarter of the plate, ensuring the loop touches the smear to transfer bacteria.
-
Confirm that the streaking lines are visible on the agar surface, indicating that bacteria have been properly transferred.
-
Place the lid back on the TSA plate to prevent contamination, then re-sterilize the inoculating loop by holding it in the flame until red hot.
Streaking the second quadrant
-
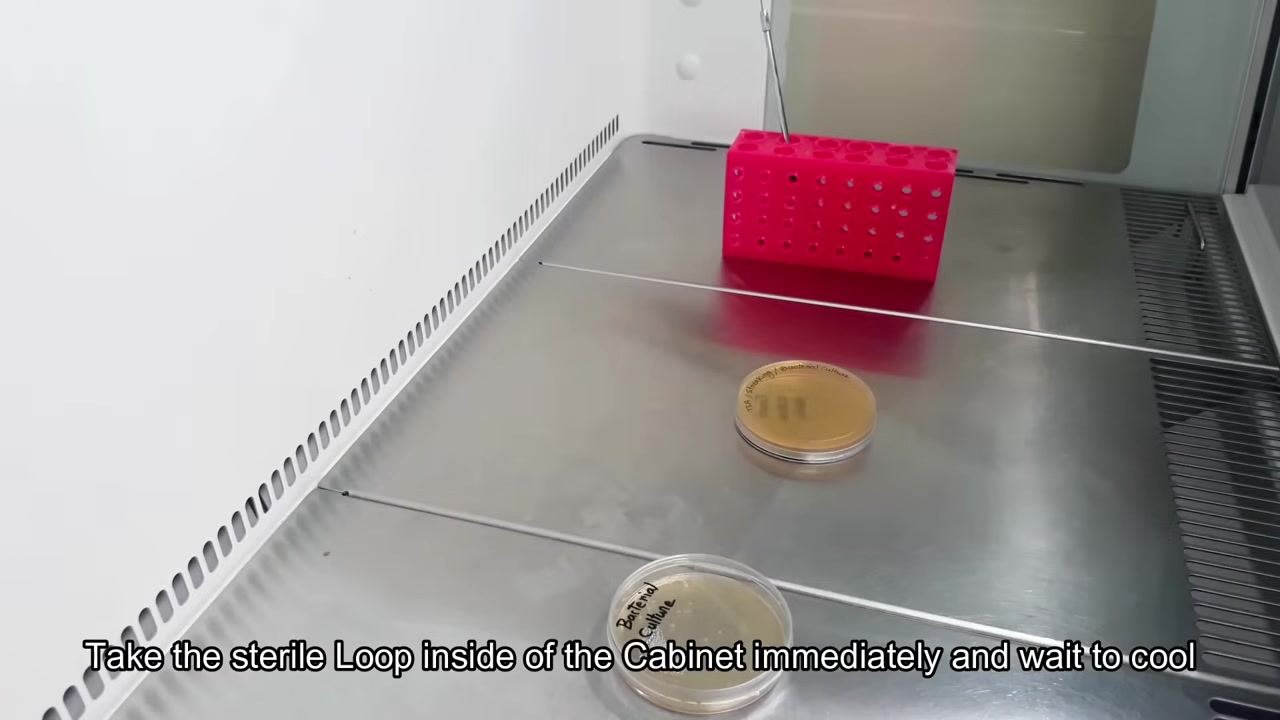
Immediately return the sterile loop to the biological safety cabinet and allow it to cool to room temperature before proceeding.
-
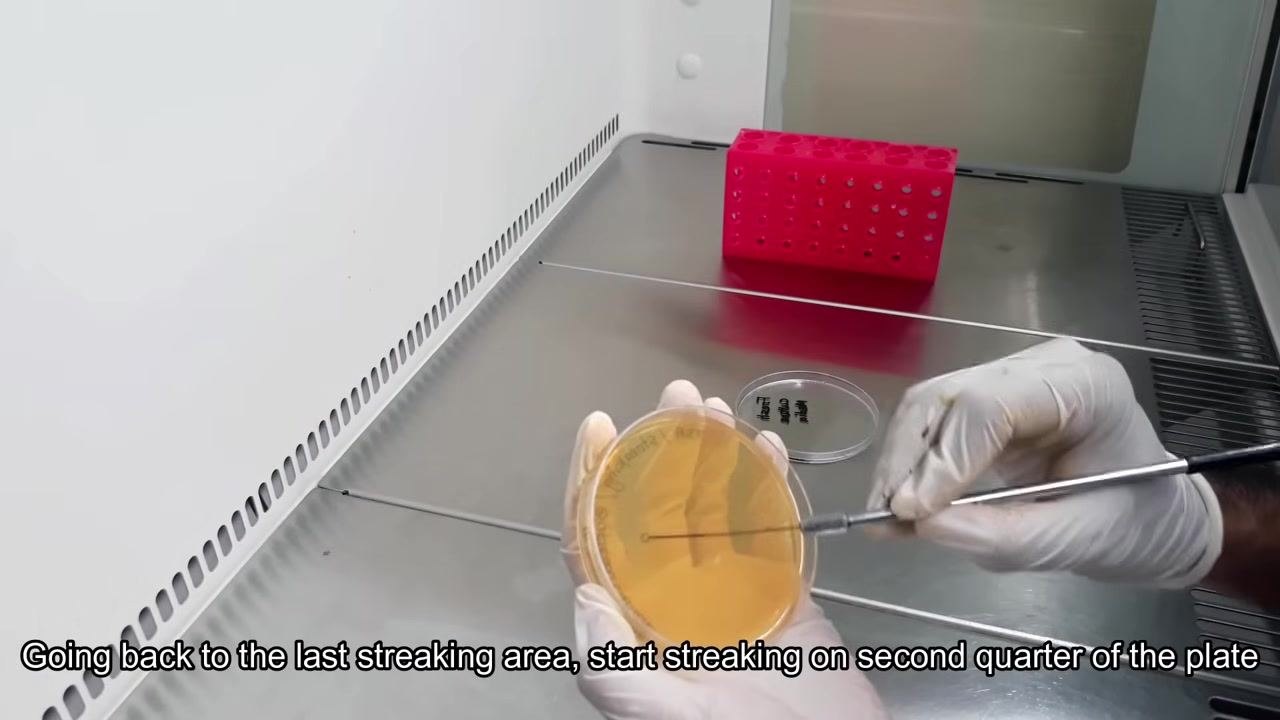
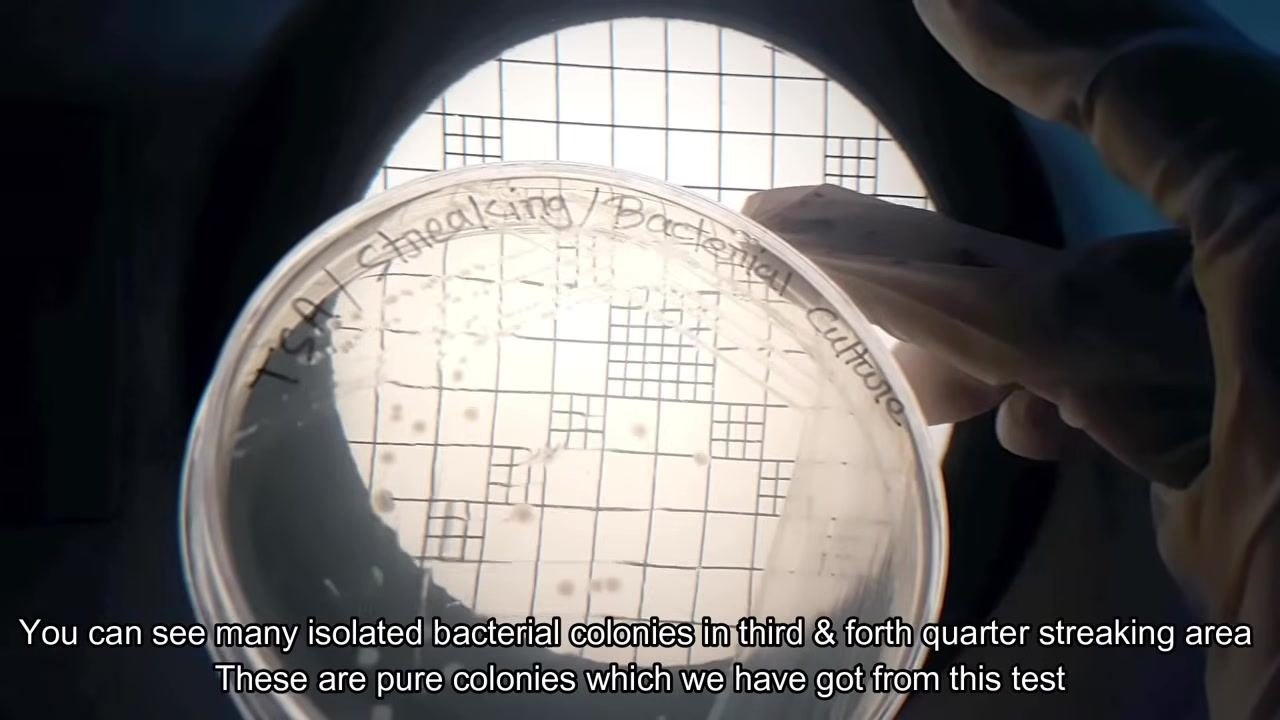
Once cool, pick up the loop and begin streaking the second quarter of the plate, starting from the edge of the first streaked area. Use a zigzag motion, touching the loop to the previous streaking lines to drag bacteria into the new quadrant.
Streaking the third and fourth quadrants
-
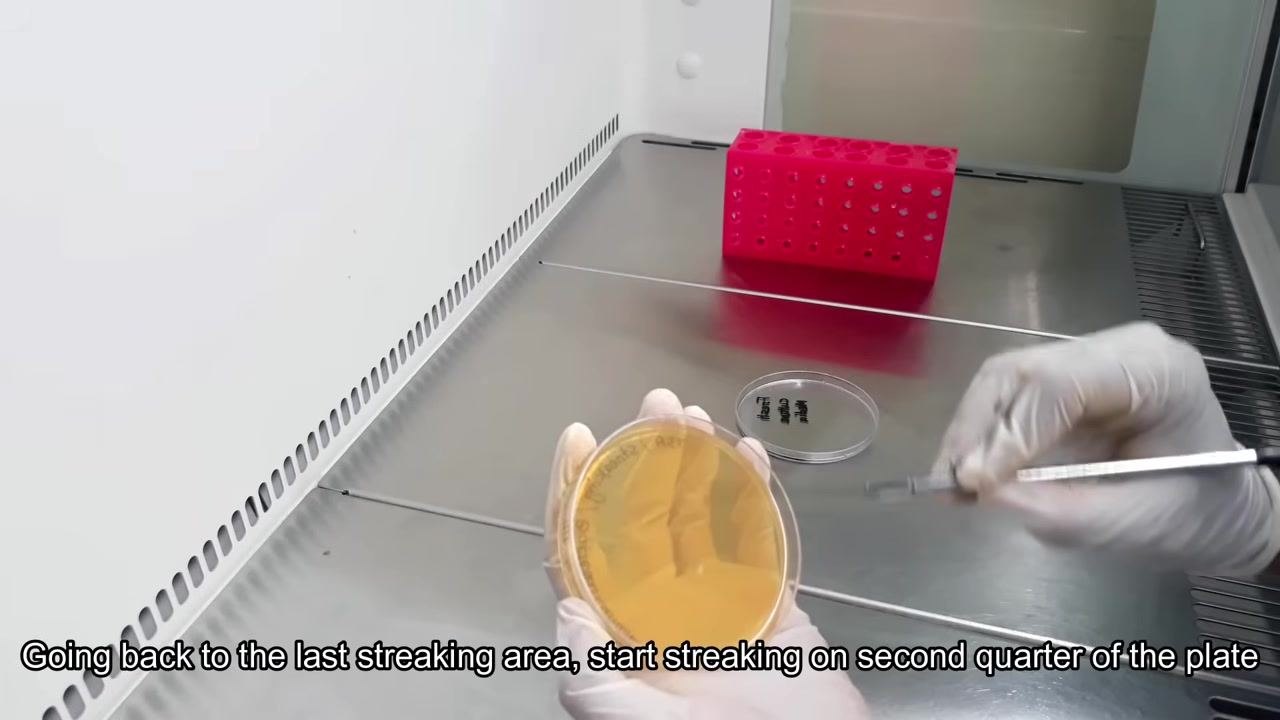
Without re-sterilizing the loop, continue the zigzag streaking process for the third and fourth quarters. Each time, start from the edge of the previously streaked area and drag the loop into the new quadrant, ensuring the loop touches the prior streaking lines. This four-quadrant streaking method is what allows individual bacterial colonies to be isolated.
-
Continue streaking the third and fourth quarters in a similar manner, without burning or sterilizing the loop between these two quadrants, working gently to avoid damaging the agar surface. This step is performed inside the biological safety cabinet using aseptic technique.
- Once all four quadrants have been streaked, place the lid back on the TSA plate to prevent contamination.
Incubating and observing results
-
Invert the streaked plate (agar side up, lid side down) and place it inside an incubator set to 37°C. Incubate for 24 hours to allow bacterial colonies to grow.
-
After 24 hours, open the incubator and carefully remove the plate using gloves to maintain aseptic conditions.
-
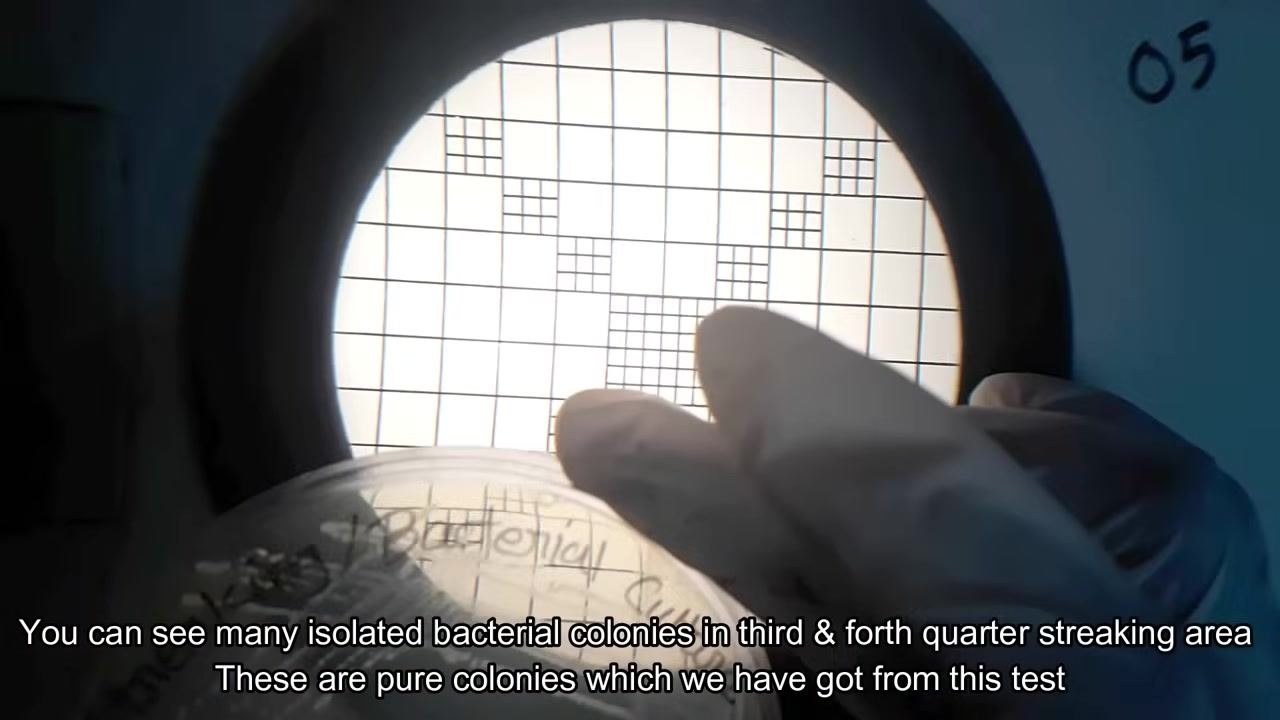
Examine the plate for bacterial colony growth. Colony density will be higher in the first quarter and progressively lower toward the fourth quarter. Use a colony counter or a grid background to make isolated colonies easier to observe.
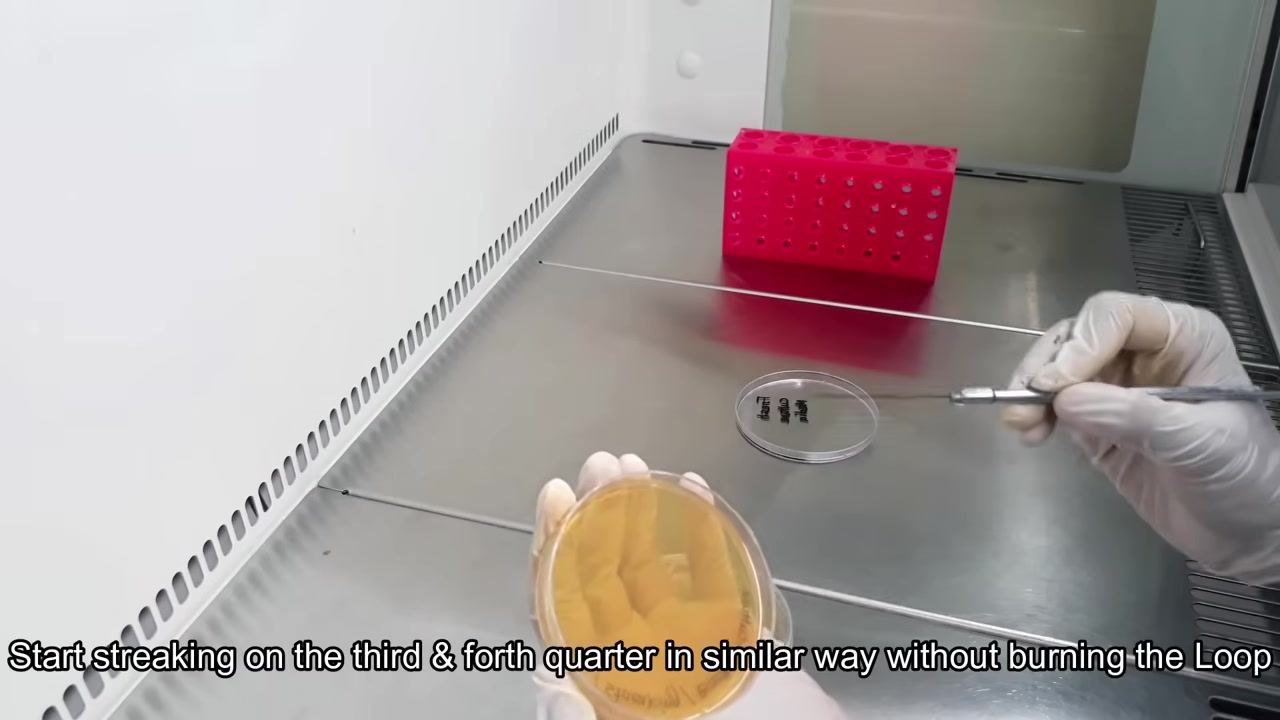
- Focus on the third and fourth quarters of the plate to identify well-isolated, single colonies. These isolated colonies are considered pure and suitable for further culturing.
Subculturing for a pure culture
- Pick an isolated colony from the plate using a sterile loop and streak it onto a fresh TSA plate using the same streaking method described above. This step establishes a pure bacterial culture from the isolated colony.
Calculations
No numerical calculations, dilution factors, or reporting formulas are used in this qualitative isolation procedure. Where a laboratory's protocol requires colony counts or dilution reporting, this section should document the counting formula, applicable dilution factor, reporting units (e.g., colonies per plate), and the significant figures to be used when recording results.
Quality Controls
The following checks confirm that media and technique are suitable for reliable isolation.
| Control point | Description | Acceptance criteria |
|---|---|---|
| Media contamination check | Incubate newly prepared, solidified media plates before use | Select only plates that show no visible signs of contamination for use in the test |
| Aseptic loop sterilization | Flame the inoculating loop until red hot before each new streaking stage (except between the third and fourth quadrants) | Loop must glow red to confirm sterilization; loop must be allowed to cool before contacting bacteria |
| Streak isolation quality | Visual inspection of colony distribution after incubation | Colony density should decrease progressively from the first to the fourth quadrant, with well-separated, single colonies present in the third and fourth quadrants |
| Aseptic environment | All inoculation steps performed inside a biological safety cabinet | Workstation cleaned before use; culture and media plates handled only inside the cabinet |
If the incubated plate fails to show well-isolated colonies in the third or fourth quadrant (for example, due to overcrowding or contamination), repeat the streak plate procedure using a freshly sterilized loop and a new fresh TSA plate before proceeding to subculturing.


Generation details: cost, quality tiers, downloads
Docsie billed 3,500 credits ($2.45) to analyze this 7-minute video at standard quality. The rewrite, template fill and Word/PDF exports were included. The same video at each quality tier:
| Quality | Frames sampled | Credits | Approx. cost |
|---|---|---|---|
| Draft | every 16-30 s | 1,750 | $1.22 |
| Standard (this guide) | every 8-15 s | 3,500 | $2.45 |
| Detailed | every 4-7 s | 7,000 | $4.90 |
| Ultra | every 1-3 s | 14,000 | $9.80 |
Credits priced at $0.70 per 1,000; plans include a monthly allowance. Enterprise customers on on-premise or bring-your-own-model deployments run this on their own inference and pay no per-video credits.
Generated by Docsie Video-to-Docs on 2026-09-28 from a 6-minute video. It was generated straight into Docsie's Lab Method SOP template, so every section of that template is filled from the video. Screenshots are frames from the source video and belong to their creator, MicroChem's Experiments, whose original is embedded above. If you own this video and want the guide removed or credited differently, contact us and we will act within one business day.