
How to Pour an Agarose Gel for Electrophoresis
This SOP describes how to pour an agarose gel for electrophoresis into a mini subcell, add running buffer, load DNA samples into the gel wells, and run the electrophoresis to separate DNA fragments by size using an electric current. Follow these steps in sequence, and always cross-reference your specific lab protocol for exact volumes, voltage, and run times.
Video: Agarose Gel Electrophoresis by Bio-Rad Laboratories (2012). All credit for the demonstration goes to the creator; watch the original on YouTube. The written guide below was generated from this video by Docsie. Creator? Request a change or removal.
This SOP describes how to pour an agarose gel for electrophoresis into a mini subcell, add running buffer, load DNA samples into the gel wells, and run the electrophoresis to separate DNA fragments by size using an electric current. Follow these steps in sequence, and always cross-reference your specific lab protocol for exact volumes, voltage, and run times.
Purpose
This method describes the procedure for loading DNA samples onto a pre-cast agarose gel and running horizontal gel electrophoresis on a mini subcell system. The intended analytical use is the size-based separation of DNA fragments for downstream visualization and analysis.
Scope
This procedure applies to DNA samples arranged in microtubes and loaded into a Bio-Rad Mini-Sub Cell GT or equivalent mini subcell electrophoresis system. It covers gel placement into the chamber, buffer addition, sample loading, lid and electrode connection, power supply setup, and run monitoring. It is intended for laboratory analysts trained in basic pipetting and electrophoresis equipment operation. This SOP does not cover the casting or polymerization of the agarose gel itself, nor downstream staining, visualization, or imaging of the gel; those steps should be addressed in a separate protocol.
Principle
Agarose gel electrophoresis separates DNA fragments according to size using an applied electric current. Because DNA is negatively charged, it migrates through the gel matrix toward the positive electrode when current is applied. Smaller fragments move more quickly through the gel pores than larger fragments, resulting in size-based separation of the sample bands over the course of the run. Bubble formation at the electrodes and visible migration of the dye front confirm that current is flowing correctly through the buffer and gel.
Materials and reagents
| Item | Purpose |
|---|---|
| Mini subcell (e.g., Bio-Rad Mini-Sub Cell GT) | Houses the gel chamber, electrodes, and lid for electrophoresis |
| Pre-cast agarose gel | Separation medium for DNA fragments |
| Electrophoresis running buffer | Conducts current through the gel chamber |
| Micropipette (adjustable) and pipette tips | Aspirates and dispenses DNA samples into gel wells |
| DNA samples (in microtubes) | Test material to be separated by size |
| Power supply | Delivers constant voltage current to the electrodes |
| Gloves | Personal protective equipment for sample and equipment handling |
Ensure all equipment is clean and ready for use before beginning. Buffer should be prepared and available in sufficient volume to cover the gel and wells by at least 2 mm.

Procedure
Prepare the gel chamber
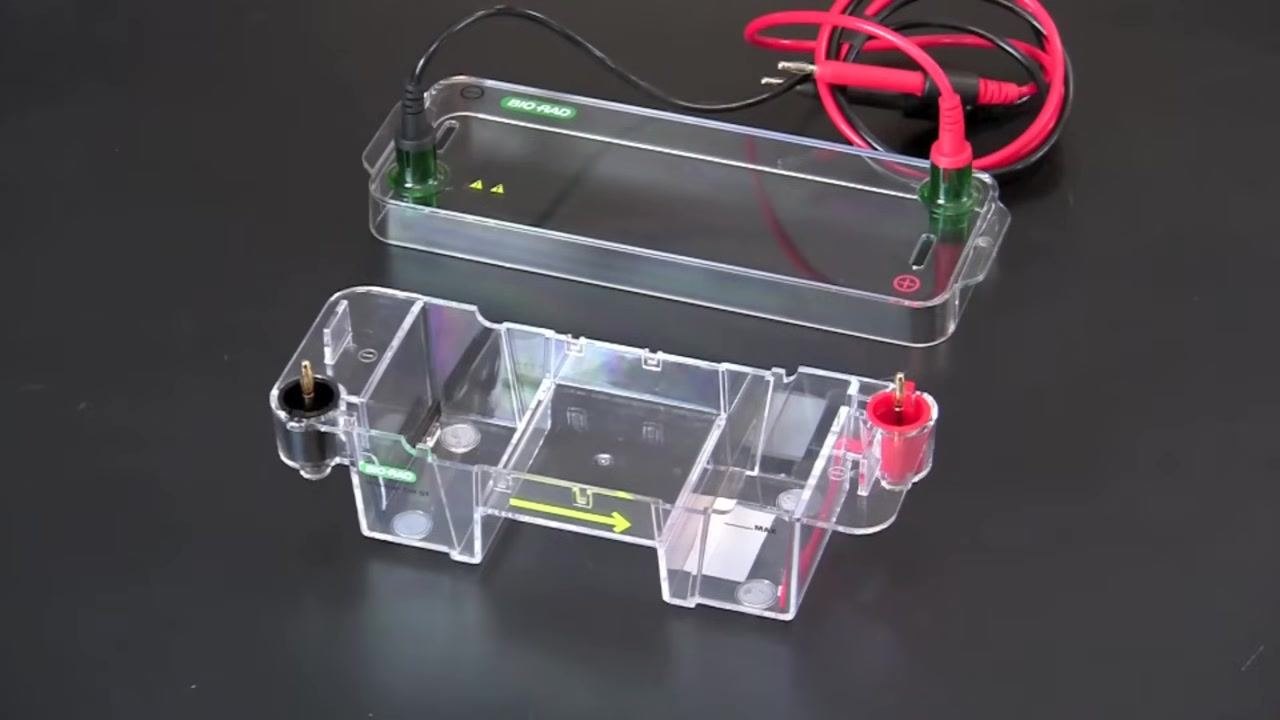
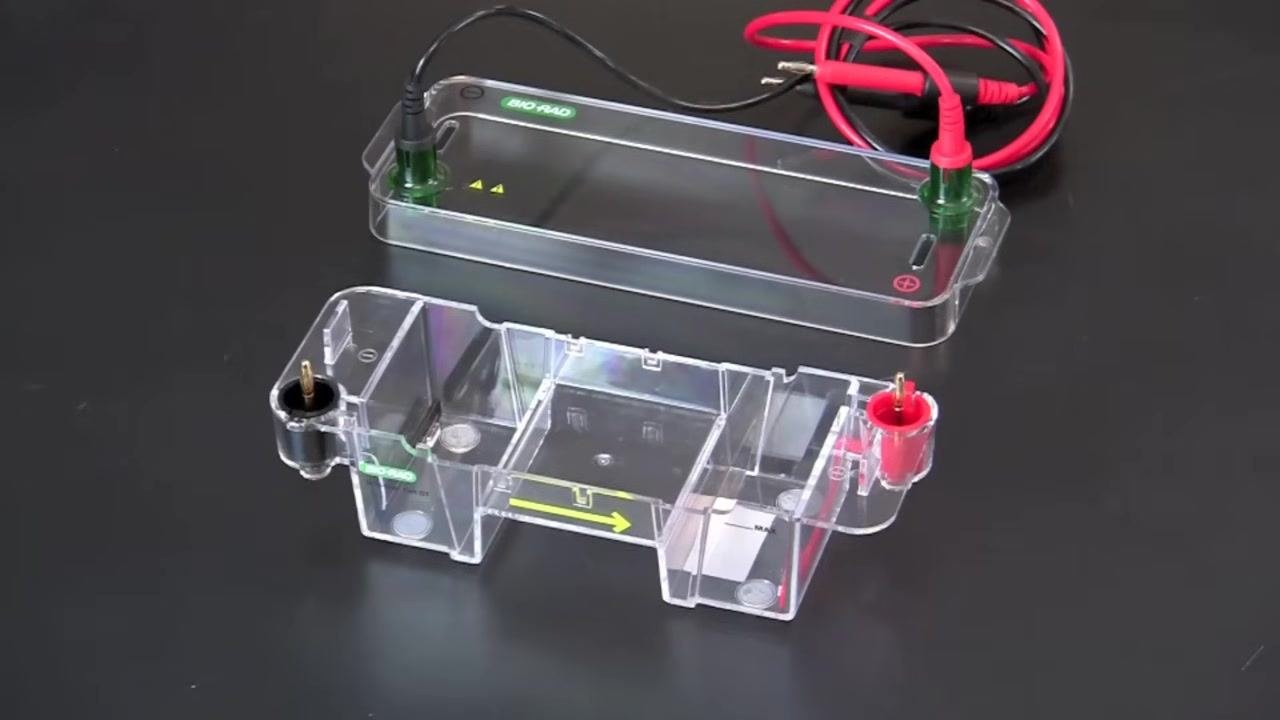
Locate the electrode wires at each end of the mini subcell. These wires carry the electric current through the gel during the run.
Pour and align the agarose gel in the chamber
Place the agarose gel into the gel chamber. Ensure the wells of the gel are positioned closest to the negative (black) electrode. This orientation is critical because DNA is negatively charged and migrates toward the positive (red) electrode during electrophoresis.
Add electrophoresis running buffer
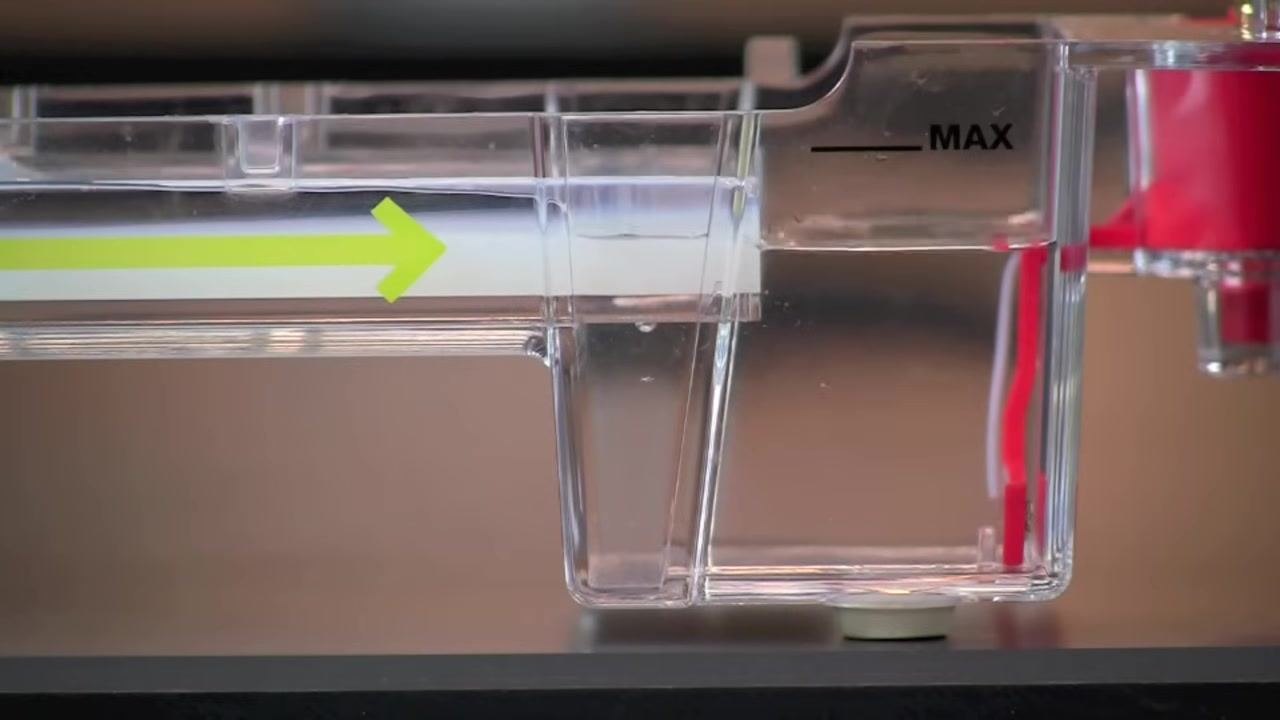
Pour electrophoresis running buffer into the reservoirs at each end of the gel chamber. Continue adding buffer until the wells and the gel are covered by at least 2 mm of buffer.
Prepare DNA samples for loading
Arrange your DNA samples in the correct order according to the lanes to which they are assigned. Refer to your lab protocol for the specific loading order.
Set the micropipette
To obtain a DNA sample, slowly depress the plunger on your adjustable micropipette to the first, or "soft," stop.
Aspirate the DNA sample
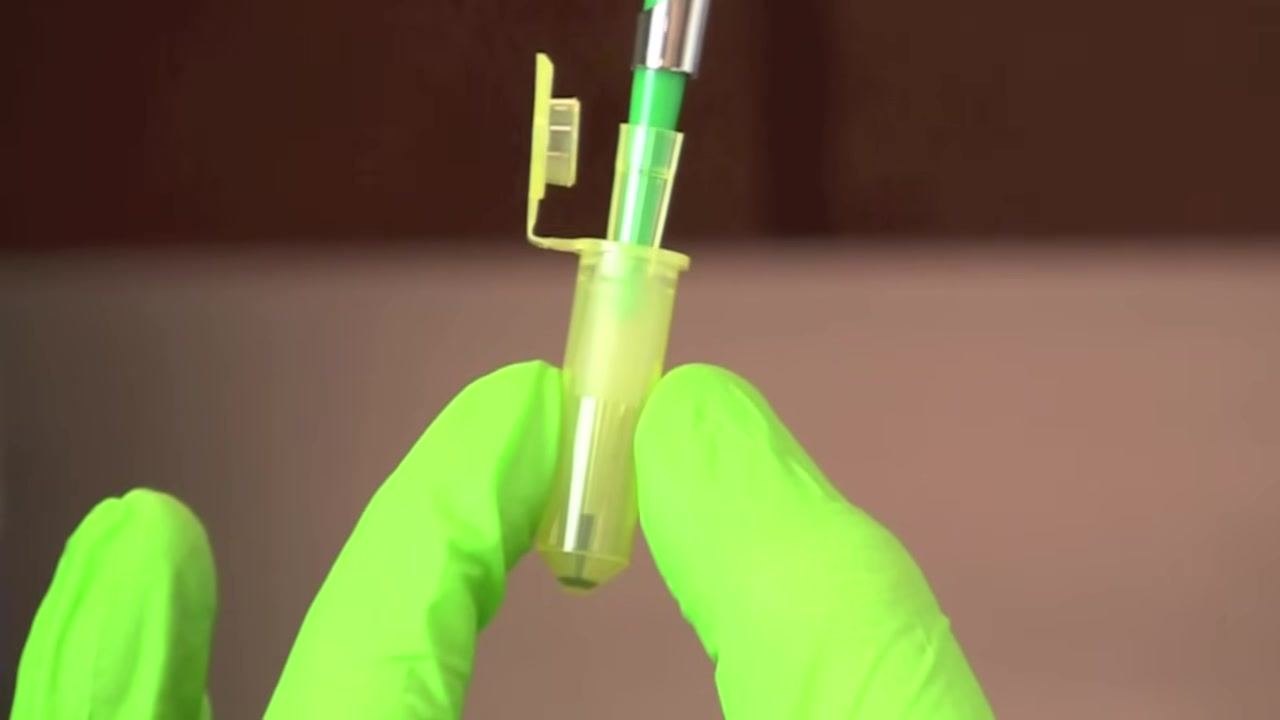
While holding the plunger down at the first stop, insert the pipette tip into the microtube containing the DNA sample.
Place the pipette tip close to the bottom of the microtube, then slowly release the plunger button to draw the sample into the tip.
Position and lower the pipette into the well
Hold the pipette perpendicular to the row of wells in the agarose gel; this orientation helps prevent accidental puncturing of the wells. Gently lower the tip until it just breaks the surface of the buffer and is positioned just above or just inside the well, taking care not to go too deep.
Dispense the DNA sample into the well
Slowly apply pressure to the plunger button, stopping at the first stop, and observe as the sample fills the well. Pause briefly, then slowly remove the pipette while keeping your thumb down on the plunger to avoid drawing liquid back up.
Repeat this loading process for each DNA sample, following your lab protocol for the correct order. Avoid bumping or moving the gel chamber after loading to prevent sample mixing or spilling.
Secure the gel chamber lid
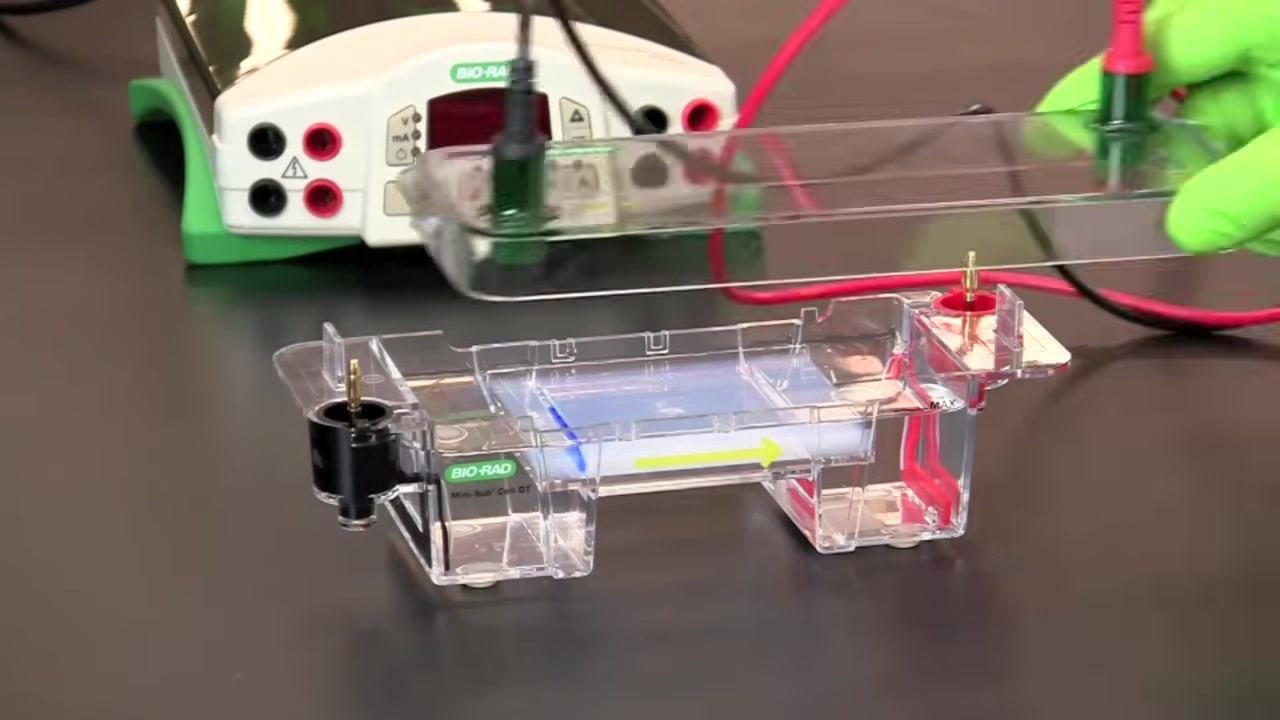
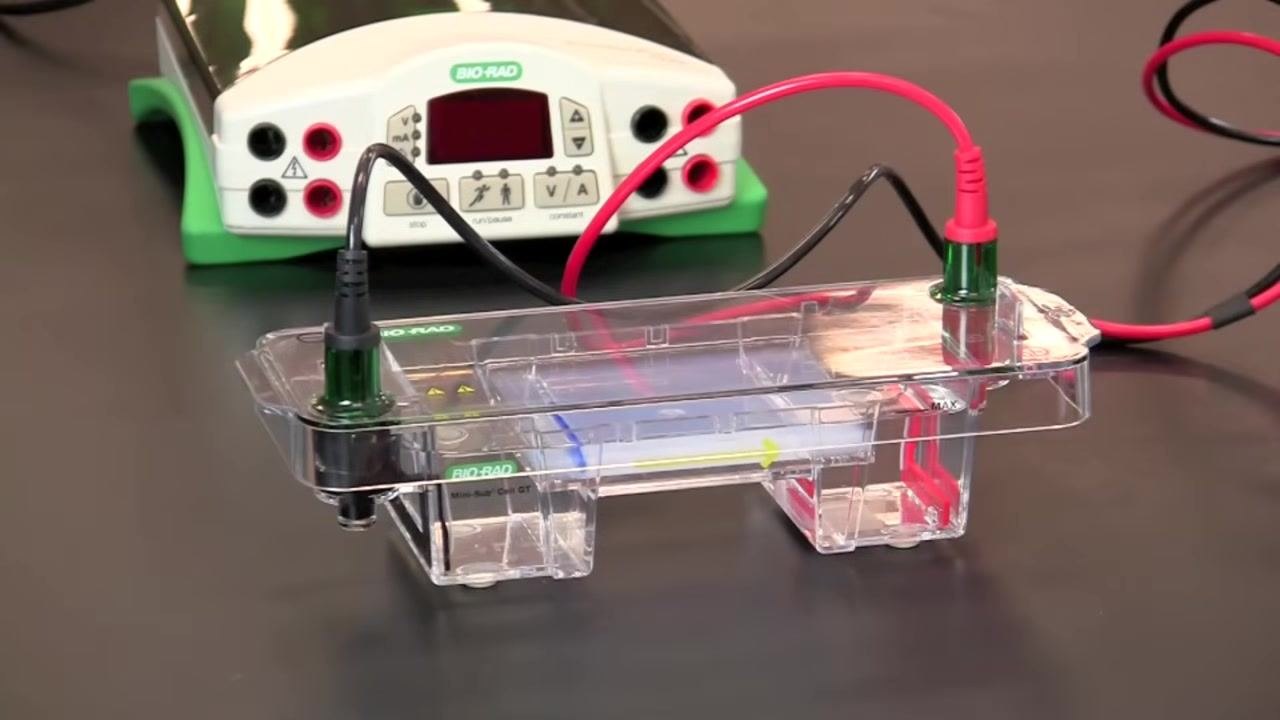
Carefully place the lid on the gel chamber, ensuring the terminals on the lid are correctly aligned: black to black (negative) and red to red (positive).
Connect the electrodes
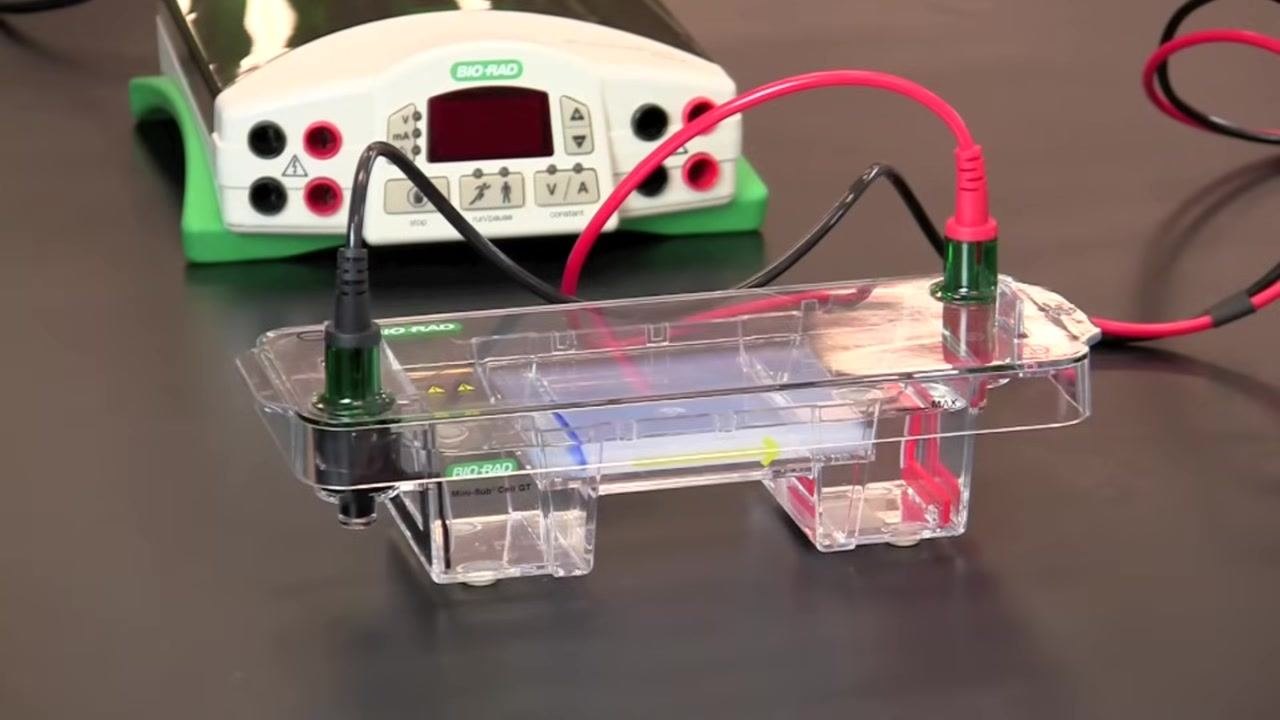
Attach the electrode cables from the gel chamber to the power supply. Double-check that the red cable is connected to the red terminal and the black cable to the black terminal on both the chamber and the power supply.
Set the power supply
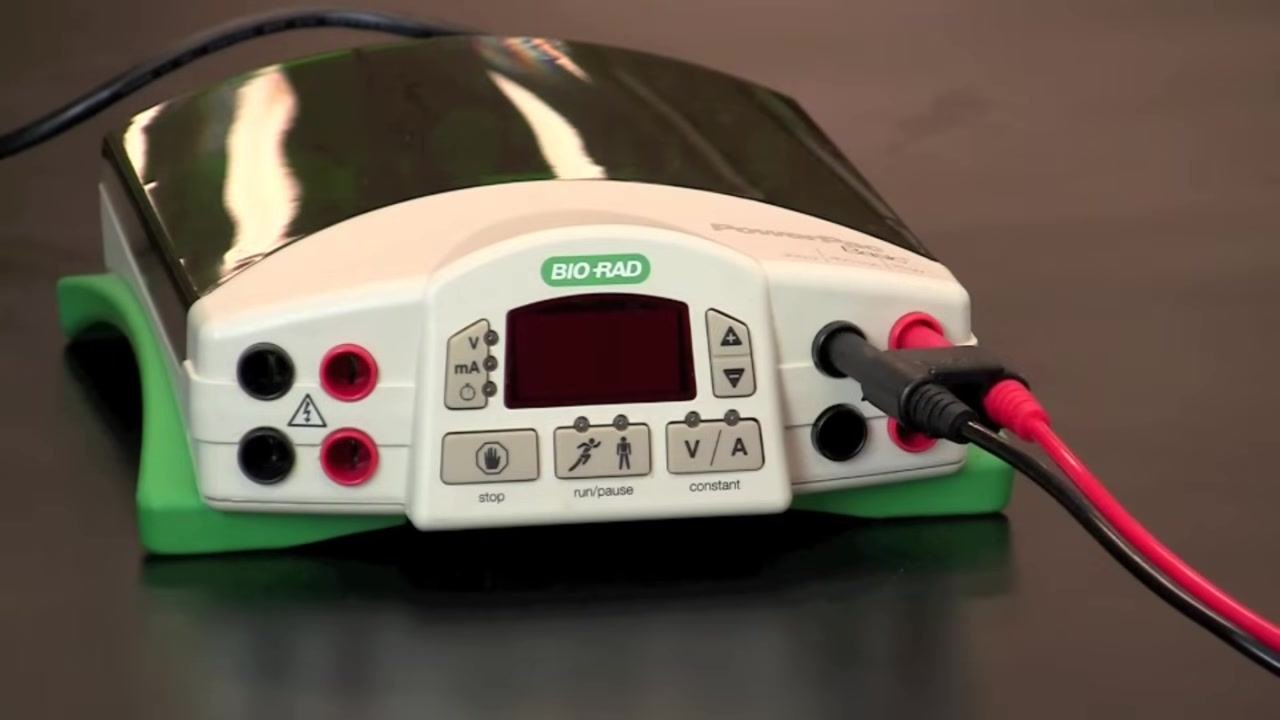
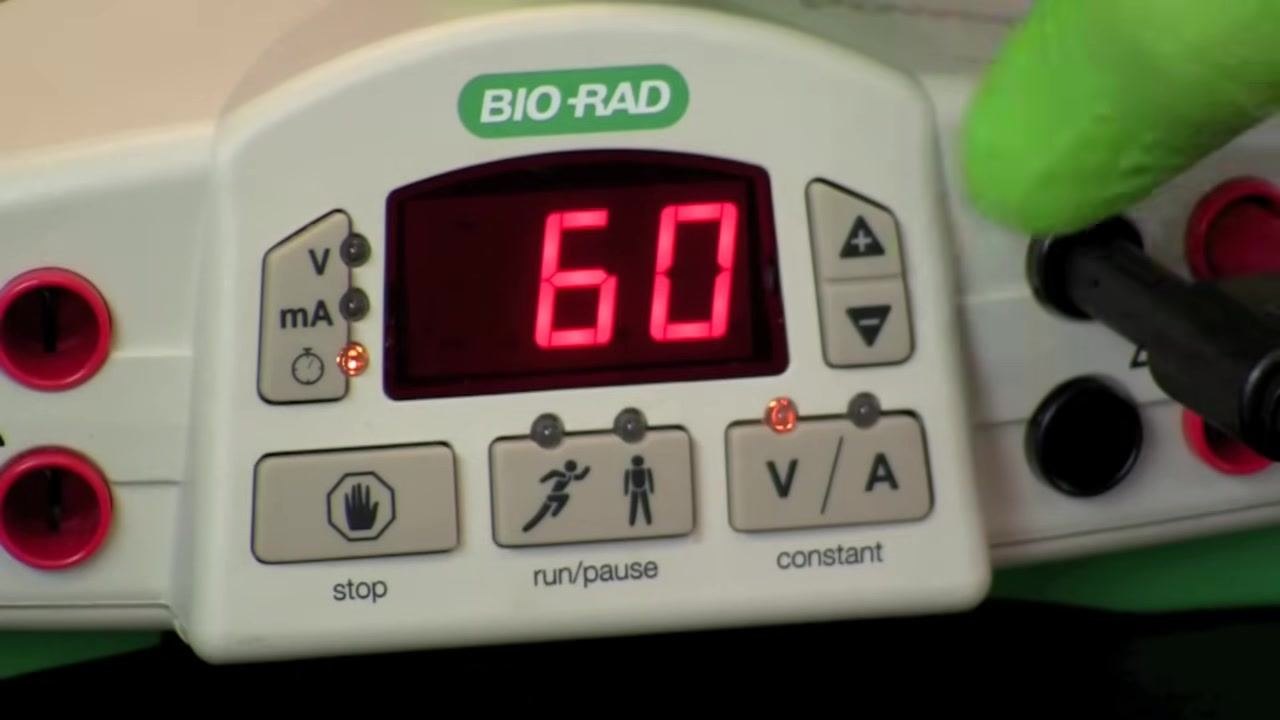
Switch on the power supply and set the correct constant voltage for running the samples as specified in your lab protocol. If your power supply has a timer, set it for the appropriate run time (for example, 18 minutes).
Start the electrophoresis run
Press the start or run button on the power supply to begin the flow of current. DNA fragments will now separate according to size as they migrate through the gel.
Monitor the run
After starting the electrophoresis run, check for bubbles forming at the electrode wires at each end of the gel box; the negative (black) electrode typically produces more bubbles than the positive (red) electrode. This bubbling confirms current is flowing through the buffer and gel.
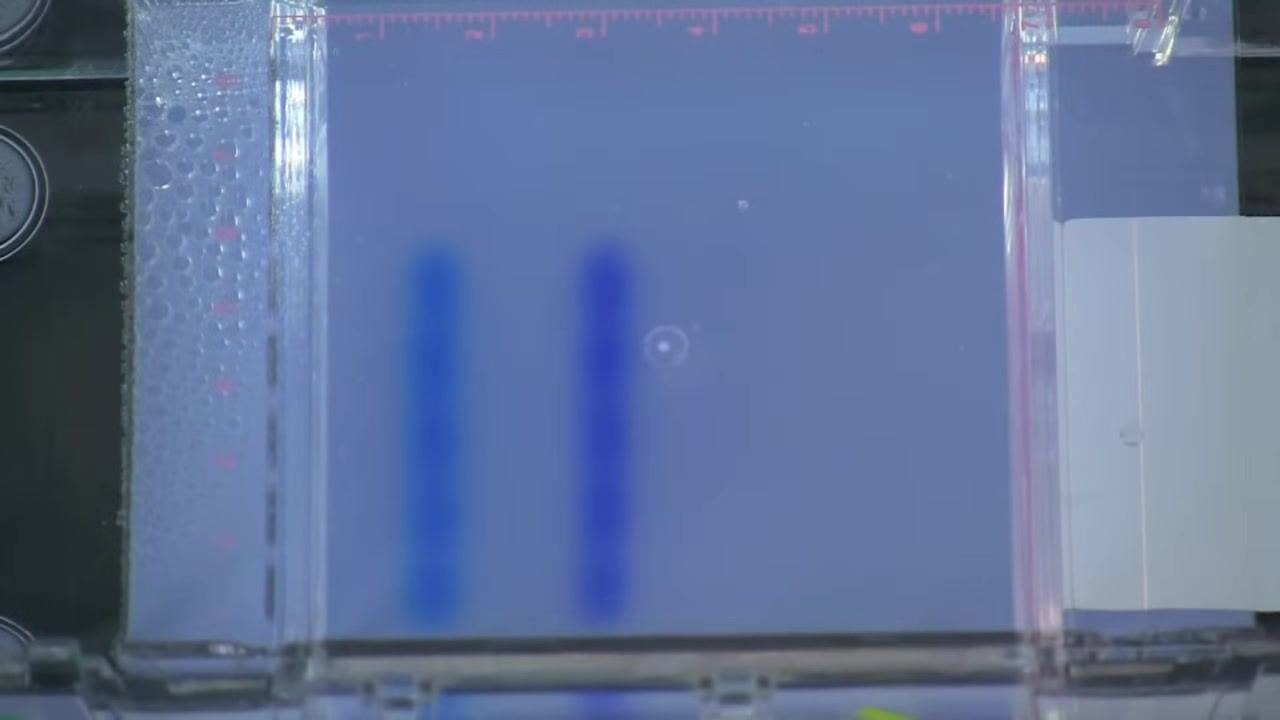
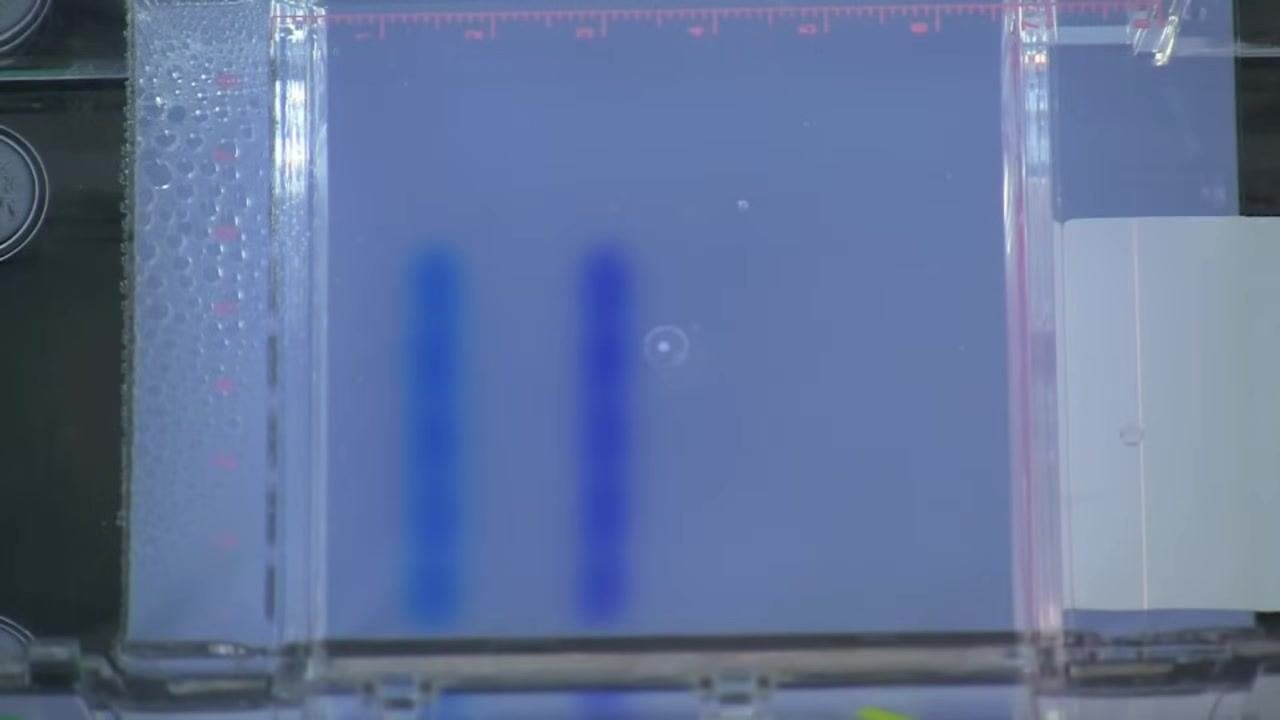
Within a few minutes, watch the wells for signs of sample migration. The dye front (visible blue bands) will begin moving away from the wells, indicating DNA fragments are traveling through the gel matrix.
Track the direction of migration: the dye front and DNA samples move from the negative electrode (black) toward the positive electrode (red), consistent with the negative charge of DNA.
Periodically check the gel to confirm the dye front continues to move smoothly, and avoid disturbing the gel box during the run.
As the run continues, confirm that the dye front becomes more pronounced and moves steadily toward the positive electrode, providing visual confirmation that electrophoresis is proceeding correctly.
Calculations
This procedure is a qualitative loading-and-run method; no numerical calculations, dilution factors, or reporting units are generated during gel loading and electrophoresis itself. Downstream fragment sizing, band quantification, or concentration calculations from gel images should be documented in a separate analysis protocol.
Quality controls
- Bubble formation: Bubbles at both electrode wires, with more bubbles typically at the negative (black) electrode, confirm current is flowing correctly through the buffer and gel.
- Dye front migration: Visible movement of the blue dye bands away from the wells and toward the positive (red) electrode confirms the samples are migrating as expected.
- Electrode orientation check: Confirm black-to-black and red-to-red alignment on the lid, chamber, and power supply before each run to avoid reversed migration.
- Failed-run handling: If no bubbles or sample migration are observed, immediately stop the run and check all connections and settings before restarting.
Always refer to your specific lab protocol for exact voltage, run time, and sample order, and handle all equipment and samples with care to ensure accurate and reliable results.
Generation details: cost, quality tiers, downloads
Docsie billed 2,500 credits ($1.75) to analyze this 5-minute video at standard quality. The rewrite, template fill and Word/PDF exports were included. The same video at each quality tier:
| Quality | Frames sampled | Credits | Approx. cost |
|---|---|---|---|
| Draft | every 16-30 s | 1,250 | $0.88 |
| Standard (this guide) | every 8-15 s | 2,500 | $1.75 |
| Detailed | every 4-7 s | 5,000 | $3.50 |
| Ultra | every 1-3 s | 10,000 | $7.00 |
Credits priced at $0.70 per 1,000; plans include a monthly allowance. Enterprise customers on on-premise or bring-your-own-model deployments run this on their own inference and pay no per-video credits.
Generated by Docsie Video-to-Docs on 2026-09-28 from a 4-minute video. It was generated straight into Docsie's Lab Method SOP template, so every section of that template is filled from the video. Screenshots are frames from the source video and belong to their creator, Bio-Rad Laboratories, whose original is embedded above. If you own this video and want the guide removed or credited differently, contact us and we will act within one business day.