
How to Passage Cell Culture
This SOP describes how to passage cell culture for both adherent and suspension mammalian cell lines, covering monitoring of the growth curve, sterile dissociation of adherent monolayers, single-cell suspension preparation, cell counting, reseeding, and routine culture maintenance. Following this procedure consistently supports healthy cell yield and reproducible experimental results.
Video: How to Passage Cells: Cell Culture Basics Training by Thermo Fisher Scientific (2018). All credit for the demonstration goes to the creator; watch the original on YouTube. The written guide below was generated from this video by Docsie. Creator? Request a change or removal.
This SOP describes how to passage cell culture for both adherent and suspension mammalian cell lines, covering monitoring of the growth curve, sterile dissociation of adherent monolayers, single-cell suspension preparation, cell counting, reseeding, and routine culture maintenance. Following this procedure consistently supports healthy cell yield and reproducible experimental results.
Purpose
This method defines the standard technique for how to passage cell culture, including subculturing adherent monolayers and suspension cultures, counting cells, and reseeding fresh flasks at an appropriate density. The intended use is routine maintenance of mammalian cell lines to sustain cells in their optimal growth phase for downstream experimental use.
Scope
This procedure applies to adherent and suspension mammalian cell cultures grown in standard culture flasks. It covers work performed inside a biosafety cabinet using a centrifuge, a microscope or automated cell counter, and a CO₂ incubator. It is intended for trained laboratory personnel following institutional biosafety and cell culture protocols. This SOP does not define cell-line-specific seeding densities, dissociation reagent concentrations, or centrifugation speeds and durations, which must be obtained from the relevant cell-line protocol.
Principle
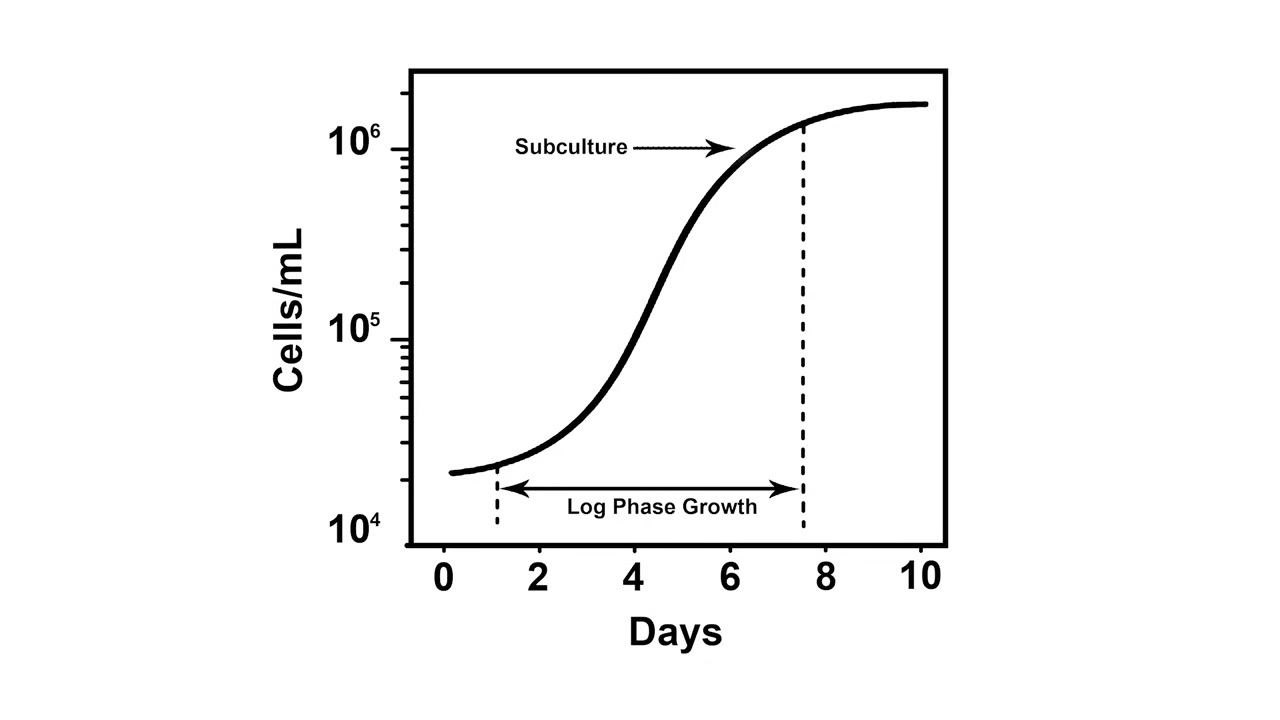
After seeding, cells enter a period of rapid, exponential division known as the log phase. The log phase is critical for maximizing healthy cell yield and typically occurs between days 2 and 7 after seeding, as shown on the growth curve below.
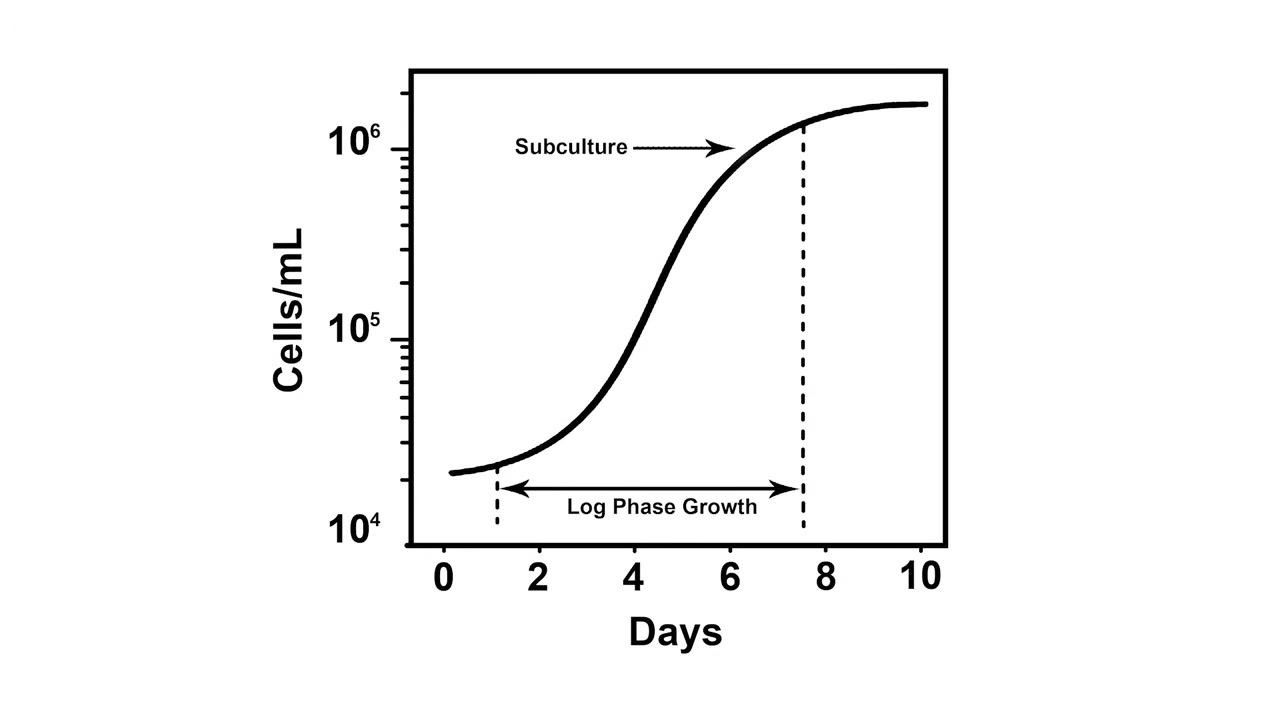
Cultures should be maintained in the log phase to ensure the highest proportion of healthy cells for experiments. Cells are passaged (subcultured) when they cover the plate or when cell density exceeds the medium's capacity, with the optimal time being at the end of the log phase, before the culture reaches the plateau phase.
The method relies on enzymatic or non-enzymatic dissociation reagents to detach adherent cells from the culture surface, producing a single-cell suspension. Viability is assessed using Trypan Blue exclusion, which distinguishes live cells (intact membranes, appearing white or colorless) from dead cells (which take up the blue stain).
Materials and Reagents
| Category | Item |
|---|---|
| Equipment | Biosafety cabinet (e.g., HERAsafe KS) |
| Equipment | Centrifuge |
| Equipment | Microscope or automated cell counter |
| Equipment | CO₂ incubator |
| Consumables | Sterile pipettes and pipette controller |
| Consumables | Conical centrifuge tubes |
| Consumables | Culture flasks with vented or non-vented caps |
| Consumables | Tube racks |
| Reagents | Balanced salt solution without calcium and magnesium (e.g., DPBS) |
| Reagents | Cell dissociation reagent (e.g., trypsin or a gentle alternative such as Triple Express) |
| Reagents | Trypsin inhibitor (for serum-free conditions) or collection medium containing serum |
| Reagents | Complete growth medium (warm) |
| Reagents | Trypan Blue stain |
| PPE | Gloves and lab coat |
Ensure the balanced salt solution used for rinsing does not contain calcium or magnesium, as these ions can inhibit the action of cell dissociation reagents. Warm the complete growth medium before use.
Procedure
Preparing for cell culture work
- Sterilize the biosafety hood and gather all required supplies before retrieving flasks from the incubator, including sterile pipettes, balanced salt solution, cell dissociation reagent, and culture media.
- Organize the workspace so all materials are within reach to maintain sterility throughout the procedure.
Dissociating adherent cells
- Examine the cell culture for signs of contamination or deterioration before proceeding.
- Handle the flask gently during transport to avoid disturbing the monolayer.
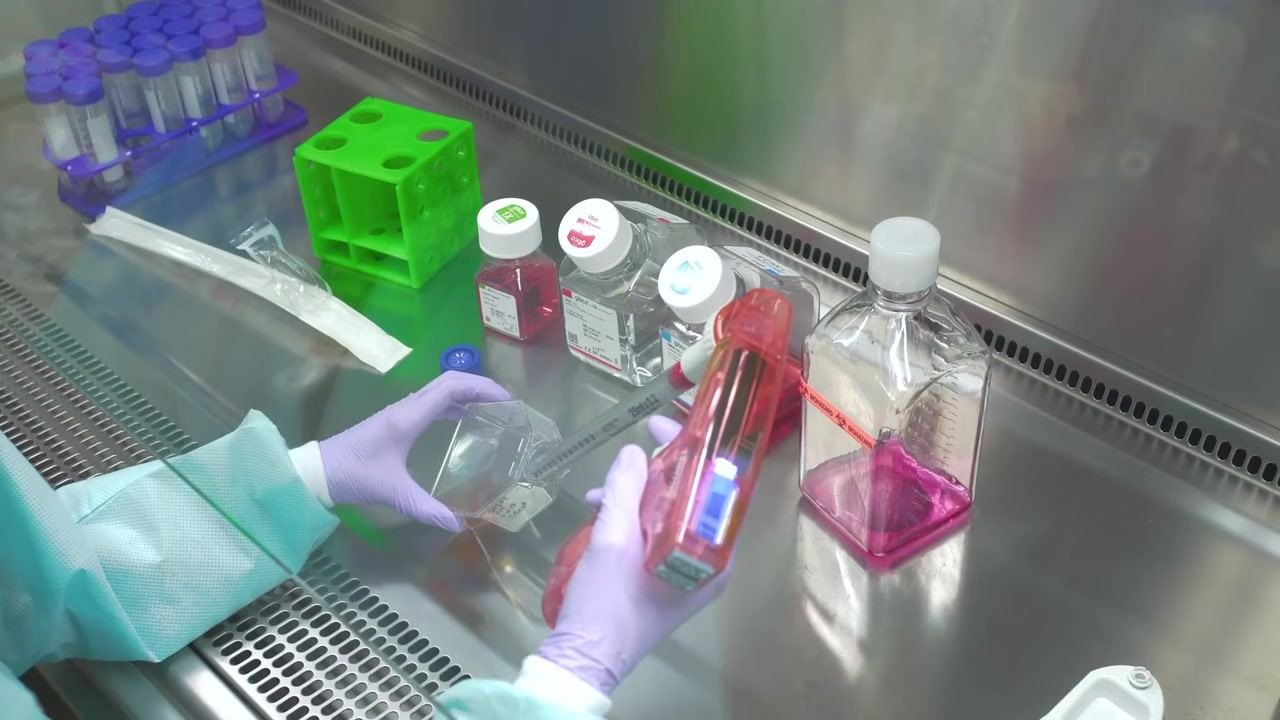
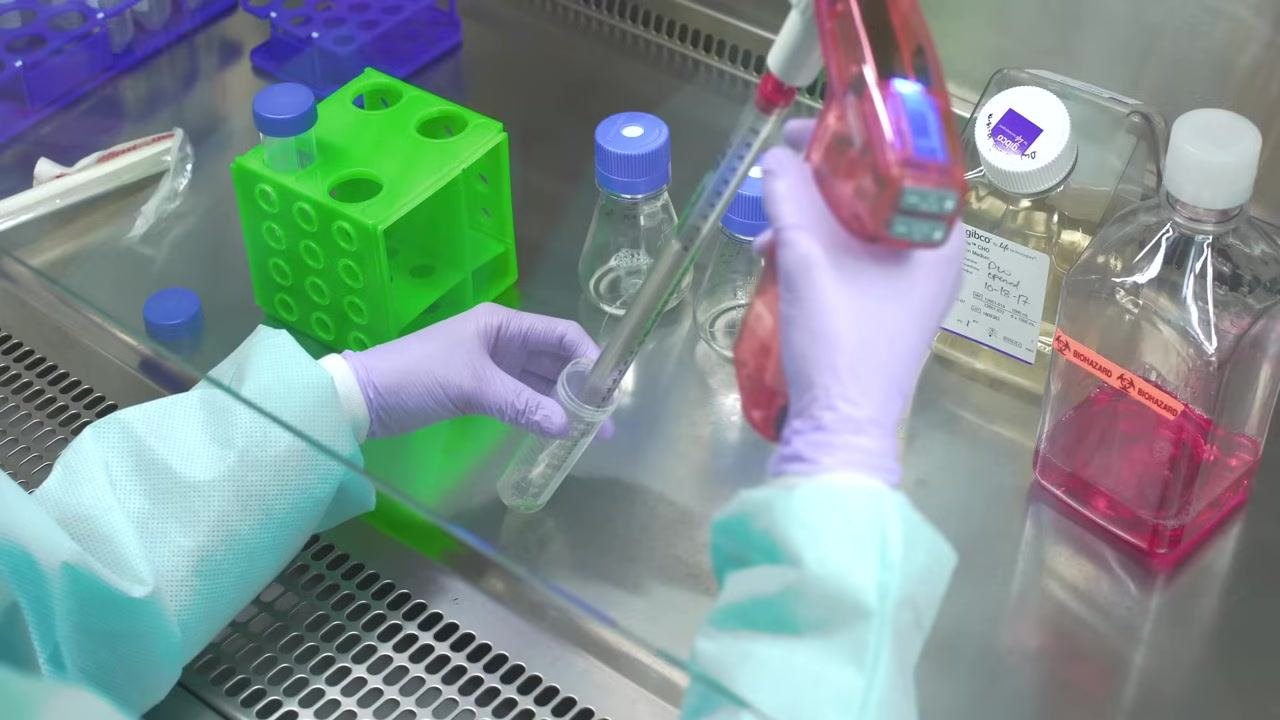
- Remove the spent medium from the flask using a sterile pipette and pipette controller.
- Rinse the cells with a balanced salt solution such as DPBS to remove residual medium and serum.
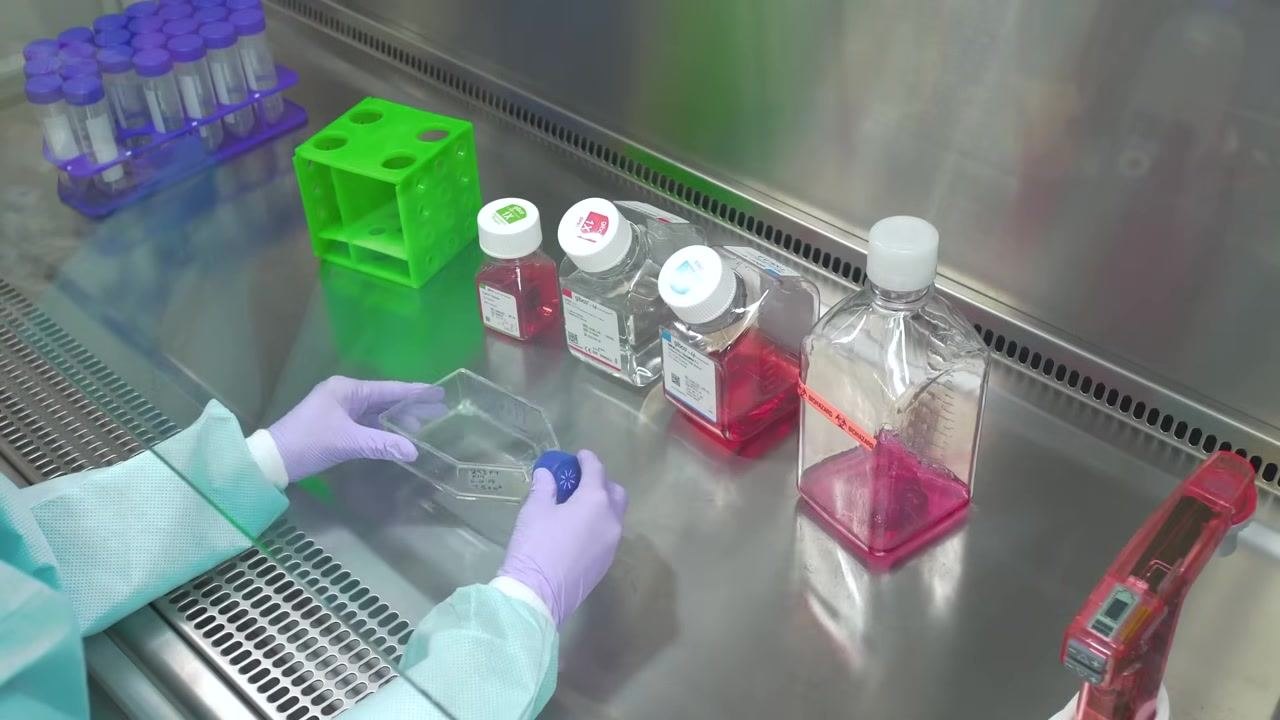
- Promptly remove the salt solution from the flask, working efficiently to minimize the time cells are exposed to air without liquid.
-
Immediately add the next solution each time liquid is aspirated from the cells to prevent drying.
-
Add just enough cell dissociation reagent to cover the cell sheet to detach the cells from the plate.
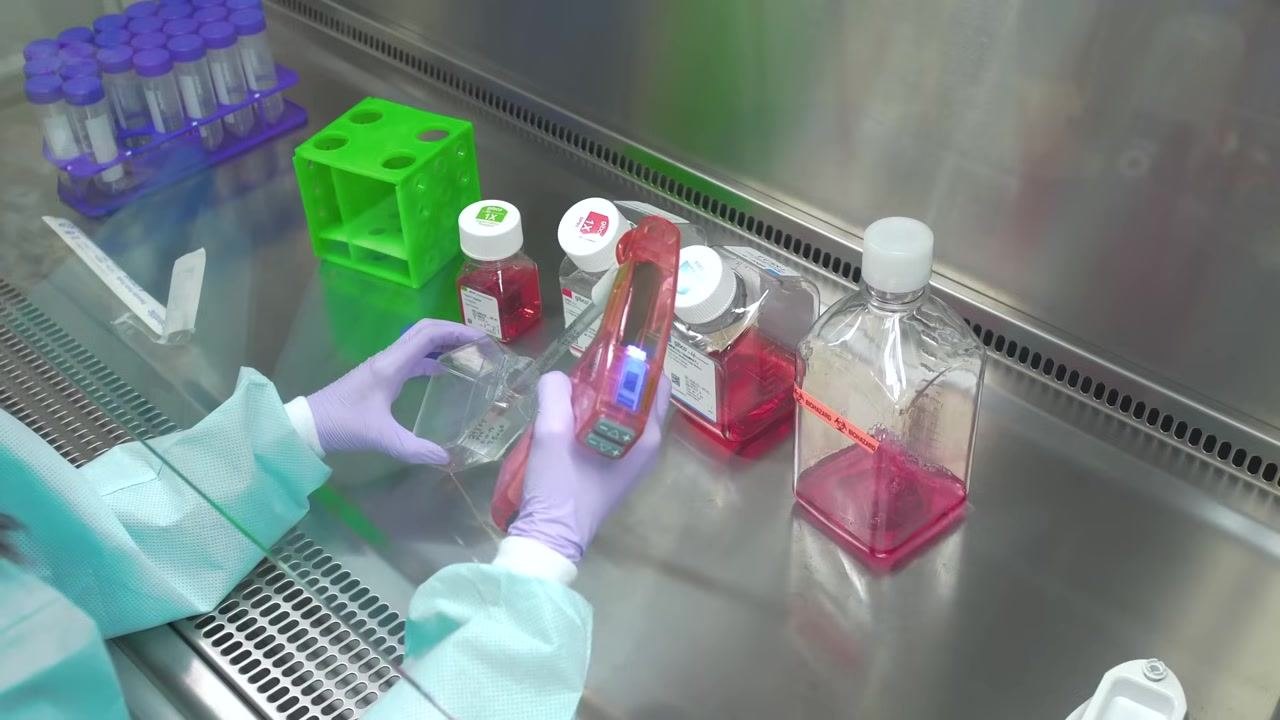
- Confirm that the dissociation solution completely covers the cells and gently tap the side of the flask to help cells detach.
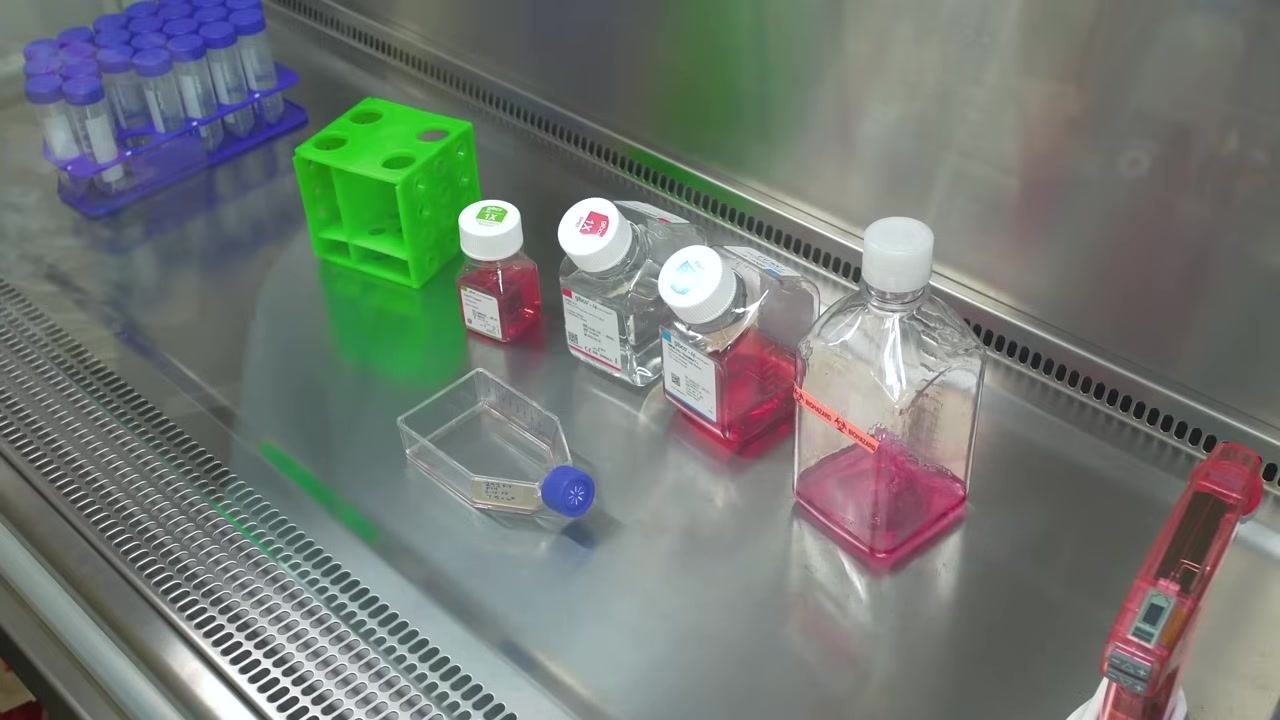
-
Use a microscope to confirm that cells have detached; detached cells appear round and move or slide when the flask is tilted.
-
Avoid leaving the dissociation reagent on the cells for too long, especially with reagents other than gentle options like Triple Express, as overexposure can cause damage. If clumps remain, break them up by pipetting warm medium over them repeatedly to achieve a single cell suspension.
-
If using trypsin, inactivate it by adding collection medium containing serum, or use a trypsin inhibitor under serum-free conditions; some reagents are inactivated by dilution alone.
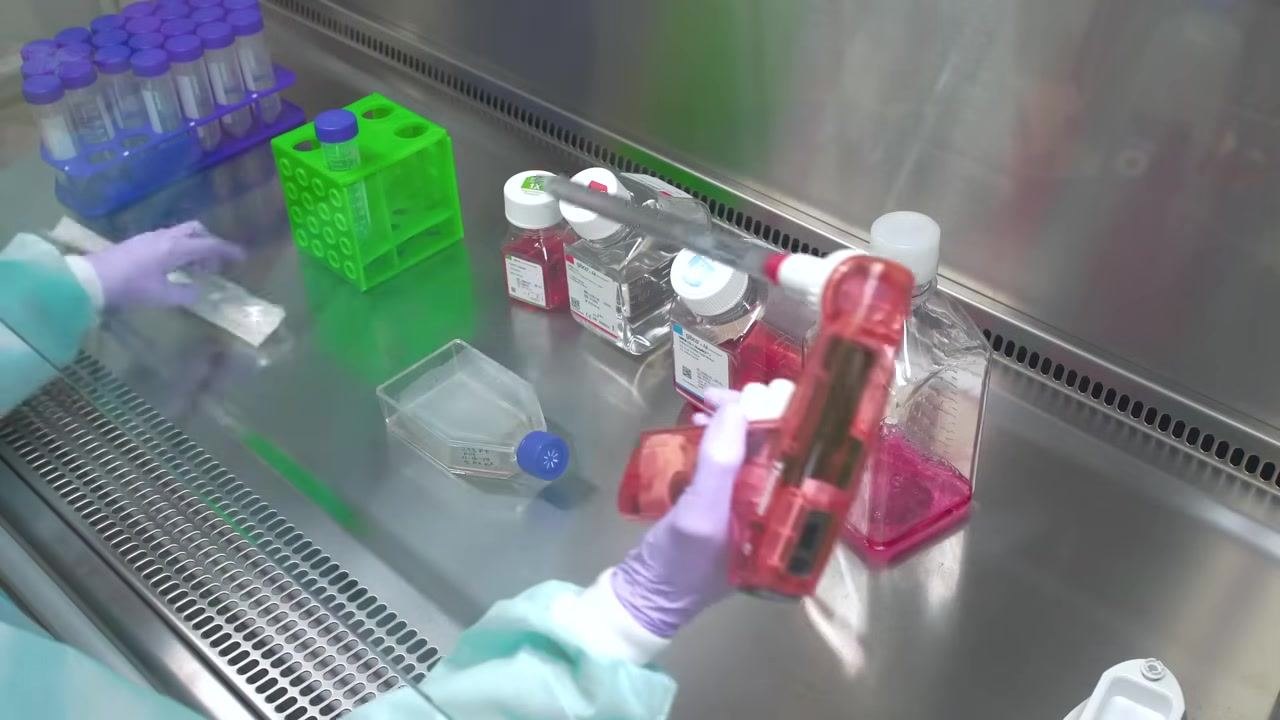
- Transfer the cell suspension to a conical centrifuge tube and centrifuge to pellet the cells and remove residual dissociation reagent, using a speed and duration appropriate to the cell type.
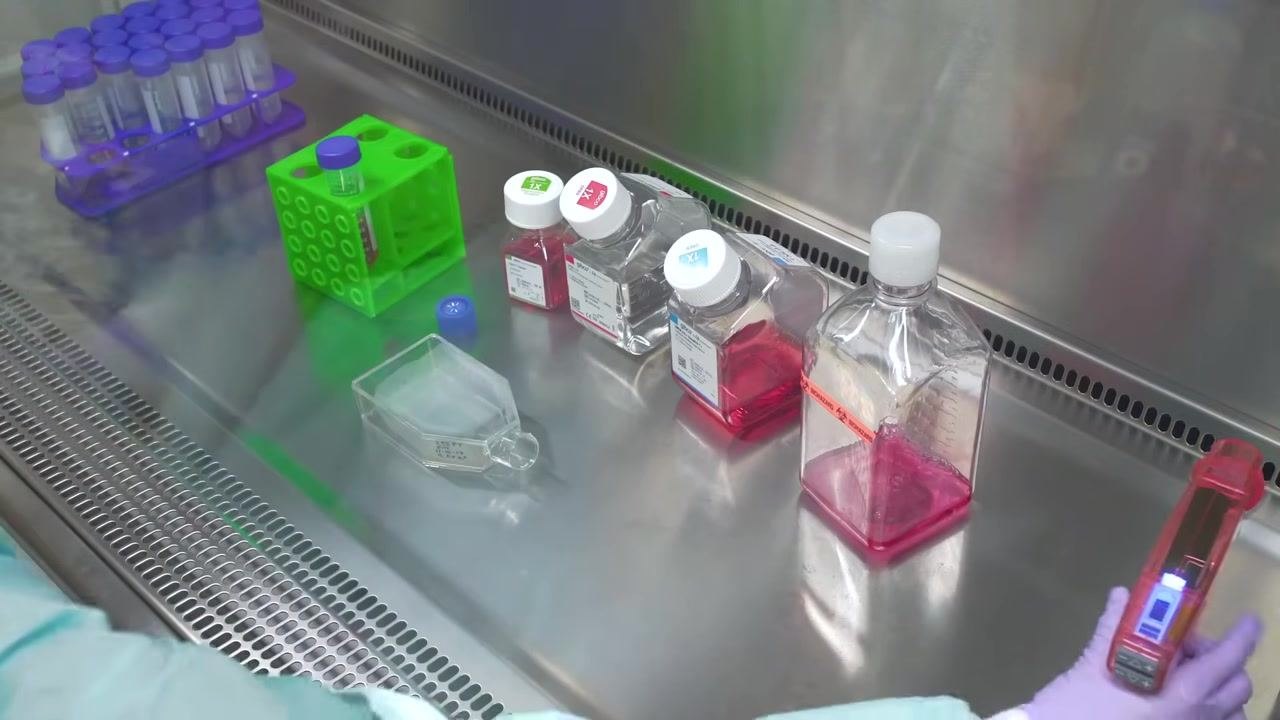
-
Confirm a well-formed cell pellet at the bottom of the tube, then carefully remove the supernatant without disturbing the pellet and discard it into a designated waste container.
-
Resuspend the cell pellet in warm, complete growth medium using gentle pipetting to disperse the cells into a homogeneous single cell suspension.
-
Remove a small sample of the suspension for cell counting using your preferred method.
Counting cells
- Stain a sample of the cell suspension with Trypan Blue to distinguish live cells (white or colorless) from dead cells (which absorb the blue stain).
- Mix the suspension gently with a pipette to ensure a homogeneous single-cell solution before counting.
-
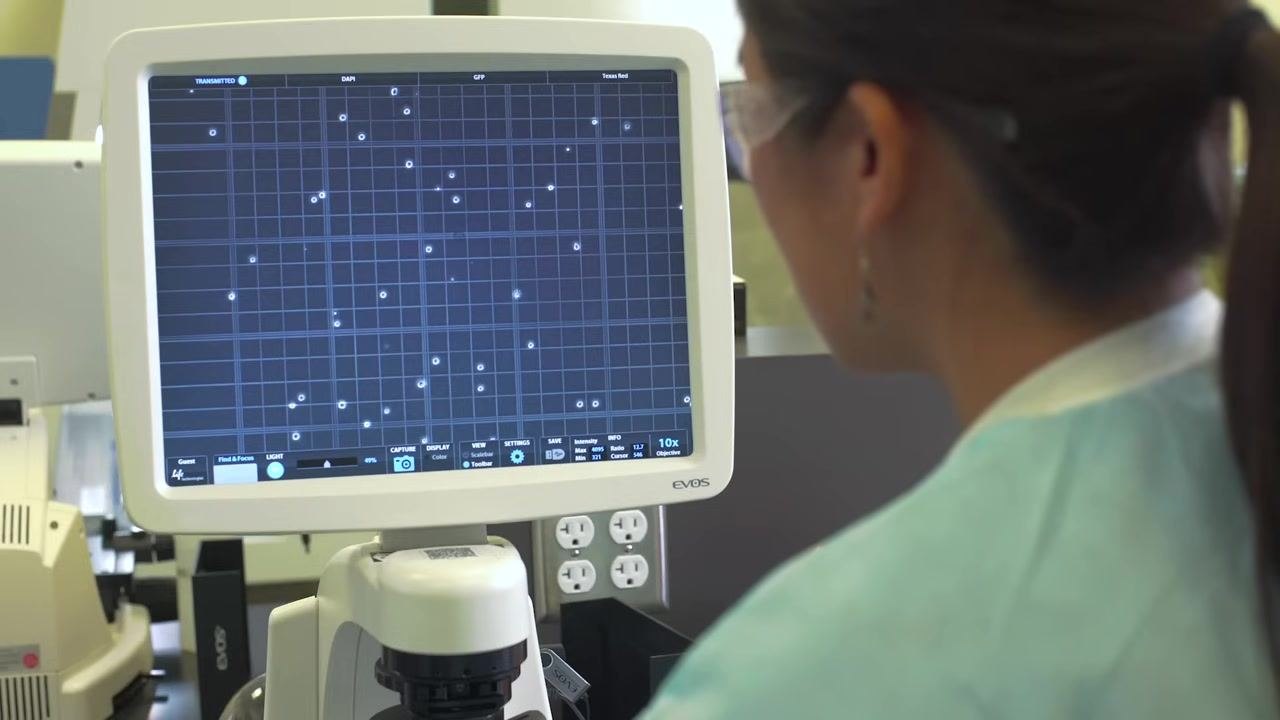
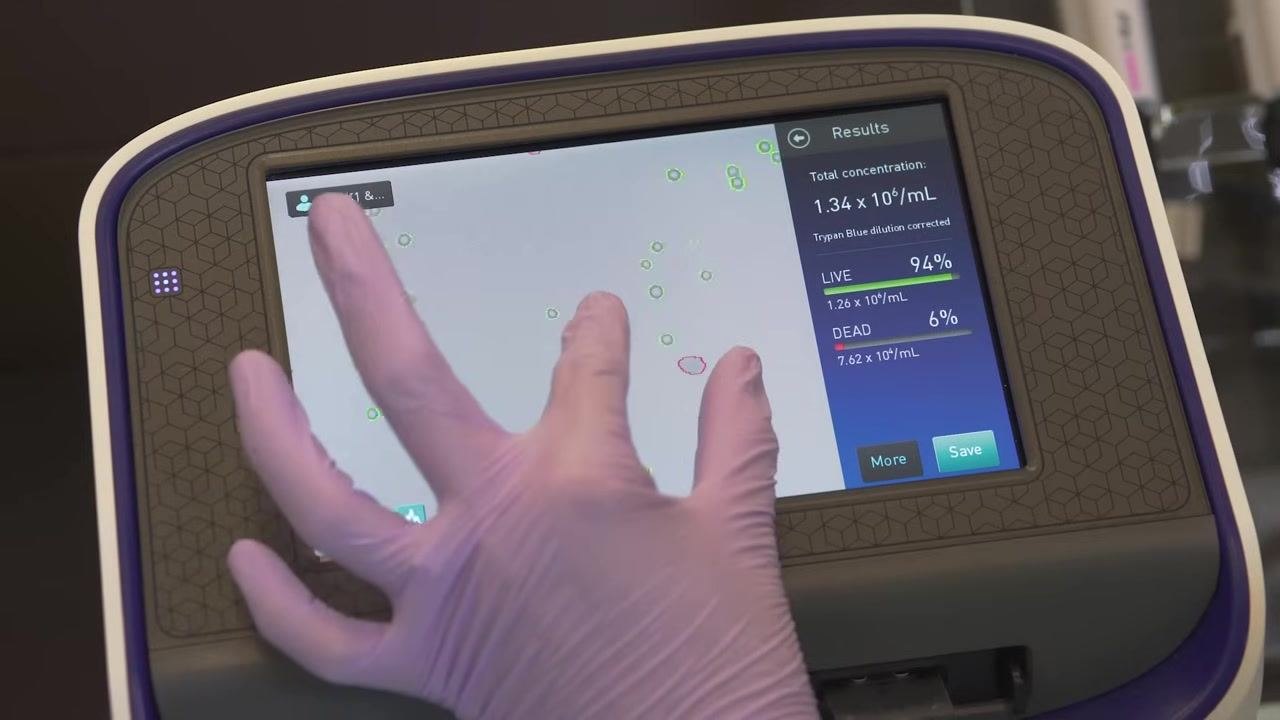
Load the stained suspension onto a hemocytometer or into an automated cell counter and observe under a microscope or the counter's display.
-
Identify and count the total number of cells and the number of dead (blue) cells using the grid.
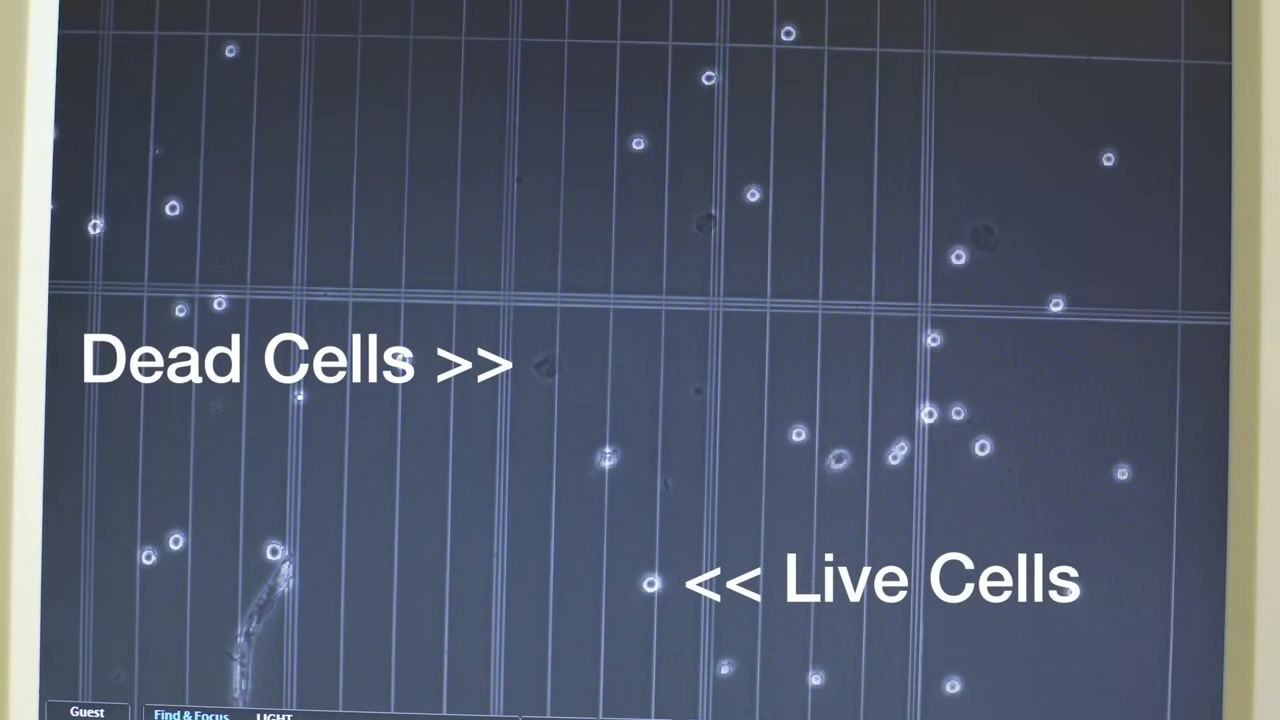
- Record the live and dead cell counts and calculate the percentage of live and dead cells.
Seeding new adherent cultures
- Determine the volume of fresh medium needed to reach the recommended seeding density from your protocol, based on the cell count.
-
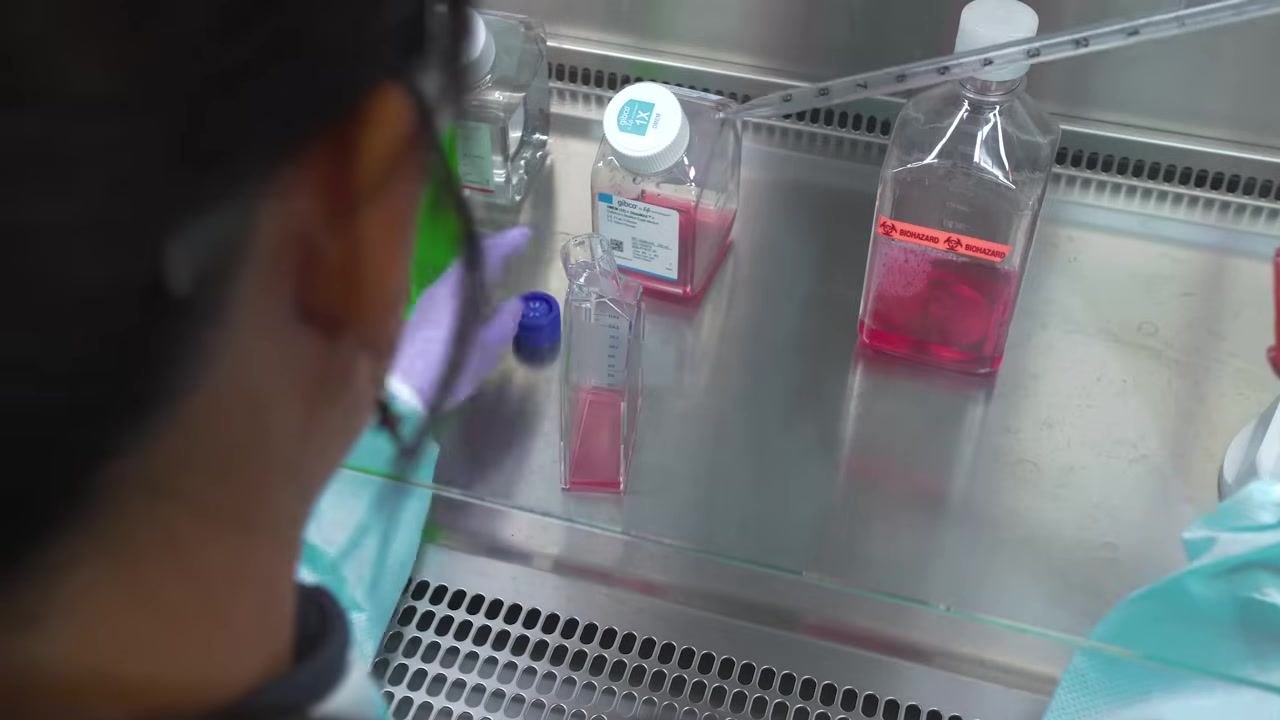
Add the calculated volume of fresh medium to the cell suspension, mix gently, and pipette the cell solution into fresh, sterile culture flasks.
-
Cap the flasks appropriately: tighten vented caps securely, or leave non-vented caps slightly loose to allow gas exchange while preventing contamination.
-
Distribute the cells evenly by gently rocking the flask in a north-south-east-west motion.
- Transport the flasks to the incubator and place them level on a shelf, ensuring they are not stacked directly on top of one another.
Passaging suspension cells
-
Remove a small sample from the suspension cell culture flask using a sterile pipette for counting.
-
Count the cells using Trypan Blue and your preferred method, recording the total cell count and viability.
-
Add the appropriate volume of fresh medium to the flasks based on the cell count, staying within the minimum and maximum recommended volumes for the flask size to maintain proper air exchange and shaking flow.
- Split the culture into multiple flasks if necessary to avoid overcrowding and maintain healthy growth.
-
Cap the flasks appropriately depending on whether they are vented or non-vented.
-
Return the flasks to the incubator, ensuring proper placement for optimal growth conditions.
Routine culture maintenance
- Every three weeks, perform a medium change: gently centrifuge the cells to pellet them, carefully remove the old medium without disturbing the pellet, and replace it with completely fresh medium to remove accumulated cell debris and metabolic waste.
- Return the culture flasks to the incubator, ensuring they are securely capped, placed level, and not overcrowded, and confirm the incubator is set to the correct temperature and CO₂ conditions for the cell line.
Calculations
Cell viability is calculated as the percentage of live cells relative to the total cell count obtained from the hemocytometer or automated cell counter (live cells appear white or colorless; dead cells appear blue after Trypan Blue staining). The required medium volume for reseeding is determined from the recorded cell count against the seeding density specified in your protocol. This SOP does not specify a numeric formula, dilution factor, or reporting units; these should be defined in the cell-line-specific protocol referenced during seeding density determination.
Quality Controls
| Control Point | Requirement |
|---|---|
| Sterile technique | Perform all steps inside a biosafety cabinet with sterile pipettes and pipette controllers |
| PPE | Wear gloves and a lab coat during all handling steps |
| Waste disposal | Dispose of spent medium and dissociation reagents in designated biohazard waste containers |
| Culture monitoring | Inspect cultures for contamination or deterioration before each passage |
| Viability check | Confirm complete cell detachment under the microscope before proceeding |
| Documentation | Record medium change dates, cell counts, viability, and any observations on cell health or contamination |
Accurate cell counting and proper seeding density are critical for reproducible results and healthy cultures. This SOP does not define numeric acceptance criteria or a failed-run protocol; if viability or seeding density falls outside expected ranges, consult your institution's cell culture protocol or laboratory supervisor before proceeding.
What's Next
Document all maintenance actions, including the date of medium change, cell counts, and observations regarding cell health or contamination. For further information or support, refer to your institution's protocols or contact your laboratory supervisor. For additional detailed protocols and troubleshooting guidance, consult the relevant technical support resources available to your laboratory.

Generation details: cost, quality tiers, downloads
Docsie billed 3,000 credits ($2.10) to analyze this 6-minute video at standard quality. The rewrite, template fill and Word/PDF exports were included. The same video at each quality tier:
| Quality | Frames sampled | Credits | Approx. cost |
|---|---|---|---|
| Draft | every 16-30 s | 1,500 | $1.05 |
| Standard (this guide) | every 8-15 s | 3,000 | $2.10 |
| Detailed | every 4-7 s | 6,000 | $4.20 |
| Ultra | every 1-3 s | 12,000 | $8.40 |
Credits priced at $0.70 per 1,000; plans include a monthly allowance. Enterprise customers on on-premise or bring-your-own-model deployments run this on their own inference and pay no per-video credits.
Generated by Docsie Video-to-Docs on 2026-09-14 from a 5-minute video. It was generated straight into Docsie's Lab Method SOP template, so every section of that template is filled from the video. Screenshots are frames from the source video and belong to their creator, Thermo Fisher Scientific, whose original is embedded above. If you own this video and want the guide removed or credited differently, contact us and we will act within one business day.