
How to Do Oropharyngeal Suctioning
Oropharyngeal suctioning is a bedside nursing procedure used to clear the mouth and pharynx of secretions, gastric contents, or vomitus that a patient cannot clear independently. This document explains how to do oropharyngeal suctioning safely, from initial assessment through documentation, so that nursing staff can perform the procedure consistently and protect the patient's airway.
Video: Performing Oropharyngeal Suctioning by NurseMindSet (2025). All credit for the demonstration goes to the creator; watch the original on YouTube. The written guide below was generated from this video by Docsie. Creator? Request a change or removal.
Oropharyngeal suctioning is a bedside nursing procedure used to clear the mouth and pharynx of secretions, gastric contents, or vomitus that a patient cannot clear independently. This document explains how to do oropharyngeal suctioning safely, from initial assessment through documentation, so that nursing staff can perform the procedure consistently and protect the patient's airway.
Purpose & scope
This procedure applies to patients who show signs of upper airway secretion buildup and require oropharyngeal suctioning to maintain a clear airway. It is performed at the bedside using a Yankauer catheter and a wall or portable suction unit. The procedure applies to patients in a hospital bed setting, including those who are alert and cooperative as well as patients with a diminished level of consciousness who require additional positioning precautions.
Patient assessment
Before suctioning, assess the patient for signs indicating that oropharyngeal suctioning is needed:
| Sign to Assess | Description |
|---|---|
| Restlessness | Patient appears agitated or unsettled |
| Gurgling sounds | Audible airway noise indicating secretions |
| Drooling | Excess saliva the patient cannot manage |
| Ineffective coughing | Patient is unable to clear secretions by coughing |
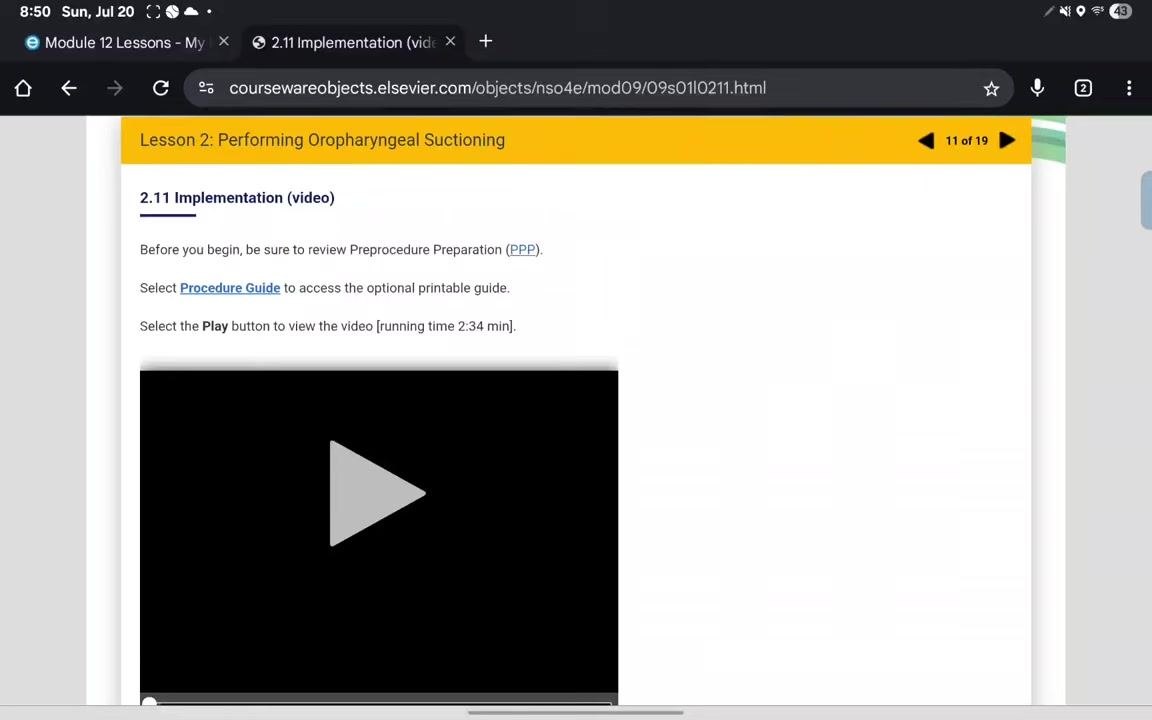
| Gastric secretions or vomitus | Visible contents present in the mouth |
After suctioning, reassess the patient by:
- Asking the patient if they feel like they are breathing better
- Observing and assessing the patient's respiratory status
- Monitoring oxygen saturation and overall comfort
- Repeating the suction procedure if difficulty breathing or secretions persist
The source material does not specify a formal vital sign monitoring frequency, pain assessment tool, or neurovascular check protocol; facilities should reference their own standing orders for these parameters when performing this procedure.
Care protocol
Follow these steps to perform oropharyngeal suctioning:
Step 1: Position the patient Help the patient into a semi-Fowler's or sitting position to promote airway clearance and comfort.
Step 2: Drape and prepare for infection control Drape the patient's neck and chest with a protective barrier to prevent soiling. Put on gloves. If splashing is likely, also wear a mask, gown, and face shield.
Step 3: Prepare equipment Fill a cup or basin with approximately 100 milliliters of sterile water or sterile saline. Gather all necessary supplies, including gloves, a Yankauer suction catheter, and suction tubing. Place all supplies within easy reach on the bedside table.
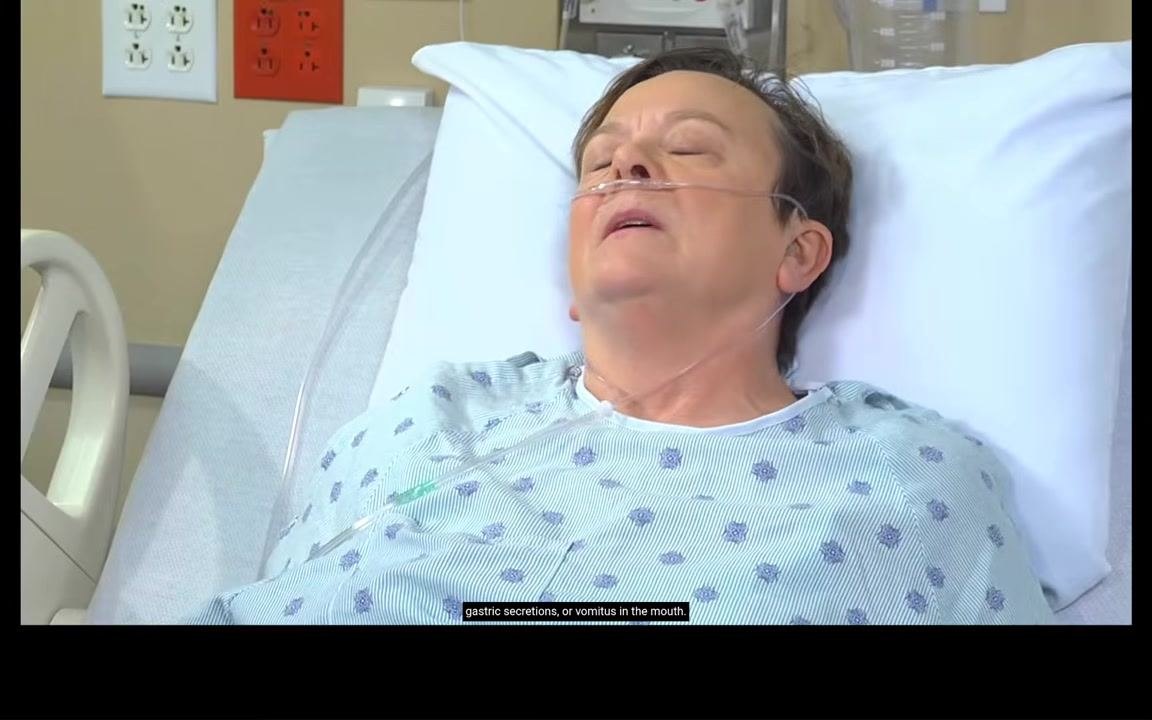
Step 4: Set up the suction system Connect one end of the suction tubing to the suction machine and turn it on. Connect the other end of the tubing to the Yankauer catheter.
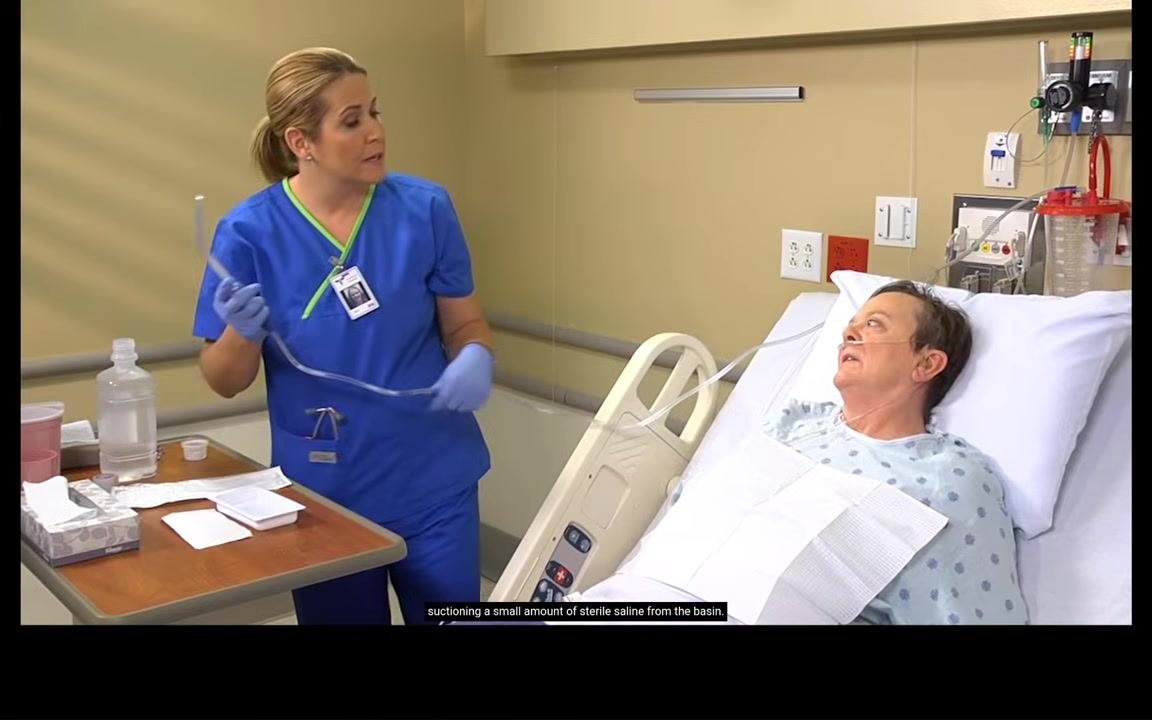
Step 5: Verify suction function Test the suction mechanism by suctioning a small amount of sterile saline or water from the basin to ensure the system is working properly before proceeding.
Step 6: Prepare the patient's oxygen delivery, if applicable If the patient is using an oxygen mask, remove it but keep it near the patient's face for quick replacement. If the patient is using a nasal cannula, leave it in place.
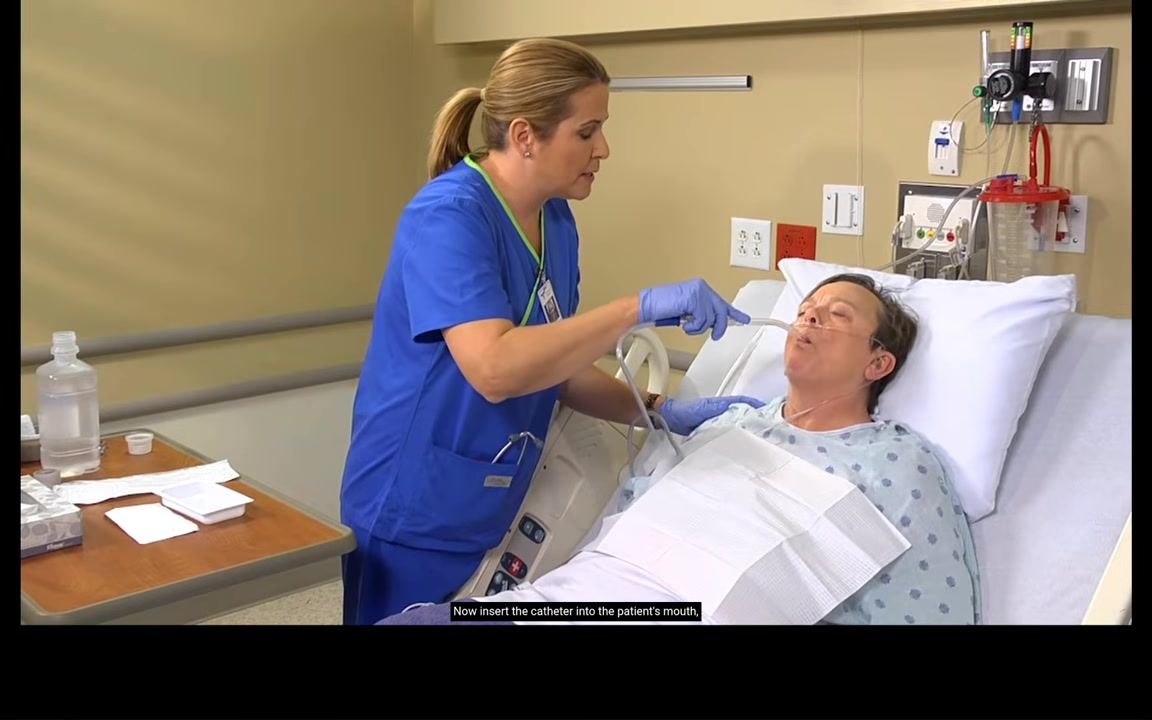
Step 7: Suction the patient's oropharynx Insert the Yankauer catheter into the patient's mouth, moving along the gum line toward the pharynx. Apply suction and gently move the catheter around the mouth to clear all secretions.
Step 8: Clear the suction tubing After suctioning, suction water or normal saline through the catheter to clear the connecting tubing of secretions.
Step 9: Turn off the suction and provide comfort Turn off the suction machine. Offer the patient a tissue if needed and wash the patient's face if necessary to remove any residual secretions.
Step 10: Offer tissue and assess patient comfort Offer the patient a tissue to wipe their mouth or face as needed. Ask the patient if they feel like they are breathing better and observe their respiratory status. Repeat suctioning if difficulty breathing or secretions persist.
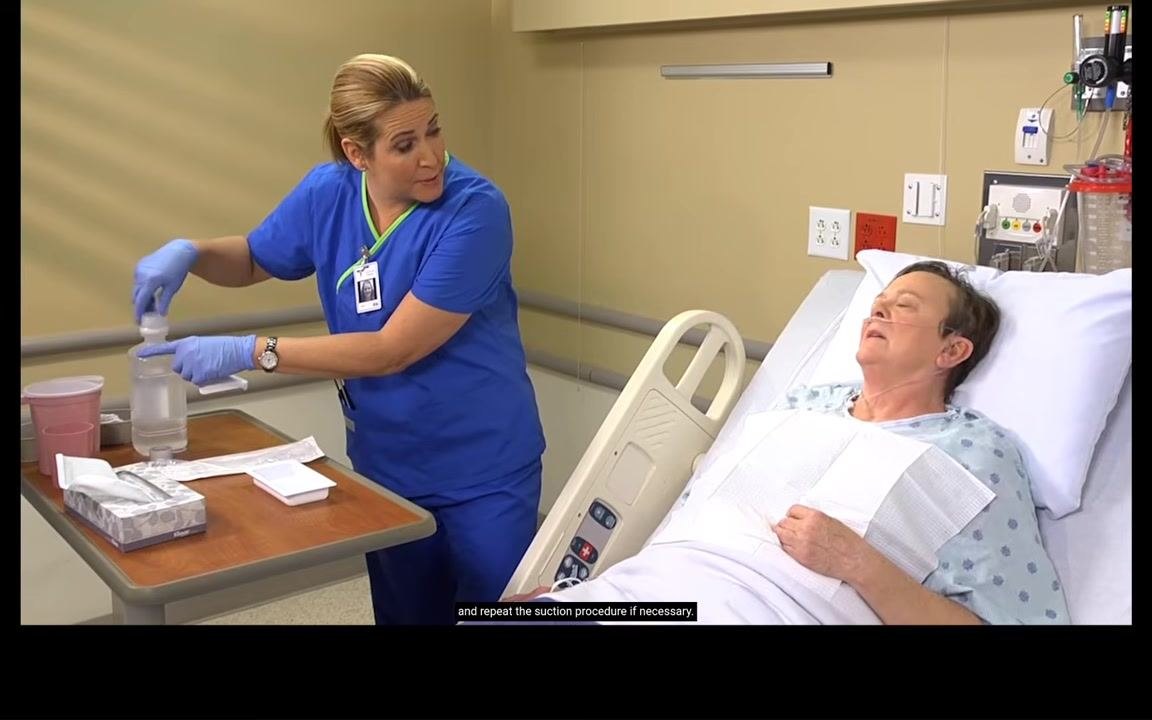
Step 11: Remove the drape and dispose properly Remove the drape from the patient's neck and chest. Place the drape in the trash or laundry if it is soiled.
Step 12: Address diminished consciousness, if applicable If the patient has a diminished level of consciousness, reposition them into the SIMS position (side-lying with the lower arm behind the body and the upper knee flexed) to encourage drainage and prevent aspiration.
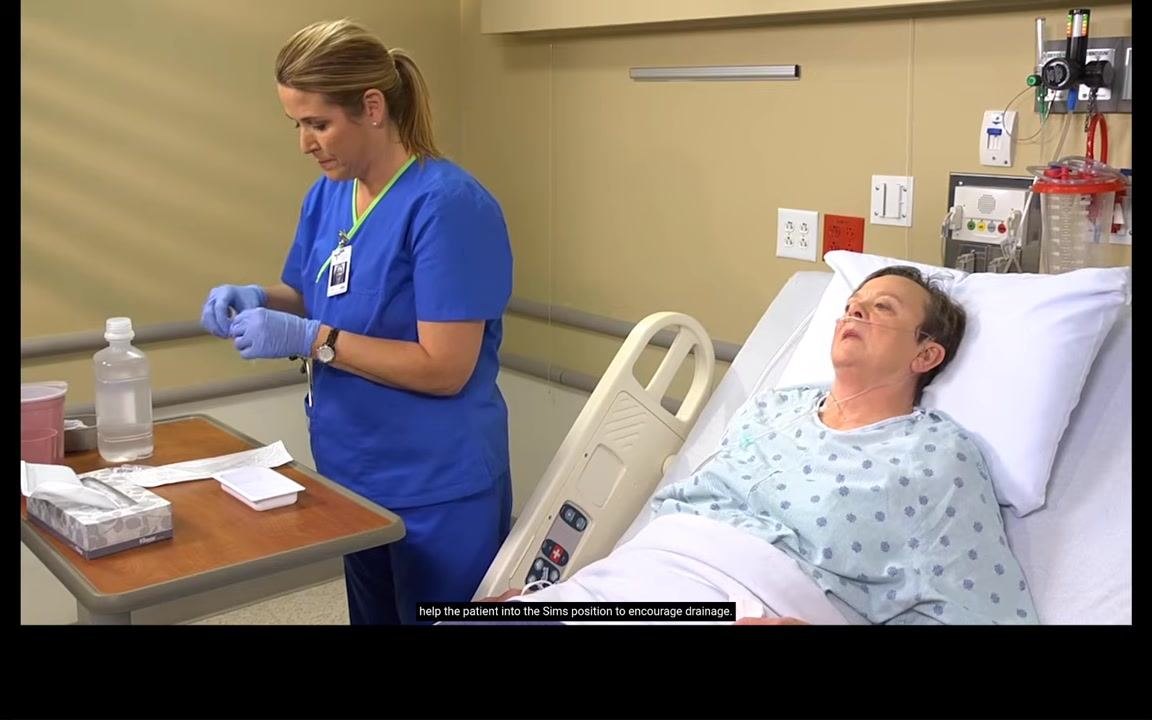
Step 13: Store the suction catheter Store the Yankauer catheter in a clean, dry place, such as a bag attached to the bed rail, for future use.
Step 14: Reposition the patient for comfort Ask the patient if they would like to be repositioned. Lower the head of the bed or adjust the patient's position as requested to ensure comfort.
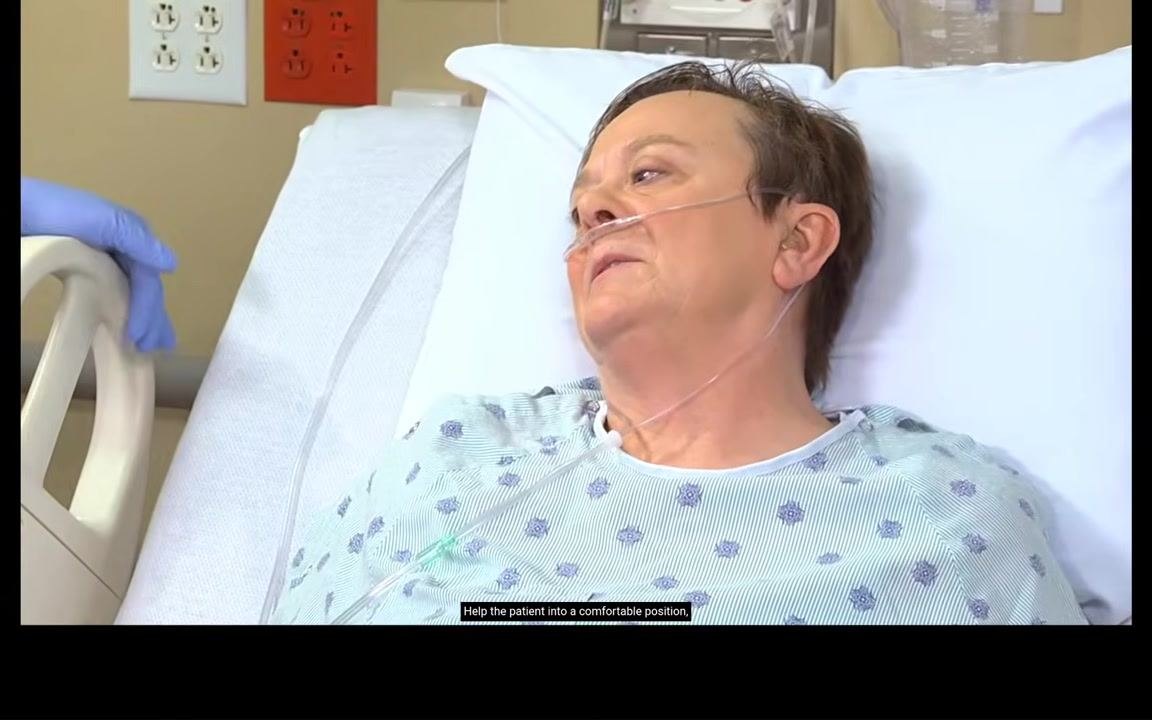
Step 15: Perform oral care Offer and perform oral care, such as brushing the patient's teeth, to maintain oral hygiene after suctioning.
Step 16: Discard remaining supplies Discard any remaining sterile water or saline used during the procedure.
Step 17: Remove and dispose of PPE Remove gloves, mask, and face shield, if worn. Dispose of all personal protective equipment in the appropriate receptacle.
Step 18: Perform hand hygiene Wash your hands thoroughly with soap and water, or use an alcohol-based hand sanitizer.
Step 19: Document the procedure Document the suctioning procedure in the patient's medical record, including:
- How well the patient tolerated the procedure
- The amount, consistency, color, and odor of secretions removed
- Any changes in respiratory status or oxygen saturation
Pain management
The source material does not describe a pain management plan, medication schedule, or pain score targets for this procedure; facility-specific pain management protocols should be referenced separately if the patient experiences discomfort related to suctioning.
Mobility milestones
The source material does not include a mobility milestone timeline, as oropharyngeal suctioning is a bedside procedure rather than a post-operative recovery pathway; mobility guidance should be drawn from the patient's overall care plan.
Complication monitoring
Monitor the patient for the following during and after suctioning:
- Restlessness, gurgling, drooling, or ineffective coughing indicating ongoing secretion buildup
- Persistent difficulty breathing after suctioning, which requires repeating the procedure
- Oxygen saturation levels, confirming improvement after the procedure
- Diminished level of consciousness, which requires repositioning to the SIMS position to prevent aspiration
Note: Always follow your facility's infection control protocols and reassess the patient regularly, repeating suctioning only as clinically indicated.
Discharge criteria
The source material does not specify discharge criteria, as oropharyngeal suctioning is a single bedside intervention rather than a discharge pathway; discharge readiness should be assessed against the patient's overall condition and facility standards.
Patient education
Key points to communicate to the patient during and after the procedure include:
- Explaining that suctioning helps clear secretions and improve breathing
- Reassuring the patient and confirming improvement, for example noting that oxygen levels are improving
- Asking the patient whether they would like to be repositioned for comfort
- Encouraging the patient to accept oral care after suctioning to maintain oral hygiene
Note: Always follow your facility's protocols for infection control, patient safety, and documentation.
Generation details: cost, quality tiers, downloads
Docsie billed 2,000 credits ($1.40) to analyze this 4-minute video at standard quality. The rewrite, template fill and Word/PDF exports were included. The same video at each quality tier:
| Quality | Frames sampled | Credits | Approx. cost |
|---|---|---|---|
| Draft | every 16-30 s | 1,000 | $0.70 |
| Standard (this guide) | every 8-15 s | 2,000 | $1.40 |
| Detailed | every 4-7 s | 4,000 | $2.80 |
| Ultra | every 1-3 s | 8,000 | $5.60 |
Credits priced at $0.70 per 1,000; plans include a monthly allowance. Enterprise customers on on-premise or bring-your-own-model deployments run this on their own inference and pay no per-video credits.
Generated by Docsie Video-to-Docs on 2026-09-14 from a 3-minute video. It was generated straight into Docsie's Patient Care Procedure template, so every section of that template is filled from the video. Screenshots are frames from the source video and belong to their creator, NurseMindSet, whose original is embedded above. If you own this video and want the guide removed or credited differently, contact us and we will act within one business day.