
How to Care for an Open Wound
This procedure describes how to care for an open wound using a structured, seven-phase approach: assess, cleanse, protect, fill, cover, secure, and evaluate. It is intended to guide clinicians through consistent, evidence-based wound care from initial assessment through ongoing monitoring, helping to reduce complications and support optimal healing.
Video: 7 Steps to Effective Wound Care Management by Cardinal Health (2018). All credit for the demonstration goes to the creator; watch the original on YouTube. The written guide below was generated from this video by Docsie. Creator? Request a change or removal.
This procedure describes how to care for an open wound using a structured, seven-phase approach: assess, cleanse, protect, fill, cover, secure, and evaluate. It is intended to guide clinicians through consistent, evidence-based wound care from initial assessment through ongoing monitoring, helping to reduce complications and support optimal healing.
Purpose & scope
Wound assessment is the foundational step in effective wound management. The purpose of this procedure is to identify and address all issues that may impact or delay healing, and to use that information to guide the most effective treatment plan in line with established wound care guidelines.
The source material does not specify a particular patient population or care setting (e.g., ward, ICU, or outpatient clinic). When adapting this procedure locally, document the intended patient population and care setting explicitly.
Patient assessment
Begin wound care by inspecting and evaluating the wound based on several key characteristics. A thorough assessment forms the basis for every subsequent phase of care.
| Assessment parameter | What to evaluate |
|---|---|
| Location | Exact position of the wound on the patient's body, recorded using anatomical diagrams or direct observation |
| Dimensions | Length, width, and depth, measured with a sterile measuring device and documented for ongoing comparison |
| Undermining and tunneling | Wound edges for undermining (a rolled-over lip around the wound) and tunneling (burrowing under the skin), assessed with a sterile cotton swab or probe |
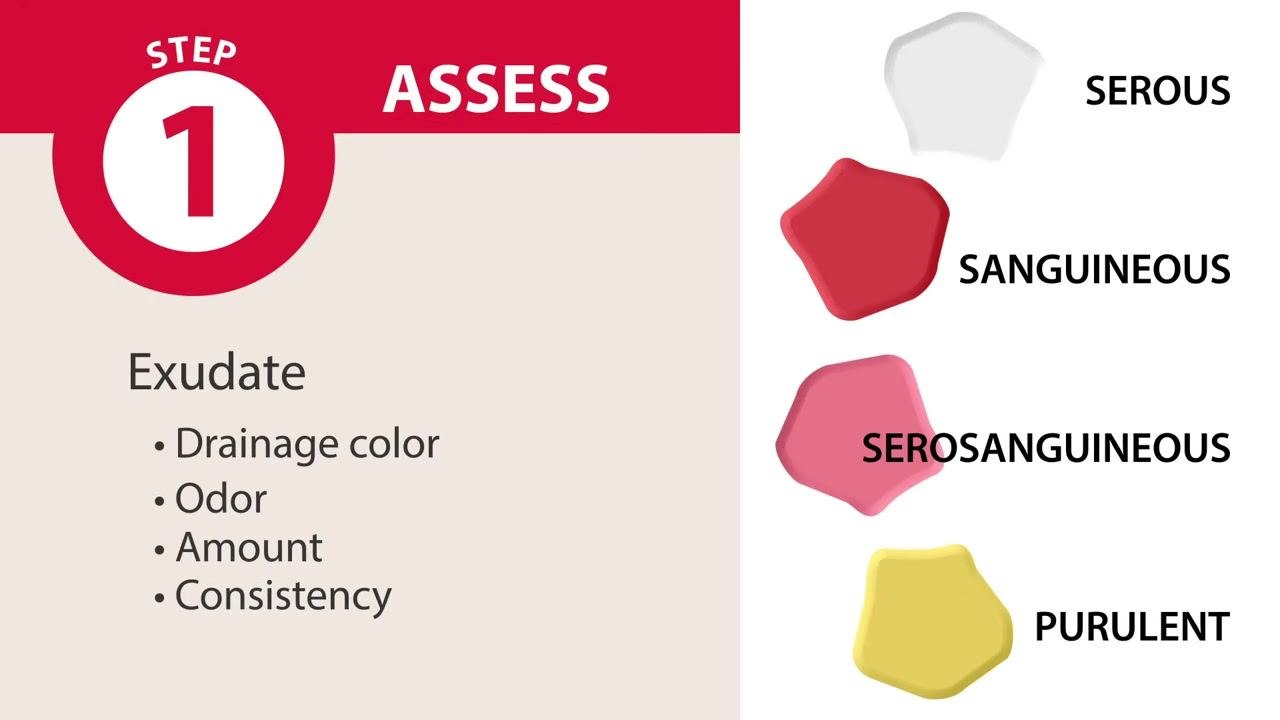
| Exudate (drainage) | Drainage color (serous, sanguineous, serosanguineous, purulent), odor, amount, and consistency |
| Tissue appearance | Color and moisture level; tissue type present (epithelial, granulation, slough, or necrotic) |
| Periwound area | Condition of the surrounding skin — intact (healthy) or macerated (shriveled from prolonged moisture) |
| Infection and bioburden | Signs such as redness, swelling, increased pain, heat, or pus; bioburden represents a state between normal and infected tissue |
| Additional inflammatory signs | Erythema, edema, warmth to the touch, unusual odor, patient fever, and patient-reported pain level |
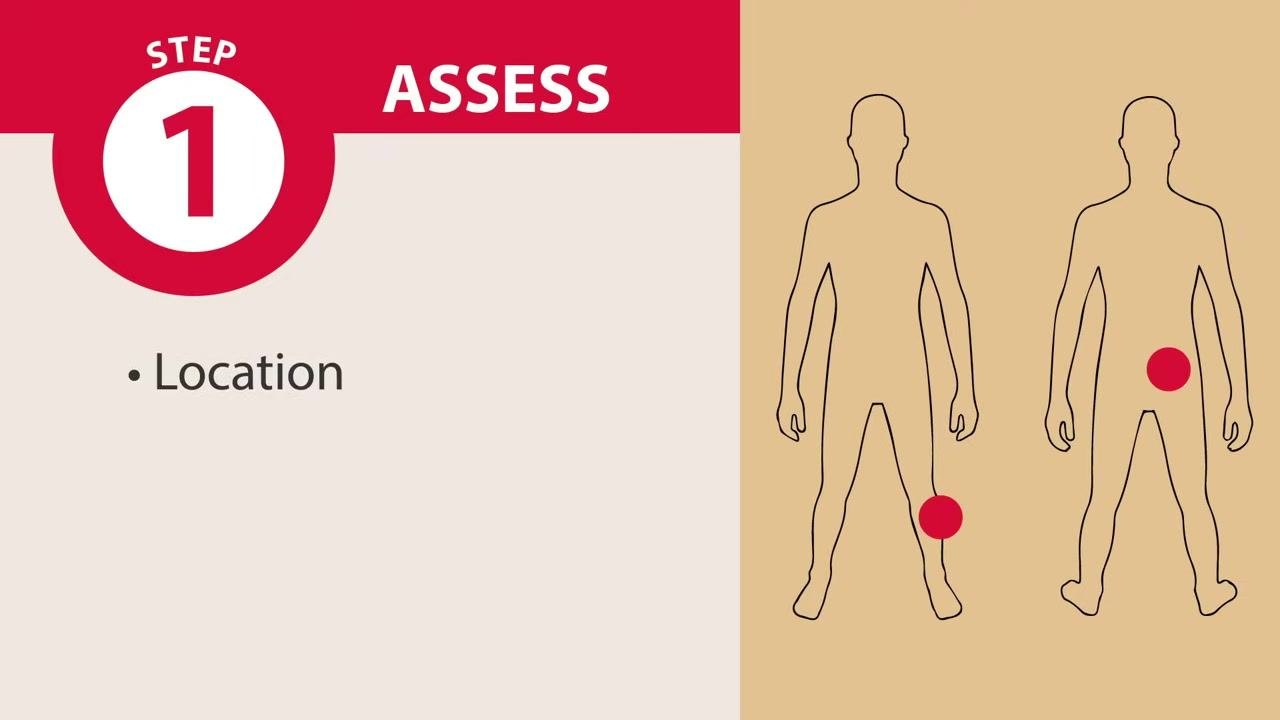
Record the wound location on a body diagram for documentation purposes.
Measure and document wound dimensions for ongoing tracking.
Classify exudate using standard color and consistency references.
Differentiate tissue types using visual guides.
Document the periwound condition for ongoing monitoring.
Check and record additional inflammatory signs to guide treatment planning.
Notify the healthcare provider if infection is suspected, and use all gathered findings — location, size, exudate, tissue type, periwound condition, and signs of infection or inflammation — to develop the treatment plan.
Care protocol
Once assessment is complete, proceed through the following phase-based interventions in order.
| Phase | Nursing intervention |
|---|---|
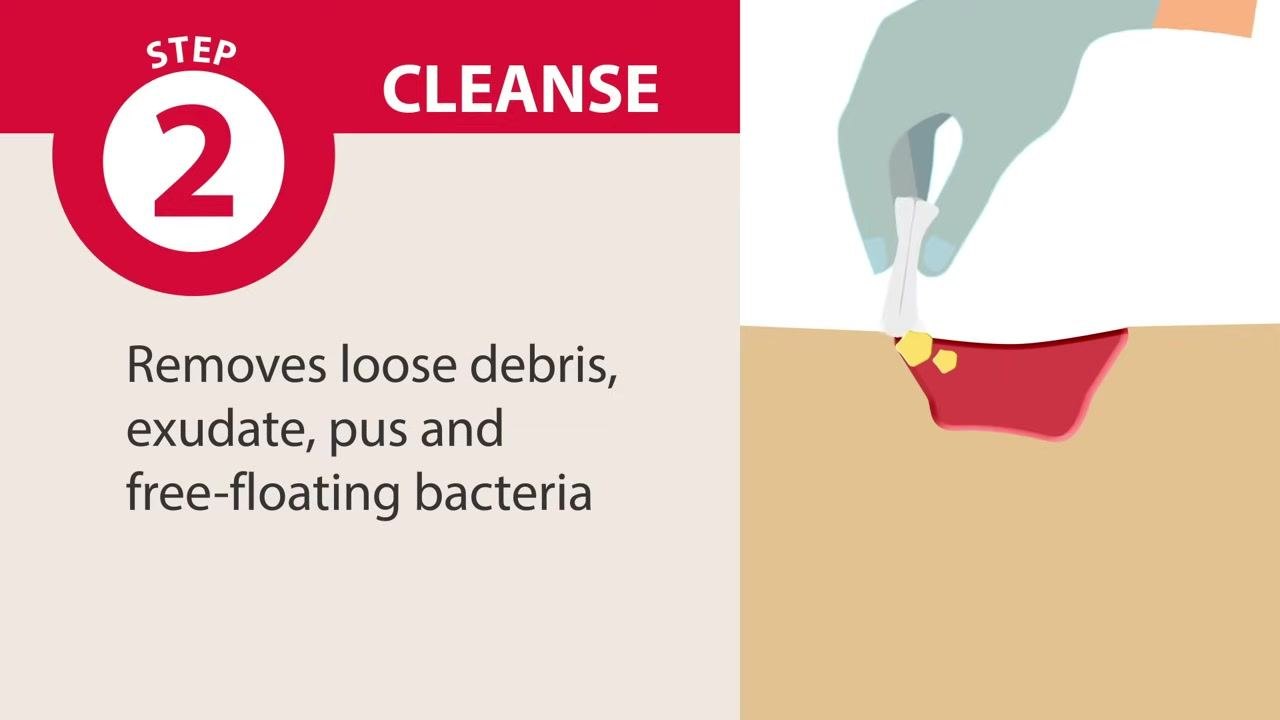
| Cleanse | Cleanse and irrigate the wound according to assessment findings to create an optimal healing environment; remove loose debris, exudate, pus, and free-floating bacteria; swab gently with dampened gauze or a similar sterile product and irrigate to remove deeper contaminants, making the wound easier to see and evaluate |
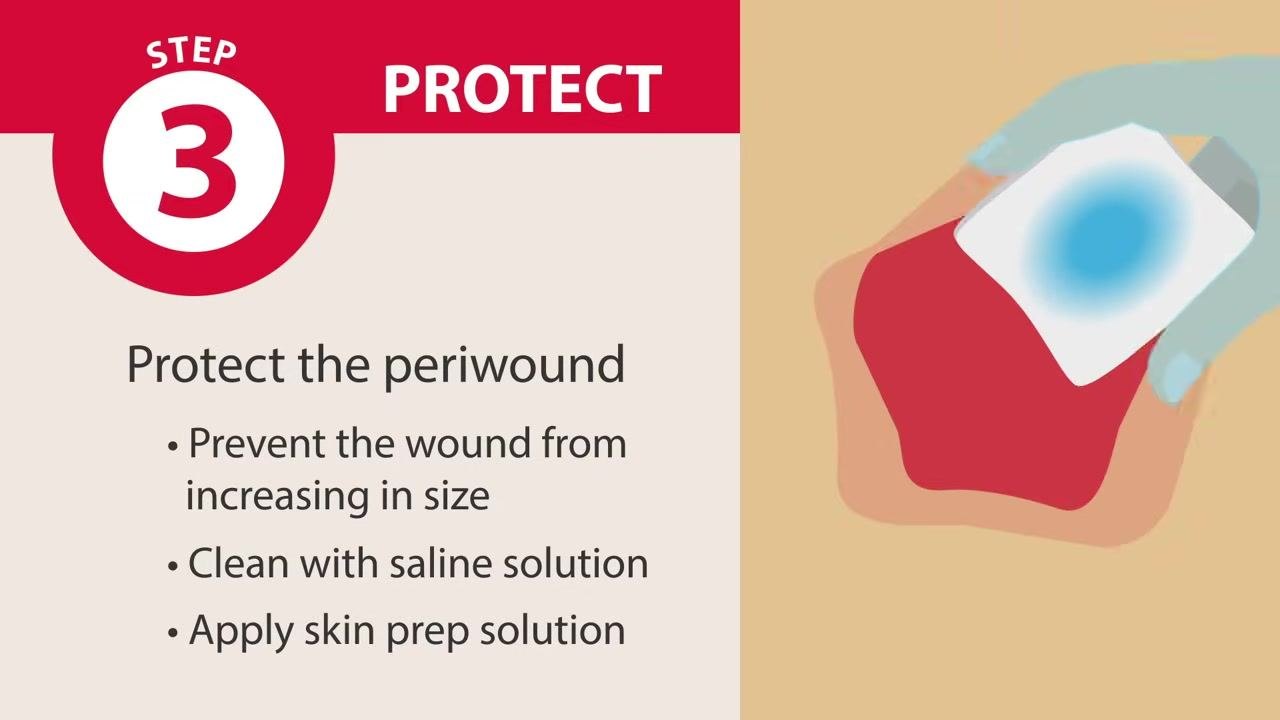
| Protect | Shield the periwound skin from drainage-related maceration and skin stripping, even if it appears normal, to prevent unnoticed damage and limit wound enlargement; clean the periwound with normal saline solution and apply a non-alcohol-based skin prep solution as a protective barrier |
| Fill | If the wound has depth, fill all open spaces with the appropriate material based on the assessment |
| Cover | Apply a protective dressing to maintain a clean, moist wound bed that supports granulation, healing, and closure, and to prevent infection until healthy skin resumes its protective function |
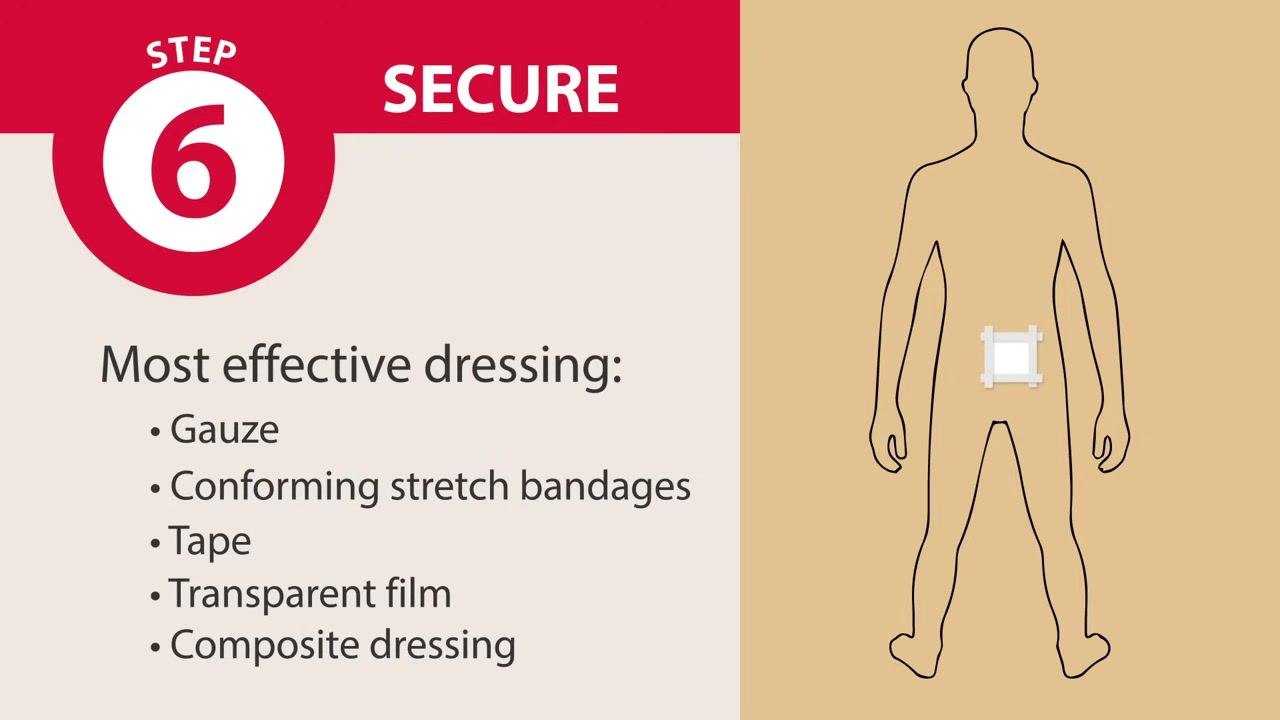
| Secure | Apply a secondary dressing if the primary dressing does not stay in place, in order to protect the wound from pathogens and secure any medical devices |
Cleanse the wound
Protect the periwound
Fill the wound
Filling prevents pockets of abscess from forming and is especially important for wounds with depth, such as tunneling wounds, undermined wounds, and stage three or four pressure injuries. Select the filler based on the assessment, the wound's contours, and clinical judgment.
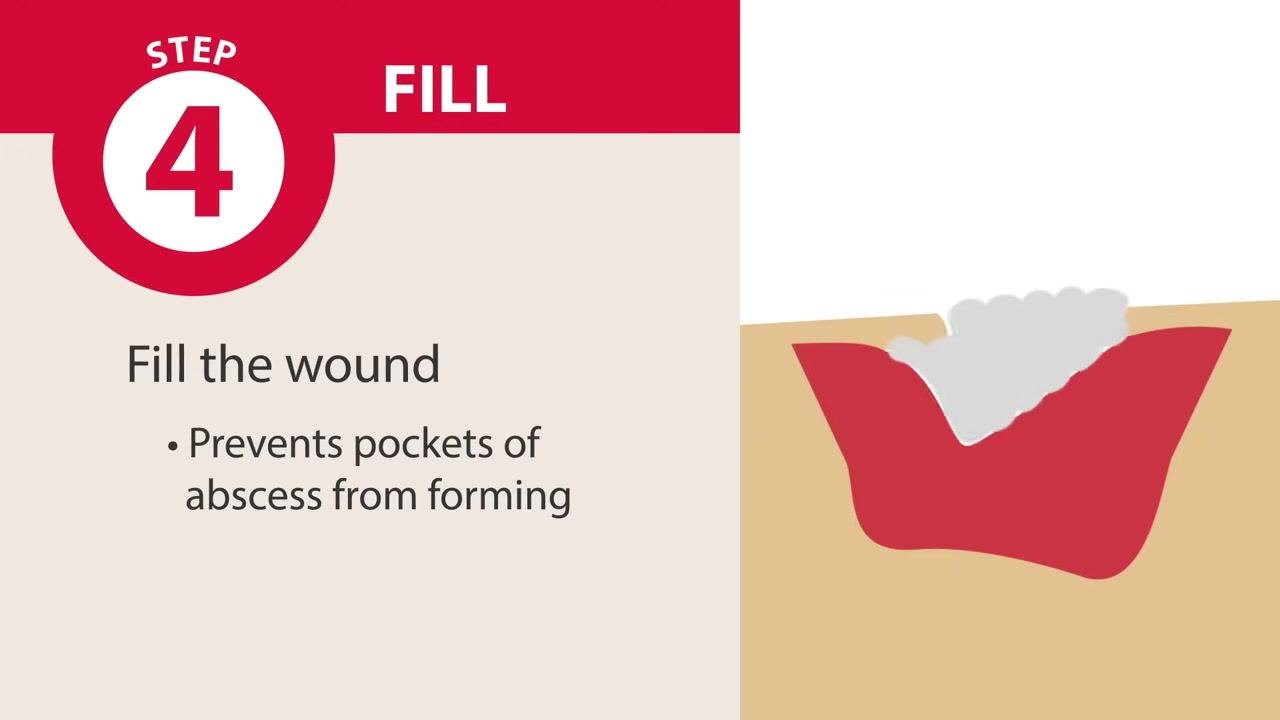
Available fillers include gauze, foams, fibers, alginates, and gels; add an antimicrobial agent to the filler for infected wounds.
Fill all open spaces so the material conforms to the wound's shape and depth, using clinical discretion to avoid overpacking or underpacking.
Cover the wound
Secure the dressing
Choose from gauze, conforming stretch bandages, tape, transparent film, or composite dressing based on provider policy and procedures.
Pain management
The assessment phase requires asking and recording the patient's level of pain as part of the wound evaluation. The source material does not provide a multimodal pain management plan, medication table, pain score targets, or escalation pathway; this section should be completed locally with the drug, dose, route, frequency, target pain score, and escalation contacts used at your facility.
Mobility milestones
No mobility milestones or progressive activity timeline are included in the source material. This section should outline facility-specific mobility goals (such as bed exercises, chair transfers, and ambulation) with an associated day-by-day timeline.
Complication monitoring
Evaluate the wound regularly to determine whether it is healing, regressing, or showing no change, and use clinical judgment to decide whether the current approach is effective or whether another intervention is needed.
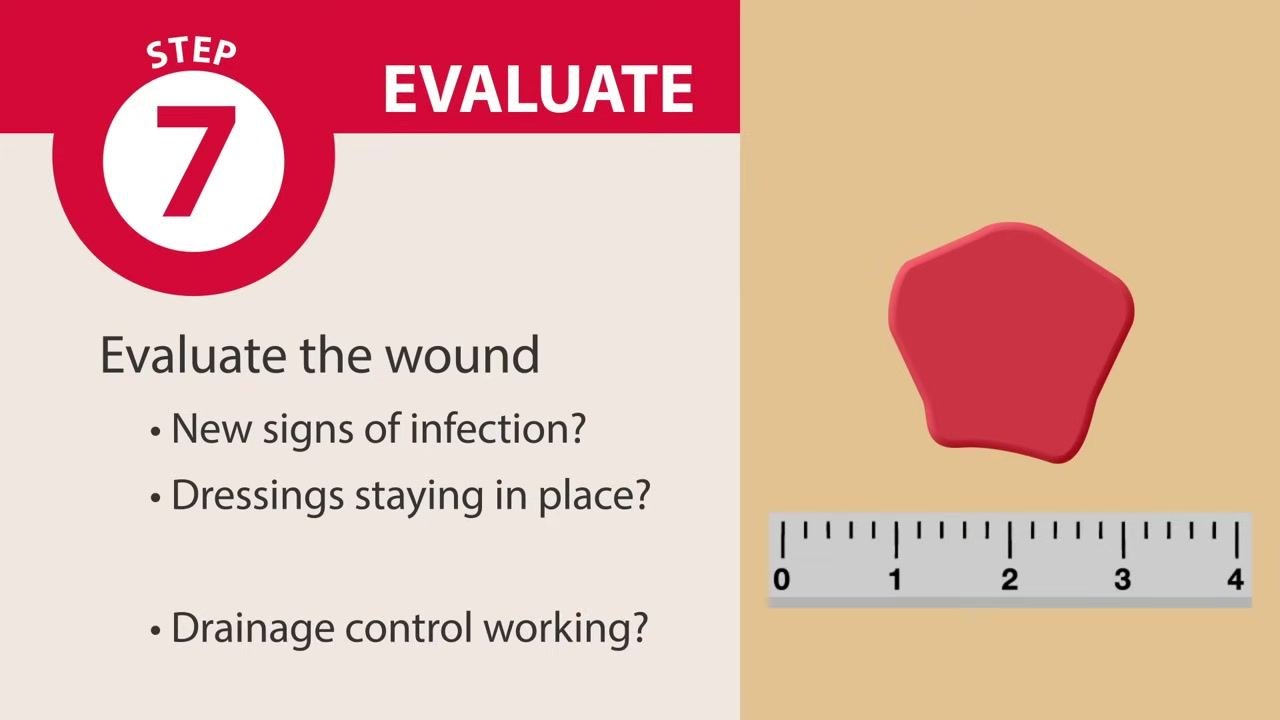
At each evaluation, check for:
- New signs of infection, such as changes in wound color or odor
- Whether both the protective and secondary dressings are staying securely in place
- Whether drainage control, if in use, is functioning properly
Record findings regarding healing, regression, or lack of change, and take appropriate action, such as adjusting the wound care plan, based on the evaluation. No specific escalation contacts are provided in the source material; document your facility's escalation pathway here.

Discharge criteria
The source material does not define measurable discharge criteria. This section should list specific, measurable benchmarks — such as wound status, absence of infection, and the patient's ability to manage self-care — that must be met before discharge.
Patient education
Review the seven steps of effective wound management with the patient and family as appropriate: assess, cleanse, protect, fill, cover, secure, and evaluate.
What's next
For more detailed information and additional resources on wound care, consult cardinalhealth.com/skinandwound. By following the seven steps — assess, cleanse, protect, fill, cover, secure, and evaluate — you support comprehensive, effective wound management, promoting optimal healing and patient safety.
Generation details: cost, quality tiers, downloads
Docsie billed 3,000 credits ($2.10) to analyze this 6-minute video at standard quality. The rewrite, template fill and Word/PDF exports were included. The same video at each quality tier:
| Quality | Frames sampled | Credits | Approx. cost |
|---|---|---|---|
| Draft | every 16-30 s | 1,500 | $1.05 |
| Standard (this guide) | every 8-15 s | 3,000 | $2.10 |
| Detailed | every 4-7 s | 6,000 | $4.20 |
| Ultra | every 1-3 s | 12,000 | $8.40 |
Credits priced at $0.70 per 1,000; plans include a monthly allowance. Enterprise customers on on-premise or bring-your-own-model deployments run this on their own inference and pay no per-video credits.
Generated by Docsie Video-to-Docs on 2026-09-14 from a 5-minute video. It was generated straight into Docsie's Patient Care Procedure template, so every section of that template is filled from the video. Screenshots are frames from the source video and belong to their creator, Cardinal Health, whose original is embedded above. If you own this video and want the guide removed or credited differently, contact us and we will act within one business day.