
How to Change a Central Line Dressing
This protocol describes how to change a central line dressing safely, using aseptic technique to protect the catheter insertion site and reduce the risk of catheter-related infection. It covers supply preparation, patient and staff protection, sterile field setup, site cleaning, dressing and device application, and connector replacement. Follow this procedure whenever a central vascular access device dressing is due for a scheduled or as-needed change.
Video: Central Line Dressing Change - Nursing Skills by EmpoweRN (2015). All credit for the demonstration goes to the creator; watch the original on YouTube. The written guide below was generated from this video by Docsie. Creator? Request a change or removal.
This protocol describes how to change a central line dressing safely, using aseptic technique to protect the catheter insertion site and reduce the risk of catheter-related infection. It covers supply preparation, patient and staff protection, sterile field setup, site cleaning, dressing and device application, and connector replacement. Follow this procedure whenever a central vascular access device dressing is due for a scheduled or as-needed change.
Purpose and scope
This protocol applies to nurses and other healthcare providers who perform dressing changes on a central line (central vascular access device) in the clinical setting. Its purpose is to standardize the steps required to change a central line dressing while maintaining aseptic technique from supply gathering through final documentation.
Infection risk overview
The source material does not describe a specific pathogen, transmission route, or incubation period. Instead, the procedure focuses on preventing catheter-related infection by limiting contamination of the insertion site during the dressing change.
- Risk indicator: A reddened catheter insertion site observed during a dressing change is a sign that requires further clinical assessment.
- Related risk factor: Loose tubing outside the dressing can lead to accidental line dislodgement if not secured before the procedure begins.
Where this section requires further detail (such as formal transmission data or incubation periods), that information should be added per facility infection control guidelines, as it is not addressed in this procedure.
Screening and identification
Before and during the dressing change, inspect the catheter insertion site and surrounding skin for signs of concern, such as redness.
- Example clinical scenario: A nurse caring for a client receiving parenteral nutrition notices, while changing the central line dressing, that the catheter insertion site appears reddened. In this situation, the nurse's next step is to assess the client's temperature.

Diagnostic testing, turnaround times, and formal notification workflows for suspected catheter-site infection are not described in this procedure and should follow facility laboratory and reporting protocols.
Isolation precautions
Maintain aseptic technique throughout the procedure. Follow these steps to change a central line dressing while protecting the sterile field and the insertion site:
- Gather supplies. Obtain a central line dressing change kit containing a bio patch or disc impregnated with chlorhexidine, a StatLock device, and clean and sterile gloves. Review all kit items before starting so you are comfortable with each component.
- Prepare the patient and yourself. Place a mask on the patient and on yourself, wash your hands, and apply clean or sterile gloves as appropriate.
-
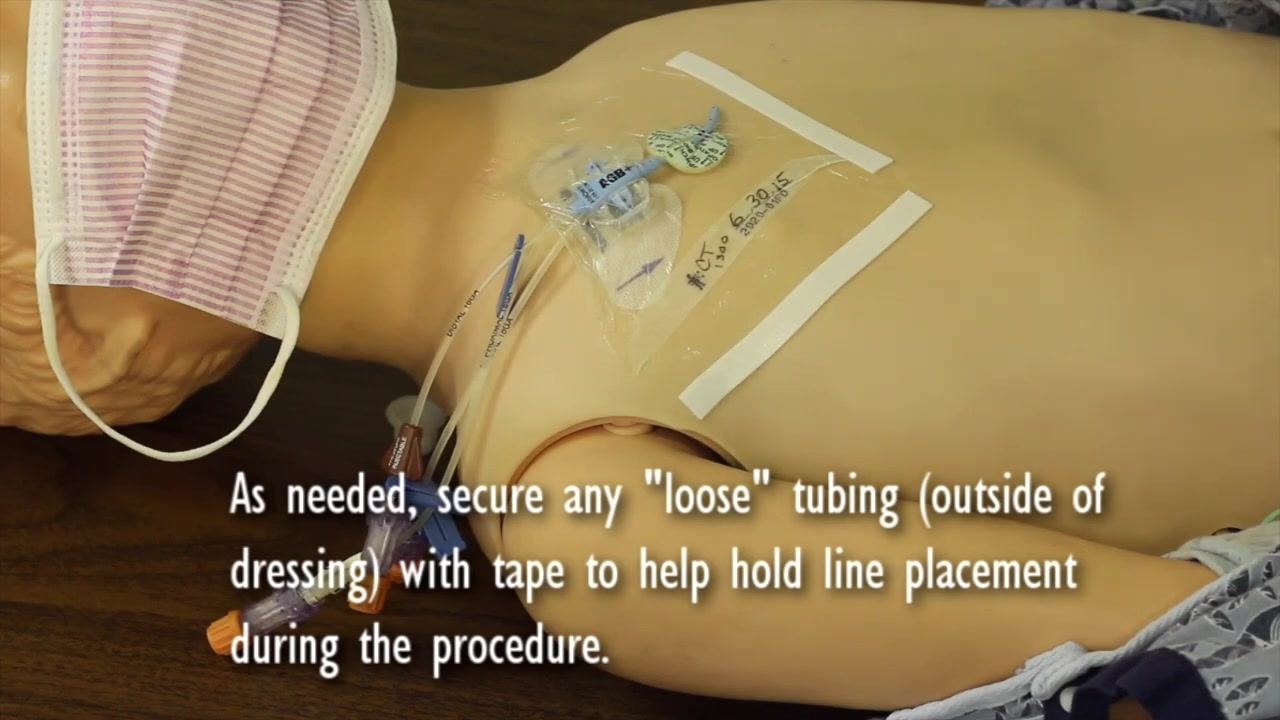
Secure loose tubing. If tubing extends outside the dressing, secure it with tape to hold the line in place during the procedure.
-
Open the sterile dressing change kit on a clean, flat surface to create a sterile field, keeping all contents inside the field.
- Add the new bio patch and StatLock device to the sterile field before applying sterile gloves.
-
Apply sterile gloves before touching the cleaned site or any sterile supplies.
-
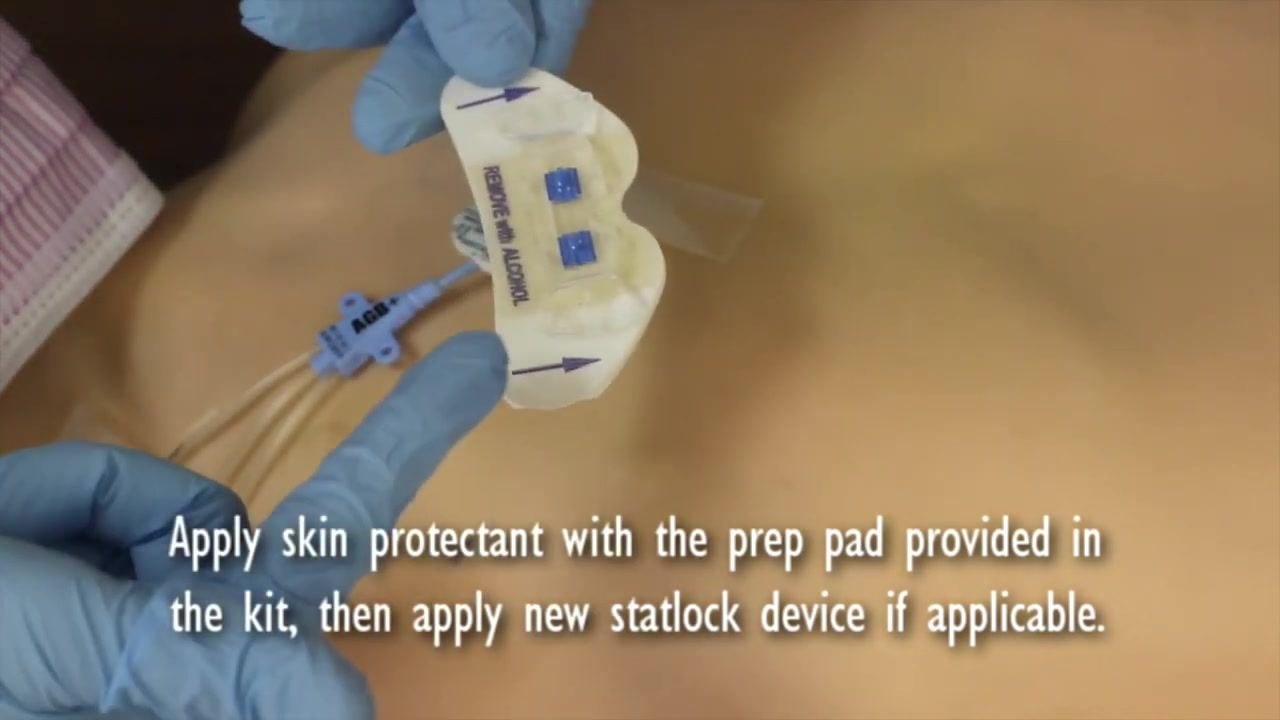
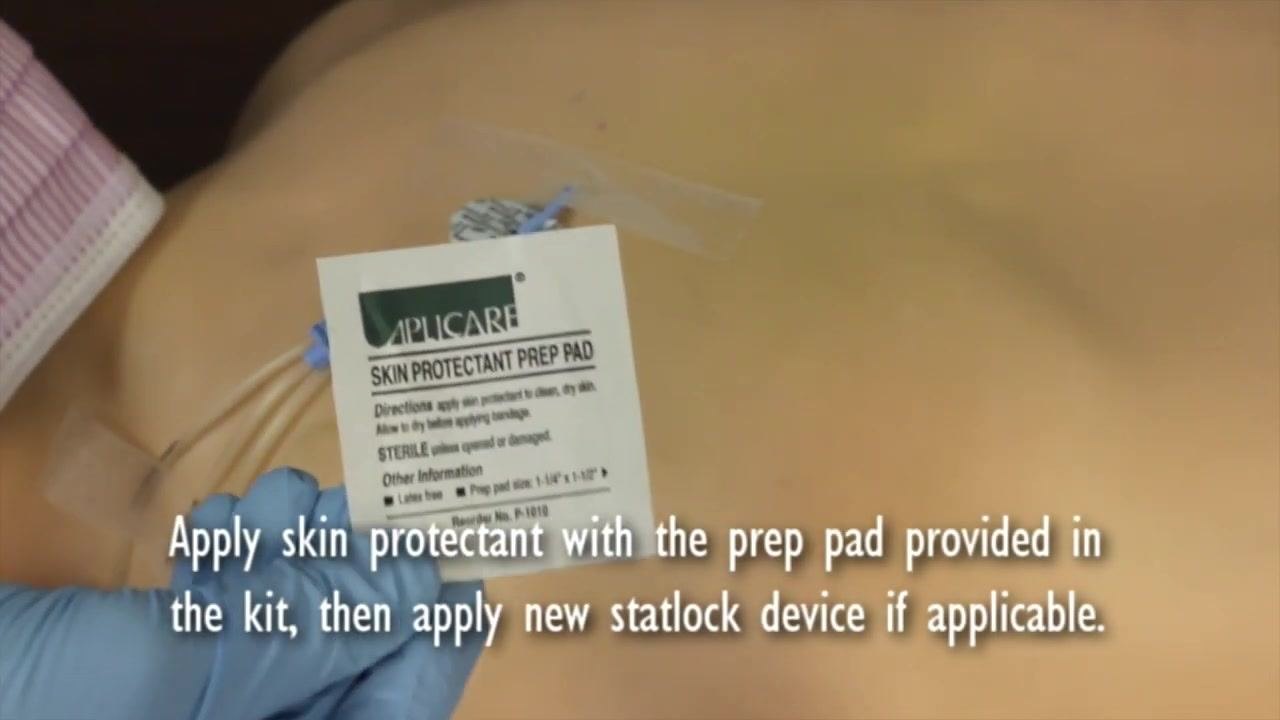
Apply the new StatLock device, holding it by the edges without touching the adhesive, positioning it according to manufacturer instructions, and securing the catheter tubing.
- Apply the transparent dressing over the entire site, including the StatLock device and bio patch, smoothing it to remove air bubbles, then label it with today's date, time, and your initials.
| Role | PPE / Barrier Item | When Applied |
|---|---|---|
| Patient | Mask | Before dressing removal begins |
| Nurse/provider | Mask | Before dressing removal begins |
| Nurse/provider | Clean gloves | During removal of old dressing and components |
| Nurse/provider | Sterile gloves | After sterile field is opened, before site cleaning |
| Catheter site | Transparent dressing, StatLock, bio patch | Applied after site cleaning and antiseptic drying |
Signage requirements and precise duration of precautions for the site are not specified in this procedure and should follow facility policy.
Hand hygiene protocol
Hand hygiene is performed at two key points in this procedure:
- Before donning initial gloves: Wash your hands thoroughly before applying clean or sterile gloves at the start of the procedure.
- Before opening the sterile kit: After removing the old dressing, old StatLock, and gloves, wash your hands thoroughly with soap and water, or use an alcohol-based hand sanitizer, before opening the sterile dressing change kit.
Compliance monitoring for hand hygiene during this procedure is not addressed in the source material and should be tracked per facility infection control auditing practices.
Environmental cleaning
Site and equipment cleaning are central to this procedure. Discard all removed materials in the appropriate waste container as each step is completed.
-
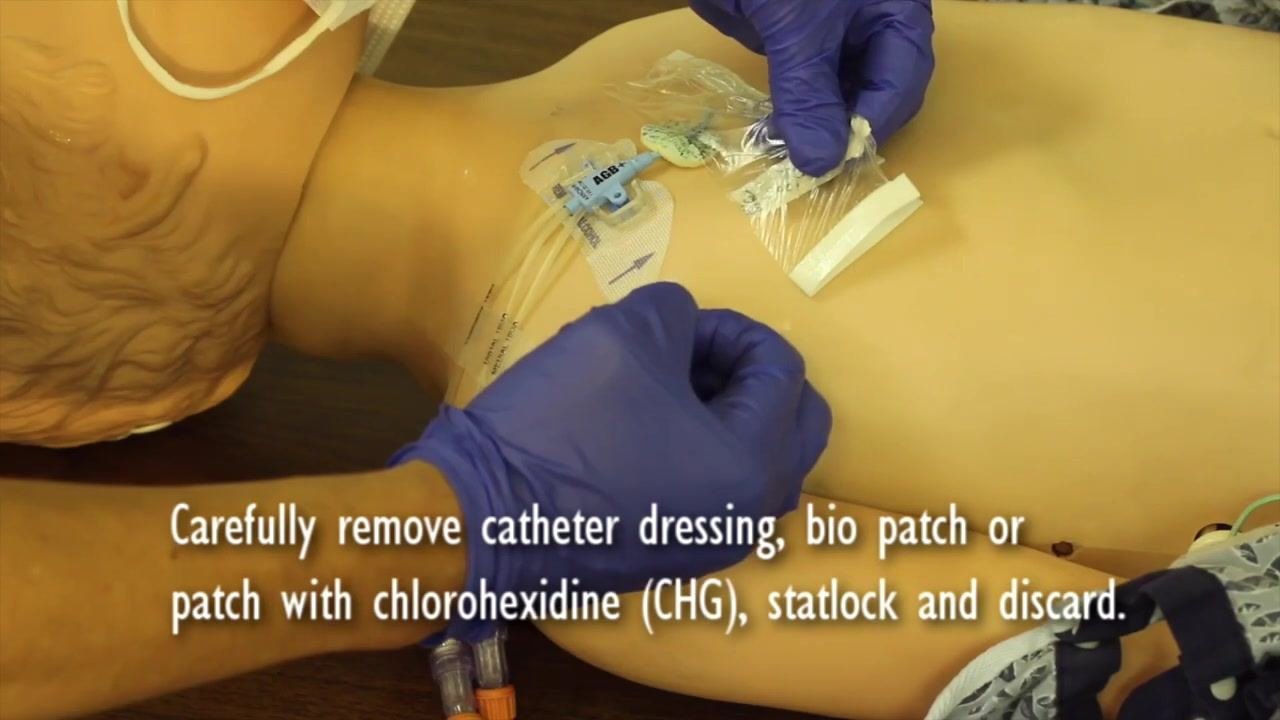
Remove the old dressing and components. Carefully remove the existing catheter dressing, the old bio patch or CHG-impregnated patch, and the old StatLock device, discarding each item appropriately.
-
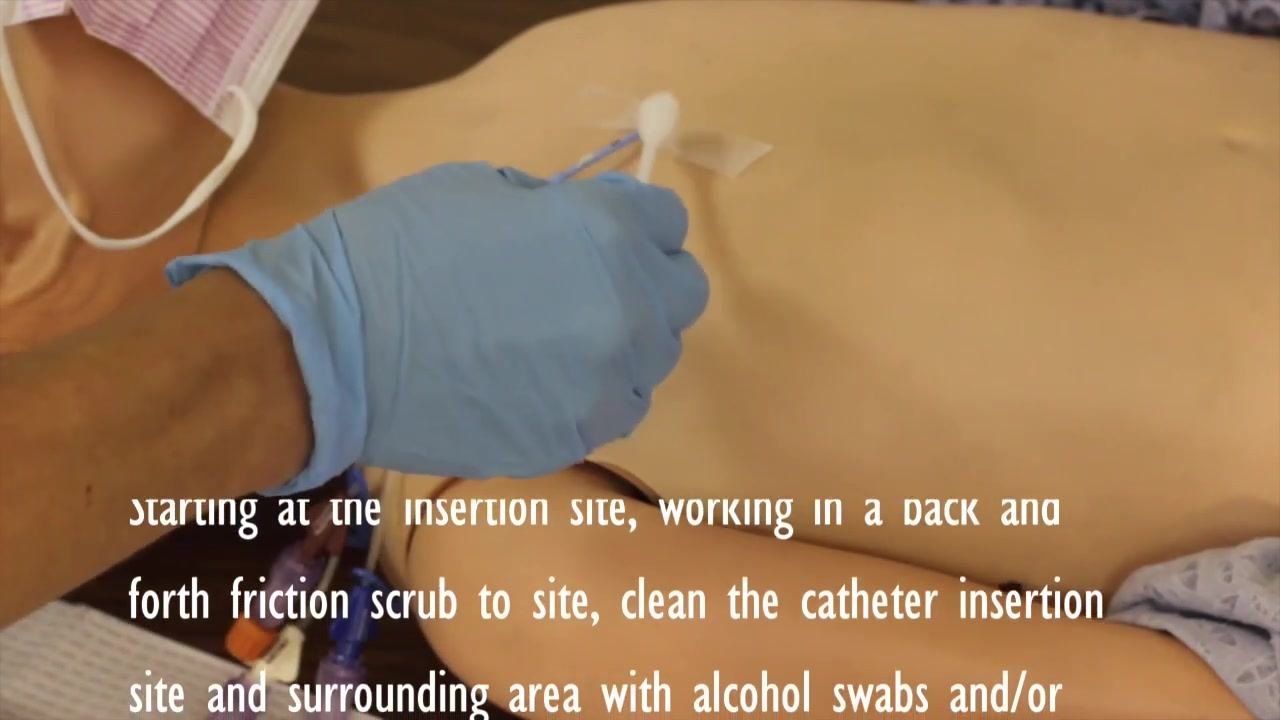
Clean the catheter insertion site. Starting at the insertion site, use alcohol swabs and/or antiseptic chlorhexidine wipes to scrub the site and surrounding skin with a back-and-forth friction motion.
-
Allow the antiseptic to air dry for at least two minutes without fanning or waving objects over the site.
-
Apply the new bio patch, blue side up, surrounding the lumen at the insertion site.
-
Apply skin protectant using the prep pad provided in the kit, applying it to clean, dry skin around the site and allowing it to dry before continuing.
- Clamp the IV access lumen(s) before removing connectors, to prevent air embolism or blood loss.
- Remove all needleless connectors and swab caps from the lumen(s) and discard them in the appropriate waste container.
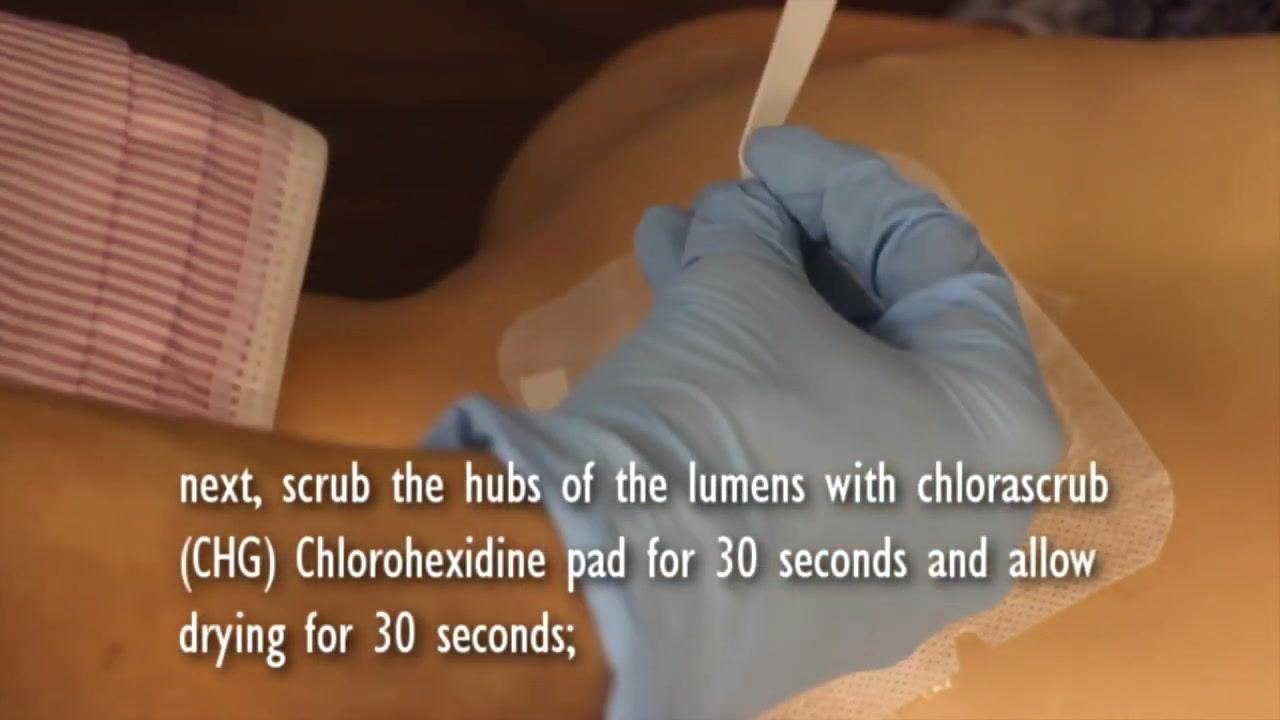
- Scrub the hubs of the lumens with a chlorhexidine (CHG) pad or chlorascrub for 30 seconds using a firm, twisting motion, then allow the hubs to air dry for an additional 30 seconds.
- Apply new needleless connectors and swab caps to each lumen to maintain sterility.
- Daily chlorhexidine bath (if required by facility protocol): Some facilities require a daily chlorhexidine bath for the patient as an additional infection-prevention measure.
| Cleaning Agent | Purpose | Contact/Dry Time |
|---|---|---|
| Alcohol swabs and/or antiseptic chlorhexidine wipes | Clean the catheter insertion site and surrounding skin | Scrub with back-and-forth friction; air dry at least 2 minutes |
| Bio patch / disc impregnated with chlorhexidine (CHG) | Provide antiseptic barrier at the insertion site | Applied blue side up, left in place under the dressing |
| Skin protectant prep pad | Protect skin around the insertion site | Apply to clean, dry skin; allow to dry before proceeding |
| Chlorhexidine (CHG) pad or chlorascrub | Scrub the hubs of each lumen | Scrub 30 seconds; air dry 30 seconds |
Shared equipment handling is not described in this procedure; follow facility guidelines for any reusable items used during central line care.
Surveillance and reporting
Documentation and observation support ongoing monitoring of the catheter site.
- Label every new dressing with the date, time, and your initials using a sterile marker, creating a record of when the dressing was last changed.
- Monitor for signs of concern, such as redness at the insertion site. In the example scenario, a reddened site prompted the nurse to assess the client's temperature as the next step.
| Finding at Insertion Site | Recommended Action |
|---|---|
| Reddened catheter insertion site | Assess the client's temperature |
Active surveillance methods, outbreak thresholds, mandatory reporting requirements, and a formal line-listing template are not described in this procedure and should be established according to facility infection control policy.
Staff education
Staff can reinforce their understanding of central line dressing change procedures and related clinical judgment through a knowledge check.
-
Knowledge check topics include acute renal failure, Ebola virus disease, calcium channel blockers, systemic lupus erythematosus, ALS, pneumonia, loop diuretics, diabetes mellitus, tuberculosis, hypertension, and ACE inhibitors.
-
Sample question: A nurse is caring for a client who is receiving parenteral nutrition (PN). While changing the central line dressing, the nurse notes that the catheter insertion site seems reddened. The nurse next assesses which of the following items?
- Time of last dressing change
- Tightness of tubing connections
- Client's temperature
- Expiration date on the bag
Formal training requirements, competency assessment criteria, and an annual refresher schedule are not detailed in this procedure and should be defined according to facility staff education policy.
Generation details: cost, quality tiers, downloads
Docsie billed 2,500 credits ($1.75) to analyze this 5-minute video at standard quality. The rewrite, template fill and Word/PDF exports were included. The same video at each quality tier:
| Quality | Frames sampled | Credits | Approx. cost |
|---|---|---|---|
| Draft | every 16-30 s | 1,250 | $0.88 |
| Standard (this guide) | every 8-15 s | 2,500 | $1.75 |
| Detailed | every 4-7 s | 5,000 | $3.50 |
| Ultra | every 1-3 s | 10,000 | $7.00 |
Credits priced at $0.70 per 1,000; plans include a monthly allowance. Enterprise customers on on-premise or bring-your-own-model deployments run this on their own inference and pay no per-video credits.
Generated by Docsie Video-to-Docs on 2026-09-14 from a 4-minute video. It was generated straight into Docsie's Infection Control Protocol template, so every section of that template is filled from the video. Screenshots are frames from the source video and belong to their creator, EmpoweRN, whose original is embedded above. If you own this video and want the guide removed or credited differently, contact us and we will act within one business day.