
How to Change Units in Creo
Creo Parametric uses imperial units (inches, pounds, seconds) by default for new parts and assemblies. This guide explains how to change units in Creo Parametric by selecting a metric template for a single part, and how to permanently change the default units for all new files by updating the configuration settings to use millimeter-kilogram-second (mmKs) templates.
Video: Changing the Default Units for Creo 3.0 by PDSVISION - United Kingdom. All credit for the demonstration goes to the creator; watch the original on YouTube. The written guide below was generated from this video by Docsie. Creator? Request a change or removal.
Creo Parametric uses imperial units (inches, pounds, seconds) by default for new parts and assemblies. This guide explains how to change units in Creo Parametric by selecting a metric template for a single part, and how to permanently change the default units for all new files by updating the configuration settings to use millimeter-kilogram-second (mmKs) templates.
Prerequisites
- Creo Parametric installed on your machine.
- Access to the Creo installation directory (the exact path may vary depending on where you installed Creo; adjust navigation steps if your installation folder differs).
- Administrator or write access to update and save the
config.proconfiguration file.
Understand the default template behavior
By default, the Use default template checkbox is checked when you create a new part, which means Creo applies the default imperial template automatically. The units assigned to a new part or assembly are determined entirely by the template selected at creation time.
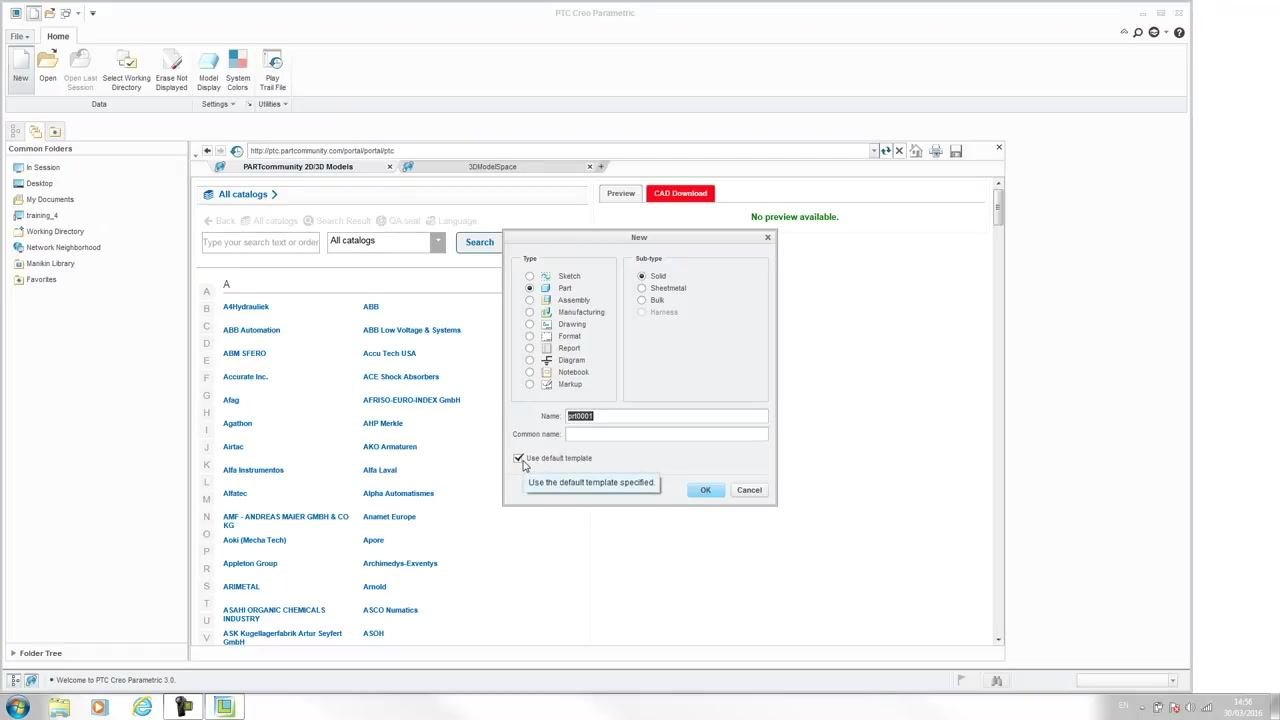
Start Creo Parametric
Launch Creo Parametric from your desktop or start menu and wait for the application to fully load before proceeding.
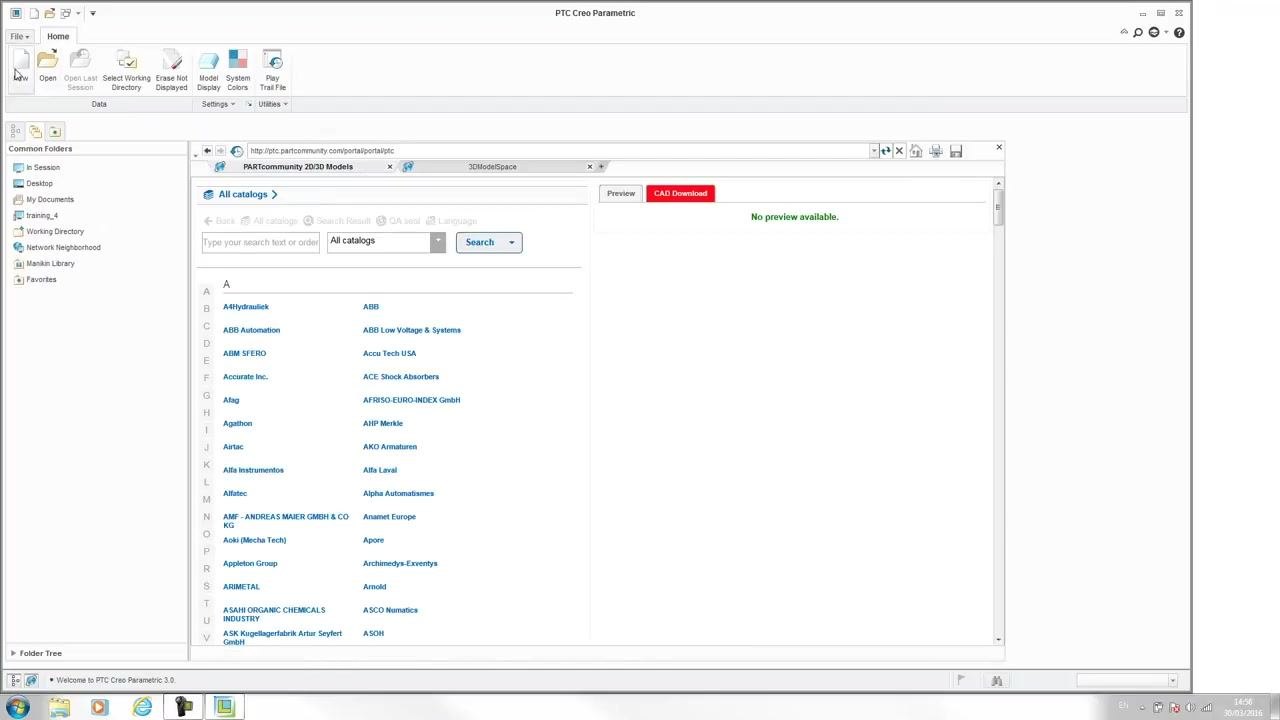
Choose a different template for a single part (optional)
If you only need to change units for one part rather than every new file, you can select a different template manually:
- Click the File menu and select New.
- In the New dialog, choose Part as the type and Solid as the sub-type.
- Uncheck Use default template, then click OK to open the template selection dialog.
- In the New File Options dialog, select a metric template, such as
mmns_part_solid(millimeters, newtons, seconds).
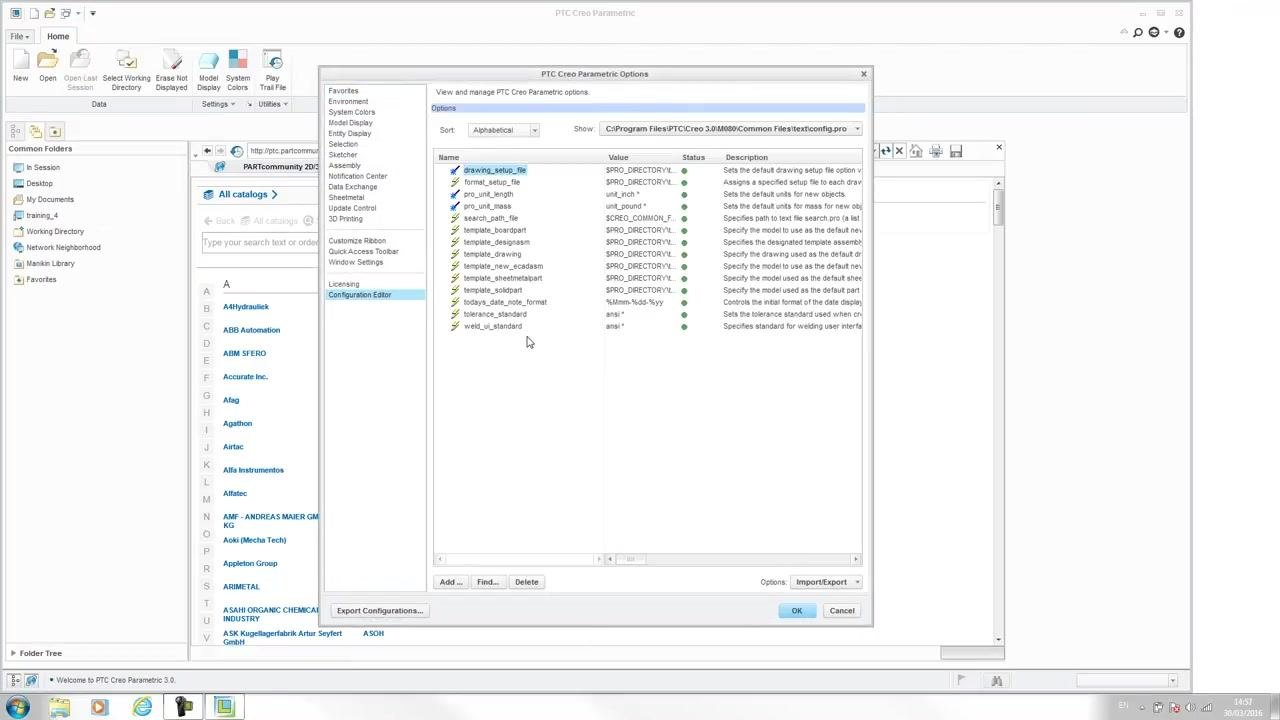
Open the Configuration Editor to change the default template
To make metric units the default for all new parts, update the configuration settings instead of selecting a template manually each time:
- Go to File > Options > Configuration Editor.
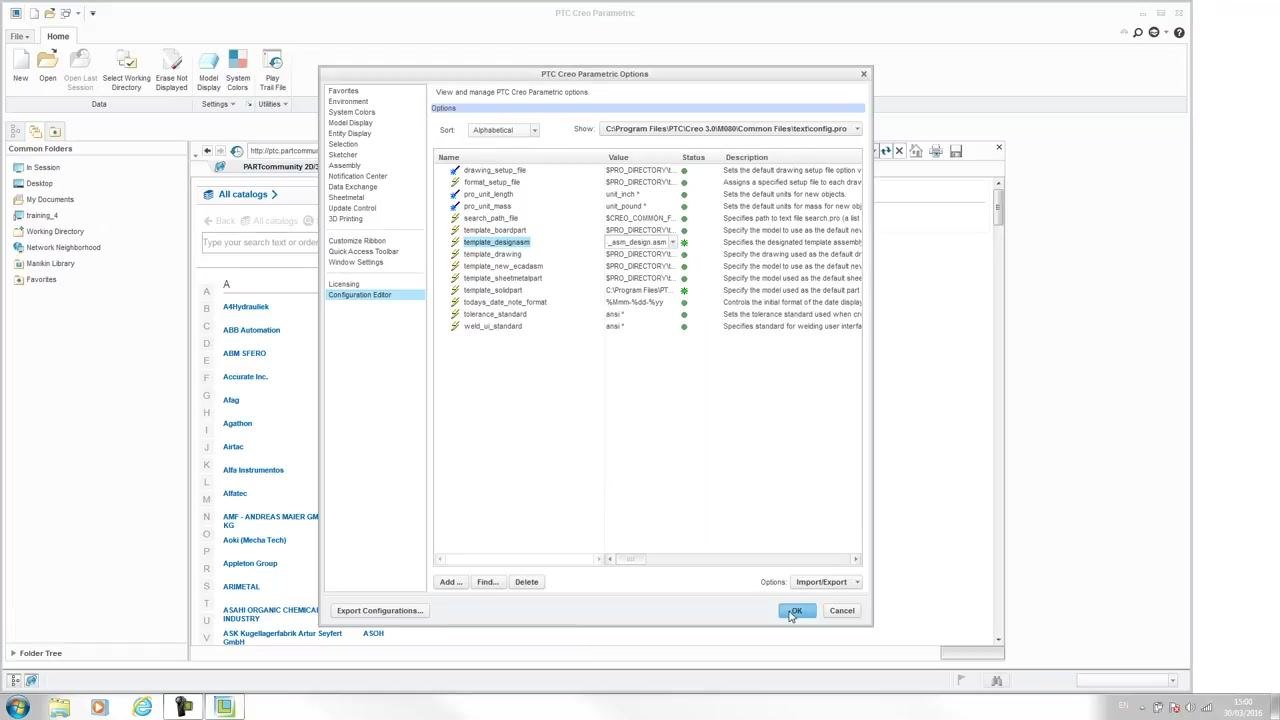
- Locate the template setting named
template_solidpart. - You will change this value to the desired metric template, such as
mmns_part_solid.
Review the available template settings
On a fresh installation with a new configuration file, the Configuration Editor lists several template settings, each pointing to a file path on your local machine:
template_boardparttemplate_designasmtemplate_drawingtemplate_new_ecad.asmtemplate_sheetmetalparttemplate_solidpart
These templates are copied into new parts or assemblies when you create them; they are not modified directly by editing this list.
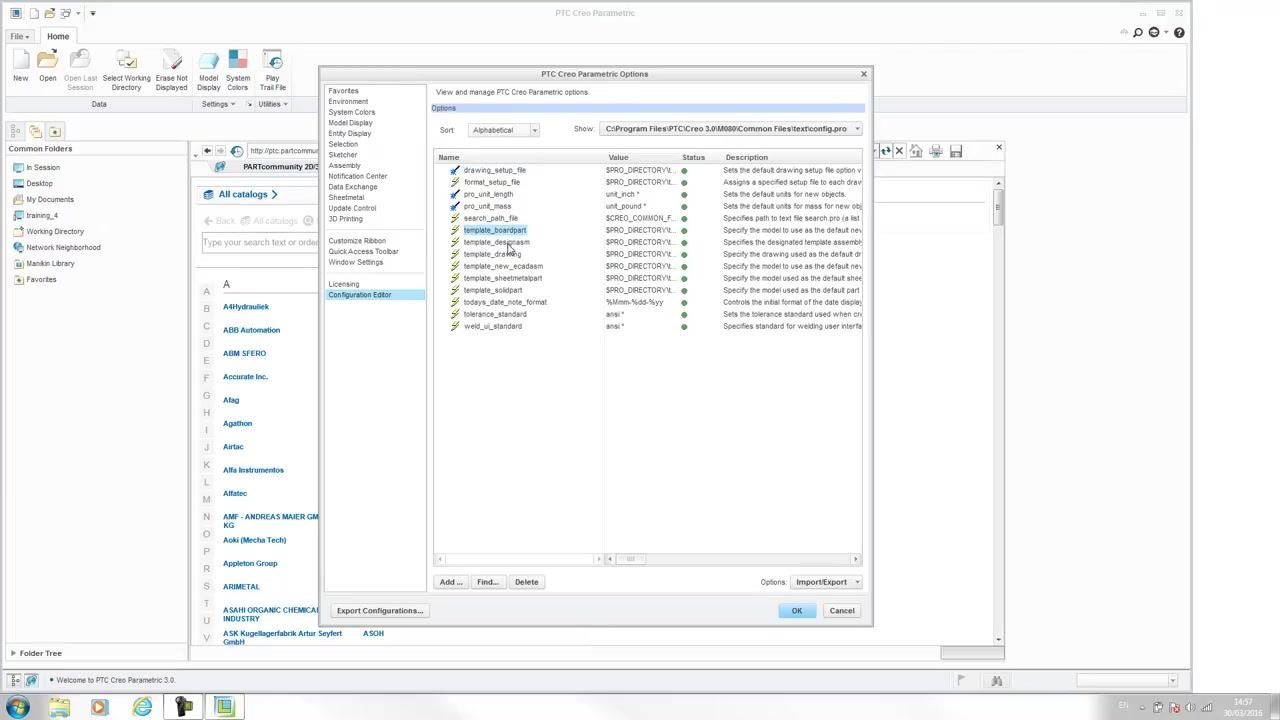
Locate the templates folder
Open the file selection dialog and navigate toward your Creo installation directory to find the templates folder. The exact path depends on where Creo was installed on your system, so adjust the navigation if your installation location differs.
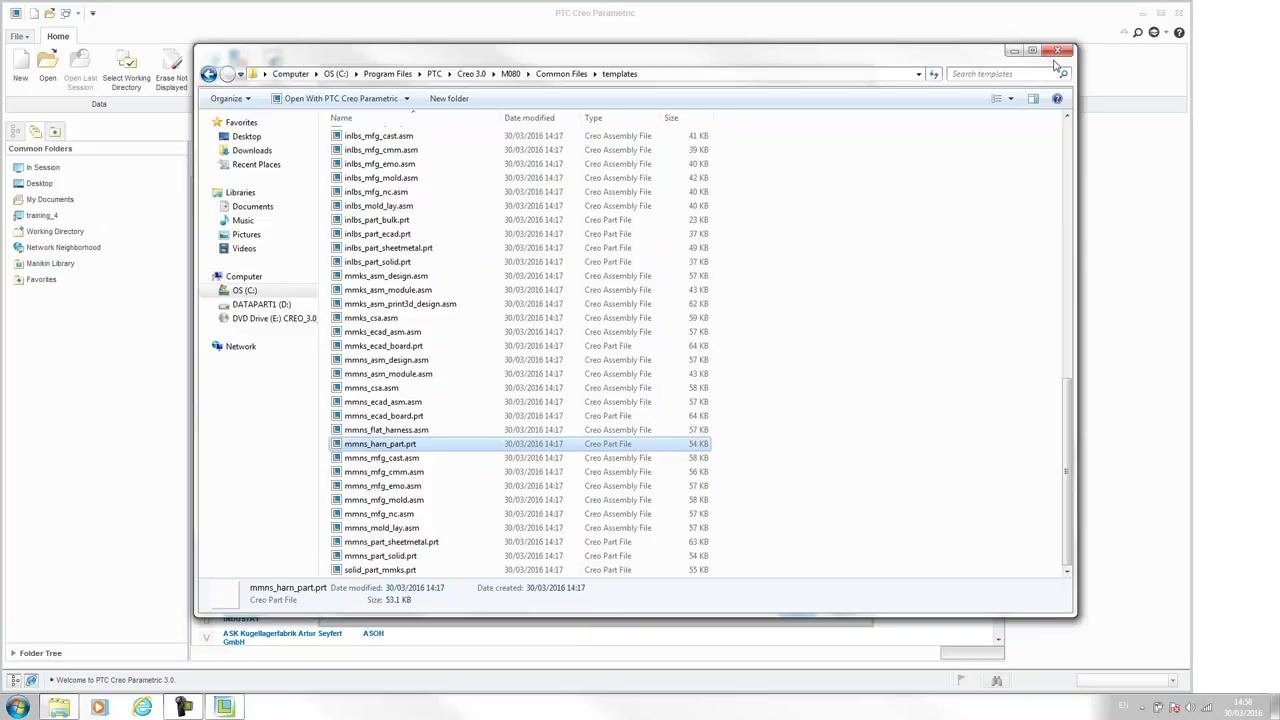
Set the solid part template to MMKS
Within the templates folder of your Creo installation directory, locate and select the file named solid_part_mmks.prt. This template uses millimeters, kilograms, and seconds as the default units.
- Click Open to confirm your selection.
- The
template_solidpartsetting in the Configuration Editor now shows the new file path, with an asterisk (*) indicating the change is pending save.
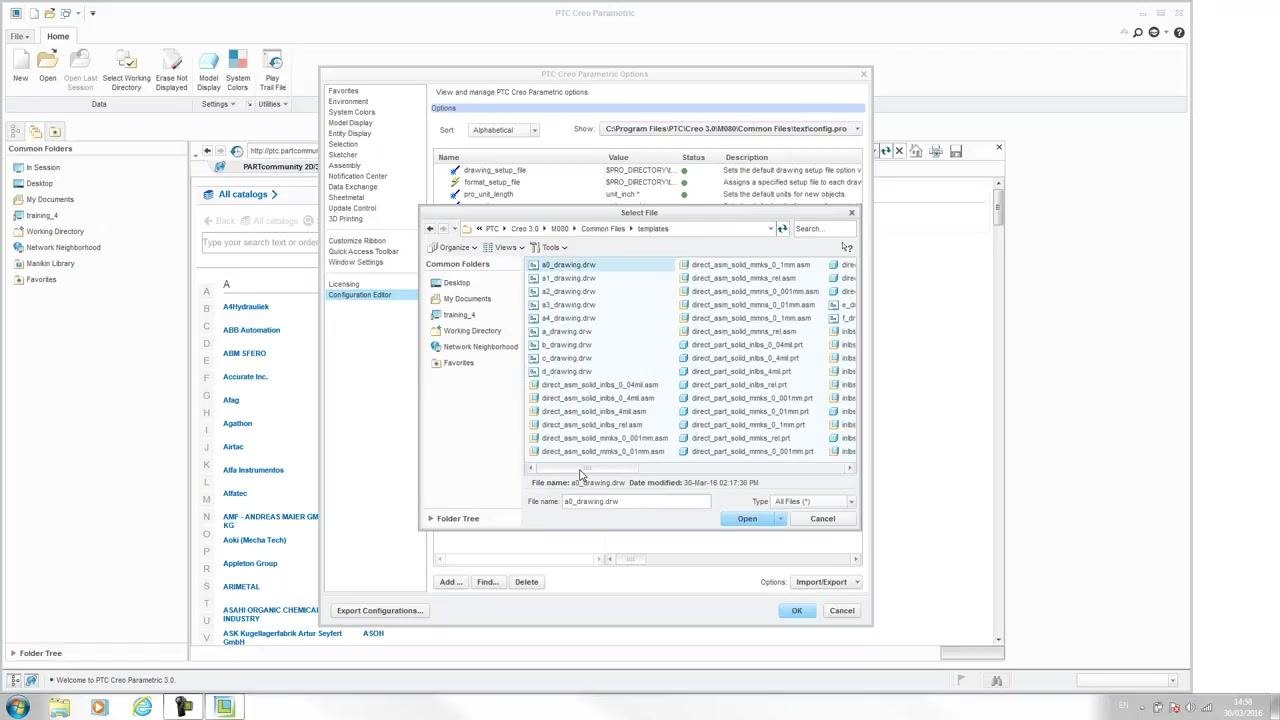
Set the assembly template to MMKS
Repeat the process for assemblies:
- In the Configuration Editor, locate the
template_designasmsetting. - Click Browse next to the template path.
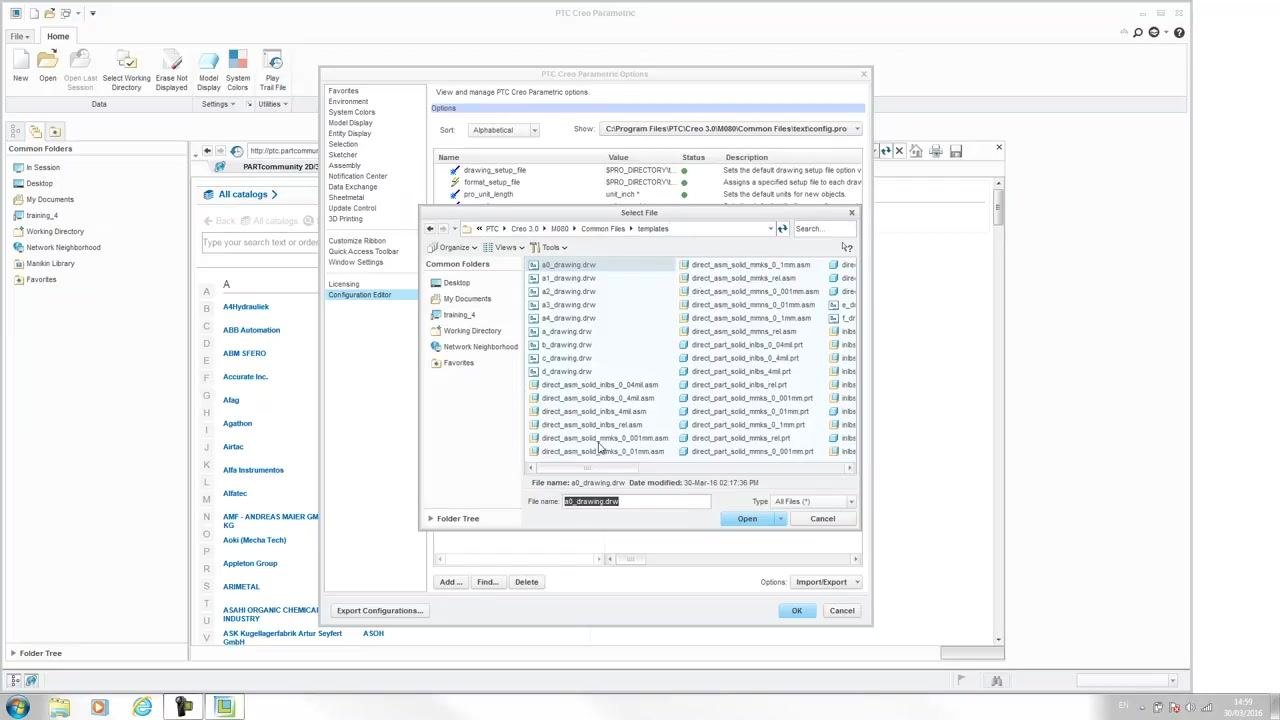
- In the file dialog, select
mmks_asm_design.asm, the assembly template using millimeters, kilograms, and seconds. - Click Open to confirm your selection.
Creo remembers the last template folder you used, which makes it easier to locate the correct file for the assembly template.
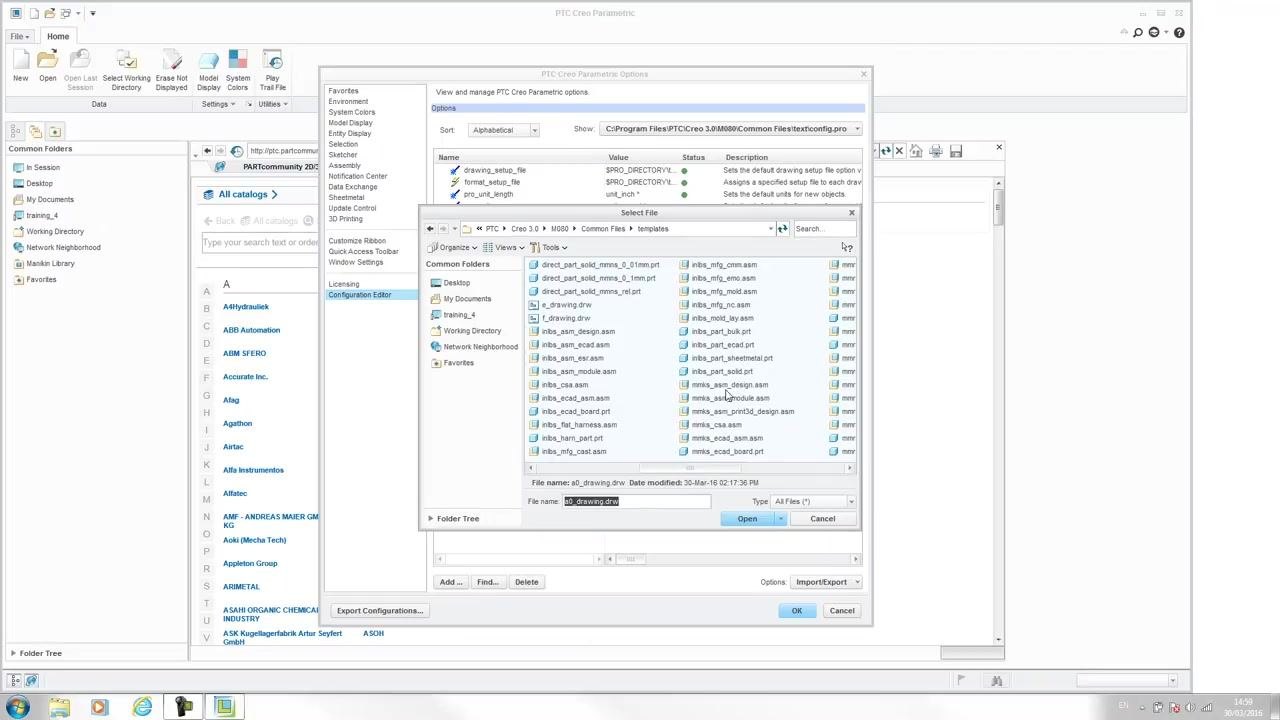
Save the updated configuration
To apply your changes permanently:
- In the Configuration Editor, click the Import/Export dropdown at the bottom right.
- Select Export per current filter to save your changes.
- When prompted, overwrite the existing
config.profile to apply the new template settings. - Click OK to close the Configuration Editor.
Verify the new default units in a new part
Confirm that the configuration change took effect:
- Create a new part in Creo by selecting New Part and using the default part option.
- Go to File > Prepare > Model Properties.
- Confirm that the units are now set to millimeter, kilogram, second (mmKs) instead of inches and pounds.
Confirm the new template is active in the workspace
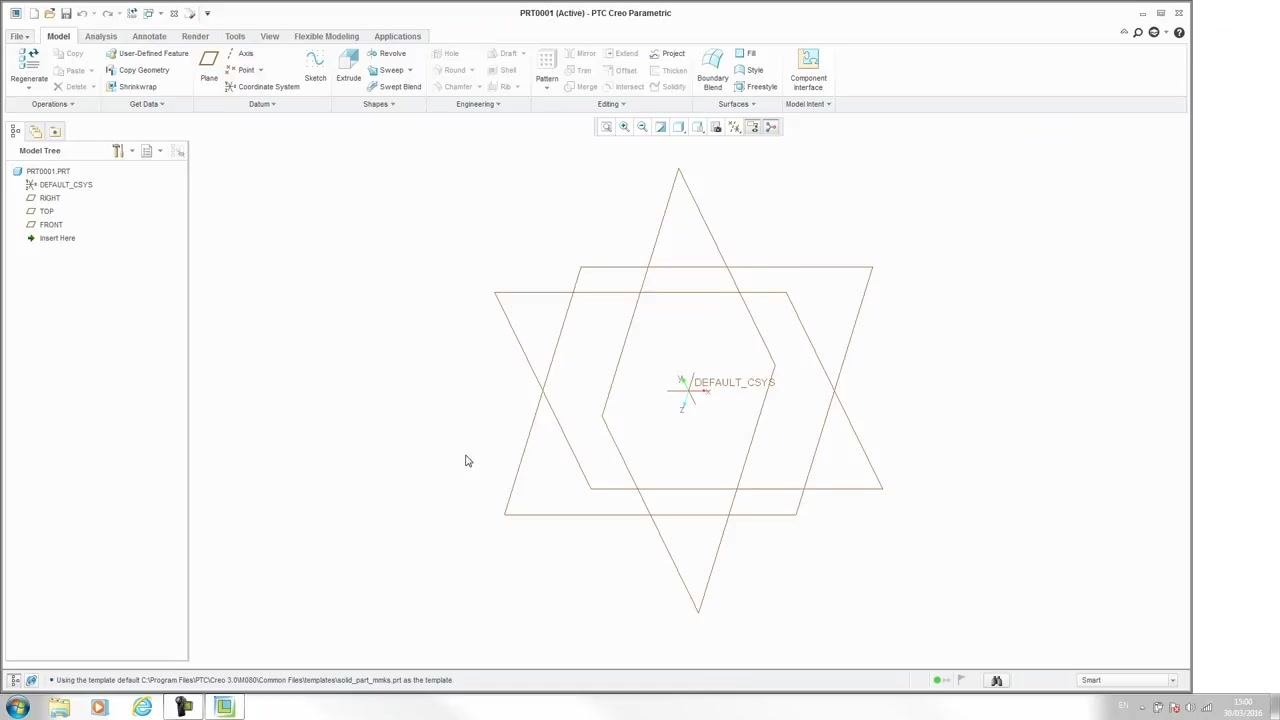
In the main modeling window, check that the new part file (PRT0001.PRT) displays the default coordinate system (DEFAULT_CSYS) and standard reference planes (RIGHT, TOP, FRONT) in the Model Tree on the left. The geometric center and reference planes should be visible in the main view area, confirming successful template application.
Check the status bar at the bottom of the window for a confirmation message similar to:
Using the template default C:\Program Files\PTC\Creo 3.0\M080\Common Files\templates\solid_part_mmks.prt as the template.
This confirms that the interface is ready for further modeling and that all previous configuration steps were applied correctly.
Summary
You have now set up Creo Parametric to use metric (mmKs) templates for new parts and assemblies by updating the template_solidpart and template_designasm settings in the Configuration Editor and saving them to config.pro. All new models created going forward will start with the correct millimeter-kilogram-second units and standard reference geometry already in place.
Generation details: cost, quality tiers
Docsie billed 3,000 credits ($2.10) to analyze this 6-minute video at standard quality. The rewrite, template fill and Word/PDF exports were included. The same video at each quality tier:
| Quality | Frames sampled | Credits | Approx. cost |
|---|---|---|---|
| Draft | every 16-30 s | 1,500 | $1.05 |
| Standard (this guide) | every 8-15 s | 3,000 | $2.10 |
| Detailed | every 4-7 s | 6,000 | $4.20 |
| Ultra | every 1-3 s | 12,000 | $8.40 |
Credits priced at $0.70 per 1,000; plans include a monthly allowance. Enterprise customers on on-premise or bring-your-own-model deployments run this on their own inference and pay no per-video credits.
Generated by Docsie Video-to-Docs on 2026-10-11 from a 5-minute video. Screenshots are frames from the source video and belong to their creator, PDSVISION - United Kingdom, whose original is embedded above. If you own this video and want the guide removed or credited differently, contact us and we will act within one business day.