
How to Create a Security Group in Workday
Workday controls who can see and change employee data through security groups, domain security policies, and business process security policies. This guide walks through how to create a security group in Workday, starting with the underlying concepts you need to understand before you configure anything, followed by the step-by-step process for setting up role-based and user-based security groups.
Video: Workday HCM Create Security Group | Learn Workday HCM Course | Workday HCM | CyberBrainer by CyberBrainer (2026). All credit for the demonstration goes to the creator; watch the original on YouTube. The written guide below was generated from this video by Docsie. Creator? Request a change or removal.
Workday controls who can see and change employee data through security groups, domain security policies, and business process security policies. This guide walks through how to create a security group in Workday, starting with the underlying concepts you need to understand before you configure anything, followed by the step-by-step process for setting up role-based and user-based security groups.
Prerequisites
Before you create a security group in Workday, you should understand how data security and action security work, since every security group you create will be governed by one of these frameworks.
Data security and action security
Workday security is divided into two main types:
- Data Security: Concerns access and permissions given to a field.
- Action Security: Relates to permissions for actions performed within the system.
Data security is governed by a policy called the Domain Security Policy, which works on collections of fields and is based on functional areas.
Example scenario: assigning a compensation package
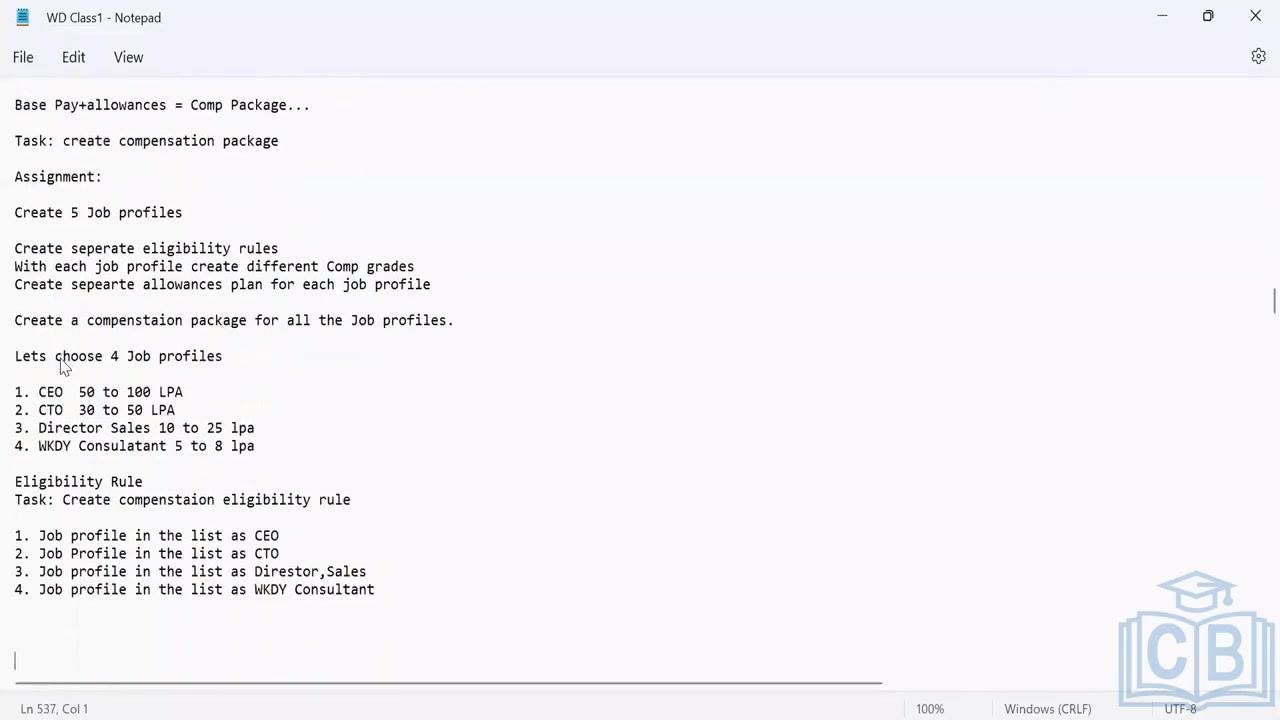
To see how security policies apply in practice, consider an assignment to create a compensation package. The task involves creating five job profiles, each with separate eligibility rules, compensation grades, and allowance plans:
- CEO: 50 to 100 LPA
- CTO: 30 to 50 LPA
- Director Sales: 10 to 25 LPA
- WKDY Consultant: 5 to 8 LPA
For each job profile, you also create compensation eligibility rules.
Domain security policy and business process security policy
Workday uses two policies to control security:
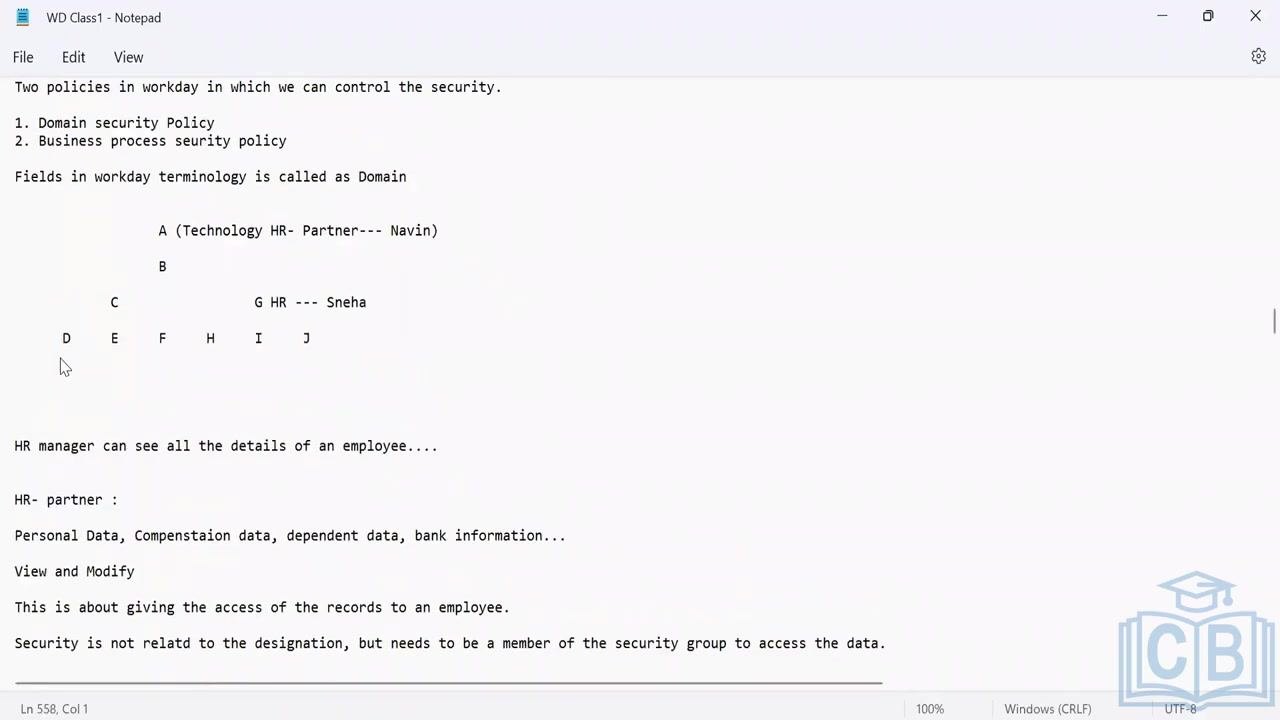
- Domain Security Policy: Controls access to data fields (in Workday terminology, fields are called "Domains").
- Business Process Security Policy: Controls access to actions within business processes.
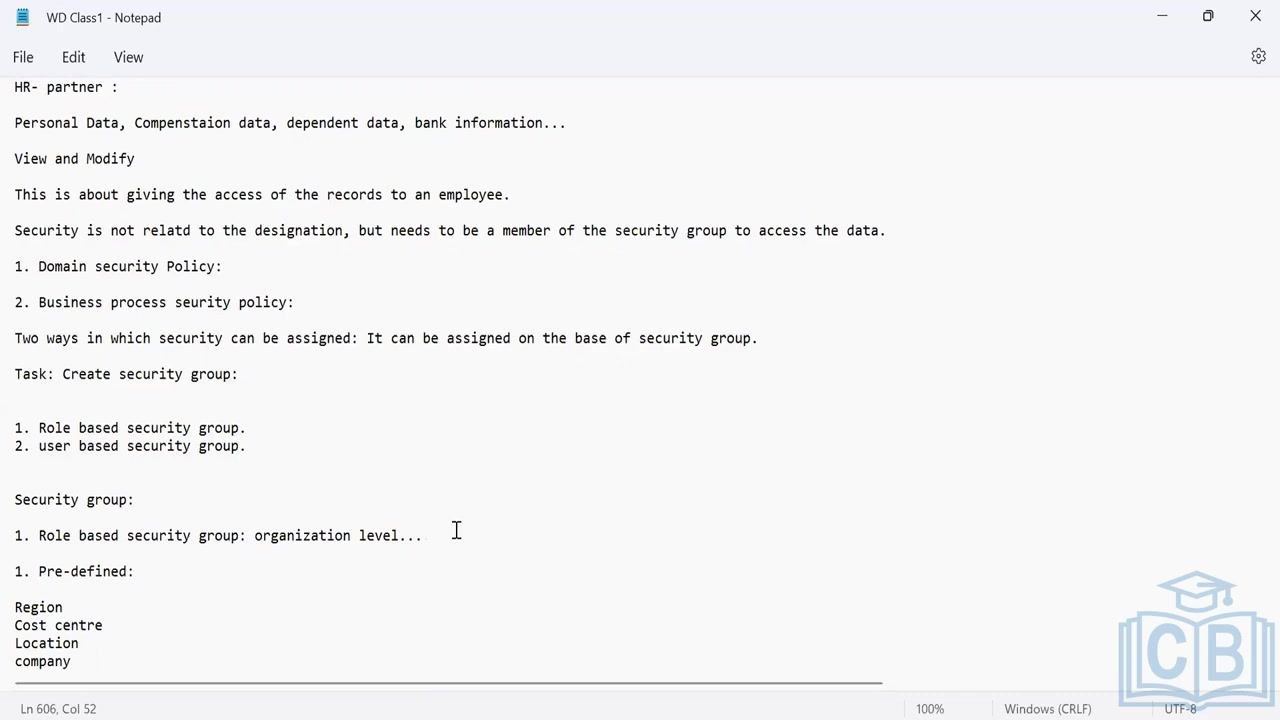
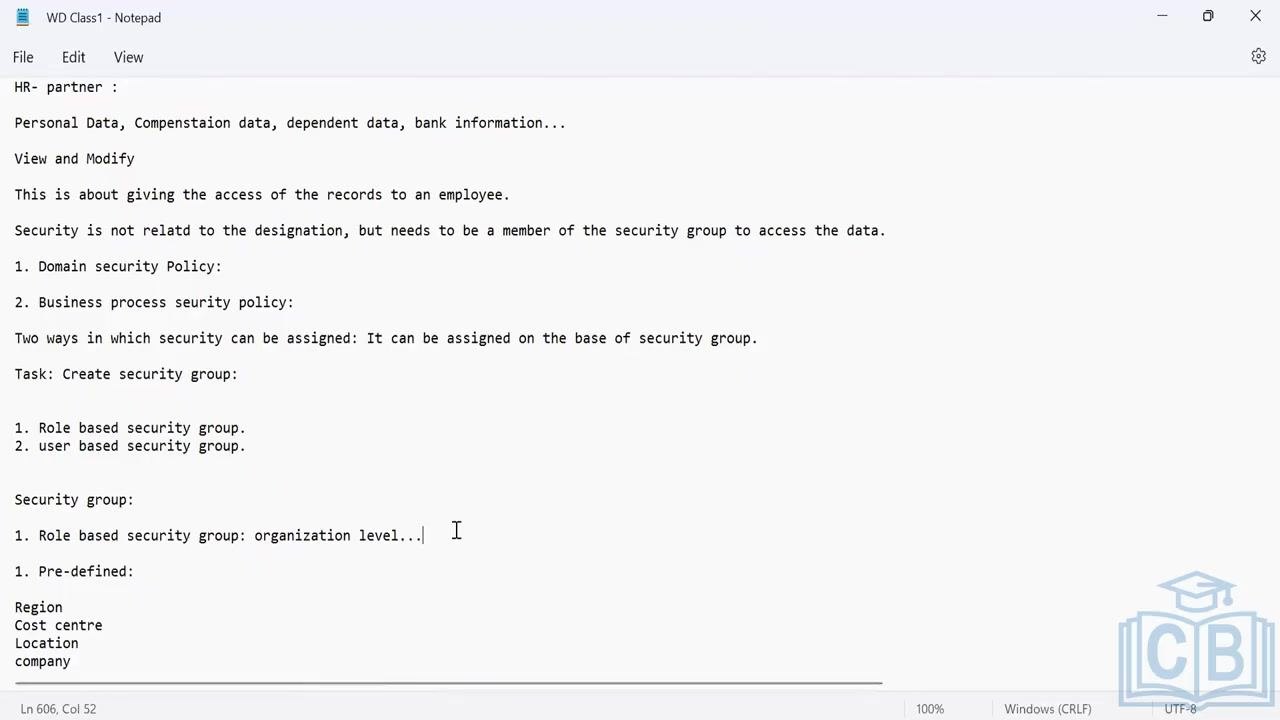
For example, a Technology HR Partner named Navin might be assigned to domain A, while an HR representative named Sneha is assigned to domain G, with other domains labeled B, C, D, E, F, H, I, and J. An HR manager can see all employee details, while an HR partner can view and modify personal, compensation, dependent, and bank data. Security is not related to designation but to membership in a security group.
Summary of the two security types
To recap, security in Workday breaks down into two parts:
- Data Security: Managed by the Domain Security Policy.
- Action Security: Managed by the Business Process Security Policy.
Restrictions are applied to employee data access, controlling which fields and information can be accessed or modified.
Domain security policy recap
Data security is governed by the Domain Security Policy, which organizes access based on collections of fields and functional areas.
Hierarchical security model, functional areas, and permissions
Workday follows a hierarchical (top-to-bottom) security model:
- Individuals at the top of the hierarchy have access to information for all employees below them.
- Individuals lower in the hierarchy cannot view details of those above them, except for generic, publicly available information.
- Confidential information is restricted and cannot be accessed by those lower in the hierarchy.
Functional areas are determined by different modules within the system. For this context, functional areas include:
- Personal data
- Compensation data
- Dependent data
- Bank information
Workday grants two types of permissions:
- View: Allows users to see data within their permitted functional areas, but not make any changes.
- Modify: Grants full control, including the ability to create, delete, update, and upsert records.
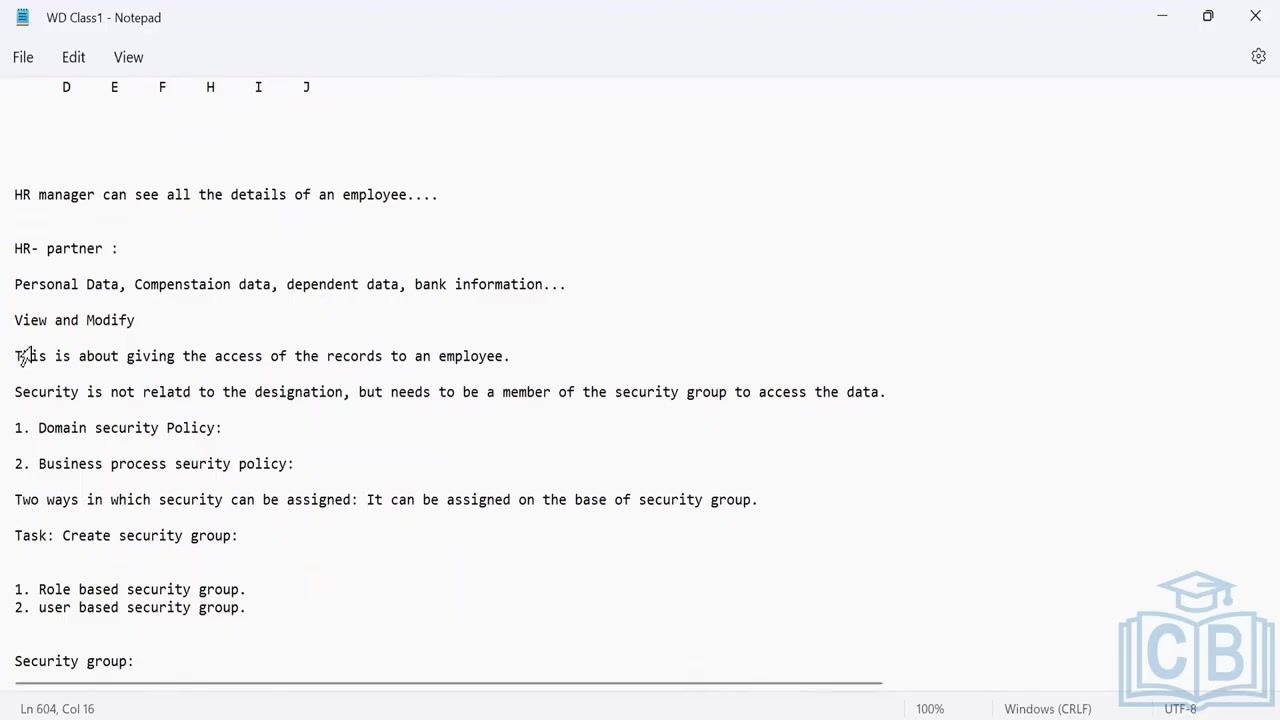
Permissions are not based on job designation but on membership in a security group. Security groups can be assigned in two ways: role-based security group or user-based security group.
Steps to create a security group in Workday
Once you understand the security framework above, follow these steps to create a security group in Workday.
Step 1: Decide between a role-based or user-based security group
Security is never assigned directly to individual users — it is always assigned to a security group, and users receive permissions by being members of that group. The two most important types of security groups in Workday are:
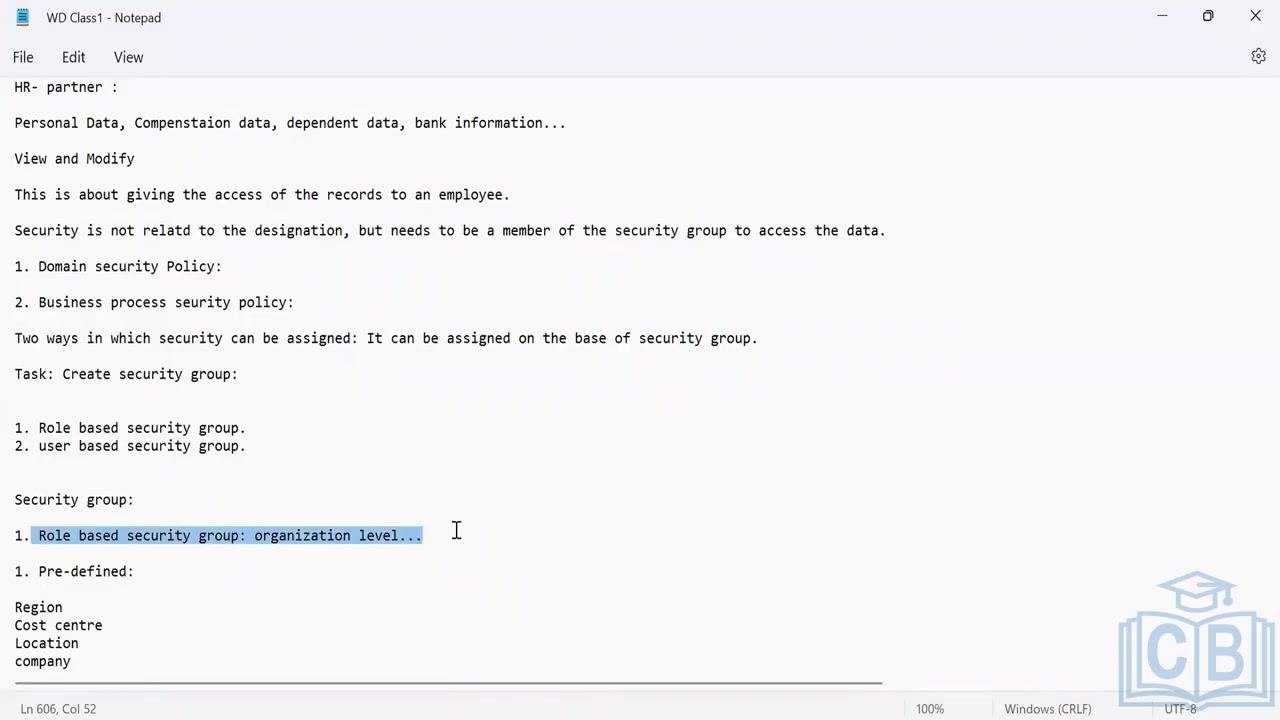
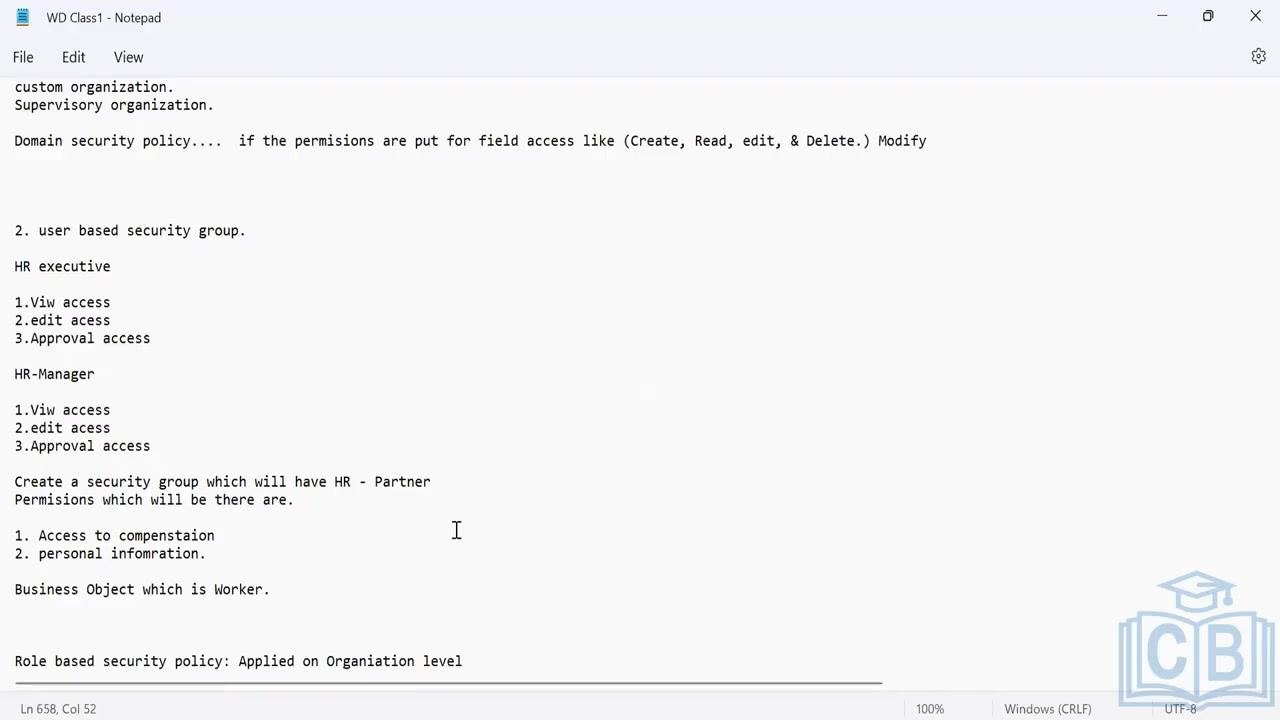
- Role-based security group: Used by everyone in a particular role. Permissions are granted based on job duties and are limited to what is required for the role. Permissions that are not required for the job duties cannot be assigned. Role-based security groups operate at the organization level.
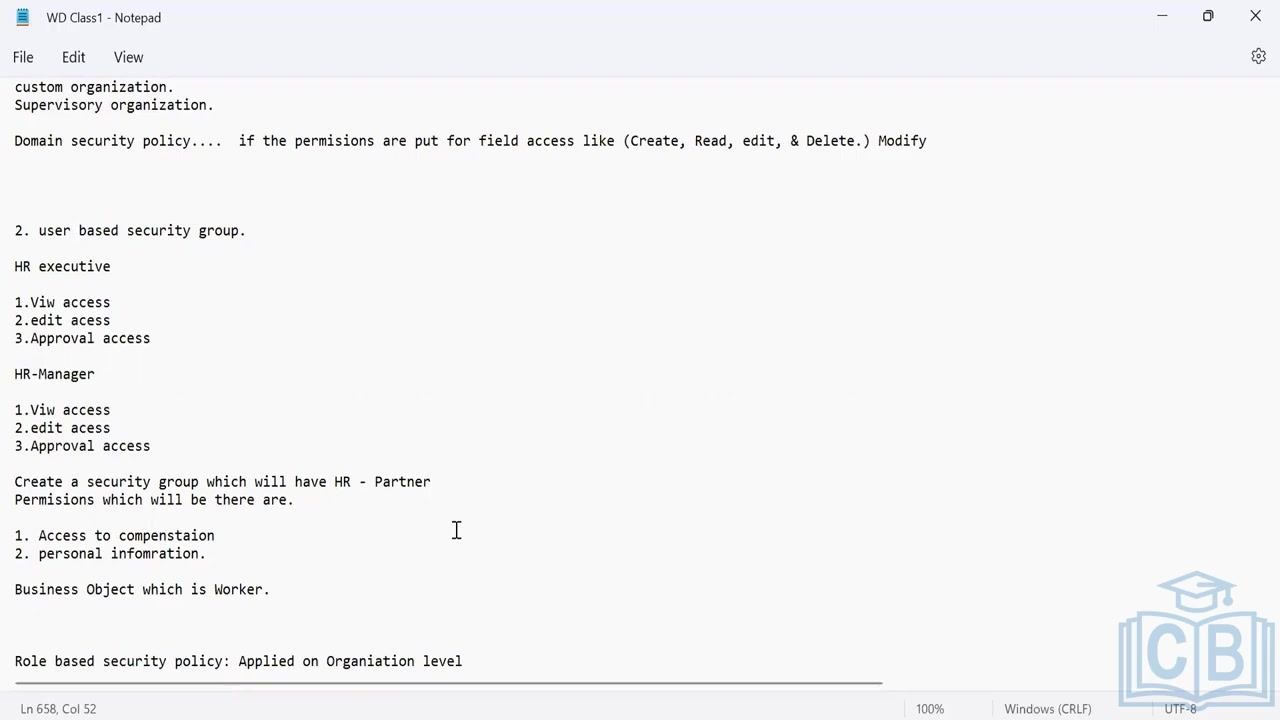
- User-based security group: Assigned to specific individuals, such as HR Executives or HR Managers.
Organizations in Workday can be predefined and include Region, Cost Centre, Location, and Company.
Step 2: Create a role-based security group at the organization level
Assign role-based security groups according to the organizational structure that fits the role:
- If creating a role for an account, assign permissions only for the security group "call center."
- If creating a role for HR, assign permissions for the "supervisory" group.
- If creating a role for the administration department, assign permissions for the "company" group.
Role-based security groups apply only at the organization level and use pre-defined categories such as Region, Cost Centre, Location, and Company.
Step 3: Create a user-based security group
For user-based security groups, assign access to specific users such as HR Executives or HR Managers, and define access levels for each:
- View Access
- Edit Access
- Approval Access
User-based security groups are exclusive to the individuals they are assigned to and cannot be transferred or reassigned arbitrarily. They can also be integrated with roles as needed, but their assignment remains user-specific.
Step 4: Create a security group for HR-Partner with the required permissions
For an HR-Partner role, create a security group with the following permissions:
- Access to compensation data
- Access to personal information
The relevant business object for these permissions is "Worker." Remember that access to this data depends on group membership, not job designation, and that access is governed by the two main policies: the Domain Security Policy and the Business Process Security Policy.
Step 5: Create the role and assign it to the security group
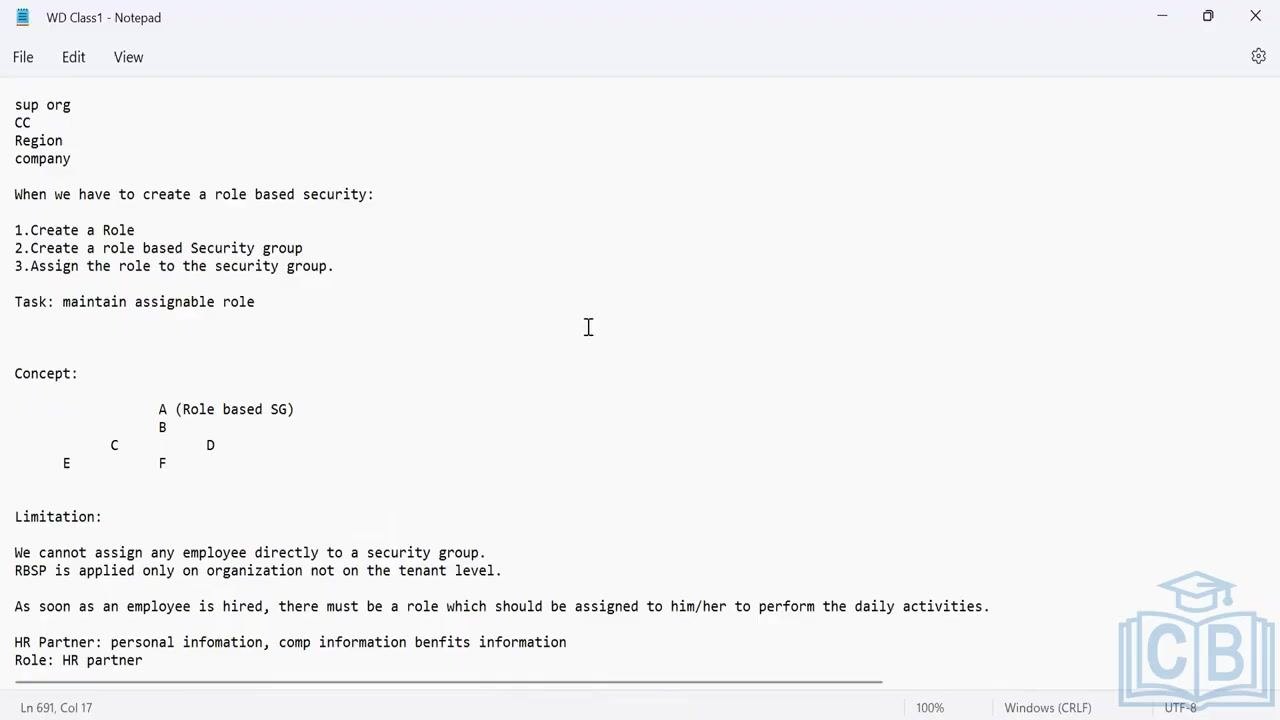
Before you can finish setting up a role-based security group, you must complete the role creation process. The required sequence is:
- Create a Role
- Create a role-based Security group
- Assign the role to the security group
Keep the following limitations in mind:
- Employees cannot be assigned directly to a security group; assignment is only possible at the organization level.
- Role-Based Security Policies (RBSP) are applied only at the organization level, not at the tenant level.
- As soon as an employee is hired, a role must be assigned to them to enable daily activities.
For example, an HR Partner role includes access to personal information, compensation information, and benefits information — but the role must be assigned to the employee before they can access these data types.
Additional considerations
Keep the following points in mind as you manage security groups beyond the initial setup:
- Security groups operating at the tenant level have more permissions than any other user in the tenant.
- Assign system administration roles only to designated users, not to general users or executives. For example, the CEO is not responsible for configuring Workday, so admin permissions should not be assigned to the CEO.
- Domain security policies set permissions for field access (Create, Read, Edit, Delete) as required, while user-based security groups handle permissions not covered by domain security policies. There is no separate policy for user-based security groups — access is managed directly through group membership.
Summary
The table below recaps how the two main security mechanisms differ:
| Security Type | Assignment Level | Example Use Case |
|---|---|---|
| Domain Security Policy | Data field/Domain level | Data access (CRUD) |
| User-Based Security Group | Individual user | HR Executive, HR Manager access |
By following these steps, you can create a security group in Workday that correctly reflects your organization's structure and access requirements. Remember that data security is managed through the Domain Security Policy, action security is managed through the Business Process Security Policy, and access to records is ultimately granted by membership in the appropriate security group — whether role-based (at the organization level) or user-based (assigned to specific individuals). Always create the role first, then create the security group, and finally assign the role to the group before granting employee access.

Generation details: cost, quality tiers
Docsie billed 4,500 credits ($3.15) to analyze this 9-minute video at standard quality. The rewrite, template fill and Word/PDF exports were included. The same video at each quality tier:
| Quality | Frames sampled | Credits | Approx. cost |
|---|---|---|---|
| Draft | every 16-30 s | 2,250 | $1.57 |
| Standard (this guide) | every 8-15 s | 4,500 | $3.15 |
| Detailed | every 4-7 s | 9,000 | $6.30 |
| Ultra | every 1-3 s | 18,000 | $12.60 |
Credits priced at $0.70 per 1,000; plans include a monthly allowance. Enterprise customers on on-premise or bring-your-own-model deployments run this on their own inference and pay no per-video credits.
Generated by Docsie Video-to-Docs on 2026-09-14 from a 8-minute video. Screenshots are frames from the source video and belong to their creator, CyberBrainer, whose original is embedded above. If you own this video and want the guide removed or credited differently, contact us and we will act within one business day.