
How to Set Up a Conditional Access Policy in Microsoft 365
Conditional Access lets you enforce access requirements whenever specific conditions occur during sign-in — for example, requiring multifactor authentication (MFA) when a user connects from outside the company network, or requiring a compliant device for members of a specific group. This guide walks you through how to set up a conditional access policy in Microsoft Entra ID that requires MFA for all users, and shows you how to test that the policy is working as expected.
Video: Setup Conditional Access Policy on Entra ID (Microsoft Azure) by Tim Kleen (2024). All credit for the demonstration goes to the creator; watch the original on YouTube. The written guide below was generated from this video by Docsie. Creator? Request a change or removal.
Conditional Access lets you enforce access requirements whenever specific conditions occur during sign-in — for example, requiring multifactor authentication (MFA) when a user connects from outside the company network, or requiring a compliant device for members of a specific group. This guide walks you through how to set up a conditional access policy in Microsoft Entra ID that requires MFA for all users, and shows you how to test that the policy is working as expected.
Prerequisites
- Administrator access to the Microsoft Entra admin center.
- A test user account to verify sign-in behavior before and after the policy is enforced (this guide uses the example account jwick@timkleen.com).
- An incognito or private browser window, so test sign-ins don't interfere with your existing admin session.
Understanding conditional access
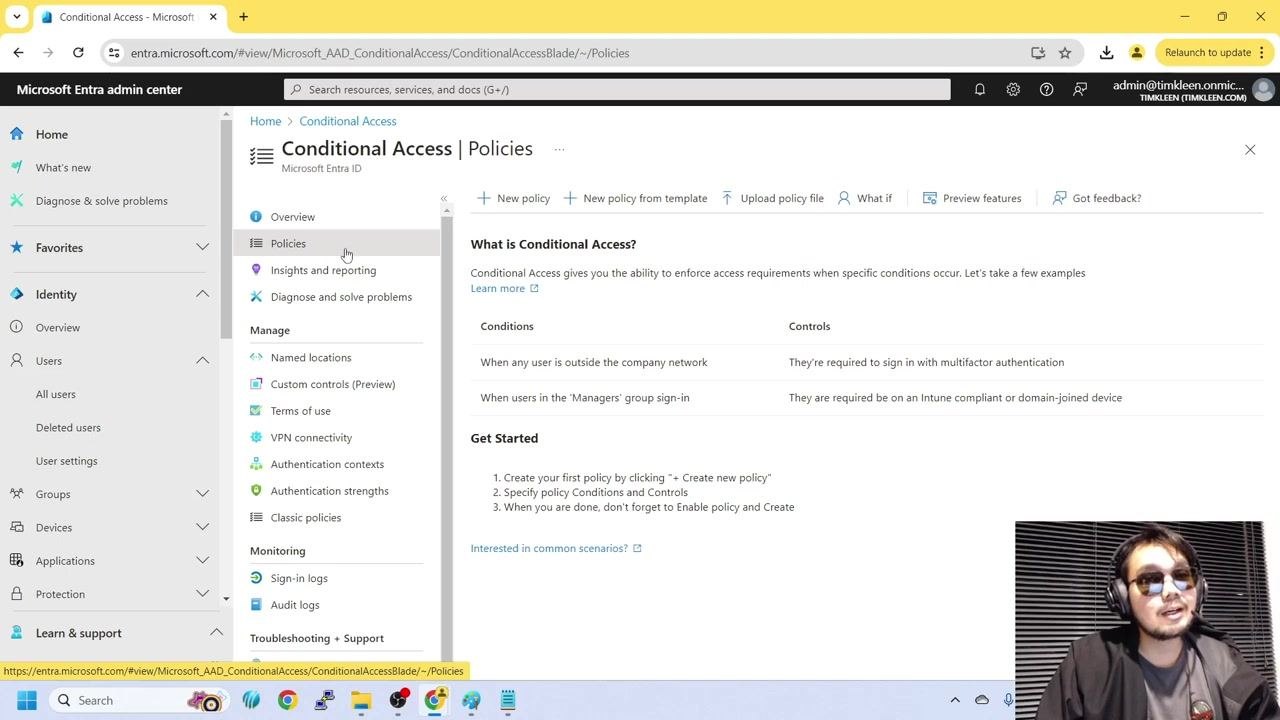
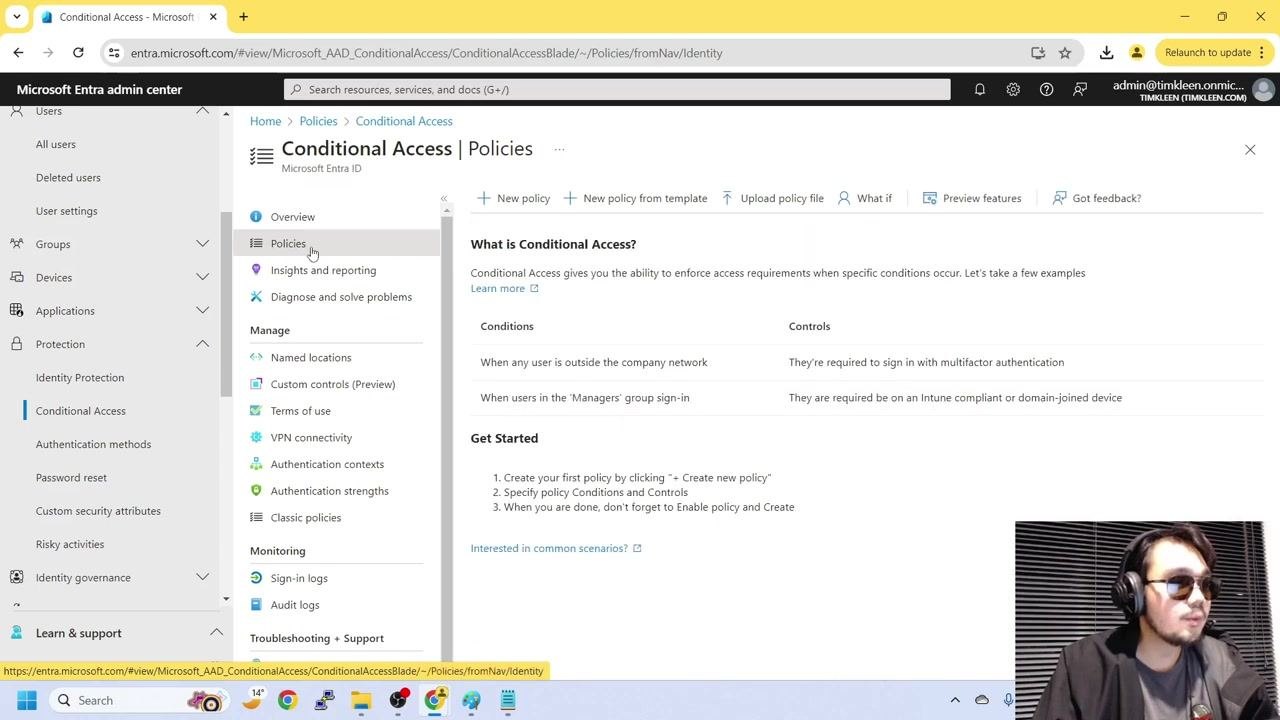
Before creating a policy, it helps to review how Conditional Access works. The Microsoft Entra admin center provides a "What is Conditional Access?" overview that explains the concept along with example conditions and controls, such as requiring MFA for users outside the company network or requiring a compliant device for members of the Managers group.
At a high level, setting up a policy involves three steps: click + Create new policy, specify the policy's conditions and controls, then enable the policy and click Create.
Testing sign-in before enforcing a policy
Before enforcing MFA, it's useful to confirm how a user signs in when no policy is active yet.
-
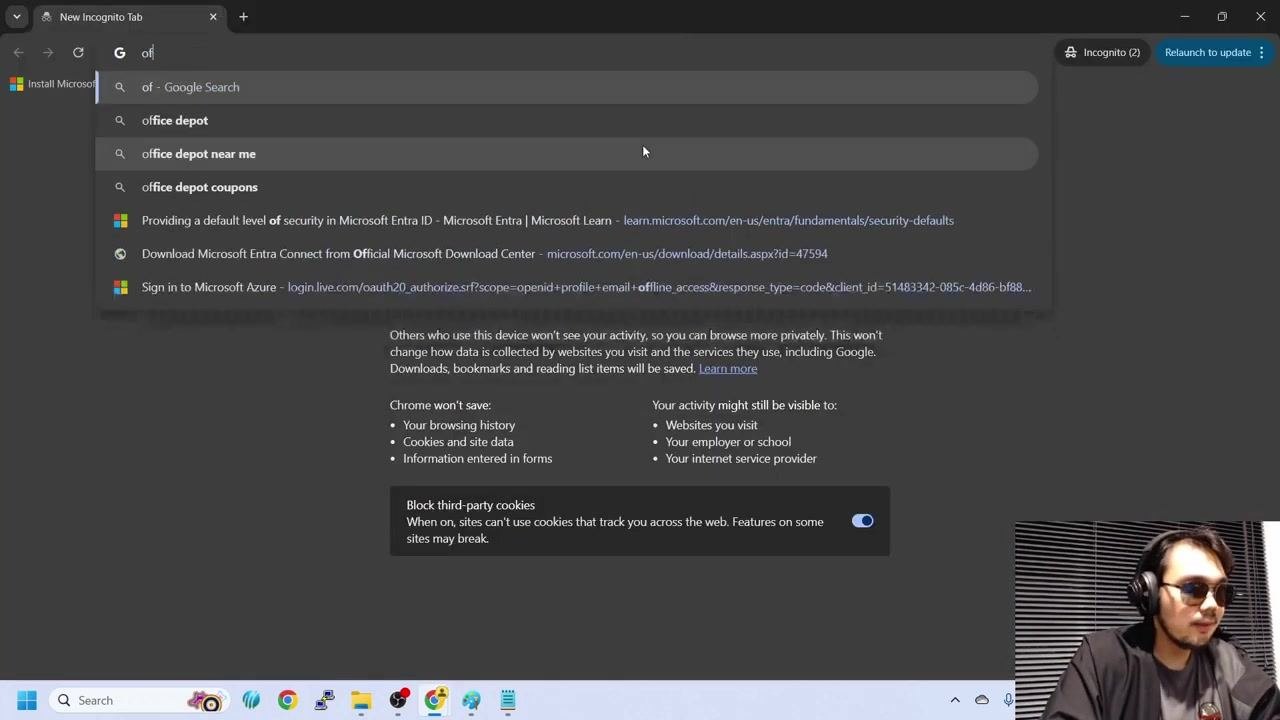
Open an incognito browser window to simulate a fresh login session, and navigate to office.com.
-
Sign in with the test account's username and password. If prompted, update the password on the Microsoft login page and confirm the new password.
-
If you see a prompt to set up the Microsoft Authenticator app, note that you have a grace period — the message reads "You have 14 days until this is required." Select Ask later to skip MFA setup for now.
- Confirm that the sign-in succeeds and the Microsoft 365 home page loads, displaying "Welcome to Microsoft 365" along with options to Create new or Explore apps. This confirms the user can currently access resources without being required to complete MFA.
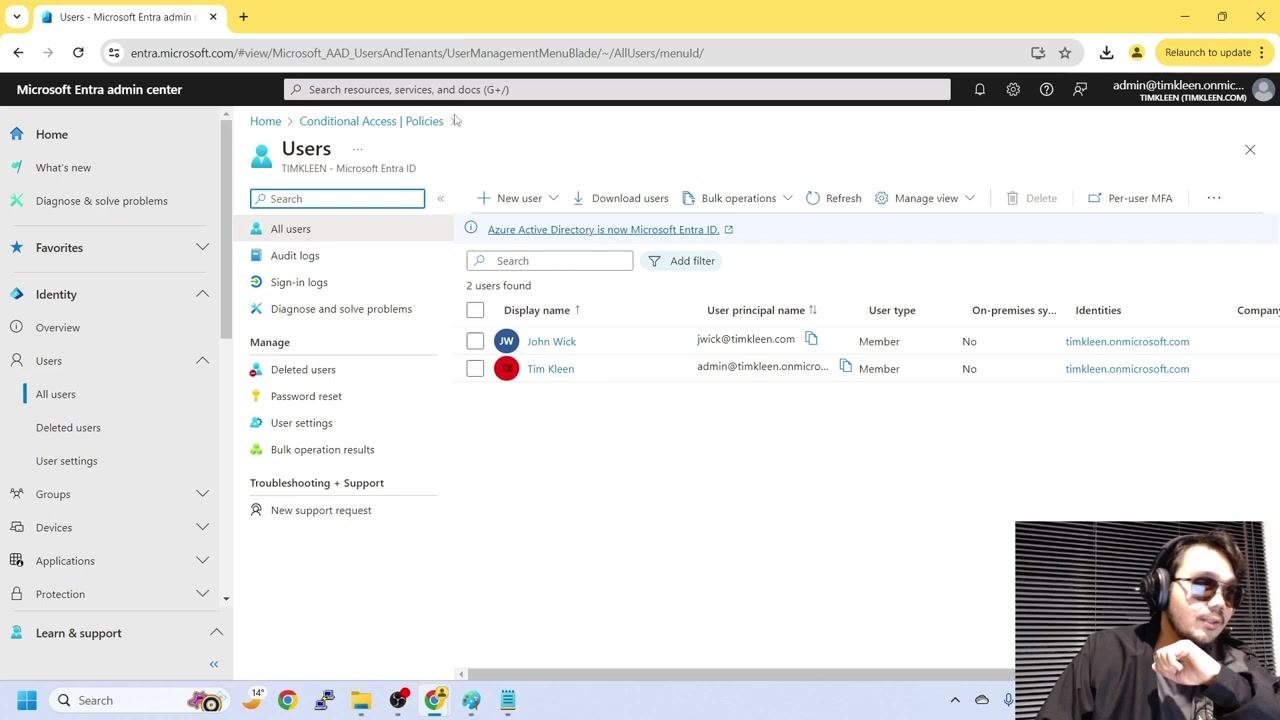
Locating conditional access in the Microsoft Entra admin center
- Open the Microsoft Entra admin center in a new browser tab and use the search bar at the top of the page to type "conditional." Review the search results for Conditional Access options.
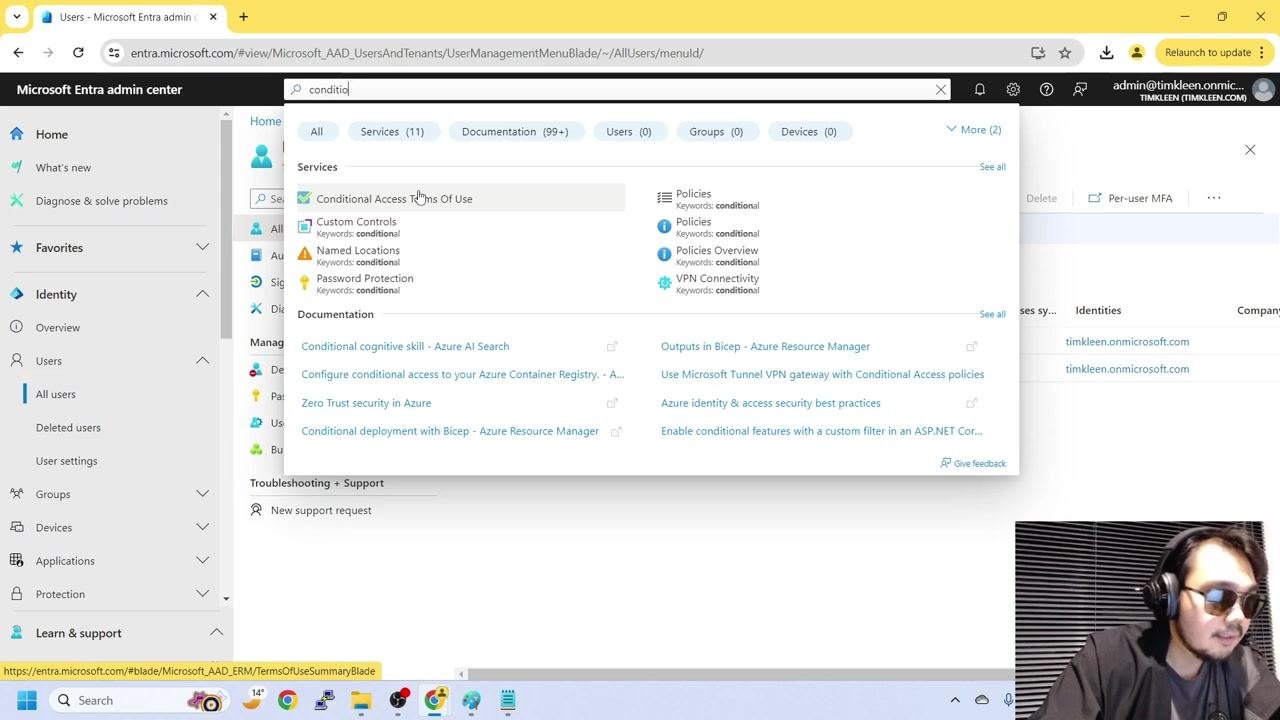
-
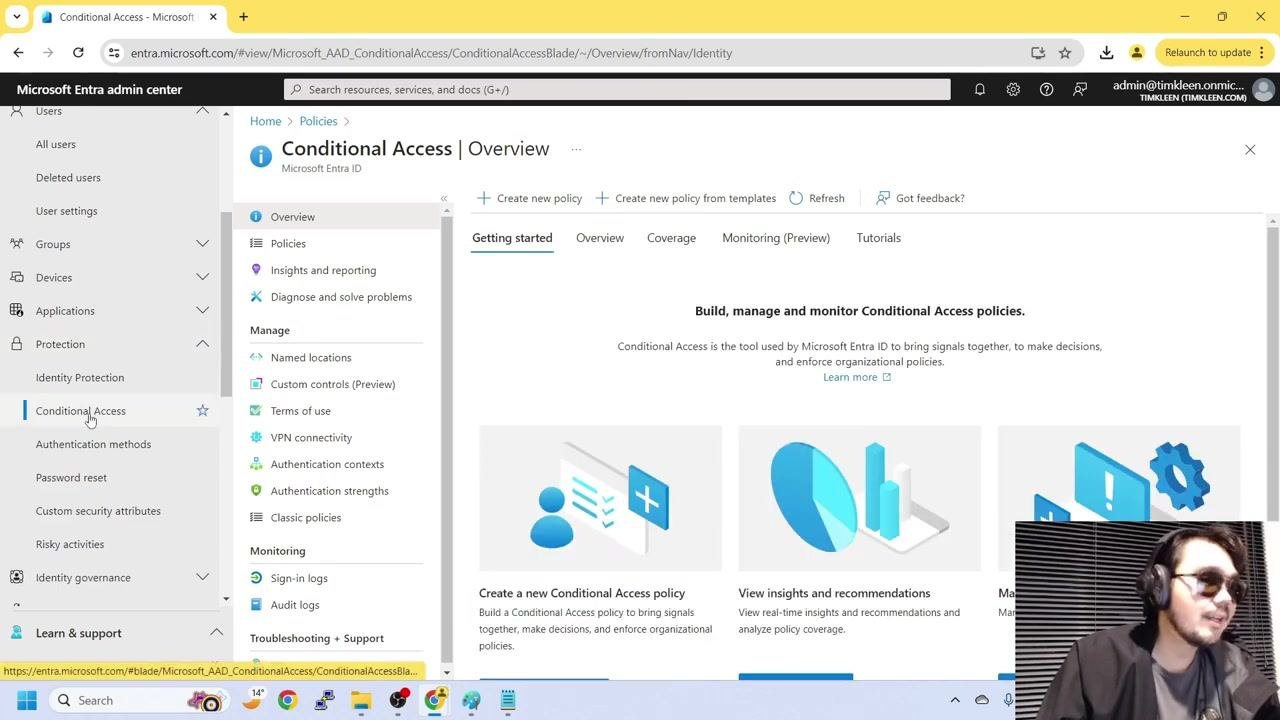
If Conditional Access doesn't appear in the search results, locate it manually in the left navigation pane under Protection, then click Conditional Access to open the overview page.
-
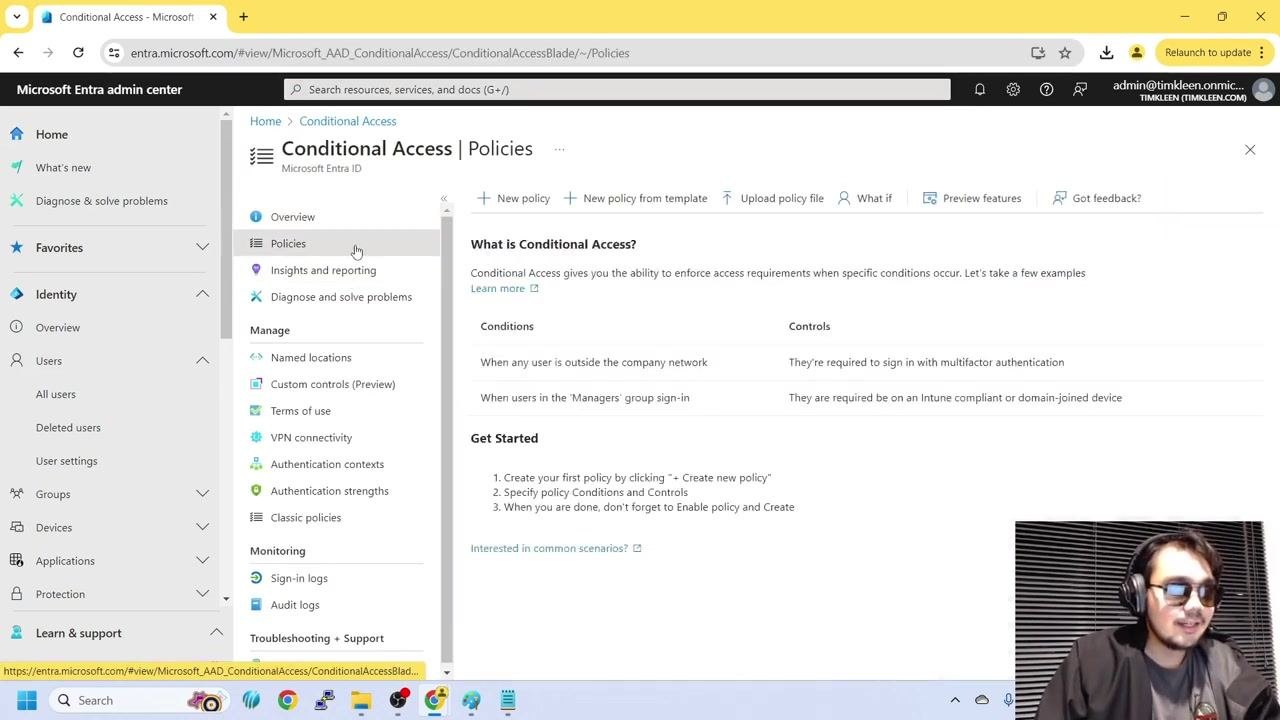
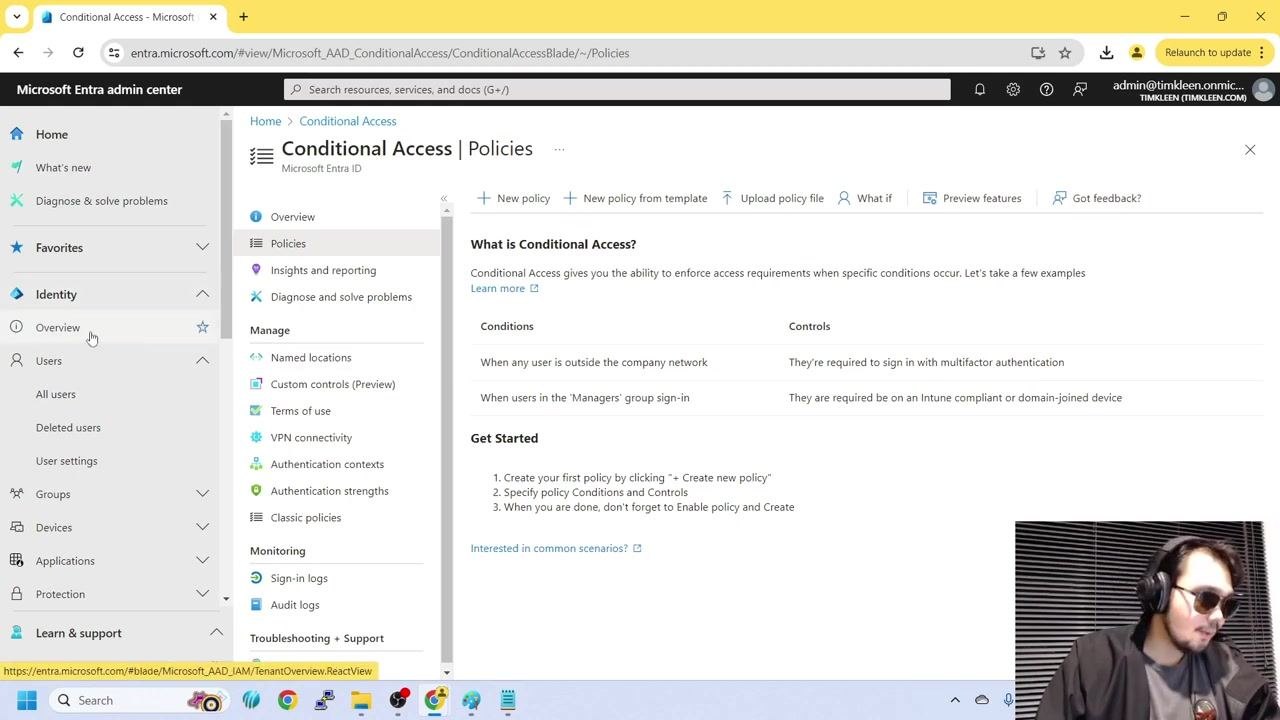
In the Conditional Access overview, click Policies in the left menu to view existing policies and the option to create a new one.
Creating a conditional access policy for all users
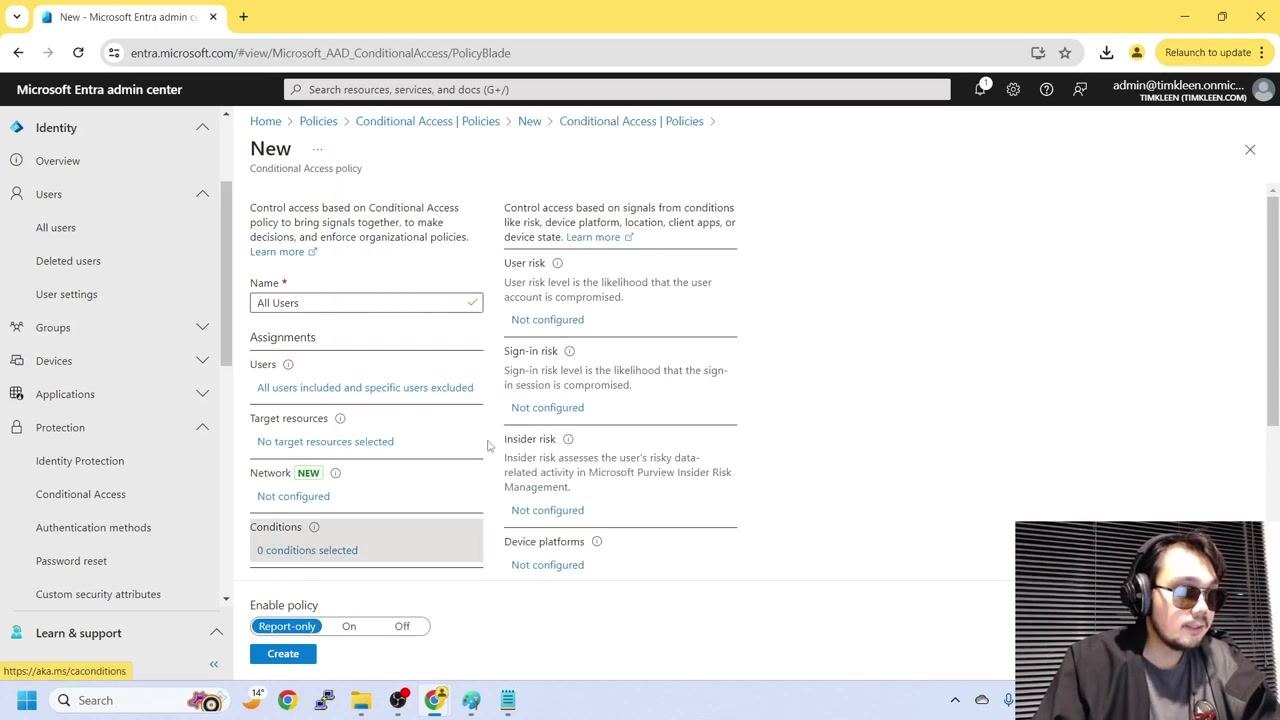
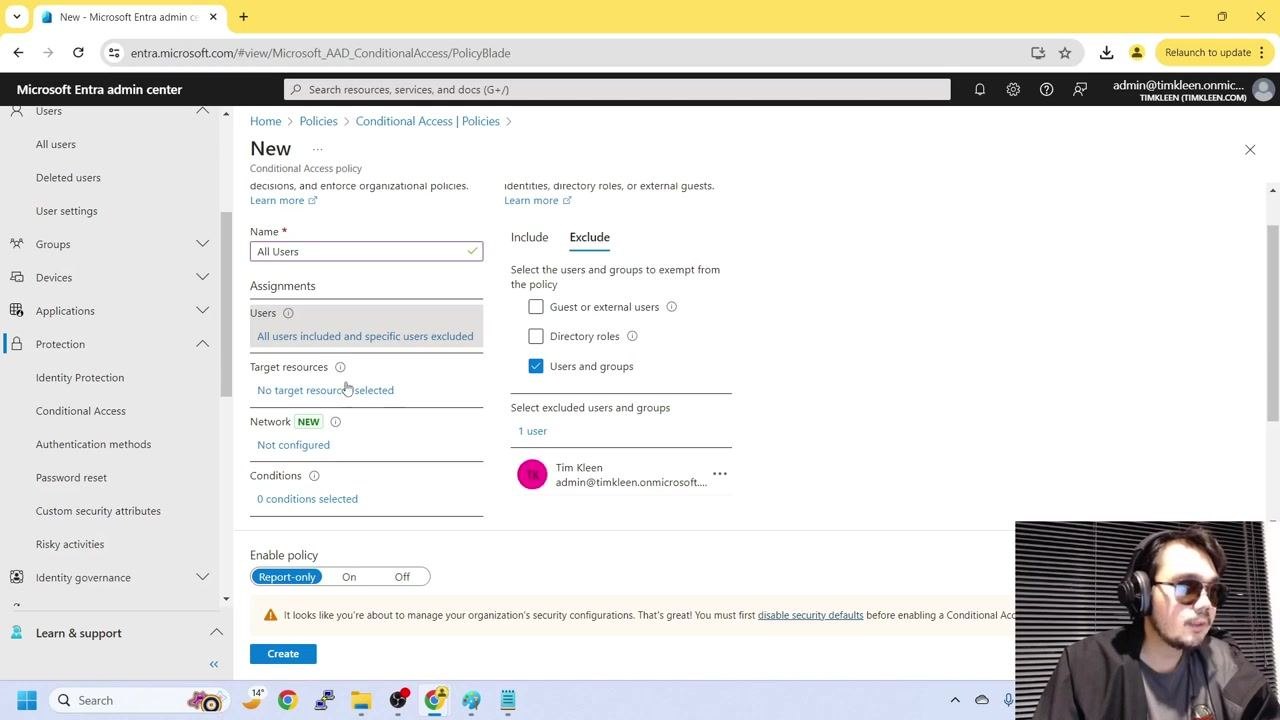
- Click + New policy at the top of the Policies page. On the "New Conditional Access policy" screen, enter All Users in the Name field. Under Assignments > Users, select All users. Click the Exclude tab, check Users and groups, and select your admin account to exclude it — this prevents accidental lockout of administrative access.
-
Under Target resources, choose All cloud apps so the policy applies to Microsoft 365, Teams, and other Azure cloud applications.
-
Leave Network as Not configured and Conditions as 0 conditions selected unless you want to restrict the policy by network location or add extra conditions at this stage.
-
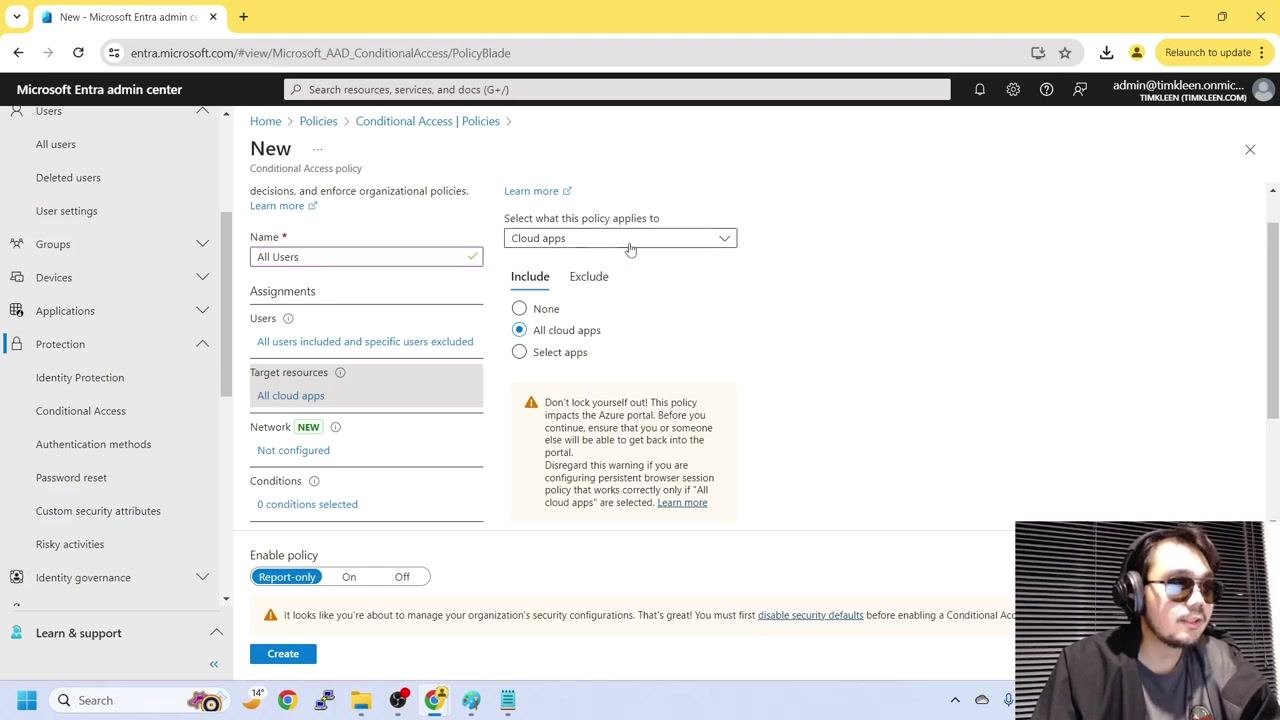
Review your progress so far: the policy name is set to All Users, all users are included with the admin account excluded, All cloud apps is selected as the target resource, and the policy is currently in Report-only mode. Report-only lets you test the policy's impact before enforcing it.
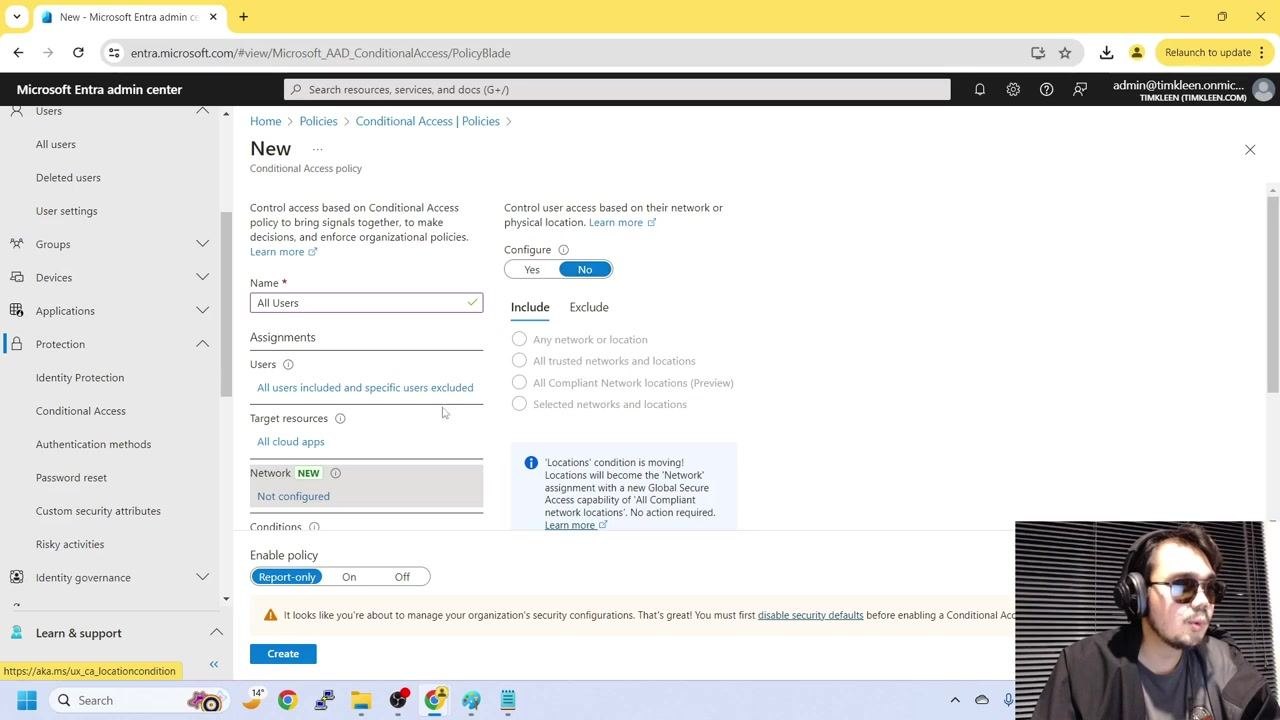
Configuring grant controls and enabling the policy
-
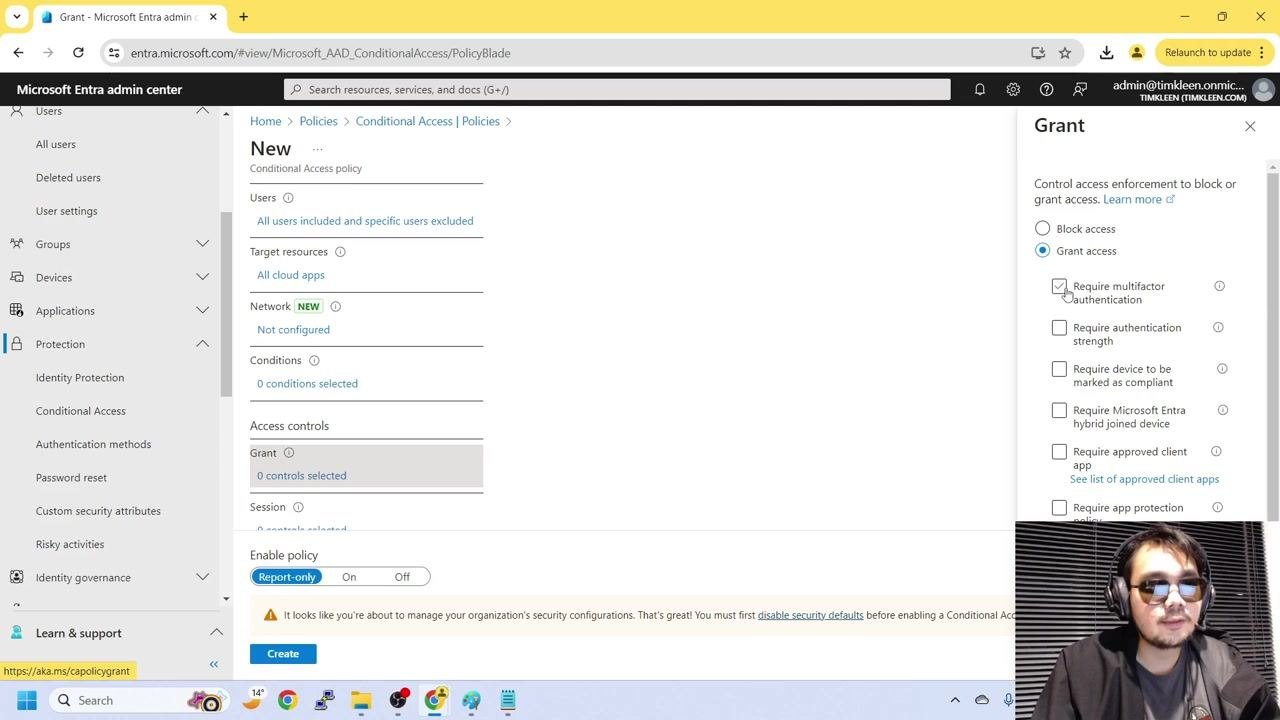
In the Access controls section, click Grant, select Grant access, and check Require multifactor authentication. Avoid selecting conflicting options, such as "Require authentication strength," alongside this control.
-
In the Enable policy section at the bottom, select On to activate the policy immediately, or choose Report-only if you want to test it first without blocking or granting access.
-
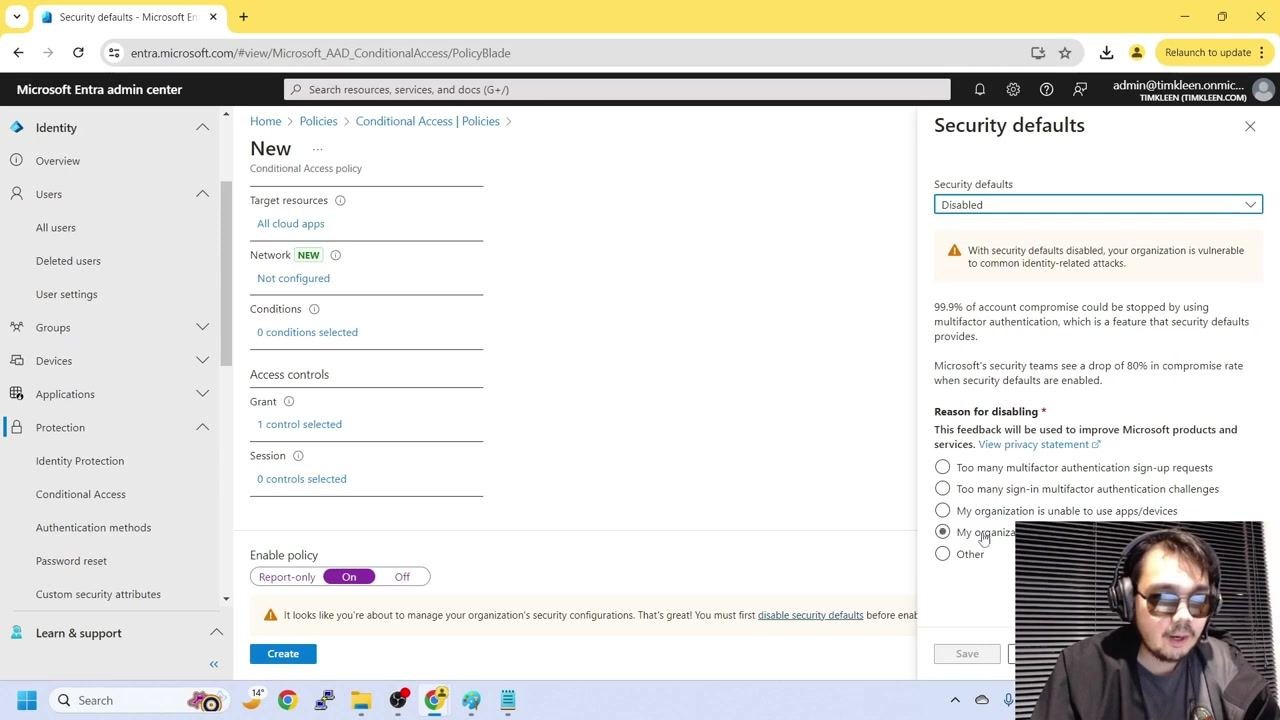
If you see a warning that says "You must first disable security defaults before enabling a Conditional Access policy," click the disable security defaults link. In the Security defaults panel that appears, change the dropdown from Enabled to Disabled, select My organization is planning to use Conditional Access as the reason, and click Save.
-
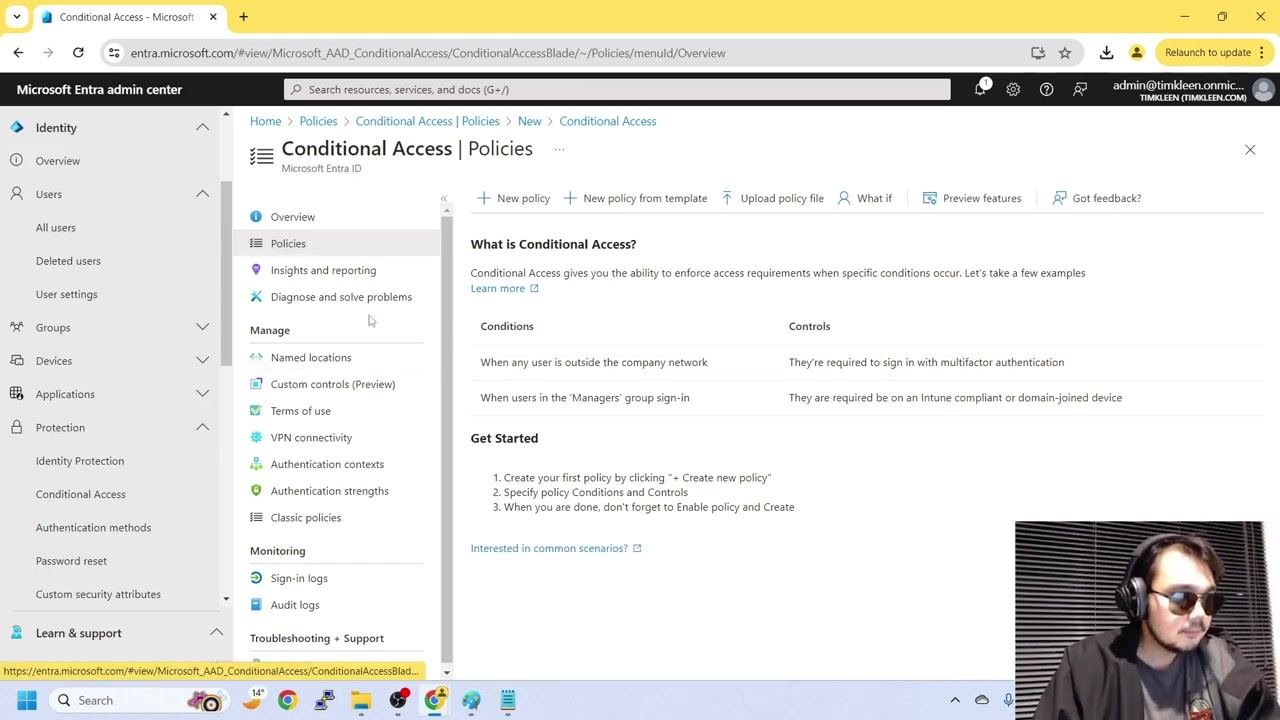
After disabling security defaults, return to the Conditional Access Policies page. If the policy wasn't created due to the earlier warning, you'll need to start the process again from the Policies overview.
-
If prompted, repeat the configuration: name the policy All Users, assign all users while excluding the admin account, set target resources to All cloud apps, and configure the grant controls again.
-
Before finalizing, confirm the full configuration on the "New Conditional Access policy" screen: Name set to All Users, Assignments > Users set to "All users included and specific users excluded," Network not configured, Conditions showing 0 selected, and Enable policy currently set to Report-only. The left navigation confirms you're under Identity > Conditional Access > Policies.
Once these settings are confirmed, set Target resources to All cloud apps, configure Grant access with Require multifactor authentication checked, and switch Enable policy to On (or keep Report-only if you want to test first).
Testing the policy with a user sign-in
- Return to the "New Conditional Access policy" screen and confirm: Users is set to "All users included and specific users excluded," Target resources shows "All cloud apps," Network is "Not configured," Conditions shows "0 conditions selected," and Access controls > Grant has Grant access and Require multifactor authentication selected. Set Enable policy as desired, then click Create.
-
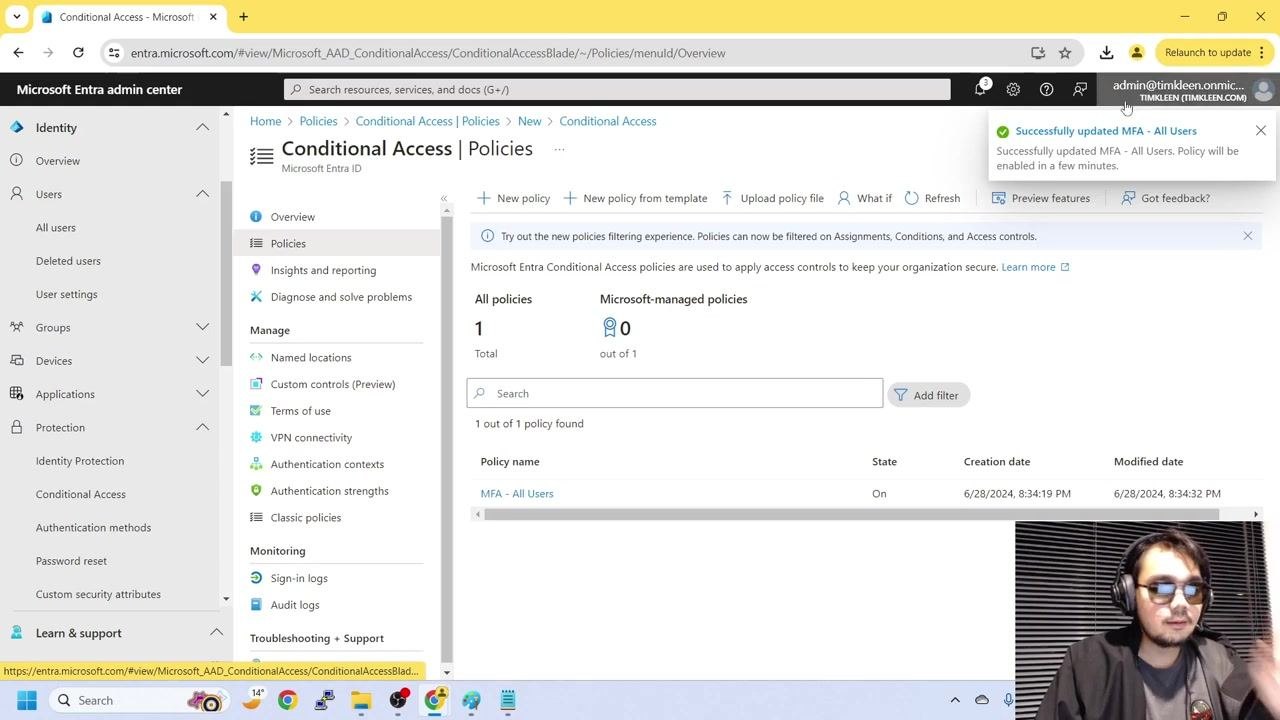
In the Name field, enter a descriptive name such as MFA - All Users, review the assignments and settings once more, and click Create. A notification confirms the policy was created.
-
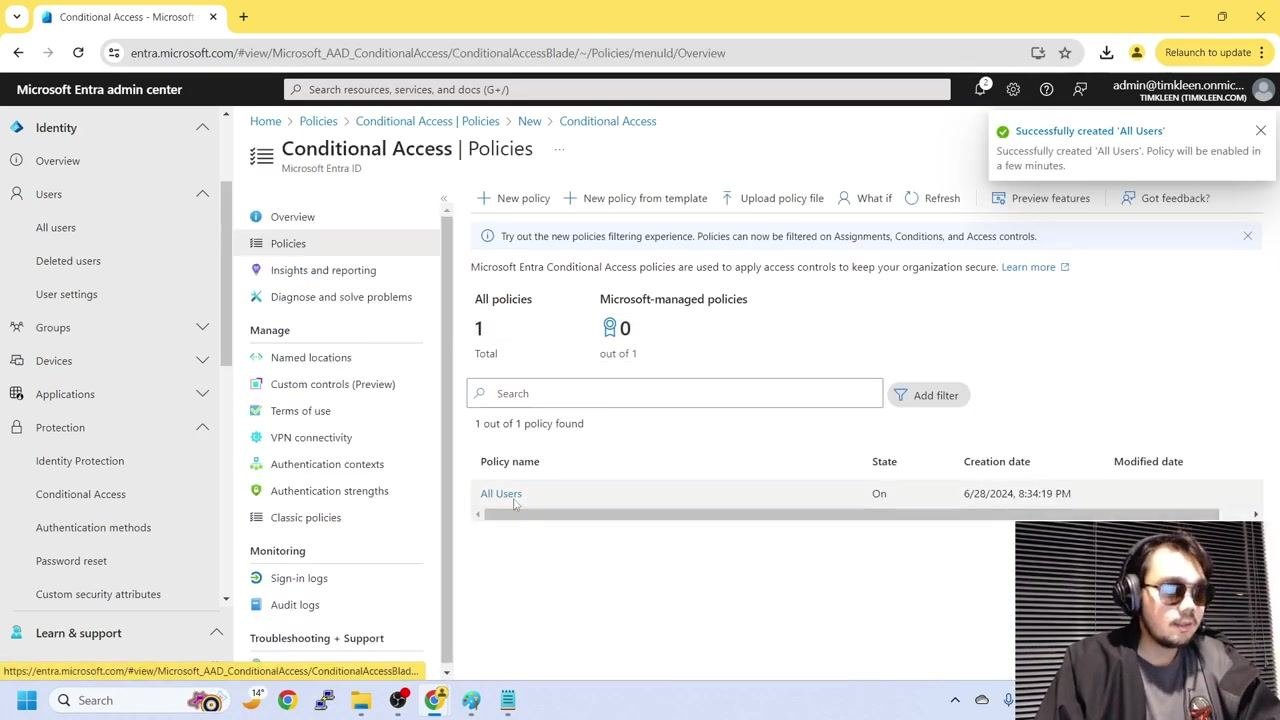
On the Policies overview page, confirm the new policy (for example, "MFA - All Users") appears in the list with its state set to On, and check for a confirmation message such as "Successfully created 'All Users'."
-
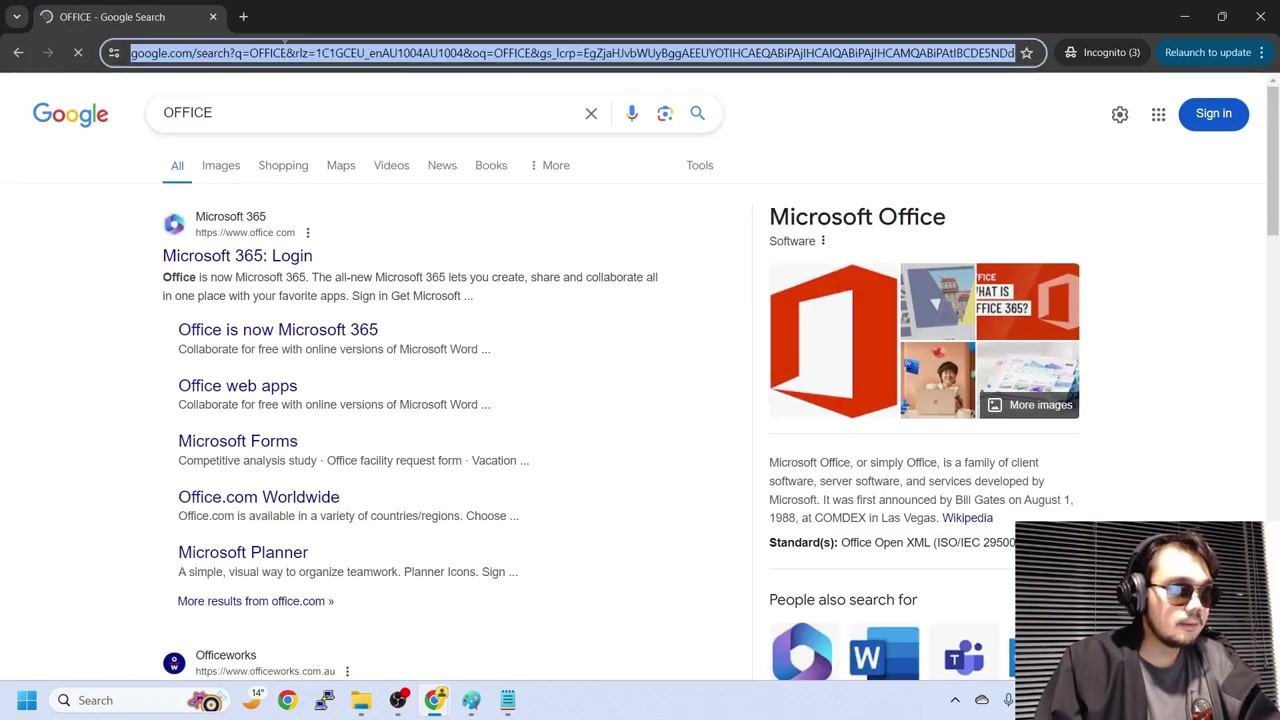
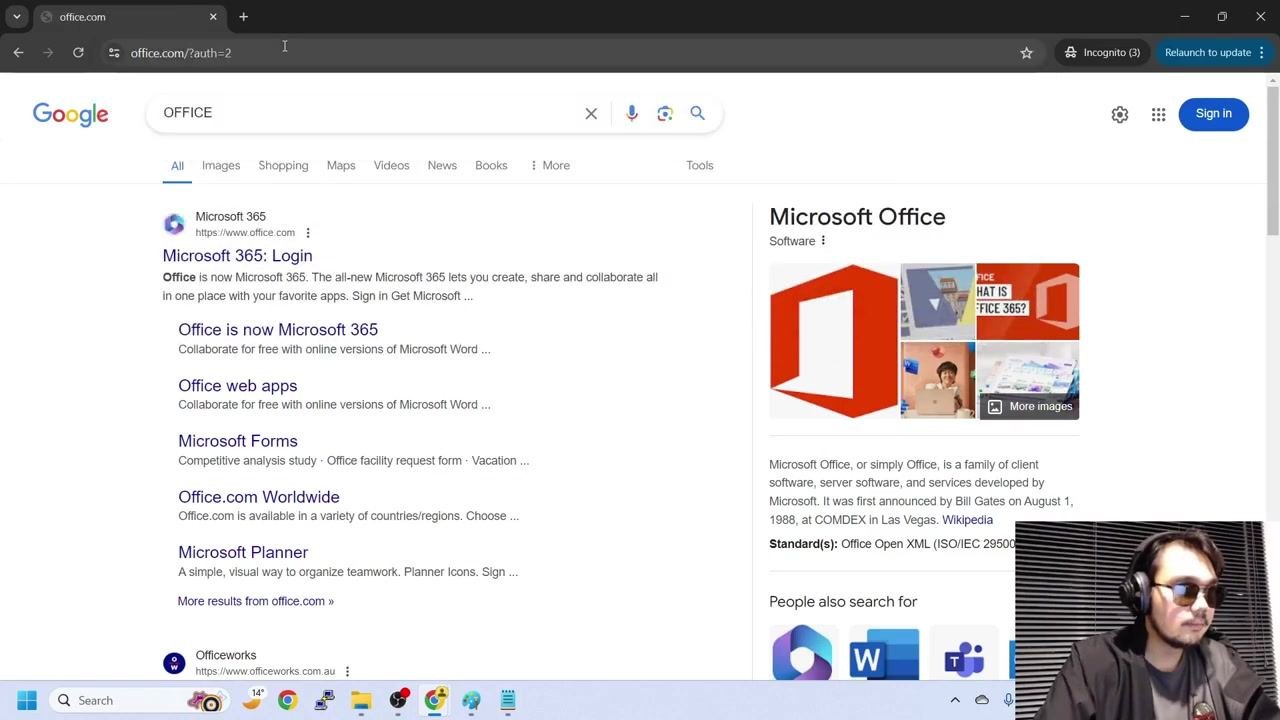
Open a browser, search for "OFFICE," and click the Microsoft 365 login link to make sure you're starting from a clean sign-in state.
-
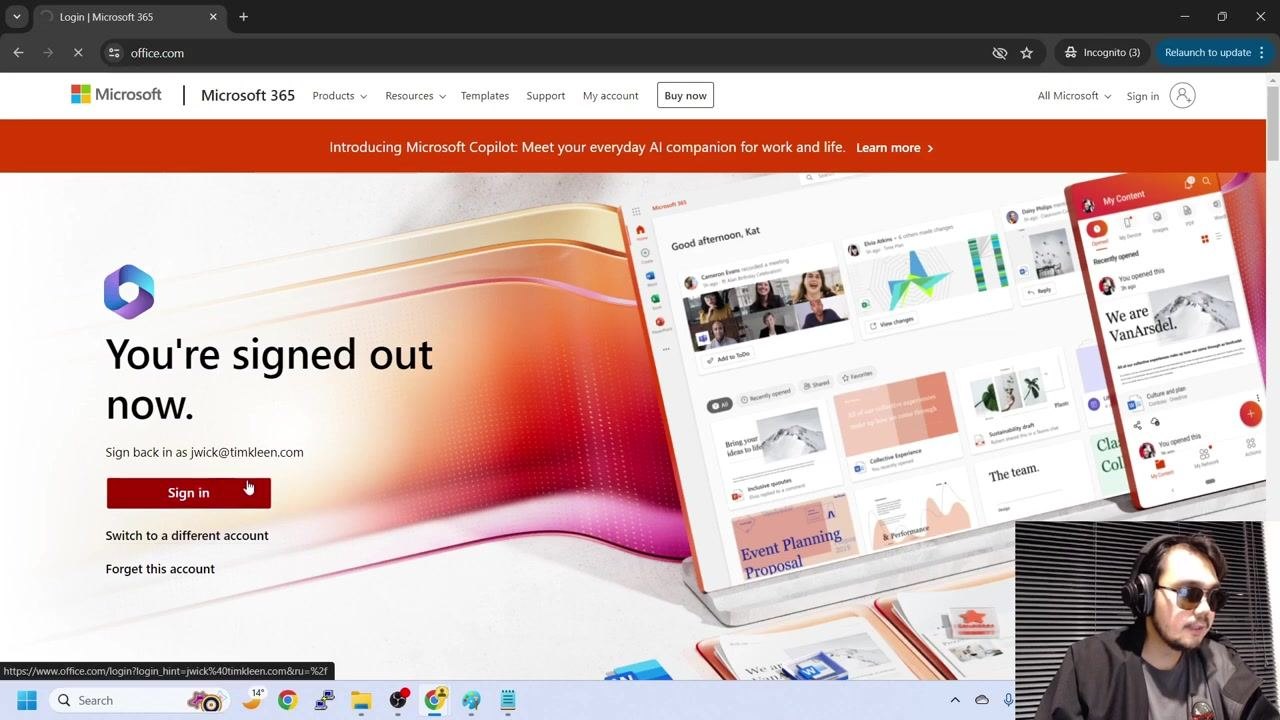
If the test account is already signed in, sign it out and confirm the "You're signed out now" message appears on the Microsoft 365 login page.
-
Click Sign in, enter the test user's email address if prompted, and click Sign in again to continue.
-
On the password screen, type the user's password and click Sign in.
-
Confirm that after the password is accepted, the system prompts the user to set up multifactor authentication. This confirms the Conditional Access policy is enforcing MFA as intended.
Completing MFA setup as the test user
- After entering the password, the login screen displays: "More information required. Your organization needs more information to keep your account secure." Click Next to proceed.
-
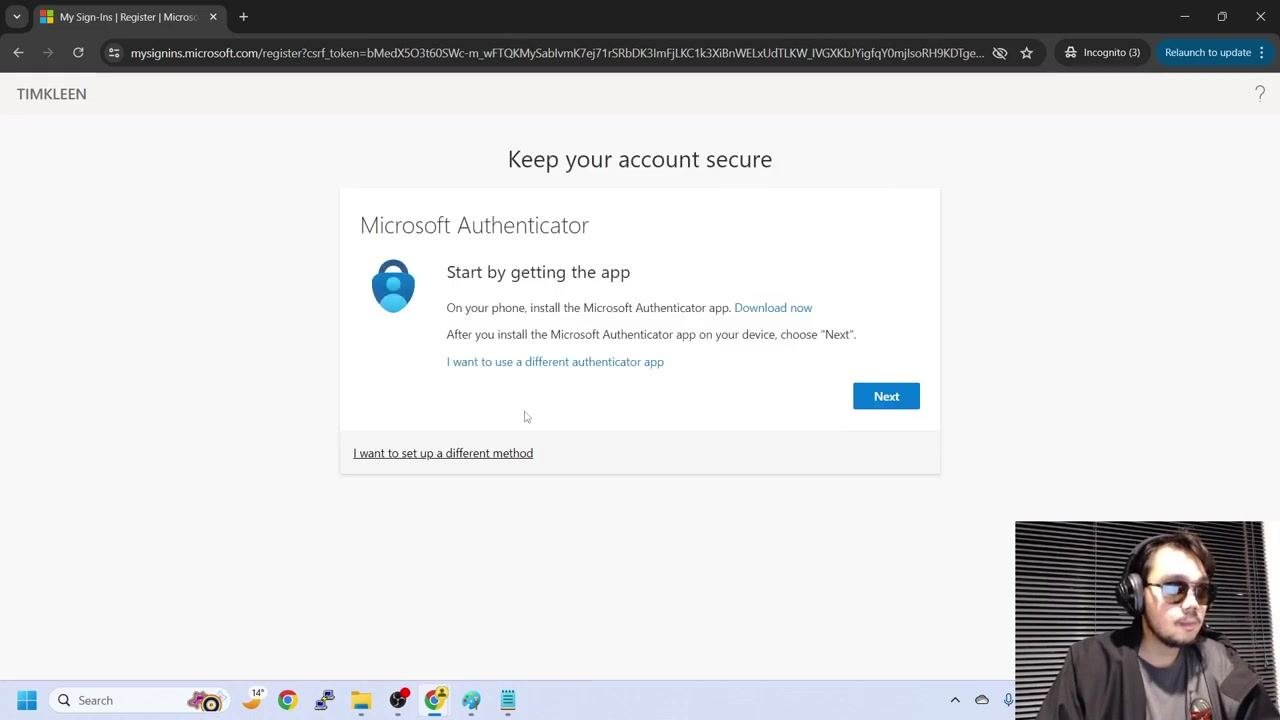
On the "Keep your account secure" page, the default option sets up the Microsoft Authenticator app: install the app on your phone, then choose Next. You can also select "I want to use a different authenticator app" or "I want to set up a different method."
-
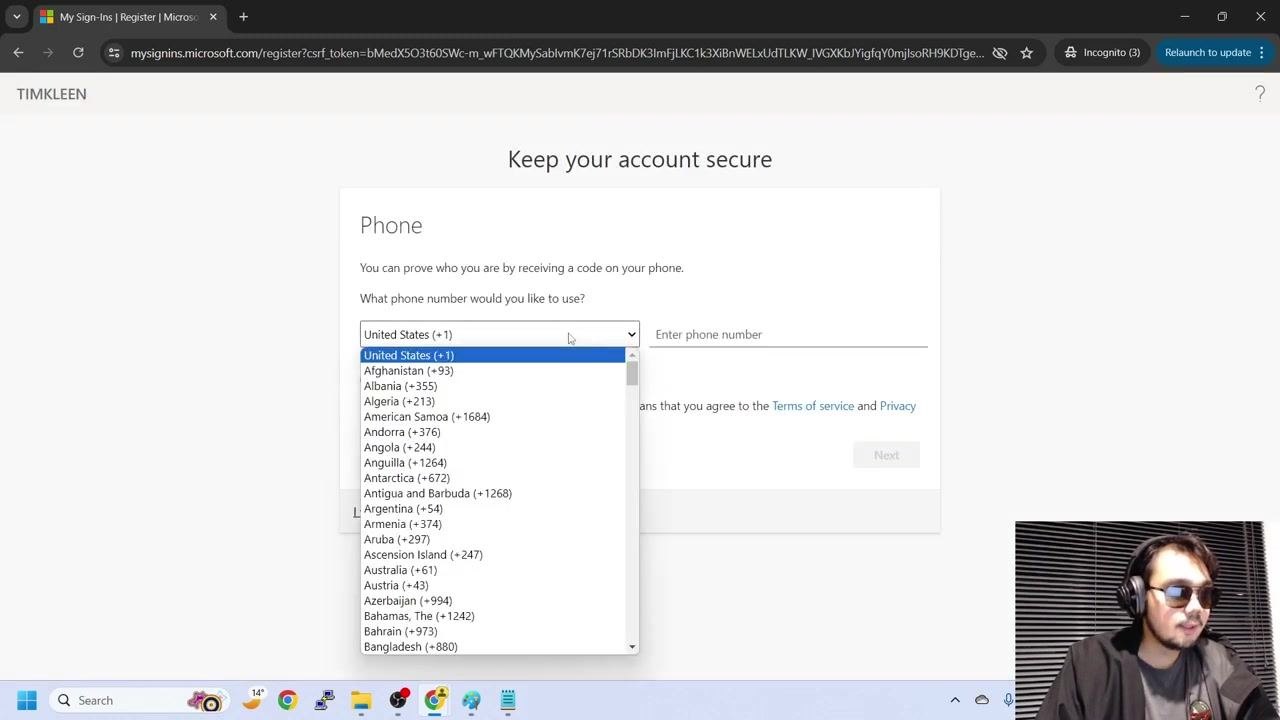
If you choose to set up a phone number instead, select your country from the dropdown (for example, United States (+1)), enter your phone number, agree to the Terms of Service and Privacy Policy if prompted, and click Next. This method sends a verification code to your phone.
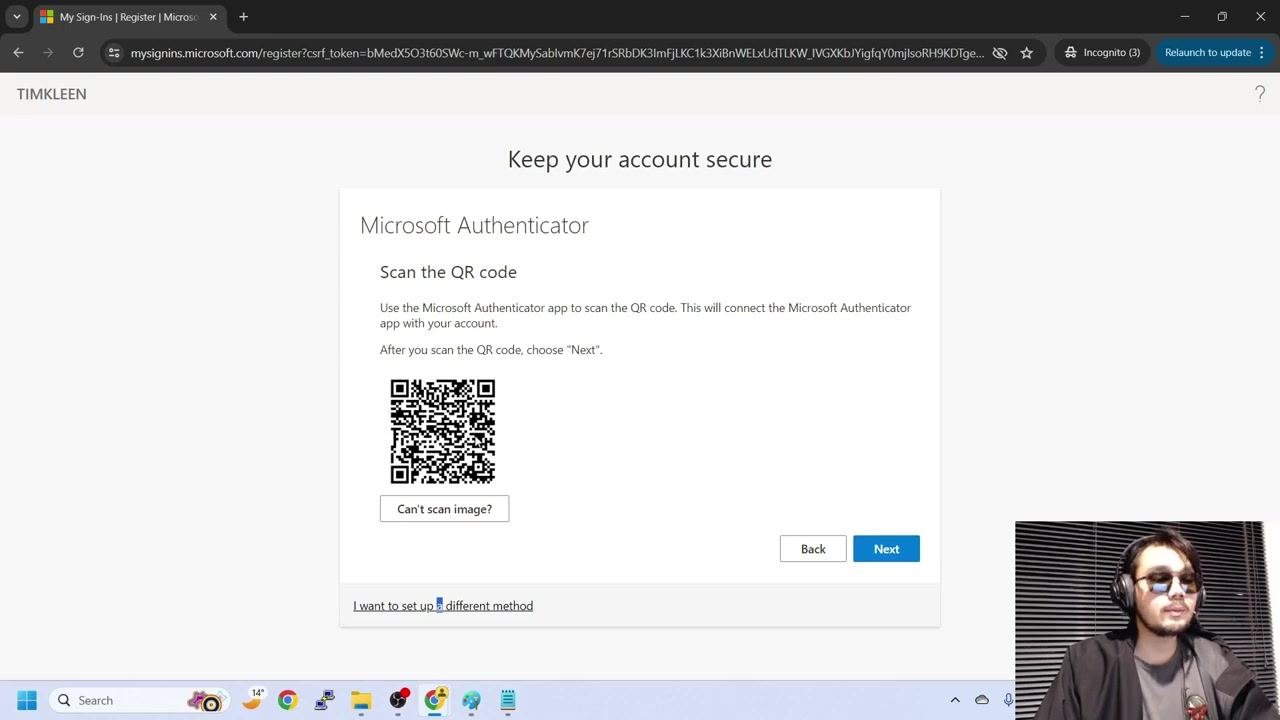
- If you proceed with Microsoft Authenticator, the "Scan the QR code" screen appears. Use the Authenticator app to scan the code shown on screen to connect it with your account, then choose Next. If you can't scan the code, click "Can't scan image?" for alternative setup options.
What's next
You've now created and tested a Conditional Access policy in Microsoft Entra ID that requires MFA for all users, with your admin account safely excluded to avoid lockout. The test sign-in confirmed that the policy correctly prompts users to complete MFA registration before they can access Microsoft 365 resources.
From here, consider reviewing the policy's report-only sign-in logs before switching it fully On for your production environment, and revisit the Conditions and Network settings if you need more targeted rules — such as requiring compliant devices for specific groups.
Generation details: cost, quality tiers
Docsie billed 4,000 credits ($2.80) to analyze this 8-minute video at standard quality. The rewrite, template fill and Word/PDF exports were included. The same video at each quality tier:
| Quality | Frames sampled | Credits | Approx. cost |
|---|---|---|---|
| Draft | every 16-30 s | 2,000 | $1.40 |
| Standard (this guide) | every 8-15 s | 4,000 | $2.80 |
| Detailed | every 4-7 s | 8,000 | $5.60 |
| Ultra | every 1-3 s | 16,000 | $11.20 |
Credits priced at $0.70 per 1,000; plans include a monthly allowance. Enterprise customers on on-premise or bring-your-own-model deployments run this on their own inference and pay no per-video credits.
Generated by Docsie Video-to-Docs on 2026-09-14 from a 7-minute video. Screenshots are frames from the source video and belong to their creator, Tim Kleen, whose original is embedded above. If you own this video and want the guide removed or credited differently, contact us and we will act within one business day.