
How to Write a Workplace Incident Report
Knowing how to write a workplace incident report is a core skill for security officers, since these reports may later be read by supervisors, police, and even juries. This guide walks through five easy steps for drafting a clear, factual report, followed by the actions you should take once the report is written. Use it as a reference the next time you need to document an incident on the job.
Video: Training Time With Terry - Write Incident Reports in Five Easy Steps by Prudential Security, Inc. (2018). All credit for the demonstration goes to the creator; watch the original on YouTube. The written guide below was generated from this video by Docsie. Creator? Request a change or removal.
Knowing how to write a workplace incident report is a core skill for security officers, since these reports may later be read by supervisors, police, and even juries. This guide walks through five easy steps for drafting a clear, factual report, followed by the actions you should take once the report is written. Use it as a reference the next time you need to document an incident on the job.
Incident Details
When you write a workplace incident report, your first job is to record the situation in language everyone can understand, then capture the core facts using the "5 W's": Who, What, When, Where, and Why.
Step 1: Use plain, everyday language
- Avoid fancy jargon or complicated police terminology in your incident report.
- Write in everyday English so your report is easily understood by a wide audience, including supervisors, police, and juries.
- The less jargon you use, the clearer and more accessible your report will be to all readers.

Step 2: Capture the 5 W's
- When? Record the date and time of the incident. Depending on the situation, include additional context such as weather, lighting, and other environmental conditions.
- Where? Specify the exact location where the incident took place, including addresses or details about nearby objects or buildings to be as precise as possible.
- Why? Only include a reason for the incident if you directly heard someone explain their actions. Do not speculate or guess about motives — stick to clear, indisputable facts.


- What: Describe the actions and events that occurred. Start from the beginning and document each event point by point, including as much detail as possible about how it unfolded.
- Incident type: Note what kind of incident occurred, based on the facts you gathered above, so the report clearly identifies the nature of the event.
People and Vehicles Involved
- Who? Identify all people involved in the incident.
- If you did not witness the event yourself, collect contact information and other relevant details from those who did.
- If names are unavailable, describe physical characteristics respectfully and avoid offensive language.
The source material does not address vehicle identification, injuries, or emergency services contacted; this section should also capture any vehicle IDs, injuries sustained, and emergency responders involved once that information is available.
Service Impact
The source material does not cover delays, missed trips, detours, or customer impact; this section should document any operational disruption caused by the incident and how customers or operations were affected.
Immediate Actions
The source material does not describe on-scene response actions such as medical care, supervisor notification, or securing the area; this section should record what was done immediately after the incident was discovered, including any police notification or customer transfer arrangements.
Evidence Collected
Once you've captured the core details, back them up with facts and physical evidence rather than opinions.
Step 3: Only include facts
- Be objective and do not give your opinion about who was at fault.
- Avoid speculation; only report what you saw with your eyes and heard with your ears.
- Including opinions or guesses will weaken your report — focus on clear, factual, and indisputable information.
Step 4: Take photos and videos on your phone
- If your phone has a camera, take as many photos and videos as you can at the scene.
- Photos and videos provide additional objective information to support your written report.
- Use mobile report apps (such as SilverTrek or Zenput) to complete incident reports on your smartphone, allowing you to include photos and videos directly in the report.

The source material does not mention CCTV footage, AVL data, radio logs, or maintenance inspection records; include any of these that apply, along with the operator's statement and witness contact details gathered under "Who."
Follow-Up Actions
Once the report is complete, follow these steps and tips to finalize and file it properly.
Step 5: Be professional
- Remember that many people may read your report, including supervisors, police, and possibly juries.
- Do not judge anyone in your report or use slang or rude words.
- Once you identify people in your report, refer to them as "Mr." or "Mrs." when mentioning them again.
- Maintain a respectful and professional tone throughout your report.

Proofread and correct your report
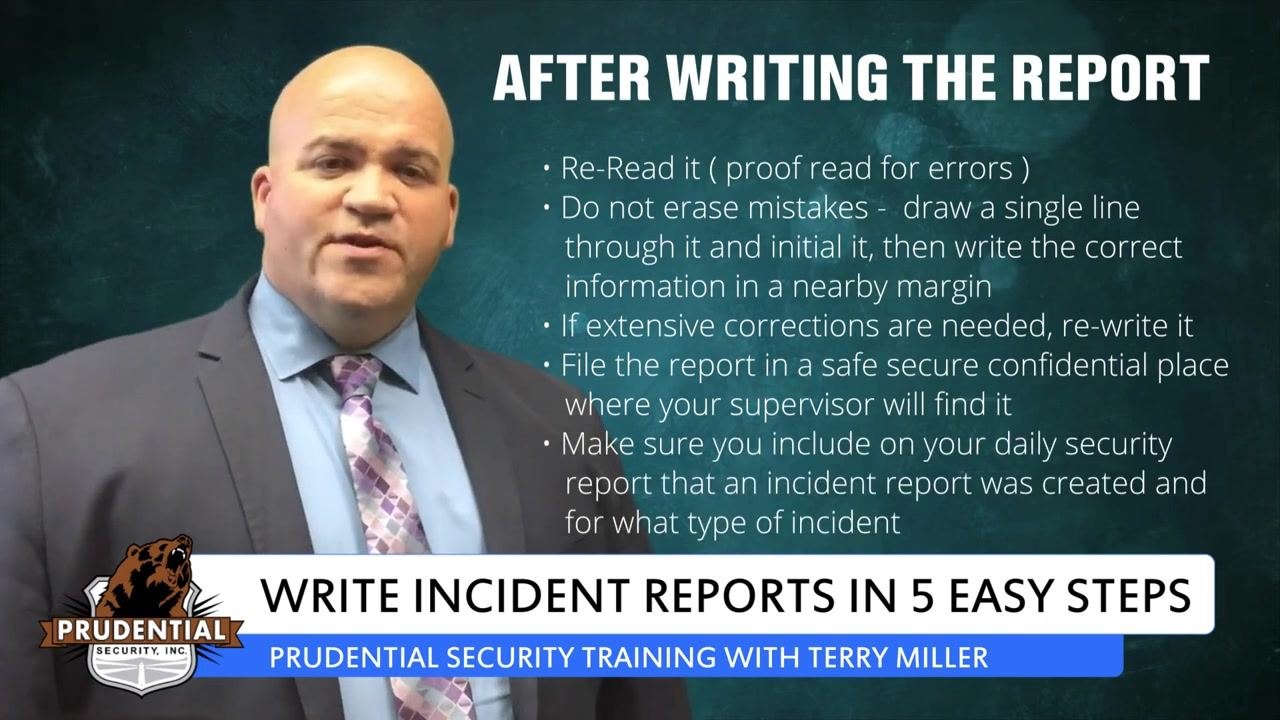
- Reread your report carefully to check for errors in spelling, grammar, or facts.
- If you find a mistake, do not erase it or use correction fluid.
- Draw a single line through the error, initial the correction, and write the correct information in a nearby margin.
- If extensive corrections are needed, rewrite the entire report for clarity and neatness.
File and document the report
- File the completed report in a safe, secure, and confidential location where your supervisor can easily find it.
- On your daily security report, note that an incident report was created and specify the type of incident.

Additional writing tips
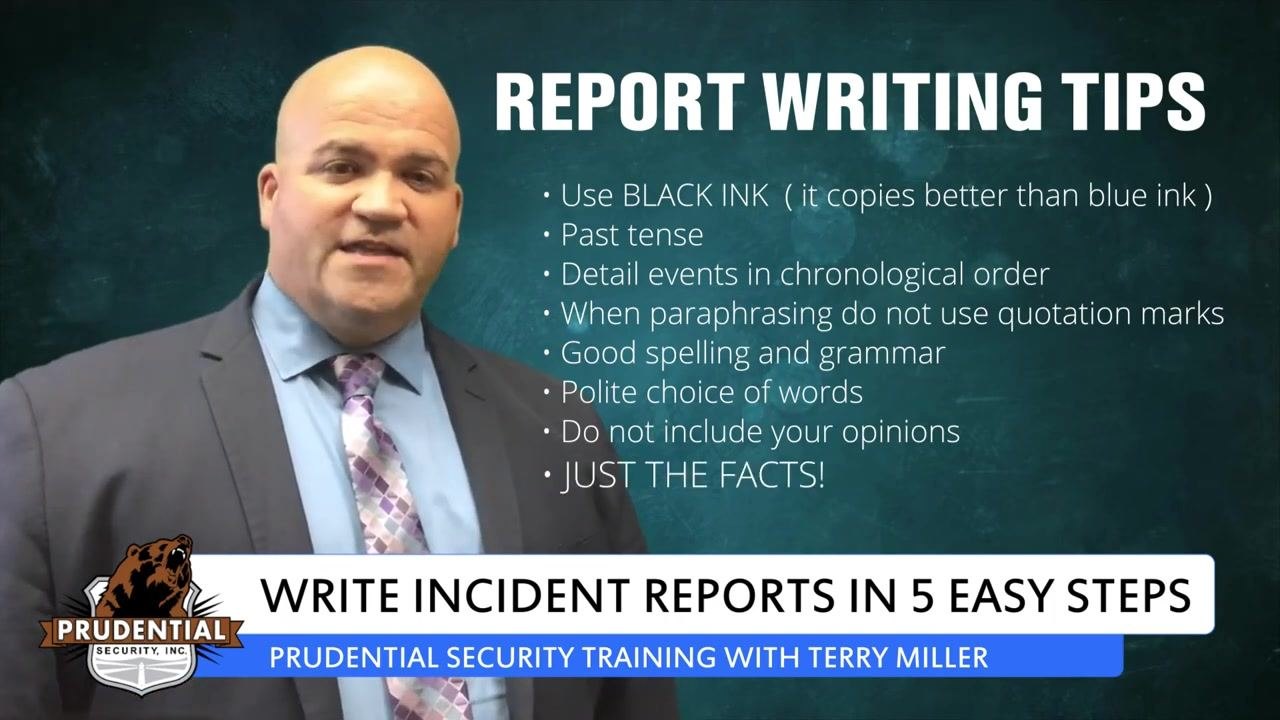
- Always use black ink when writing reports by hand, since it copies better than blue ink.
- Write in the past tense, detailing events in chronological order.
- When paraphrasing, do not use quotation marks, and ensure you accurately represent what was said or done.
- Use good spelling and grammar, choose polite and professional language, and do not include your opinions — stick strictly to the facts.
By following these five steps for writing a workplace incident report and the follow-up actions above, you create reports that are clear, objective, professional, and ready for review by supervisors or authorities.