
How to Use a Torque Wrench Properly
This document explains how to use a torque wrench properly, covering setup, adjustment, application technique, and long-term care for Park Tool click-type torque wrenches (TW-5.2 and TW-6.2 models). Following these steps ensures fasteners are tightened to the correct specification, protecting both components and the wrench itself.
Video: Proper Use of Torque Wrenches & Drivers: Click Type by Park Tool (2024). All credit for the demonstration goes to the creator; watch the original on YouTube. The written guide below was generated from this video by Docsie. Creator? Request a change or removal.
Purpose
This document explains how to use a torque wrench properly, covering setup, adjustment, application technique, and long-term care for Park Tool click-type torque wrenches (TW-5.2 and TW-6.2 models). Following these steps ensures fasteners are tightened to the correct specification, protecting both components and the wrench itself.

Scope
This procedure applies to Park Tool click-type torque wrenches used on bicycle fasteners. It covers identifying torque specifications, setting the wrench, applying force correctly, and storing and calibrating the tool between uses.
Required equipment
- Park Tool click-type torque wrench (TW-5.2 or TW-6.2)
- Manufacturer torque specification for the fastener
- Appropriate socket or bit for the fastener
- Protective case or box for storage
- Torque tester (optional, for calibration checks)
Step 1: Identify the torque specification
Locate the required torque value for your fastener before starting. This information is typically found in the manufacturer's documentation or stamped near the fastener itself. In this example, the required torque is 12 Nm.
Step 2: Prepare the wrench for adjustment
Hold the torque wrench so you can clearly see the torque scale window and the adjustment dial at the base of the handle. Proper visibility of both elements is essential for accurate setting.
Step 3: Set the initial torque value
Push the dial knob up and begin turning it. Turn the knob until the red line in the window passes the 10 Nm mark but does not yet reach the target of 12 Nm.
Step 4: Check the fine adjustment scale
Look down at the dial at the base of the handle. On the TW-5.2, one full turn of the dial increases the torque setting by 2 Nm; this fine scale allows you to dial in precise values between the main scale markings.
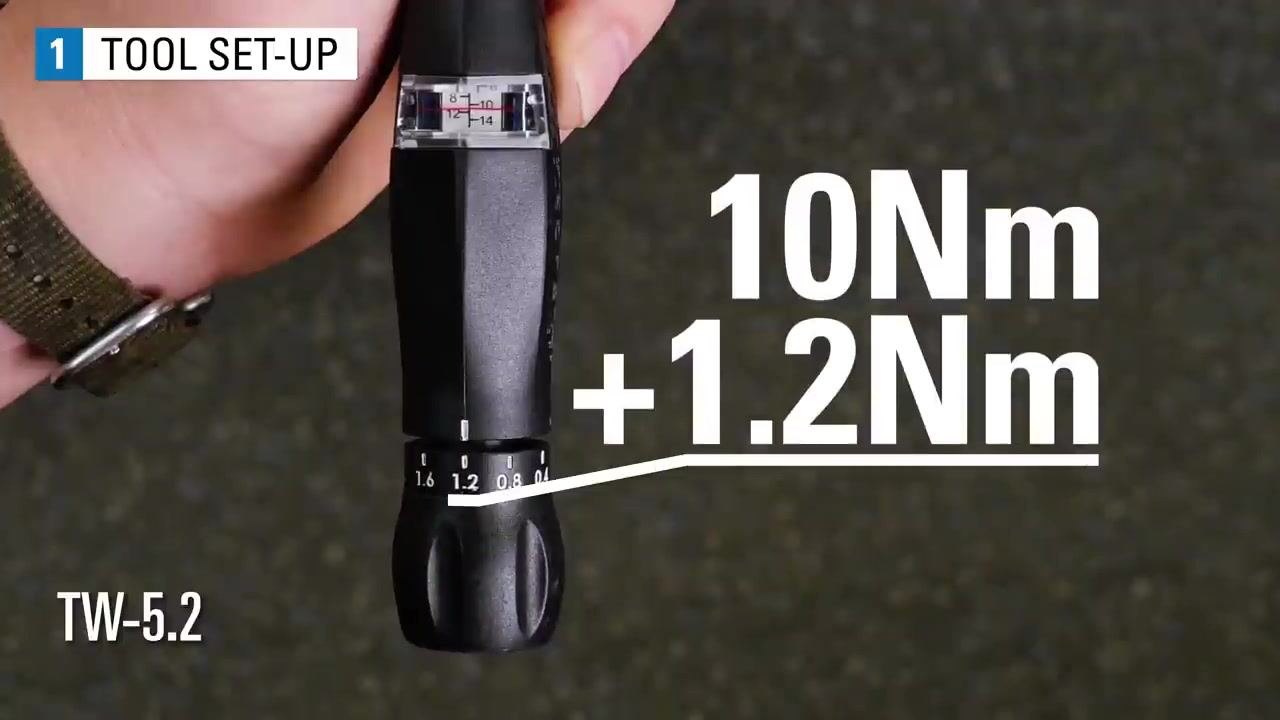
Step 5: Combine main scale and dial values
Observe the number shown on the dial. The total torque setting equals the main scale value plus the dial value. For example, if the main scale reads 10 Nm and the dial reads 1.2, the total setting is 11.2 Nm.
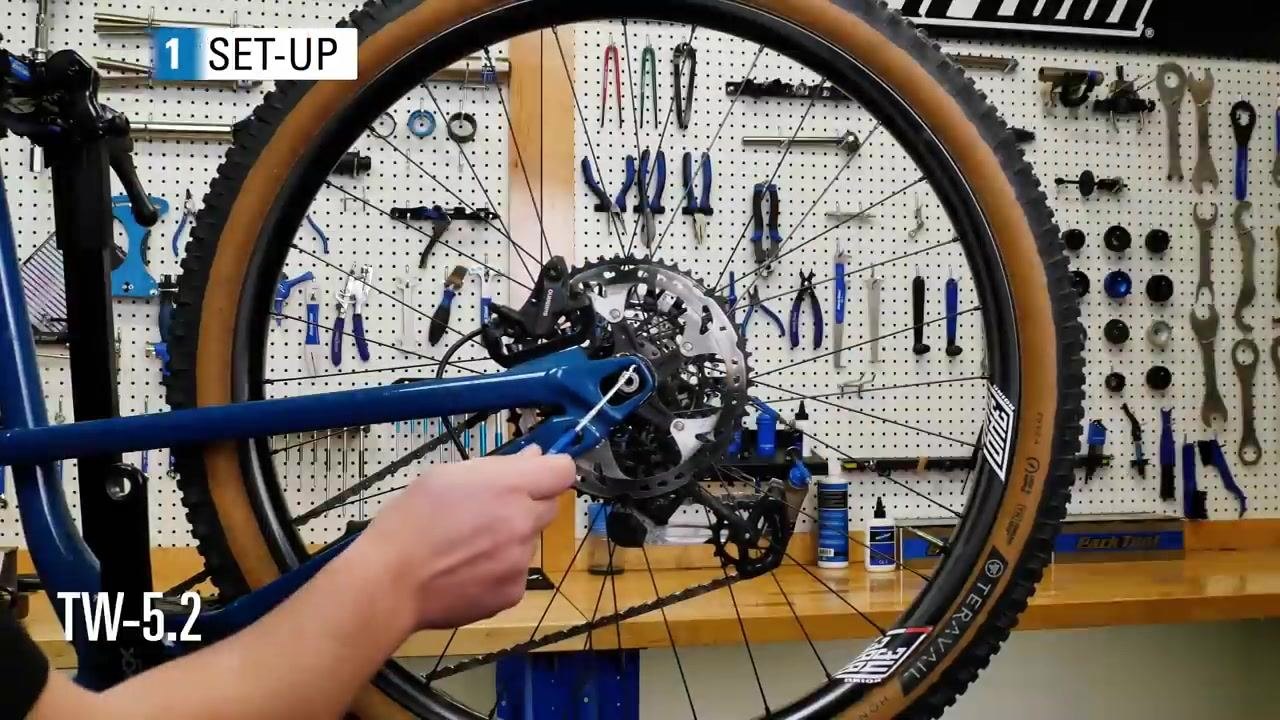
Step 6: Fine-tune to the exact target
Continue turning the dial until the indicator lands on zero, aligning the red line with the 12 Nm mark in the window. The dial should read zero once the desired torque value has been reached.
Note: The red line in the window may not always line up perfectly with the printed scale. As long as the dial reads zero at the desired total value, the setting is correct.
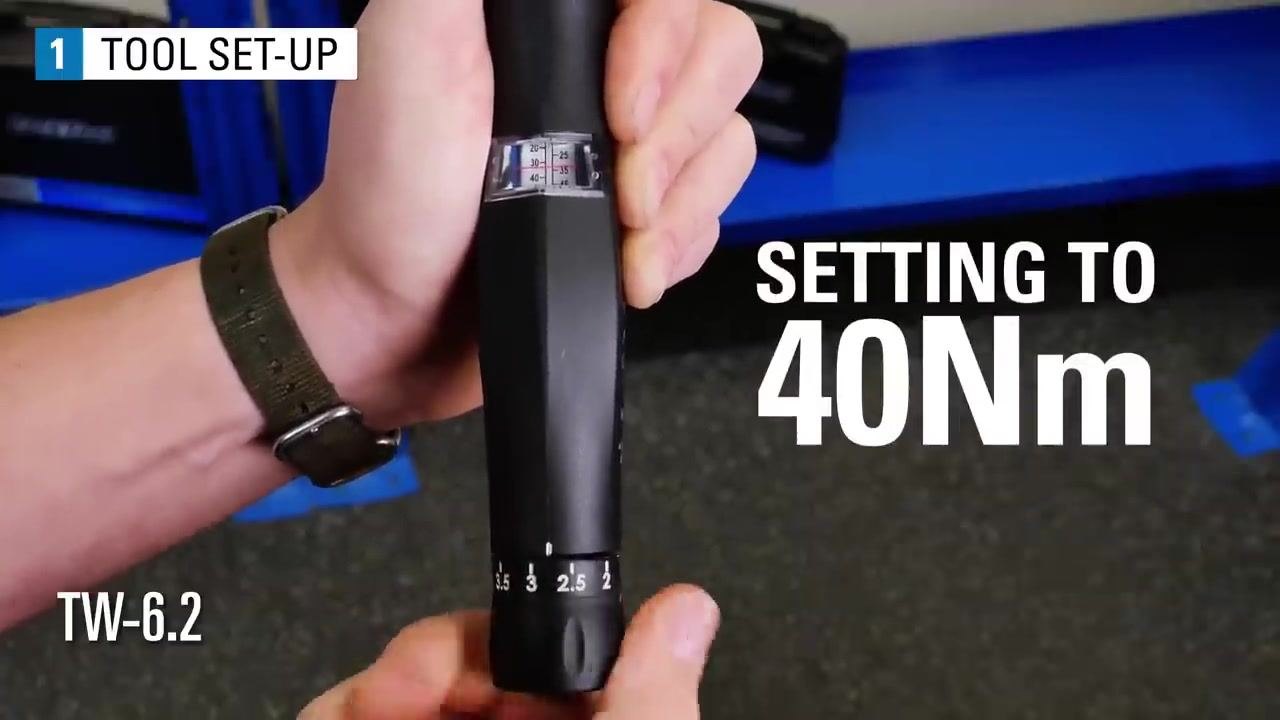
Note on wrench models: The TW-5.2 increases torque by 2 Nm per full turn of the dial, while the TW-6.2 increases by 5 Nm per full turn and covers a larger torque range.
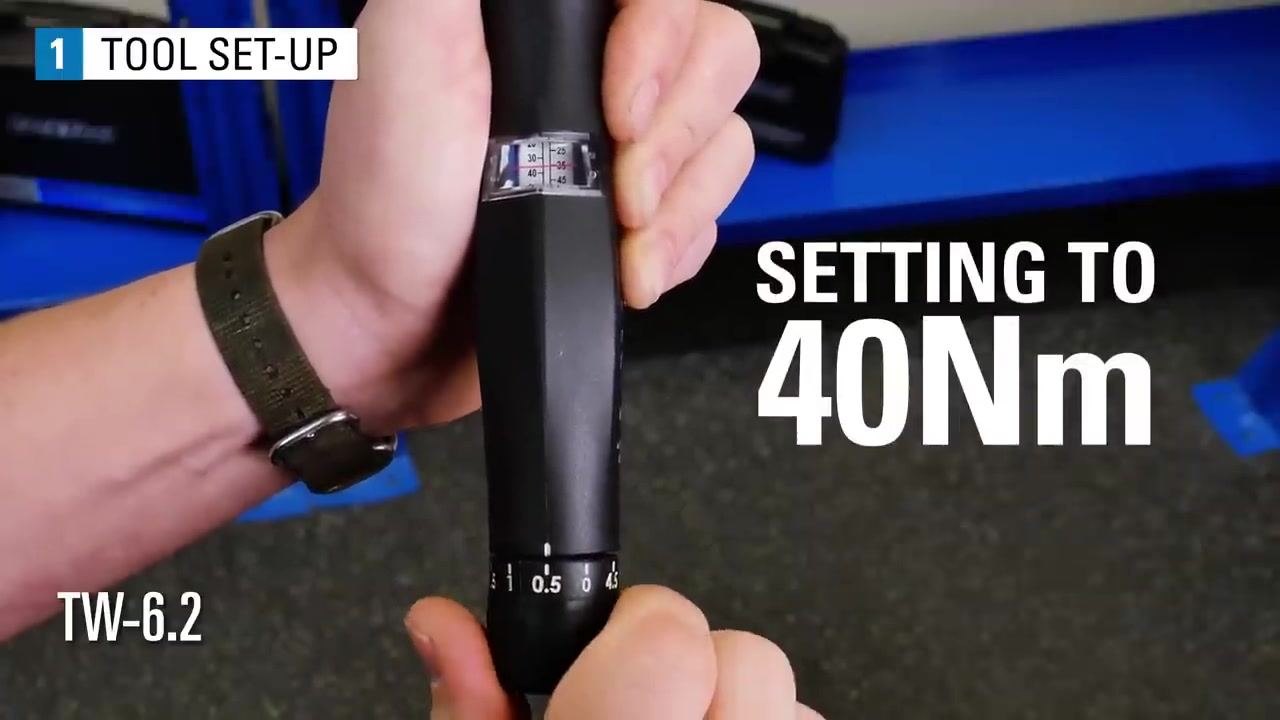
Step 7: Set a higher torque value on the TW-6.2 (example: 40 Nm)
Turn the dial knob up until the red line in the window almost reaches 40 Nm. Continue turning until the dial indicator lands on zero, positioning the red line as close as possible to the 40 Nm mark.
Step 8: Confirm the setting
Verify that the red line in the window sits at or very near the desired torque value, and that the dial reads zero for an exact setting.
Step 9: Install the socket or bit
Push the ball detent release button located on the back of the wrench head. Slide the appropriate socket or bit onto the square drive until it clicks into place, and confirm it is fully seated and secure.
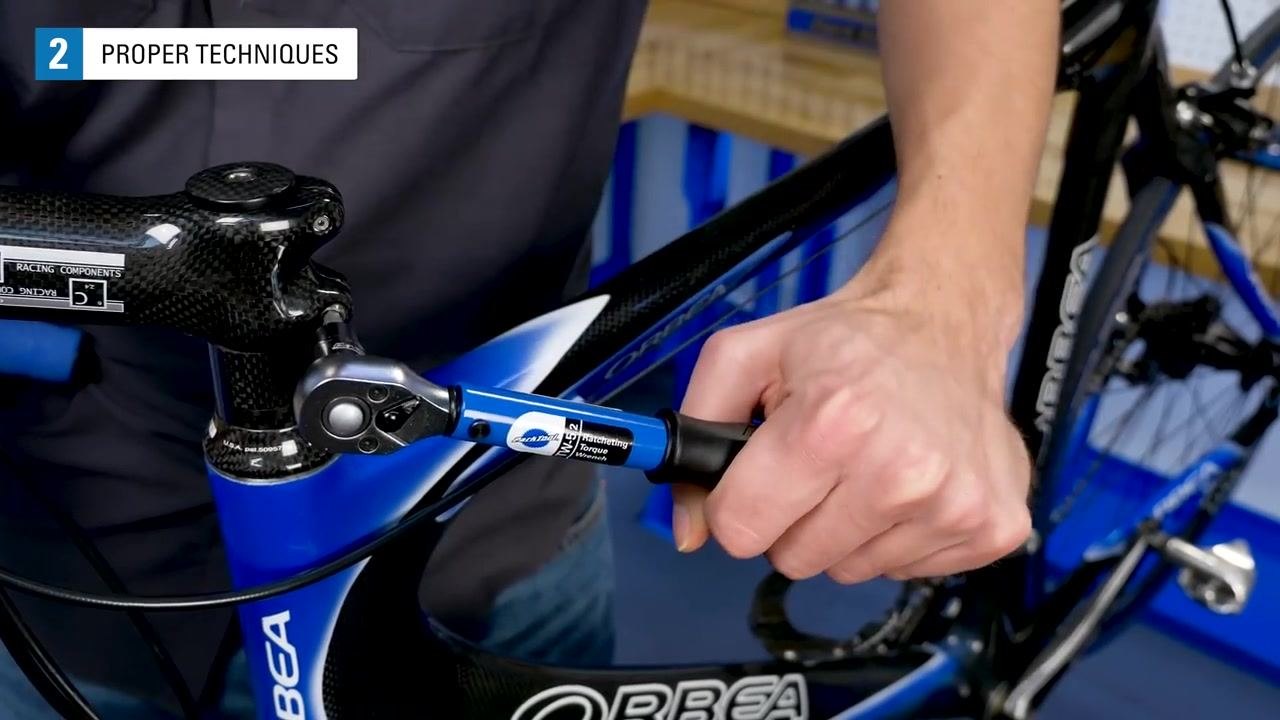
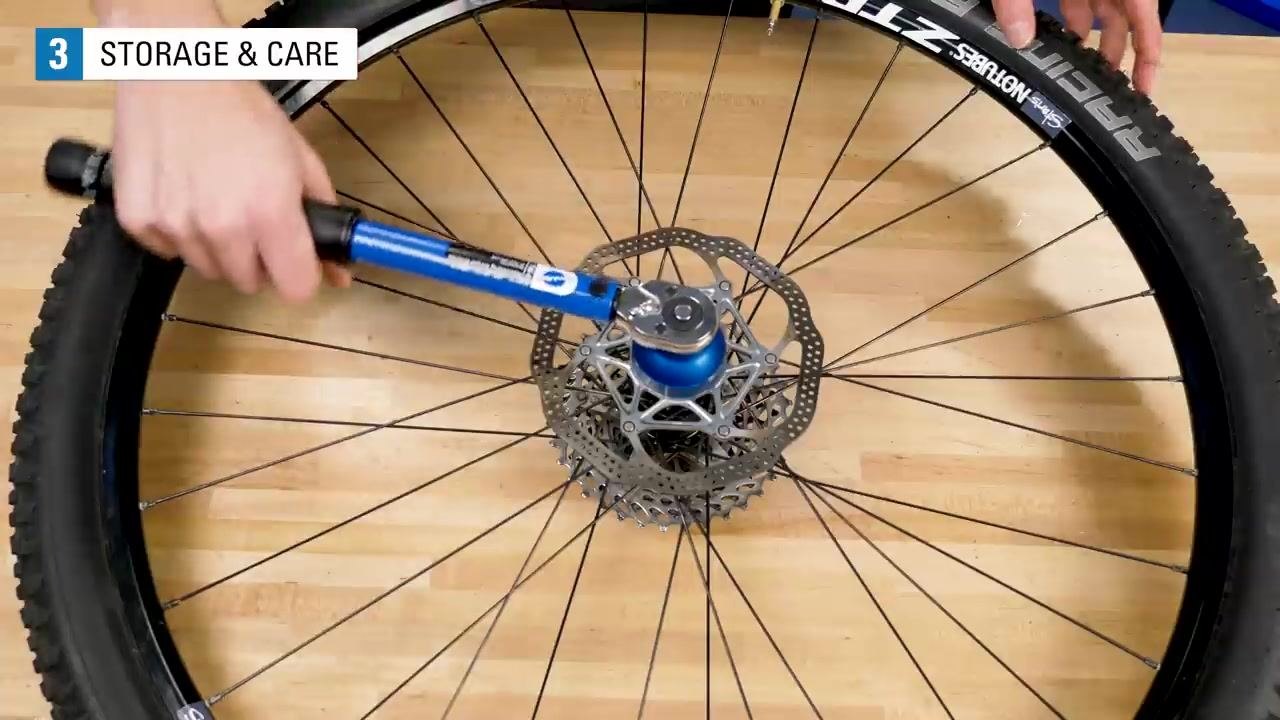
Step 10: Apply the socket to the fastener
Position the socket or bit squarely onto the fastener. Ensure it is fully engaged and aligned to prevent slippage or damage to the fastener.
Step 11: Hold the wrench correctly
Center your hand on the handle of the torque wrench. Do not grip too close to the head or too far back on the handle, as hand position directly affects the torque actually applied.
Step 12: Apply force in line with the fastener
Slowly and steadily apply force to the handle, keeping the wrench in line with the fastener. Maintain straight alignment as the fastener begins to rotate, since misalignment reduces accuracy.
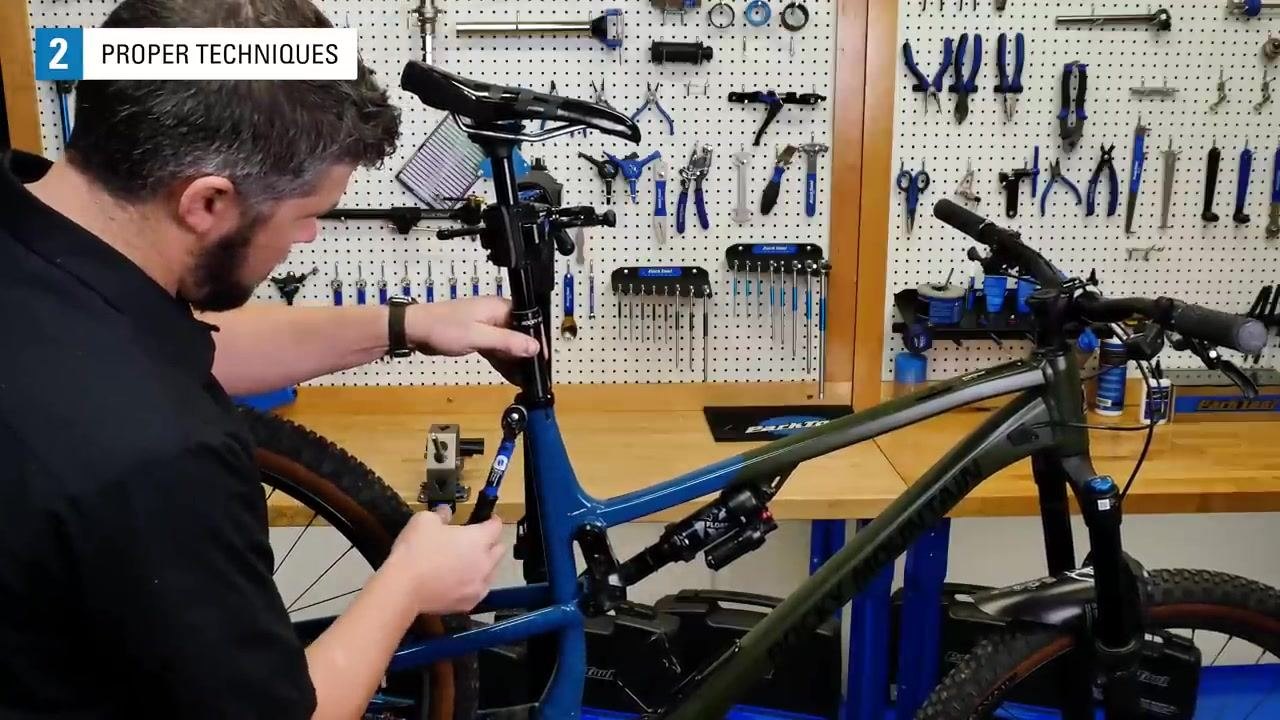
Step 13: Stop when the set torque is reached
The wrench head will deflect when the preset torque value is achieved, often with an audible click. At lower torque settings, the click may be faint or absent, so pay close attention.
Safety note: The light detent action at low torque settings increases accuracy and helps prevent over-torquing. Stop applying force immediately when you feel or hear the click, or see the head deflect.
Step 14: Maintain correct hand placement
Always hold the wrench at the center of the handle. Holding farther back results in less torque being applied than the wrench is set for; choking up closer to the head results in more torque than intended.
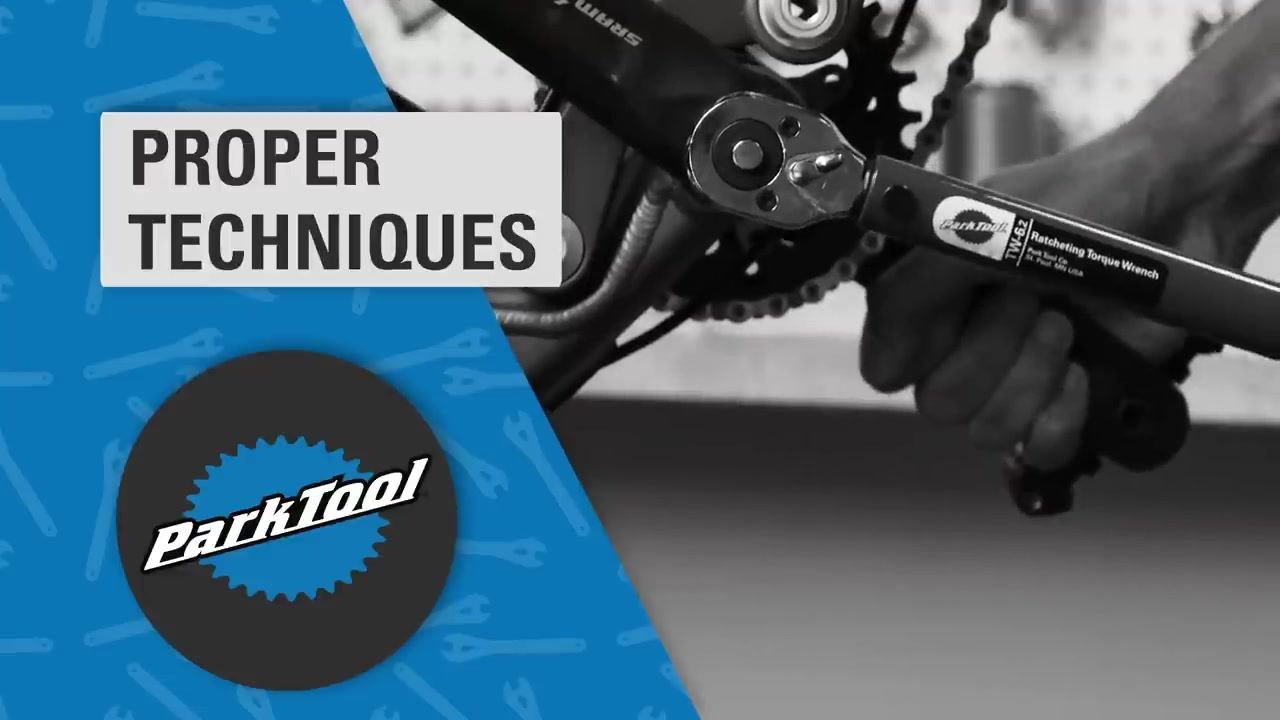
Step 15: Recognize the effect of incorrect hand placement
Holding farther back on the wrench lowers the applied torque below the set value, while choking up raises it above the set value. This occurs because the pivot point no longer aligns with the center of applied force.
Step 16: Verify with a torque tester
When the wrench is set to 10 Nm and held correctly, a torque tester should read close to 10 Nm. If the hand is not centered, the reading will deviate from the set value.
Step 17: Apply force at a 90-degree angle
Always apply force perpendicular to the handle of the torque wrench. This ensures maximum mechanical advantage and accurate torque application; applying force at an angle can produce incorrect readings.
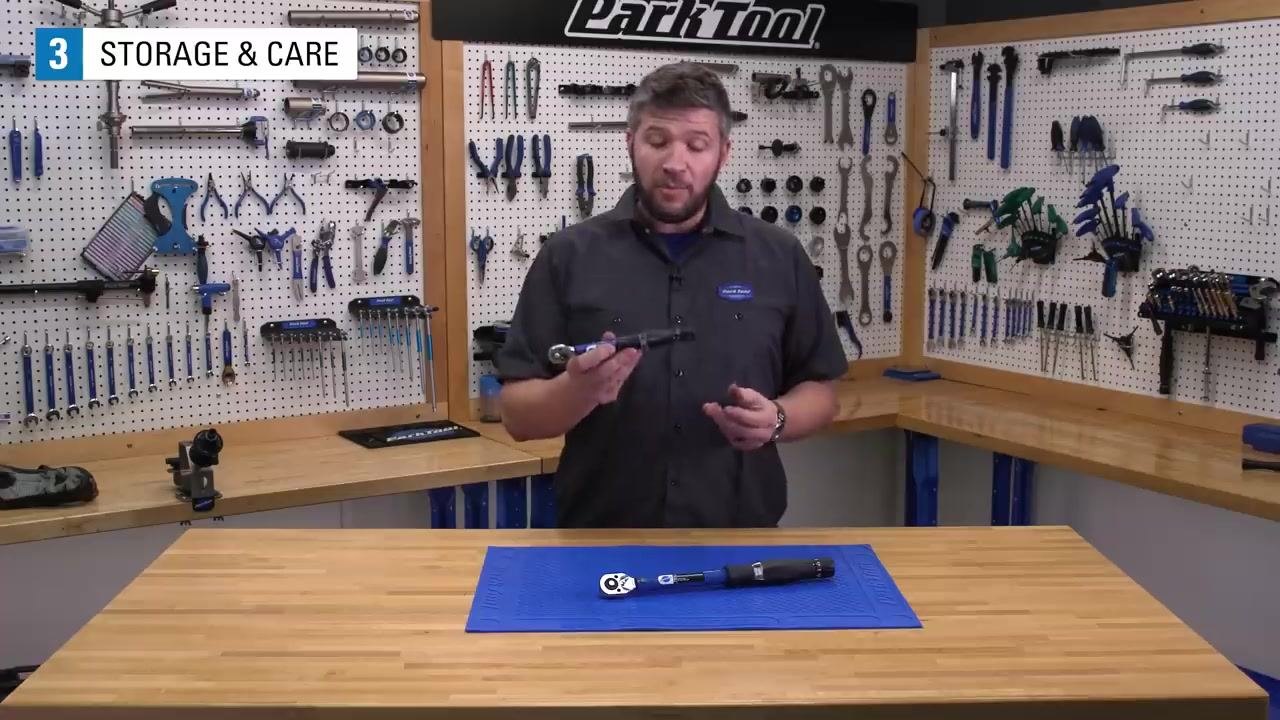
Step 18: Relax the wrench for storage
After use, turn the adjustment knob to set the wrench to the lowest number on its scale. This relieves tension from the internal spring and prevents it from taking a "set" that could affect calibration over time.
Safety note: Never store the wrench with the spring under tension.
Step 19: Store the wrench properly
Keep the wrench clean and free from dirt or debris. Store it in its protective case or box, avoid dropping it, and place it in a secure, dry location away from excessive heat or moisture. Impacts and poor storage conditions can affect calibration and accuracy.
Step 20: Calibrate the wrench regularly
Have the torque wrench calibrated every year or after every 5,000 to 10,000 clicks, whichever comes first. Consistently relaxing the wrench after use helps it maintain calibration for a longer period.
Step 21: Check calibration with a torque tester
Set the wrench to a known value, such as 10 Nm, and check the reading on a torque tester. If the reading deviates significantly, have the wrench professionally calibrated.
Step 22: Avoid misuse and accidental drops
Handle the torque wrench with care at all times. Do not use it as a breaker bar or for loosening bolts, as dropping it or using it improperly can cause loss of calibration and damage to internal components.
Verification and summary
Confirm the following before and after each use:
- The dial reads zero at the desired total torque value before you begin work.
- Your hand is centered on the handle and force is applied at a 90-degree angle to the fastener.
- You stop immediately when the wrench clicks or the head deflects.
- The wrench is relaxed to its lowest setting after use and stored in its protective case.
- Calibration is checked every year or every 5,000–10,000 clicks.
Following these steps on how to use a torque wrench properly ensures accurate, safe fastening and extends the working life and precision of your Park Tool click-type torque wrench.
What's next
Refer to the Park Tool website or your torque wrench's user manual for additional guidance on calibration services and model-specific specifications.