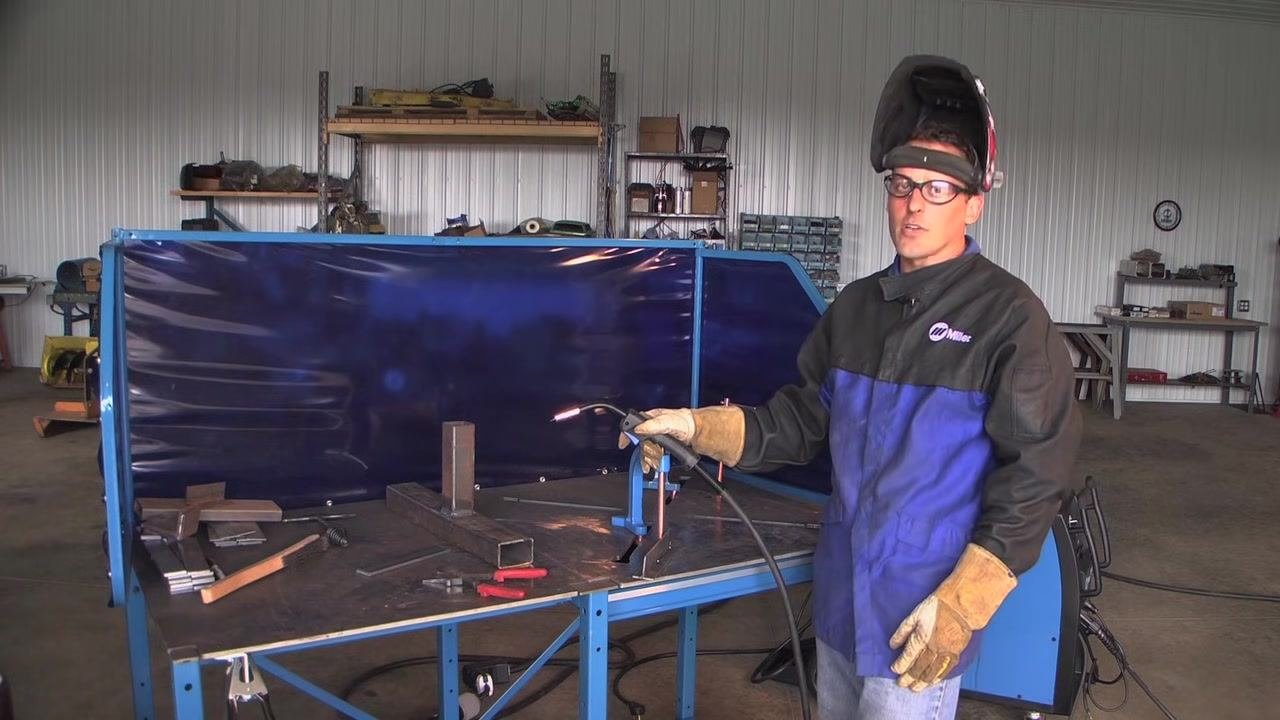
How to Mig Welding How to Beginners
This procedure walks beginners through the fundamentals of MIG welding, covering preparation, safety, and technique for flat, horizontal, vertical, and overhead positions. It is designed to help new welders achieve strong, clean welds by following a consistent, repeatable process from setup through advanced positioning.
Video: MIG Welding Basics by Miller Welders (2010). All credit for the demonstration goes to the creator; watch the original on YouTube. The written guide below was generated from this video by Docsie. Creator? Request a change or removal.
This procedure walks beginners through the fundamentals of MIG welding, covering preparation, safety, and technique for flat, horizontal, vertical, and overhead positions. It is designed to help new welders achieve strong, clean welds by following a consistent, repeatable process from setup through advanced positioning.
Purpose
The purpose of this SOP is to provide beginners with a clear, step-by-step method for MIG welding safely and effectively across multiple joint types and welding positions. Following these steps helps you avoid common defects such as undercut and burn-through while building confidence for a range of fabrication tasks.
Scope
This procedure applies to MIG welding tasks performed on flat, horizontal, vertical, and overhead surfaces, including T-joints, lap joints, and butt welds. It covers material preparation, machine setup, gun positioning, and technique adjustments needed for each position.
Required equipment and PPE
Before beginning, gather the following:
- Welding jacket
- Safety glasses
- Welding helmet
- Welding gloves
- MIG welder with adjustable voltage and wire speed
- Shielding gas cylinder (75% Argon / 25% Carbon Dioxide mixture)
- Grinder or wire brush
- Clamps to secure workpieces
- Scrap metal similar to your project material
Step-by-step procedure
1. Practice on scrap metal
Before starting your actual project, select scrap metal similar to your project material and practice welding on it. This ensures you can achieve a proper weld before committing to your final piece.
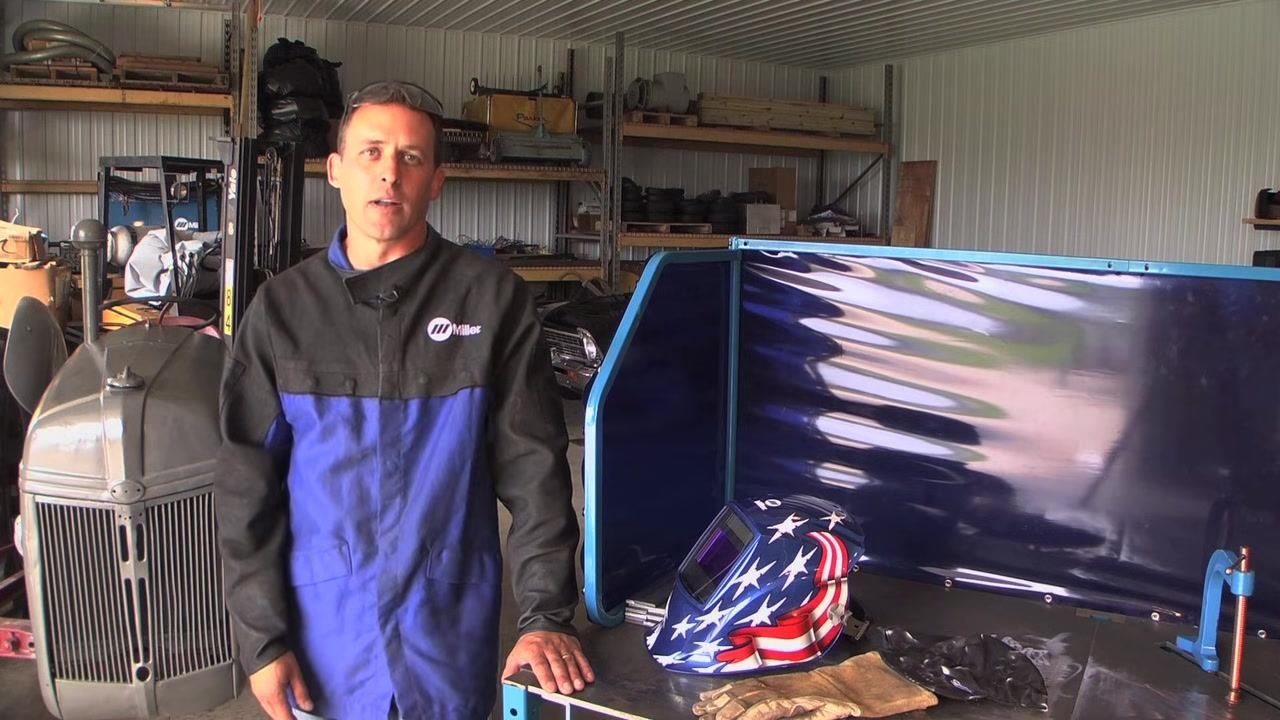
2. Gather and wear proper safety gear
Confirm you have all required safety equipment on before welding: a welding jacket, safety glasses, a welding helmet, and welding gloves. Do not begin welding until all protective gear is in place.
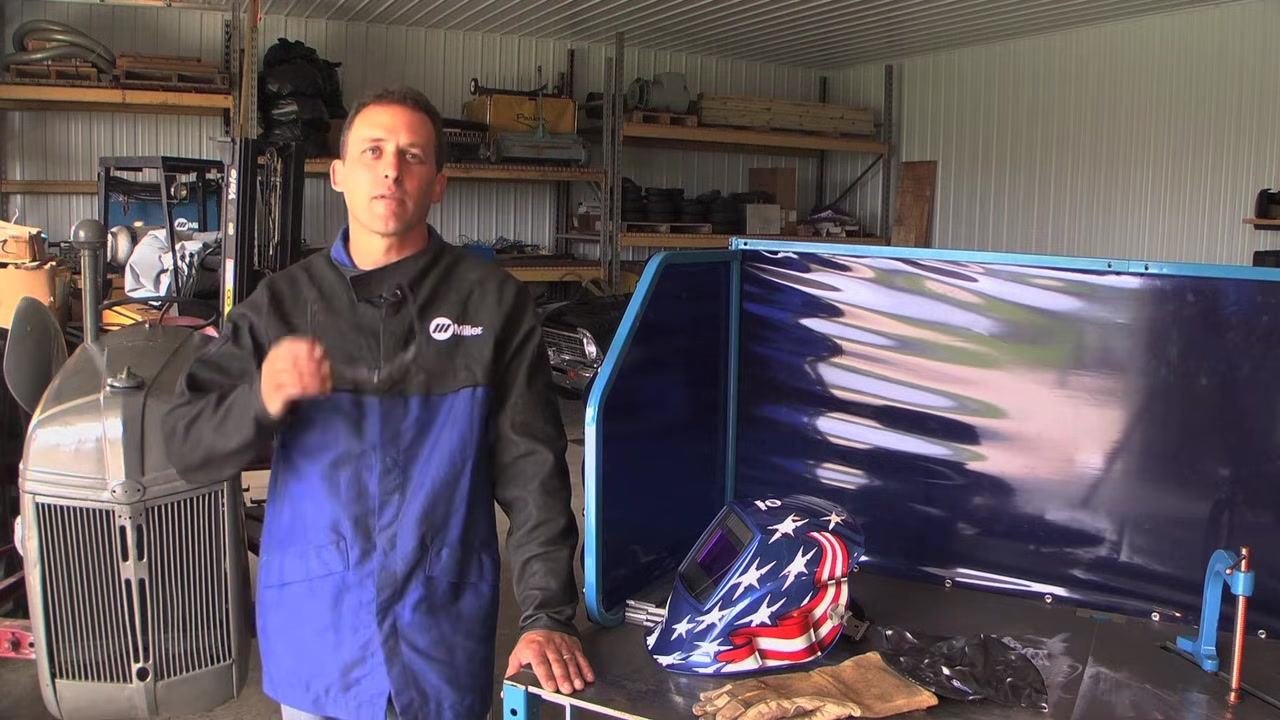
3. Set the correct wire stick-out
Adjust the wire stick-out to approximately 1/4 inch to 3/8 inch from the contact tip. For tight joint access where clearance is limited, a slightly longer stick-out may be used.
4. Select the proper shielding gas mixture
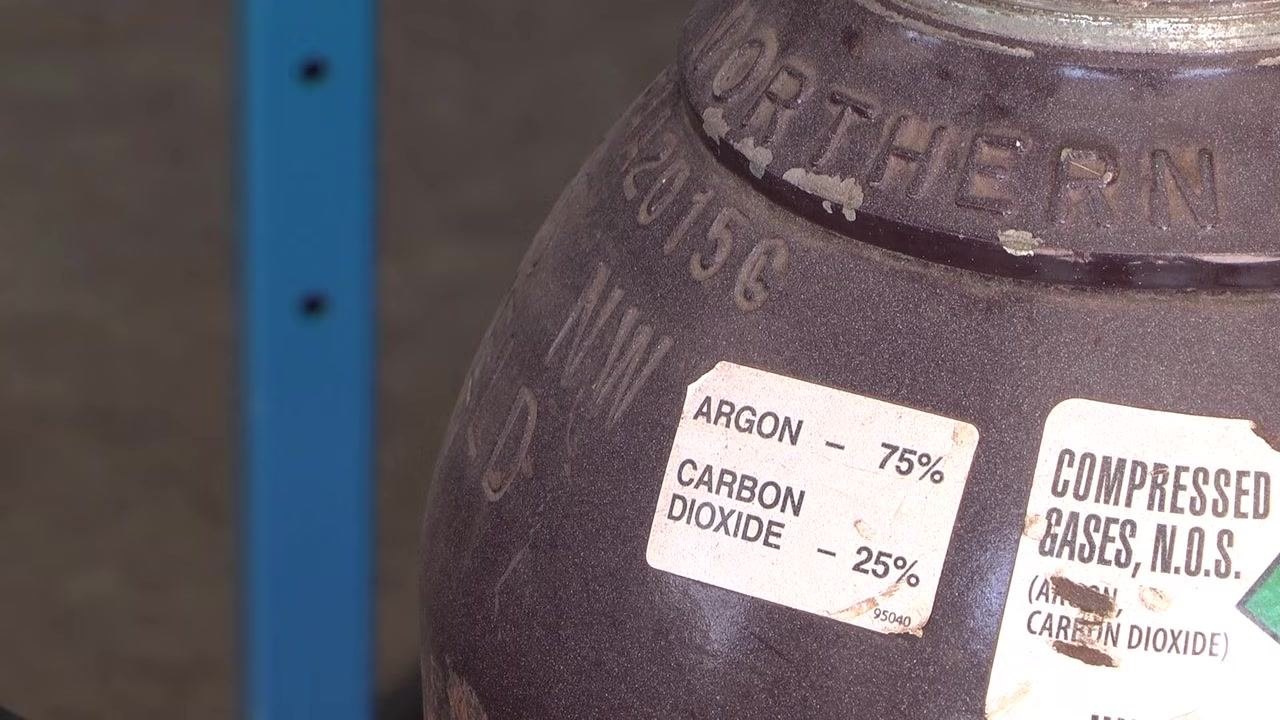
Use a shielding gas mixture of 75% Argon and 25% Carbon Dioxide (CO2) for optimal performance and a visually appealing weld bead. Confirm the gas cylinder is labeled with the correct mixture before connecting it.
5. Prepare the metal for welding
Clean the metal as thoroughly as possible before welding. Use a grinder or wire brush to remove rust, paint, and debris from the joint area, then clamp the workpiece securely to the welding table.
6. Ensure a good ground clamp connection
Clean the area where the ground clamp will attach to ensure a solid electrical connection. If your material is 1/4 inch thick or more, bevel the joint to achieve good weld penetration.
7. Position the gun using the push technique
Use the push technique for MIG welding, since it provides a clear view of the weld puddle and is generally recommended for beginners. Position the welding gun at a 90-degree angle to the workpiece with a 10-degree backward tilt, and weld with a slight weaving motion, pausing side to side to avoid undercut.
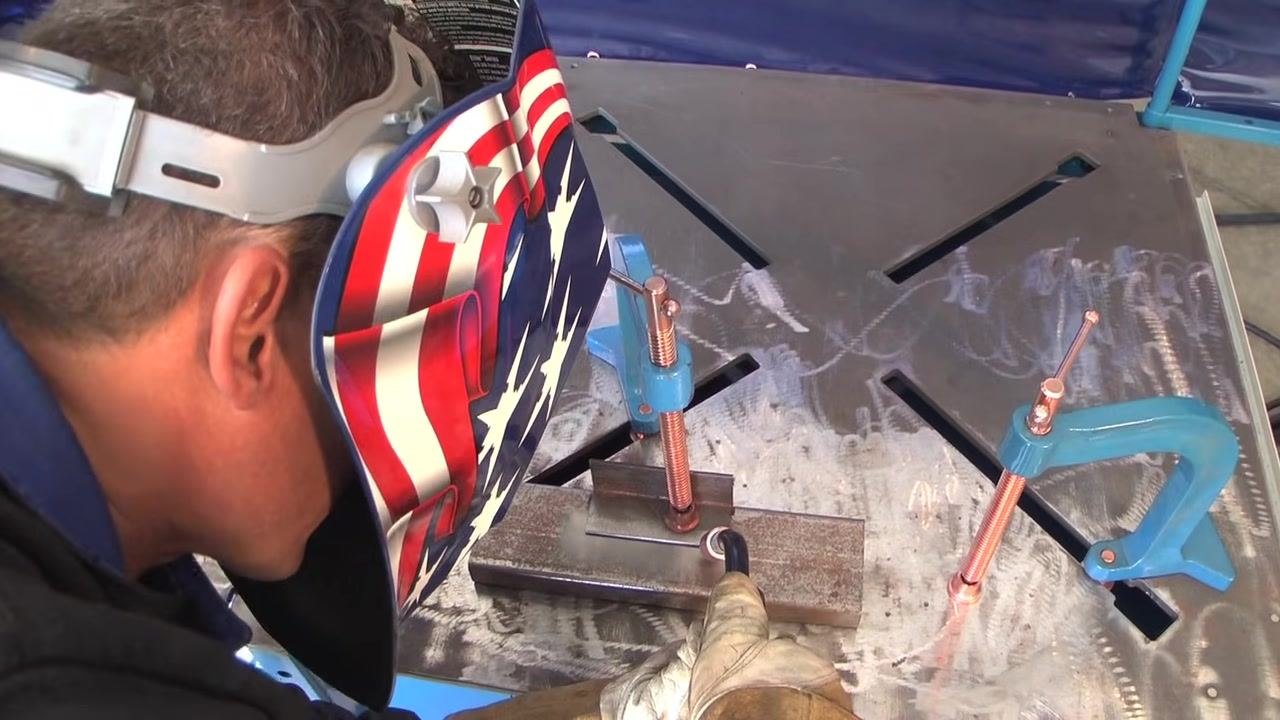
8. Verify the gun angle for a butt weld
Check that the welding gun is held at the correct 90-degree angle with a 10-degree tilt before starting a butt weld. Confirming this angle helps maintain consistent penetration and bead appearance.
9. Weld a typical T-joint
Position the welding gun at a 45-degree angle, equidistant from both pieces of the T-joint. For thicker materials, use a weaving motion, pausing briefly on each side to prevent undercut, and observe the weld puddle to maintain a steady, consistent bead.
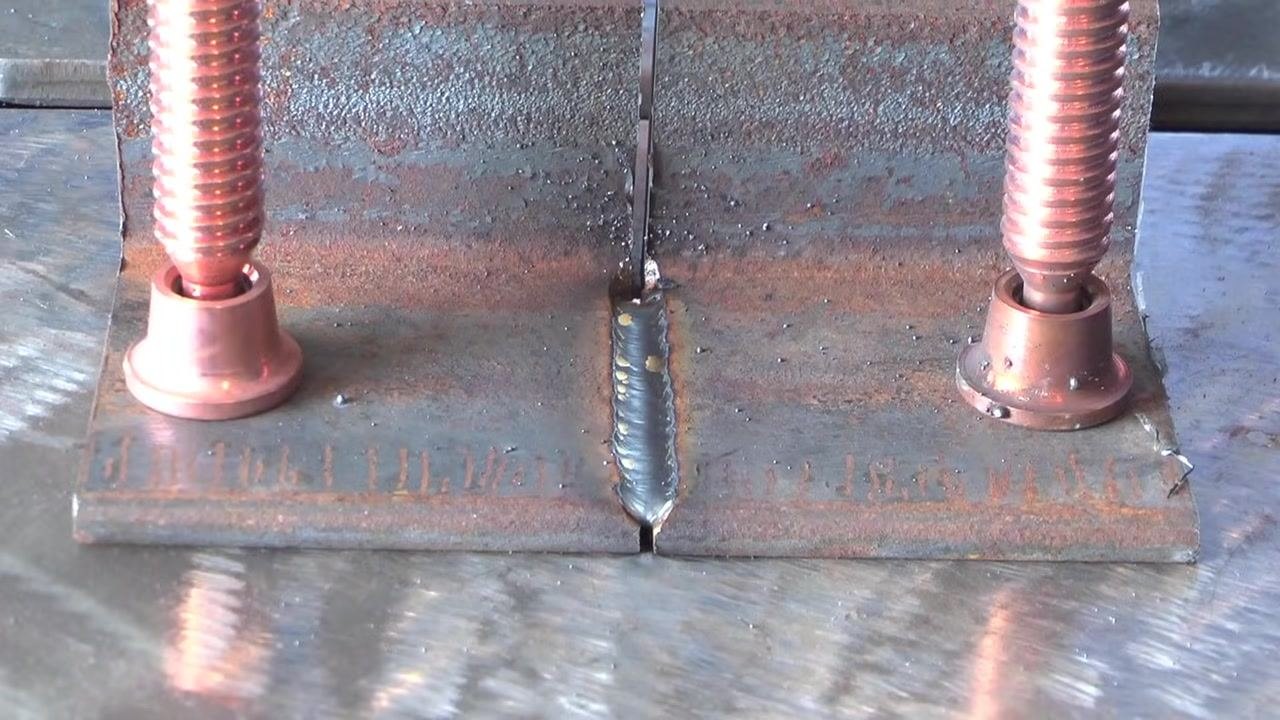
10. Set up and weld a T-joint
Secure the workpieces with clamps to prevent movement during welding, then hold the gun at a 45-degree angle to the joint. Wear appropriate safety gear, including gloves and a welding helmet, throughout this step.
11. Weld a lap joint
Position the welding gun at a 60- to 70-degree angle, directing most of the heat toward the bottom workpiece. This ensures proper fusion and penetration on the lower plate. Secure the joint with clamps before welding.
12. Make a straight weld on a lap joint
Maintain a steady, straight motion along the joint. Keep the gun at the correct angle and move at a consistent speed to produce an even weld bead.
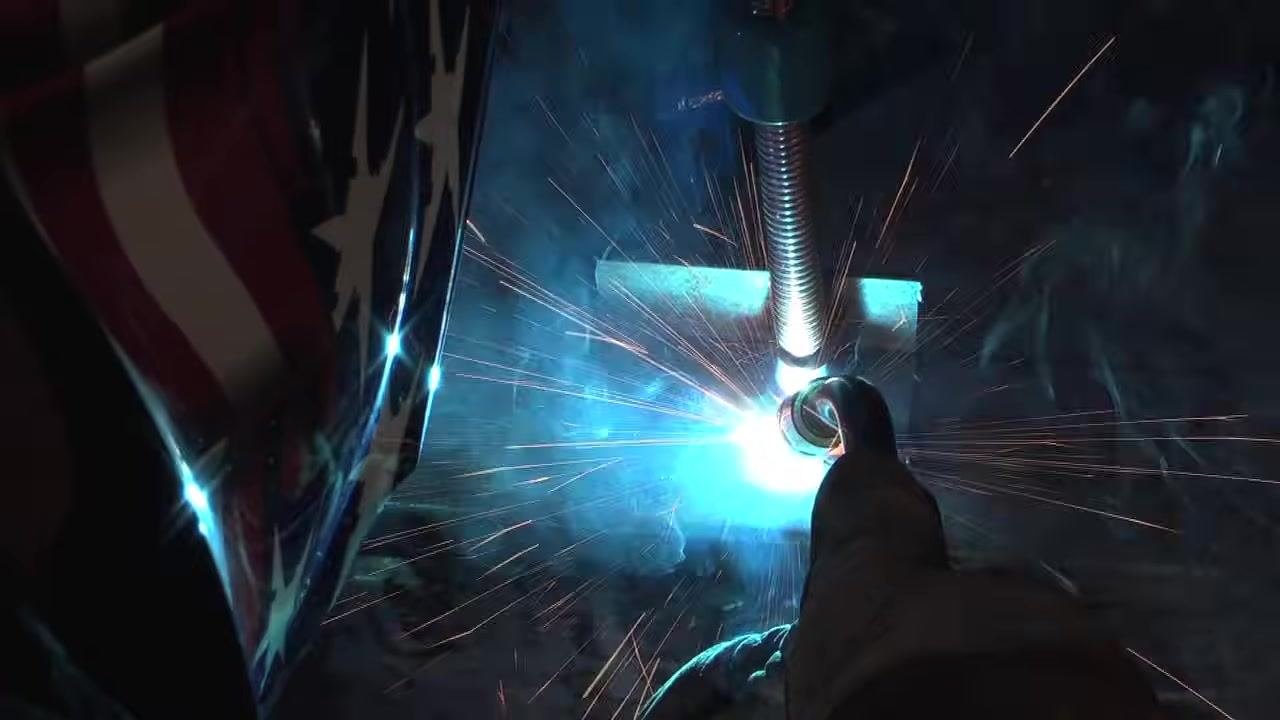
13. Weld in the horizontal position
Reduce your welding machine's voltage and wire speed parameters by 10–15% to accommodate the horizontal position. Angle the gun upwards toward the weld puddle at approximately 10 degrees to counteract gravity.
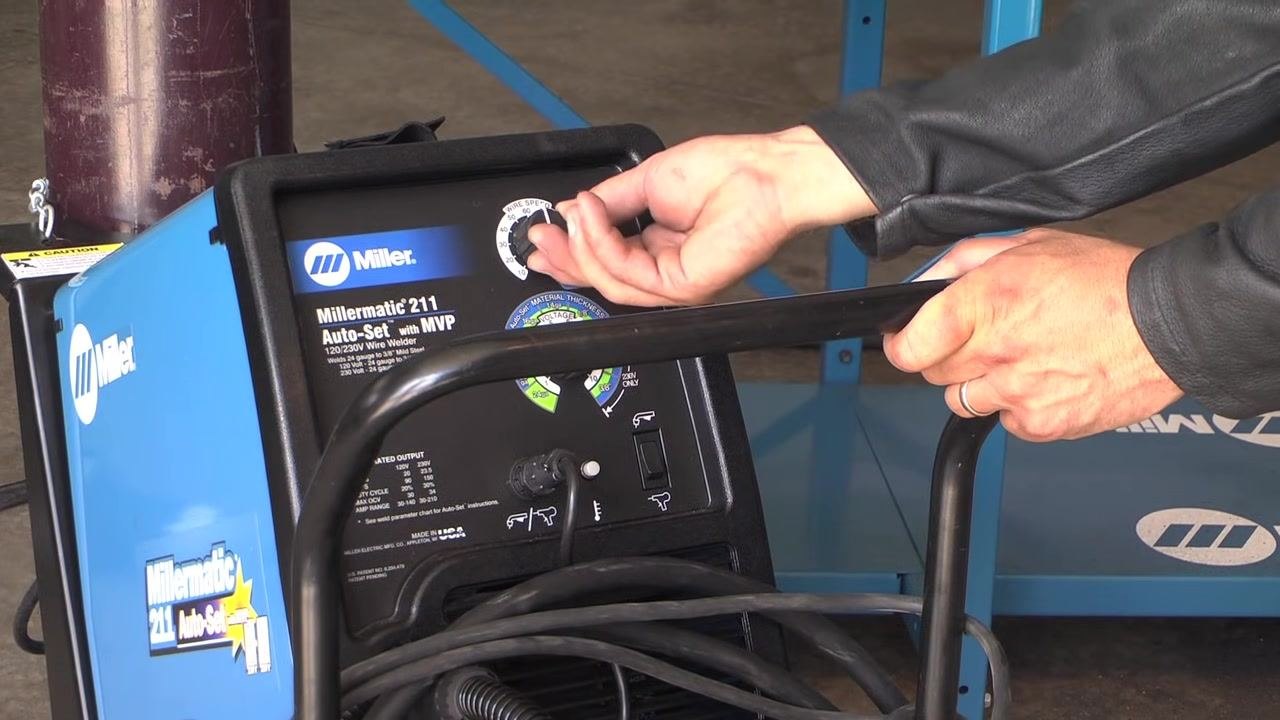
14. Adjust machine settings for vertical welding
Lower the voltage and wire speed parameters by 10–15% for vertical welds. Angle the gun 5–15 degrees upward at the weld puddle and use a weaving motion, pausing at the edges to avoid undercut.
15. Perform vertical welding
Choose between vertical up or vertical down welding depending on your application. Maintain the correct gun angle and weaving technique throughout to produce strong, clean welds.
16. Choose the correct vertical welding technique
Use vertical down welding for thinner metals, since it provides less penetration and helps prevent burn-through. Use vertical up welding for thicker materials of a quarter inch or above, since it delivers deeper penetration for a stronger weld.
17. Understand overhead welding challenges
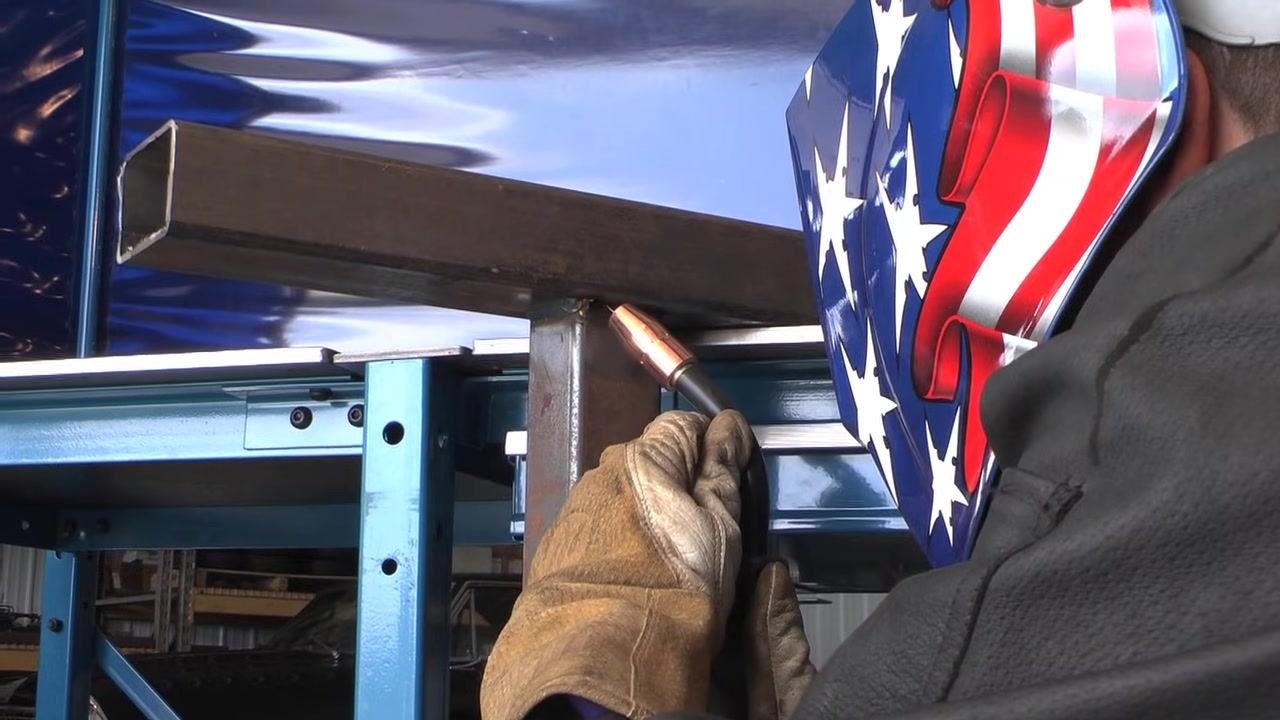
Recognize that overhead welding is the most difficult MIG welding position and avoid it if possible due to the increased risk and difficulty. If overhead welding is necessary, reduce your voltage and wire speed parameters by at least 10–15% to control the weld pool.
18. Maintain proper technique for overhead welding
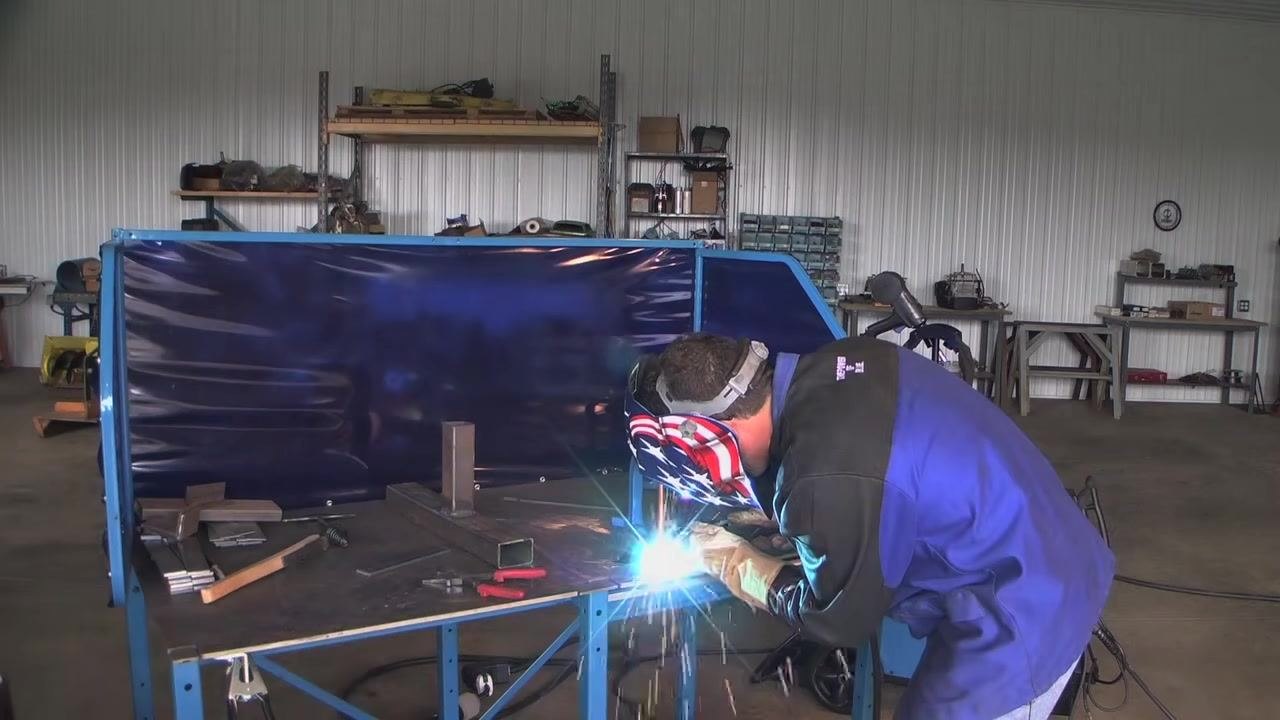
Maintain a fast travel speed to prevent the weld pool from falling out of the joint. Keep the gun steady and your movements controlled at all times for both safety and weld quality.
19. Practice for quality results
Achieve a sound, high-quality MIG weld through patience and consistent practice. Mastering MIG welding takes time and repetition, especially in challenging positions such as vertical and overhead welds.
Verification and summary
Confirm each weld for a consistent bead, proper penetration, and absence of undercut before moving to the next joint or position. With enough practice, you will be able to confidently tackle any welding job in your shop. Always wear appropriate safety gear, including a welding helmet, gloves, and protective clothing, and prioritize proper technique and safety at every stage of this procedure.