
How to Grease Trap How to Clean
This procedure explains how to clean a grease trap in a commercial kitchen from start to finish, covering waste removal, baffle cleaning, reassembly, and a drainage test to confirm the trap is working correctly. Following these steps helps maintain kitchen hygiene and keeps the plumbing system compliant with sanitation standards.
Video: Cleaning Grease Trap - Drain Pros Ep. 30 by Drain Pros (2020). All credit for the demonstration goes to the creator; watch the original on YouTube. The written guide below was generated from this video by Docsie. Creator? Request a change or removal.
This procedure explains how to clean a grease trap in a commercial kitchen from start to finish, covering waste removal, baffle cleaning, reassembly, and a drainage test to confirm the trap is working correctly. Following these steps helps maintain kitchen hygiene and keeps the plumbing system compliant with sanitation standards.
Purpose
This document provides technicians with a consistent method for cleaning and servicing a commercial grease trap. It covers preparing the work area, removing accumulated waste, inspecting and cleaning internal components, reassembling the unit, and verifying proper operation through a water flow test.
Scope
This procedure applies to commercial kitchen grease traps that require routine cleaning, servicing, and functional testing. It is intended for technicians performing on-site maintenance of grease trap systems connected to a kitchen sink and main sewer line.
Required equipment and PPE
- Gloves and appropriate safety gear
- Screwdriver
- Vacuum hose
- Cleaning brushes
- Power drill (for securing bolts, if needed)
- Rag or cleaning cloth
- Cleaning or deodorizing solution (optional)
Step-by-step procedure
1. Prepare the work area
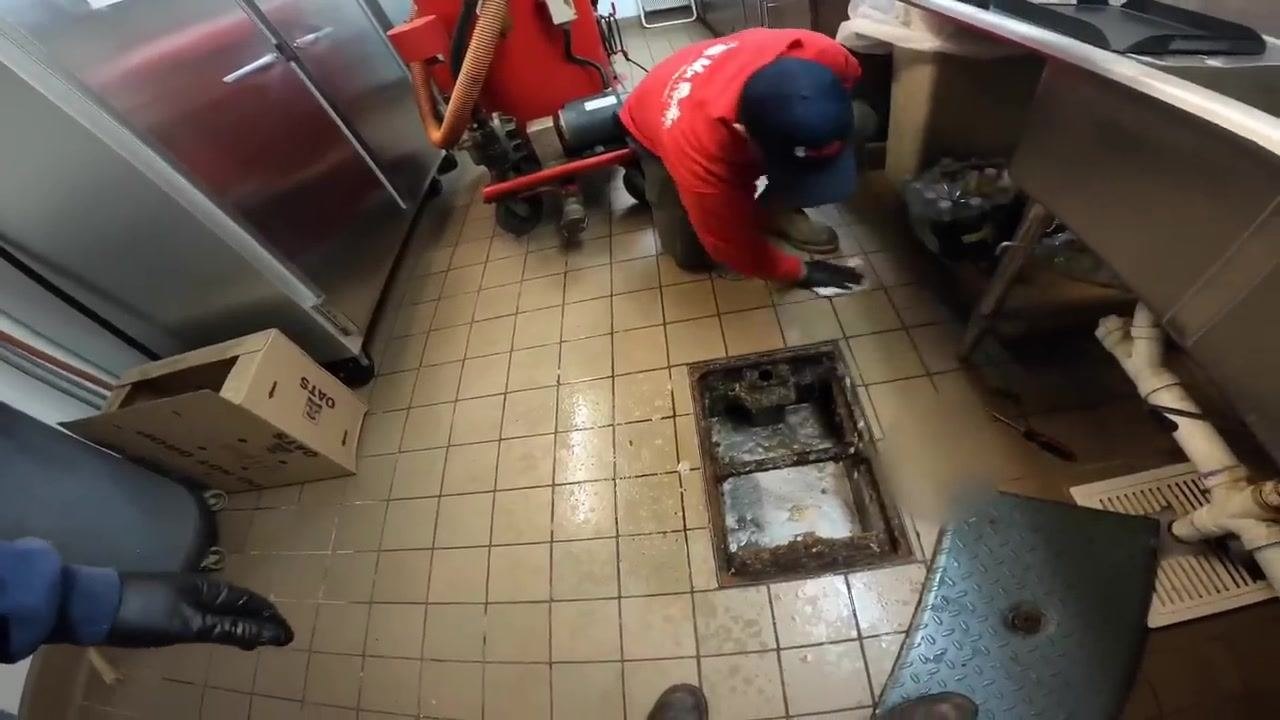
Put on gloves and appropriate safety gear before starting. Gather the tools you will need: a screwdriver, a vacuum hose, and cleaning brushes. Clear the area around the grease trap to ensure easy access.
2. Open the grease trap
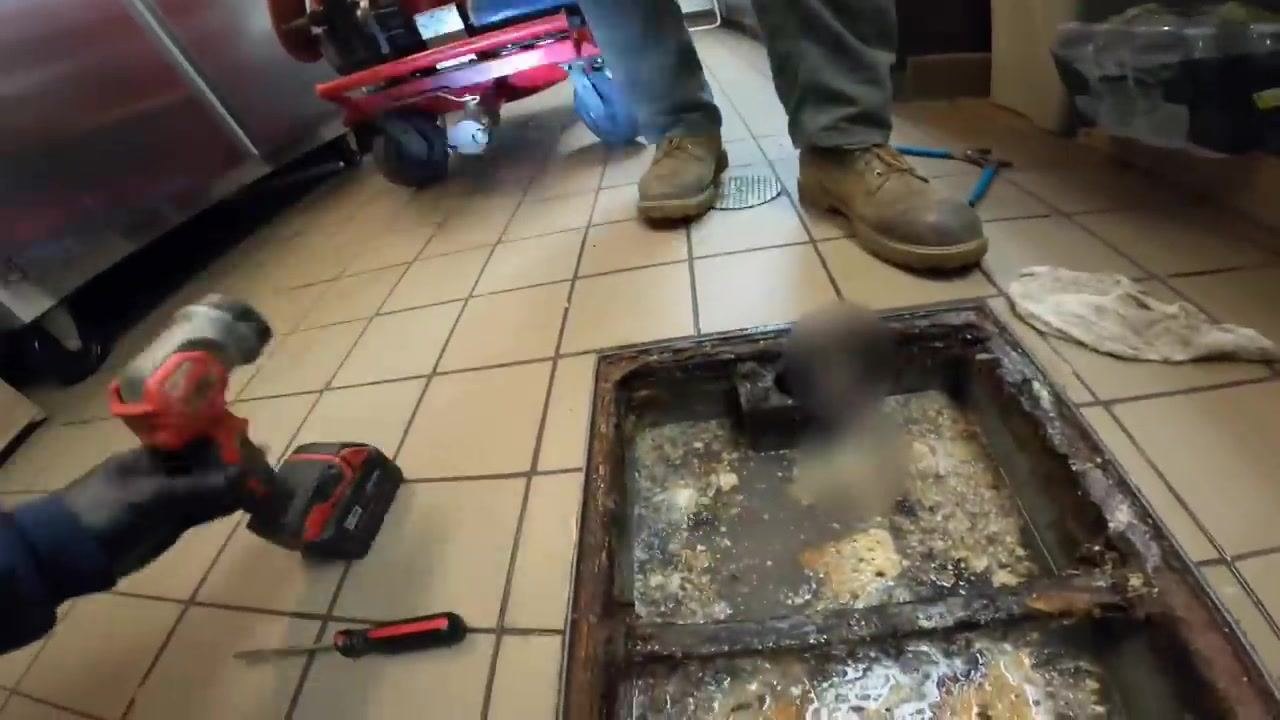
Remove the cover of the grease trap using a screwdriver if necessary. Set the cover aside in a safe location where it will not be damaged or misplaced.
3. Vacuum out the contents
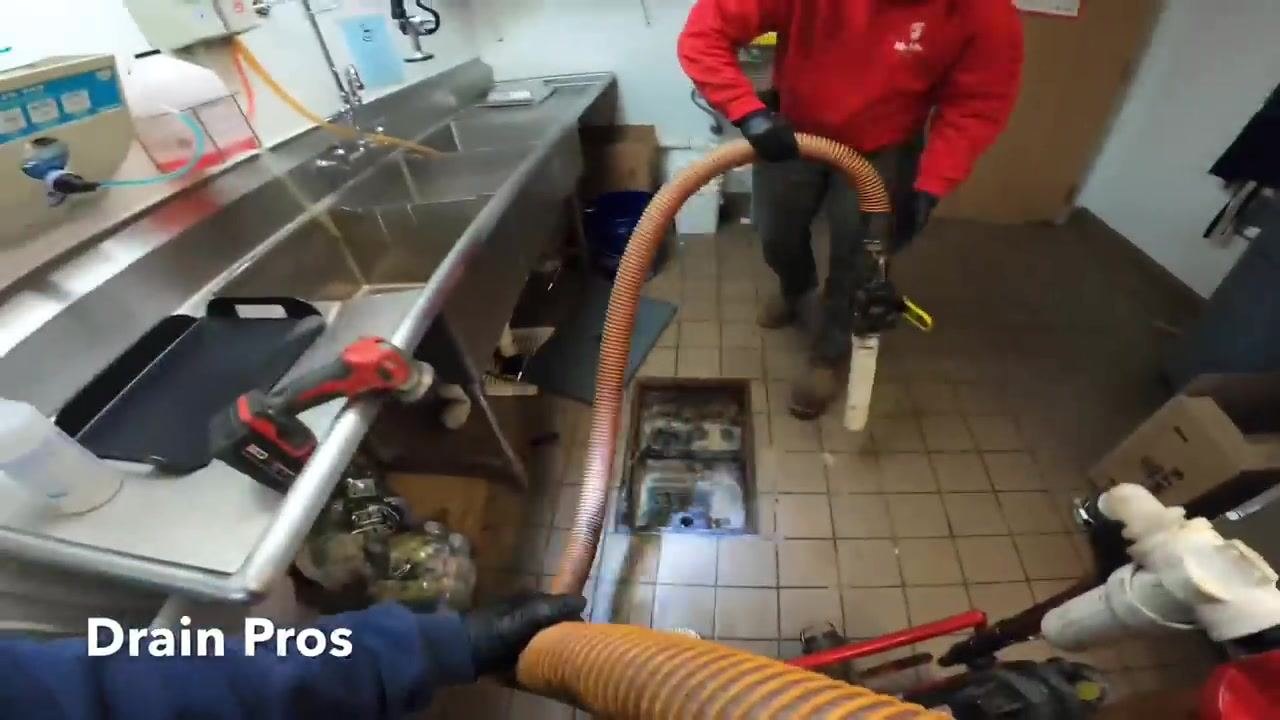
Insert the vacuum hose into the grease trap to begin removing liquid and solid waste. Make sure the hose reaches the bottom of the trap for thorough cleaning. One technician should hold and maneuver the hose while another assists as needed. Continue vacuuming until the majority of the waste is removed.
4. Inspect and clean the trap interior
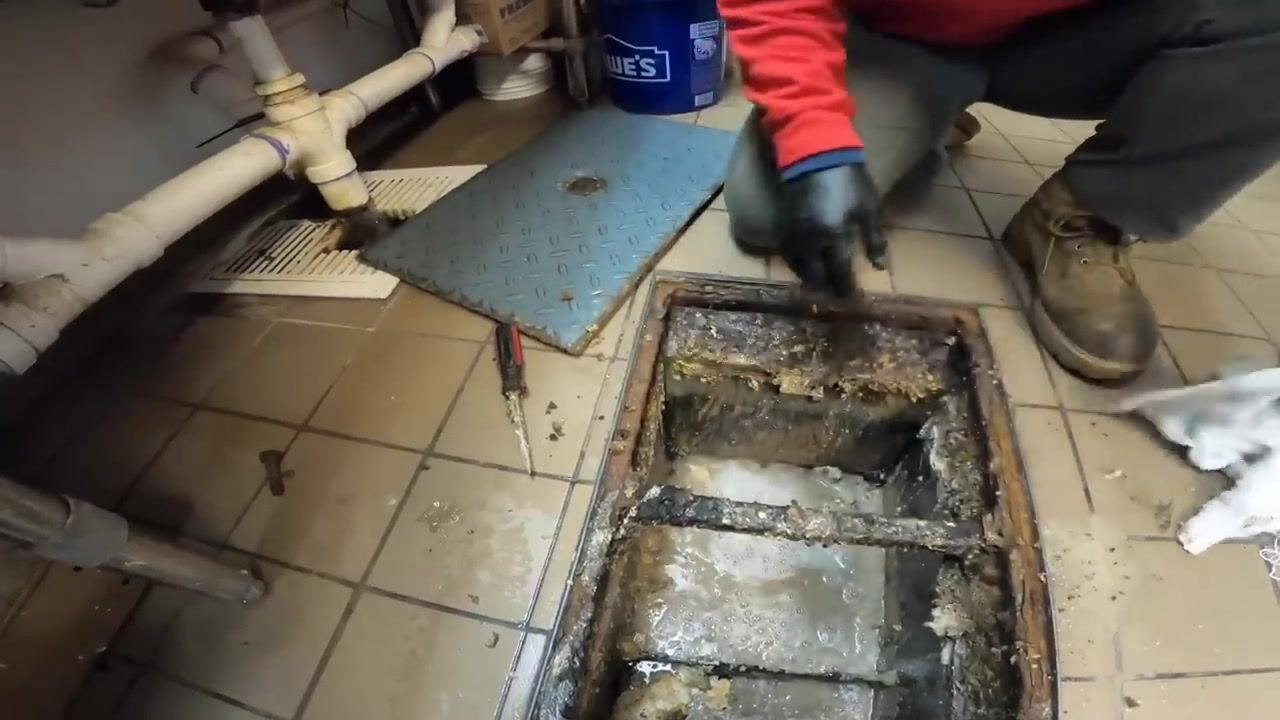
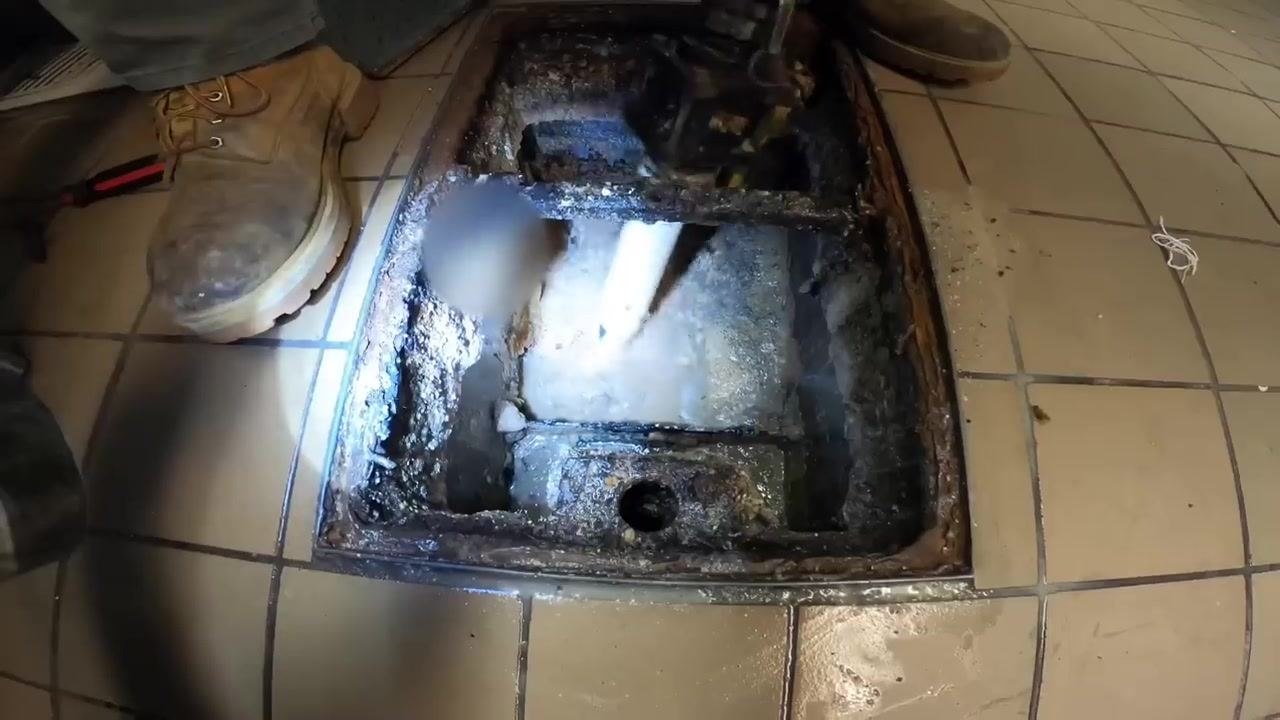
After vacuuming, visually inspect the inside of the grease trap. Use a brush or similar tool to scrape and clean the sides and bottom, removing any remaining debris or buildup. Pay special attention to grooves and corners where residue tends to collect.
5. Remove and clean the baffle
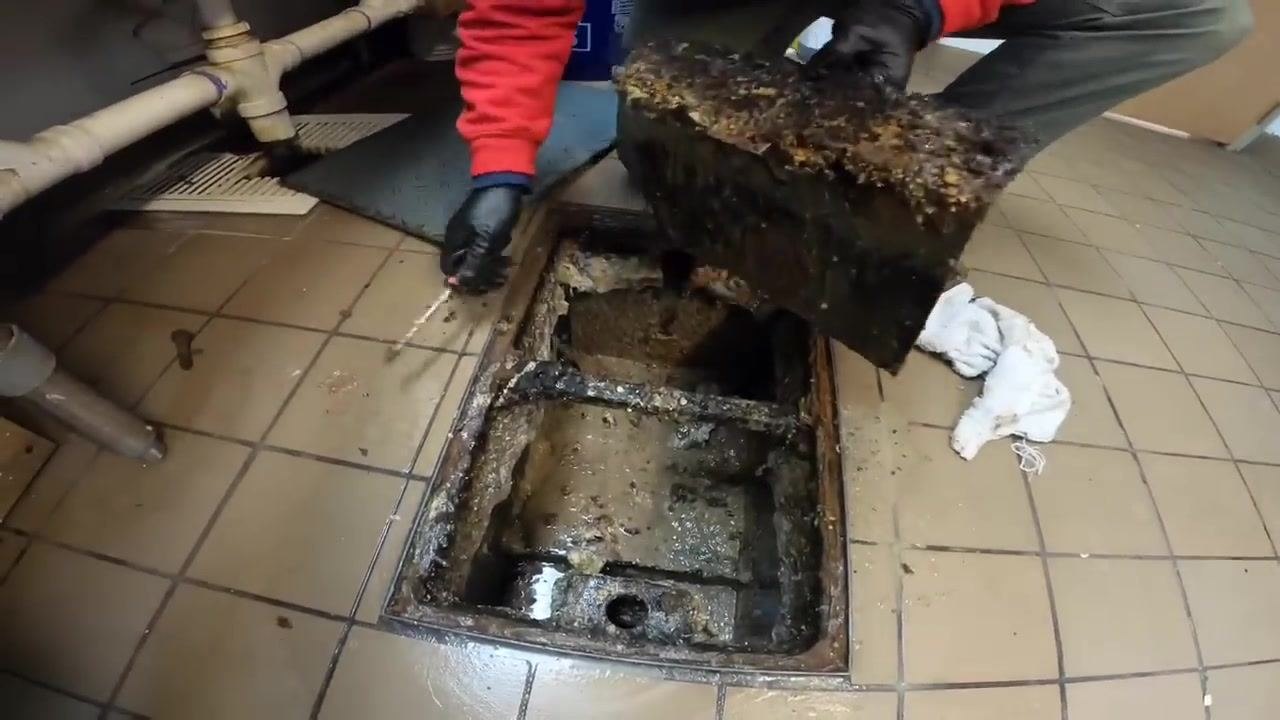
Carefully lift the baffle, the internal divider, out of the grease trap. Scrape off any accumulated grease and debris using a brush or scraper. Clean both sides thoroughly, paying particular attention to the grooves on the back.
6. Flush the system
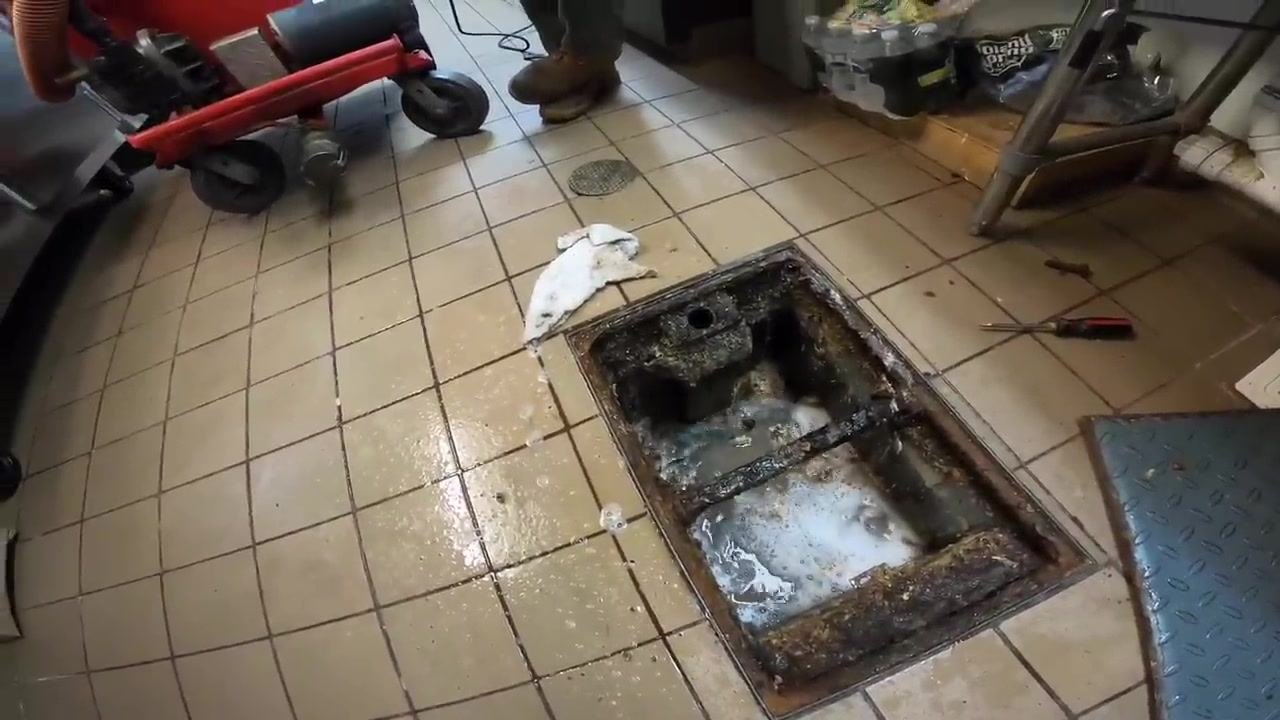
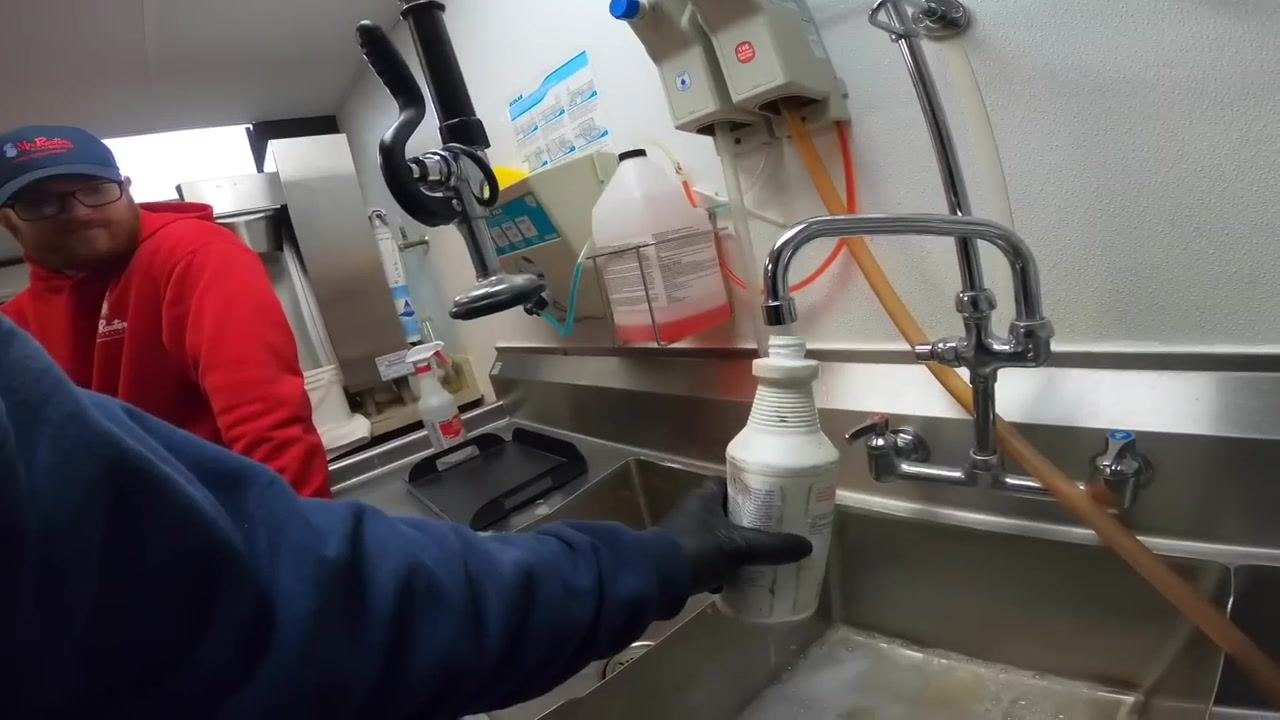
Turn on the faucet at the nearby sink to run water through the system. Use a hose, or direct the faucet, to flush out any remaining residue in the trap. Confirm that water flows freely through the system before proceeding.
7. Reassemble the grease trap
Once all components are clean, replace the baffle inside the trap and secure it in its original position. Wipe down the edges and surrounding area to remove any spills or residue.
8. Replace the cover
Place the cover back onto the grease trap. Ensure it is properly seated and secure before moving on.
9. Check for power and functionality
Safety note: If the system is not powering on, check the breakers or power supply as needed. Confirm that all equipment is functioning before leaving the site.
10. Perform an interim inspection
Inspect the area for cleanliness and ensure all tools are accounted for. Dispose of any waste material according to local regulations.
11. Reinstall the baffle and prepare for water testing
Slide the cleaned baffle back onto the bars inside the grease trap, ensuring it is properly seated. Note: Low water pressure at some locations can make it difficult to get water to flow quickly through the system, so allow extra time for this step.
12. Fill the sink and begin the water flow test
Move to the adjacent stainless steel sink, turn on the faucet, and begin filling it with water. You can optionally add a cleaning or deodorizing solution to the water. Allow the sink to fill to a high level to create a large load for testing the trap's drainage.
13. Release water to test drainage
Once the sink is filled, release the water so it drains rapidly through the plumbing and into the grease trap. Observe the flow of water into the trap to confirm it is draining properly. Safety note: If water drains slowly or backs up, check for blockages or insufficient water pressure before continuing.
14. Observe grease trap operation
Watch as water enters the trap, rises up through the back baffle, and exits through the outside pipe. Confirm that water is flowing as expected: it enters, rises through the baffle, and drains out through the outlet pipe. This confirms the trap is functioning correctly.
15. Top off water for a final drainage check
If necessary, add more water to the sink and repeat the drainage process to ensure the system is fully flushed and operational. Confirm that the trap is draining out completely with no leaks or blockages.
16. Perform final cleanup around the grease trap
Use a rag or cleaning tool to wipe down the area surrounding the open grease trap. Ensure all debris, water, and residue are removed from the floor and trap edges. Visually confirm that water is moving through the trap and has filled to the correct level. Note: The outlet pipe sits on the opposite side of the baffle and directs water to the main sewer.
17. Identify the main sewer cleanout location
Locate the cleanout access point near the grease trap. This cleanout connects directly to the main sewer, typically about two feet from the back of the trap. Keep this location in mind for future maintenance or troubleshooting.
18. Secure the grease trap cover
Place the metal cover back onto the grease trap, ensuring it is properly aligned. Set the bolt into place to secure the cover, using a power drill or screwdriver as needed to tighten it. Safety note: If the bolt or bar is rusted, it may not fasten securely, so check the fit carefully.
19. Inspect under-sink plumbing and finalize the area
Check the plumbing connections under the sink for leaks or issues. Ensure all tools are removed from the area and the workspace is clean. Confirm that the grease trap cover is flush with the floor and secure.
20. Run water for a final system check
Turn on the faucet at the sink and let water run through the system. Observe the flow to confirm the grease trap and plumbing are functioning correctly, and check for any leaks or slow drainage.
Verification and summary
Confirm that all steps are complete and that the area is left clean and safe. Dispose of any waste or used cleaning materials according to local regulations. At this point, the grease trap is cleaned, reassembled, and tested for proper operation, with water flowing through the system as intended and the workspace restored to a safe, sanitary condition.