
How to Calibration Thermometer
An accurately calibrated thermometer is essential for ensuring food safety and quality. This document explains how to calibrate a thermometer using the AutoCal function, a patented automatic calibration feature built into DeltaTrak thermometers. This feature eliminates the need to send your thermometer to a lab for calibration.
Video: How to Calibrate a Digital Thermometer by DeltaTrak Inc. (2014). All credit for the demonstration goes to the creator; watch the original on YouTube. The written guide below was generated from this video by Docsie. Creator? Request a change or removal.
Purpose
An accurately calibrated thermometer is essential for ensuring food safety and quality. This document explains how to calibrate a thermometer using the AutoCal function, a patented automatic calibration feature built into DeltaTrak thermometers. This feature eliminates the need to send your thermometer to a lab for calibration.
Scope
This procedure applies to DeltaTrak thermometers equipped with the AutoCal function. Follow these steps whenever your thermometer requires calibration verification against the known freezing point of water (32.0°F / 0°C).
Required materials
- Cup
- Crushed ice (enough to fill the cup to the top)
- Cold water
Do not use cubed ice, as it will result in higher temperature readings.

Step 1: Prepare the ice bath
Fill the cup to the top with crushed ice. Slowly add cold water until the water line is about half an inch below the surface of the ice. Make sure the ice is touching the bottom of the cup and is not floating. If the ice starts to float, pour out some water to help achieve the correct freezing point.

Step 2: Verify the ice bath setup
Confirm that the ice is in contact with the bottom of the cup and is not floating in the water. This contact is necessary to reach the correct freezing point for calibration.

Step 3: Stabilize the ice bath
Gently stir the mixture using the probe of the thermometer you are calibrating. Allow the ice bath to sit for about two minutes to let the temperature stabilize before proceeding.
Step 4: Power on the thermometer and insert the probe
Press the power button to turn on your DeltaTrak thermometer. Position the probe in the middle of the ice bath, ensuring the tip is at least 2 inches below the surface of the ice bath.
Step 5: Locate the calibration button
Find the Cal button on your thermometer. If the ice bath is prepared correctly, the display should read close to 32.0°F at this point.

Step 6: Stir the ice bath before calibrating
Gently stir the probe in the middle of the cup for 15 seconds. Keep the probe tip submerged, and ensure it does not touch the sides or bottom of the cup.

Step 7: Activate AutoCal mode
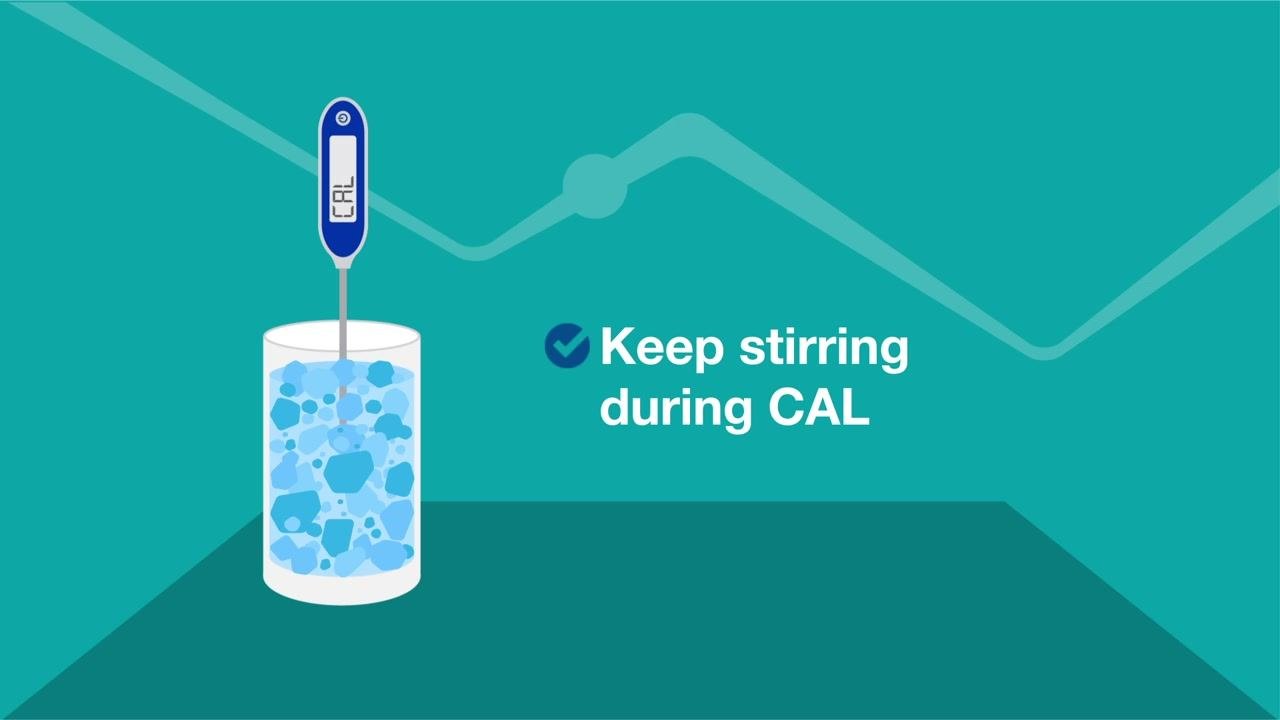
Press and hold the CAL button on the thermometer for about two seconds. Release the button as soon as the word "CAL" appears flashing on the display.
Step 8: Allow the thermometer to calibrate
The thermometer will enter auto-calibration mode. Continue gently stirring the probe in the ice bath while "CAL" is flashing on the display. The thermometer will take temperature readings until it records a stable set of three readings.
Step 9: Wait for calibration confirmation
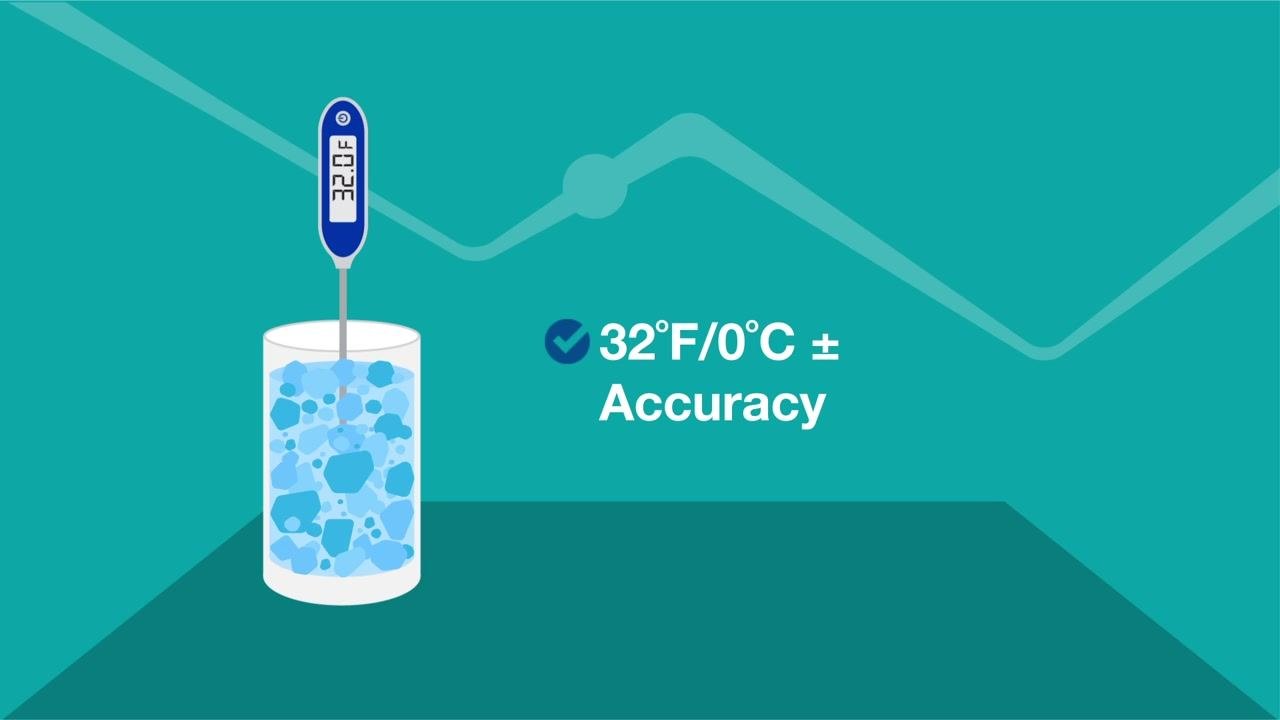
Once the thermometer locks onto the three stable readings, the display will flash three times, showing the letter "C" in front of the numbers. This indicates that calibration is complete. The thermometer will then automatically return to regular operating mode.
Step 10: Verify calibration
Check that the display now reads 32°F (0°C). The reading may be slightly above or below 32°F/0°C depending on the accuracy of your unit.
Additional information
For more details on product specifications and troubleshooting, visit the DeltaTrak website at www.deltatrak.com.

Summary
You have now successfully completed how to calibrate a thermometer using the AutoCal function. Your DeltaTrak thermometer is calibrated and ready for accurate temperature readings.