
How to Use Riveting Tool
This procedure explains how to use a riveting tool to join two materials, such as wood and plastic, using pop rivets. It covers identifying the tool, changing the nozzle for different rivet sizes, preparing your materials, drilling, and completing the rivet joint.
Video: How to Use a Pop Rivet Gun / Blind Rivet by GardenMechanic (2013). All credit for the demonstration goes to the creator; watch the original on YouTube. The written guide below was generated from this video by Docsie. Creator? Request a change or removal.
This procedure explains how to use a riveting tool to join two materials, such as wood and plastic, using pop rivets. It covers identifying the tool, changing the nozzle for different rivet sizes, preparing your materials, drilling, and completing the rivet joint.
Purpose
This SOP provides step-by-step instructions on how to use a riveting tool correctly, including nozzle changes and rivet selection, so that materials are joined securely and safely.
Scope
This procedure applies to standard pop riveters, such as the "Am-Tech" model with yellow handles used in this demonstration. While pop riveters vary in price range, the basic operation described here applies to most models.
Required equipment
- A pop riveter (with wrench/tool stored in the handle)
- Multiple nozzle attachments of different sizes
- Rivets in various sizes
- Materials to be joined (e.g., wood and plastic)
- A drill with a bit matching the rivet diameter
- A flat work surface, such as a workbench or table
Step 1: Identify your riveting tool
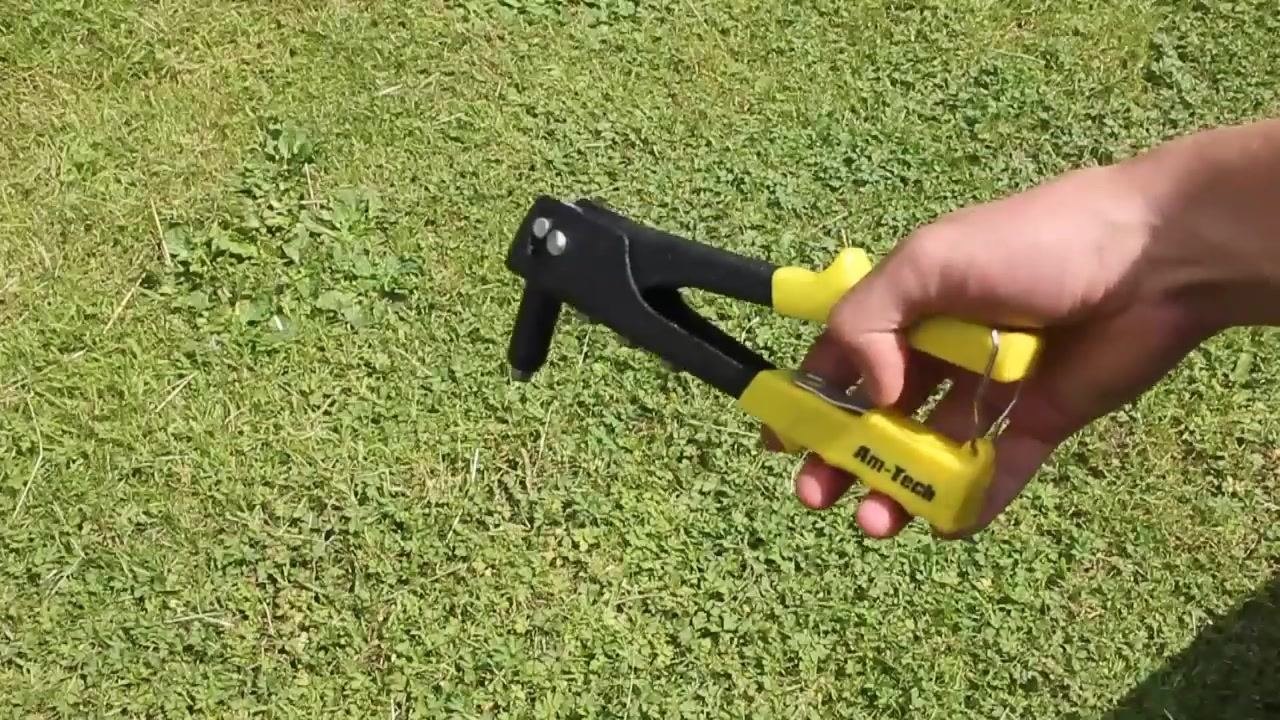
Hold the riveting tool in your hand and familiarize yourself with its shape and handle design. The example shown is an "Am-Tech" brand tool with yellow handles.
Step 2: Locate the nozzle attachments and stored tool
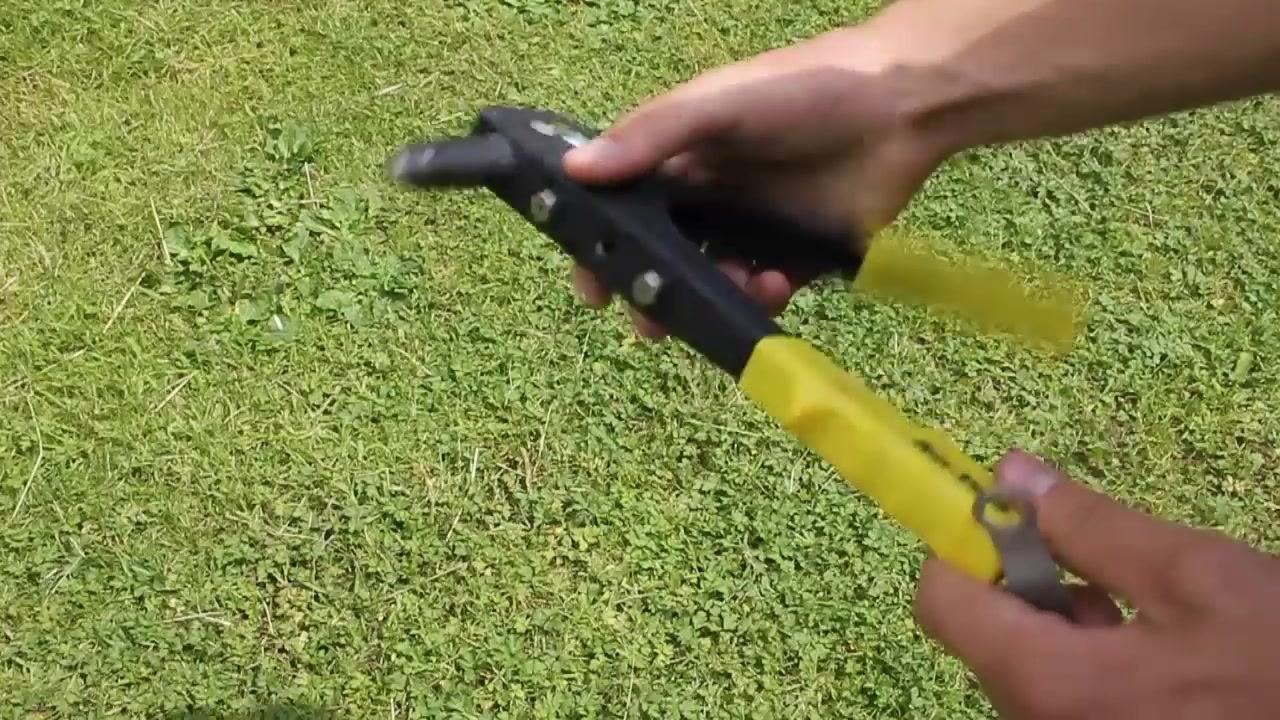
Observe the different nozzle attachments on the riveter; these allow you to use different sizes of rivets. Locate the wrench tool stored inside the handle of the riveter.
Step 3: Unscrew the current nozzle
Use the wrench tool to unscrew the current nozzle from the riveter.
Step 4: Select and insert the new nozzle
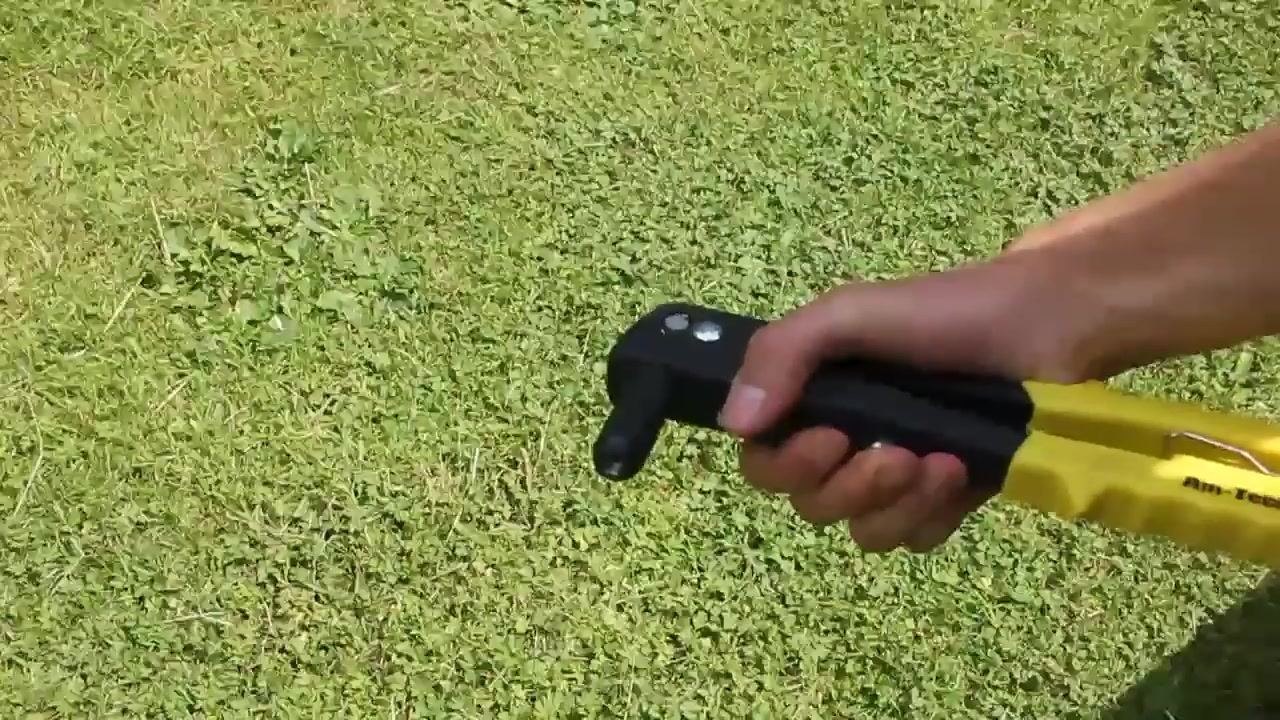
Select the nozzle size appropriate for your rivet (for example, the largest nozzle for a larger rivet). Pull the handle in while inserting the new nozzle to make the process easier.
Step 5: Tighten the new nozzle
Tighten the new nozzle securely into place using the wrench tool.
Step 6: Prepare your materials and rivets
Gather your materials, such as a piece of wood, a piece of plastic, and a selection of rivets in different sizes. Lay out the riveter, wrench, rivets, and materials on a flat surface such as a workbench or table.
Step 7: Select the correct rivet and drill bit
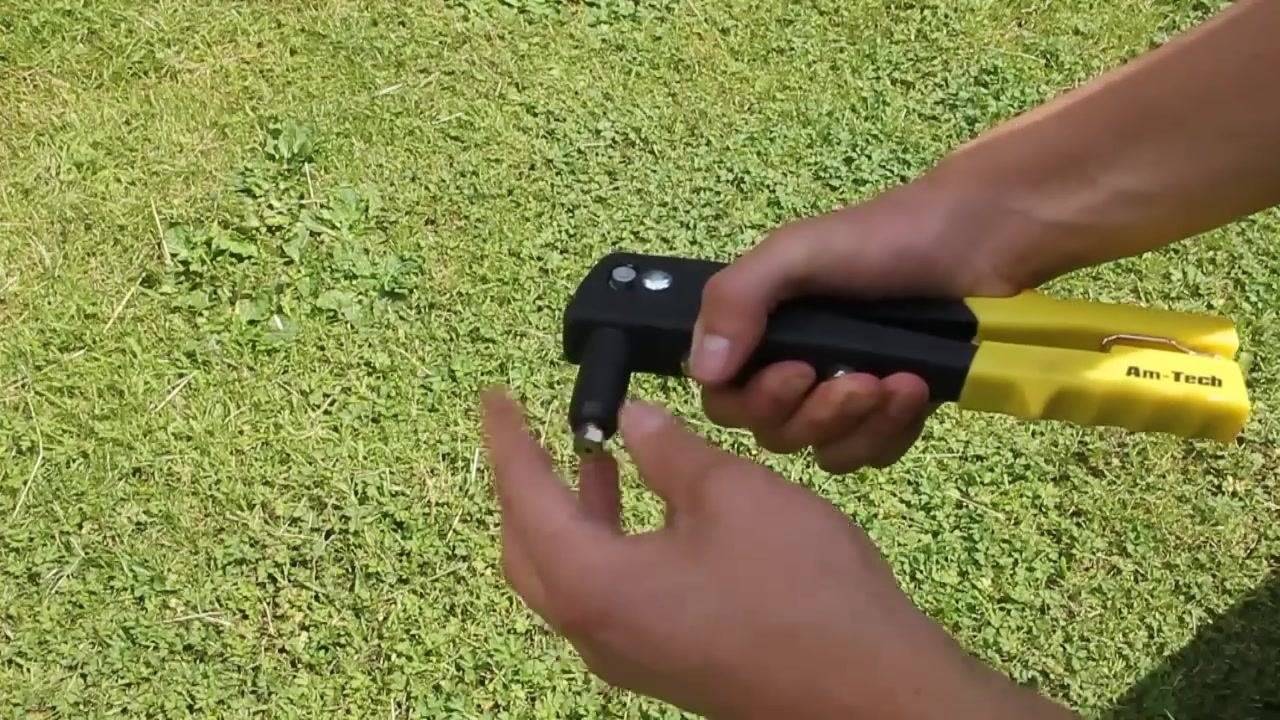
Choose the size of rivet you want to use for the job. Select a drill bit that matches the diameter of that rivet.
Step 8: Drill holes in the materials
Stack the materials you want to join, such as plastic on top of wood. Drill a hole through both materials using the selected drill bit.
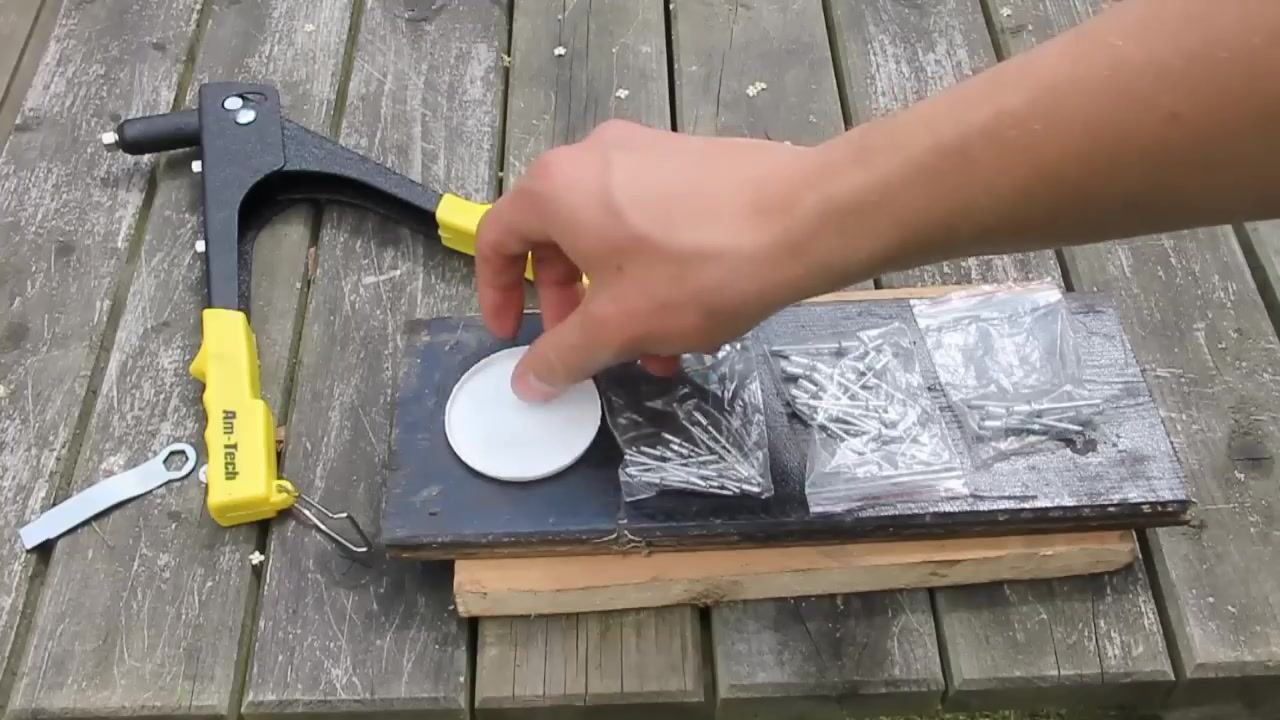
Step 9: Insert the rivet into the riveter
Confirm that the correct nozzle is installed for your chosen rivet size. Insert the rivet into the nozzle of the riveter.
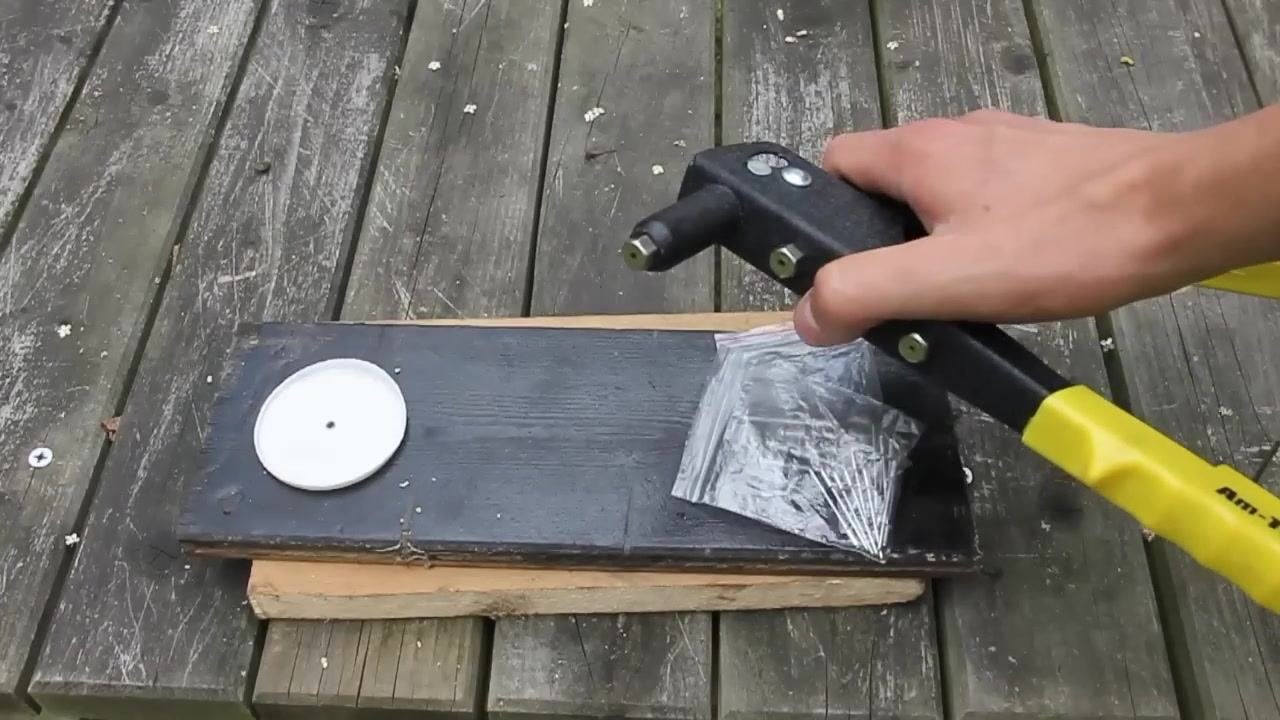
Step 10: Secure the materials with the rivet
Align both materials so the rivet is inserted through the drilled hole. Hold the riveter handles and squeeze them together repeatedly.
Continue squeezing until you hear or feel a "pop" sound, which indicates the rivet has set and the stem has snapped off. Confirm that the two materials are now firmly attached to each other.
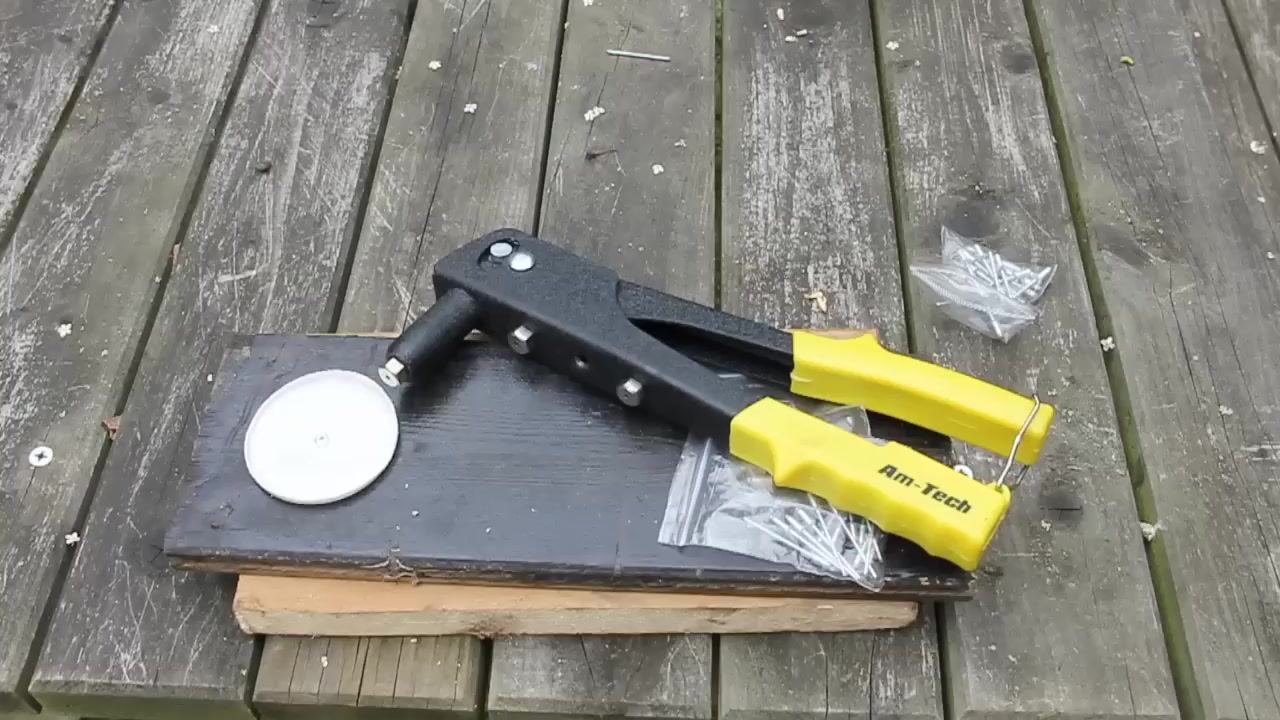
Step 11: Remove and discard the rivet stem
After the rivet is set, you will be left with the metal stem (mandrel) that has snapped off from the rivet. Remove this stem from the work area, as it is not needed for the finished joint.
Verification: Review the completed rivet joint
Inspect the joined materials to confirm that the rivet is flush and secure. Place the riveter and remaining rivets back on the workbench for storage.
Summary
You have now completed the basic process of using a riveting tool to join two materials. Discard the leftover rivet stem, and store your tools and unused rivets for future use.