
How to Perform a Gram Stain
This procedure describes how to prepare, stain, and interpret a Gram stain slide for bacterial identification. The Gram stain is a critical laboratory technique developed by Hans Christian Gram in 1884 for differentiating bacteria, and it remains widely used today to distinguish between gram-positive and gram-negative bacterial cells.
Video: How to prepare the perfect Gram stain - Gram staining procedure by Hardy Diagnostics (2021). All credit for the demonstration goes to the creator; watch the original on YouTube. The written guide below was generated from this video by Docsie. Creator? Request a change or removal.
Purpose
This procedure describes how to prepare, stain, and interpret a Gram stain slide for bacterial identification. The Gram stain is a critical laboratory technique developed by Hans Christian Gram in 1884 for differentiating bacteria, and it remains widely used today to distinguish between gram-positive and gram-negative bacterial cells.
The Gram stain provides two essential pieces of information: - The gram reaction (the color of the cell after staining) - The cell morphology (the shape of the cell: spherical, rod, or spiral)
Nearly all clinically significant bacteria can be categorized into these three morphological groups, which is vital for diagnosing infections and guiding patient care. The Gram stain differentiates bacteria based on differences in their cell wall structure.
Scope
This procedure applies to laboratory personnel performing Gram staining on bacterial colonies from petri plates, clinical specimens, or environmental samples for the purpose of identifying gram reaction and cell morphology under a microscope.
Background: Principles of the Gram stain
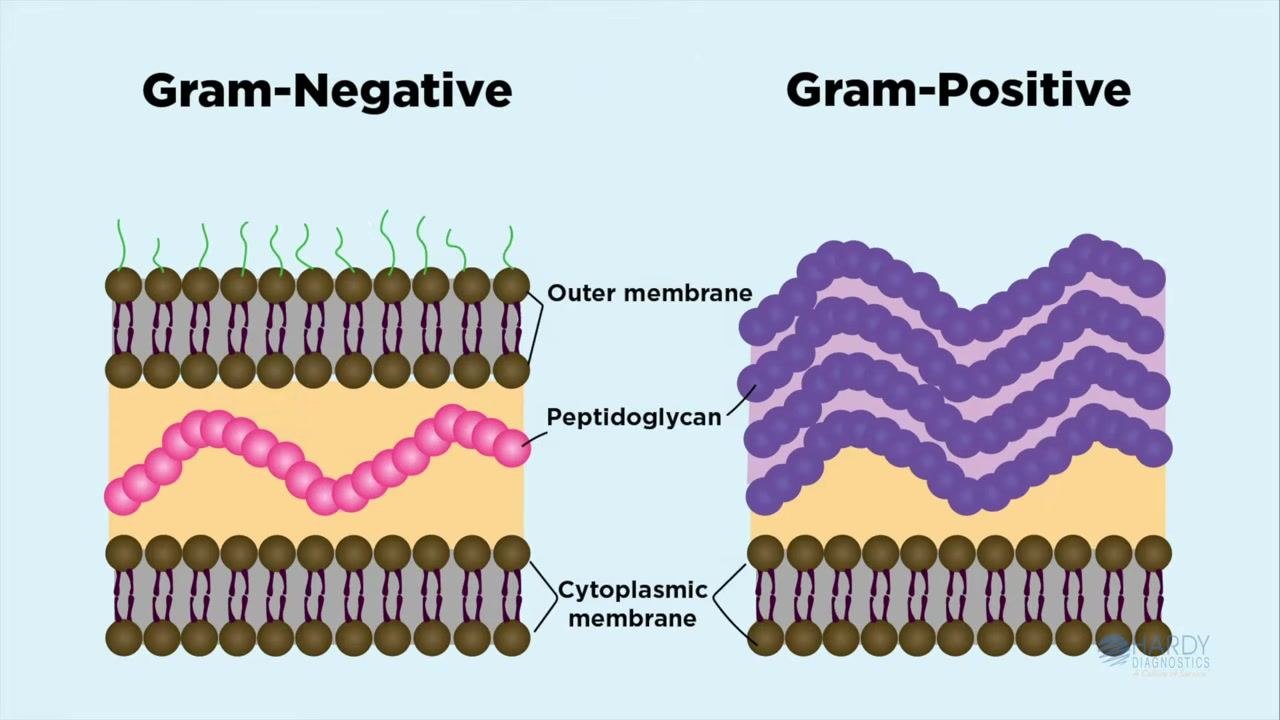
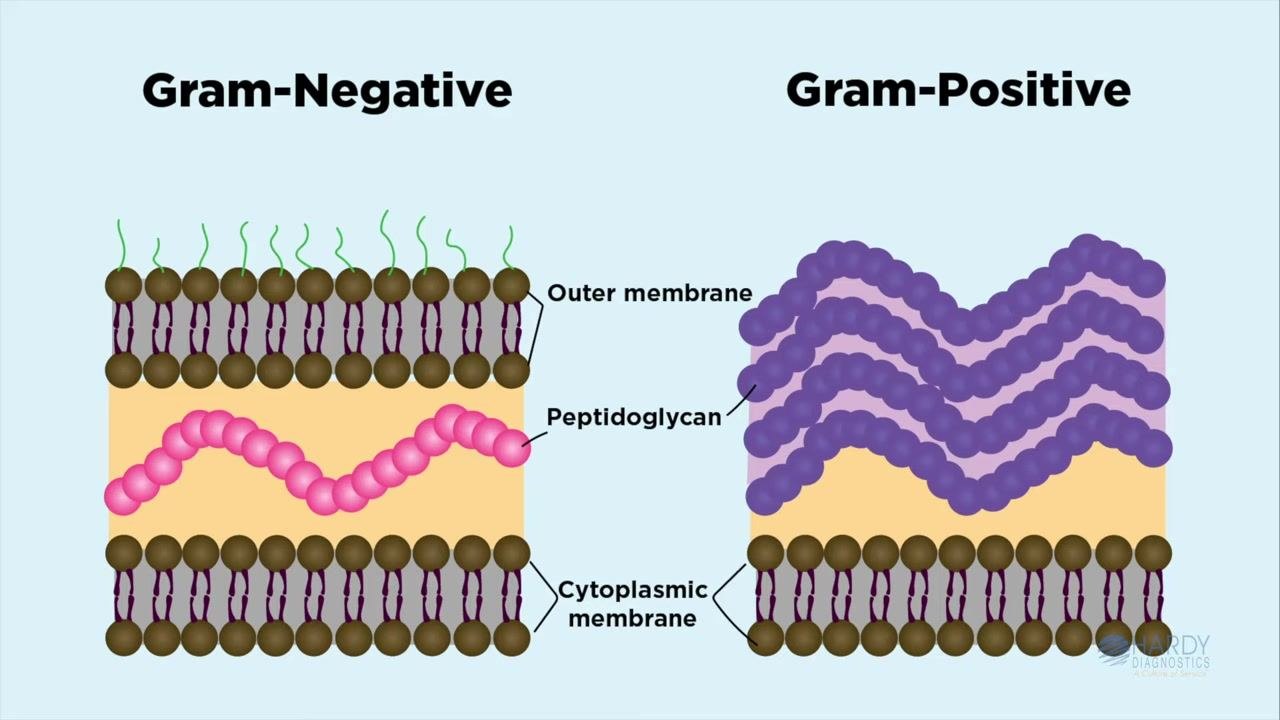
The bacterial cell wall is composed of peptidoglycan, a layer made of sugars and amino acids surrounding the plasma membrane. Key differences between gram-positive and gram-negative bacteria include:
- Gram-positive bacteria: Stain dark blue-purple due to a thick peptidoglycan layer that retains the primary dye.
- Gram-negative bacteria: Stain pink to red because their thin peptidoglycan layer loses the primary dye when treated with alcohol.
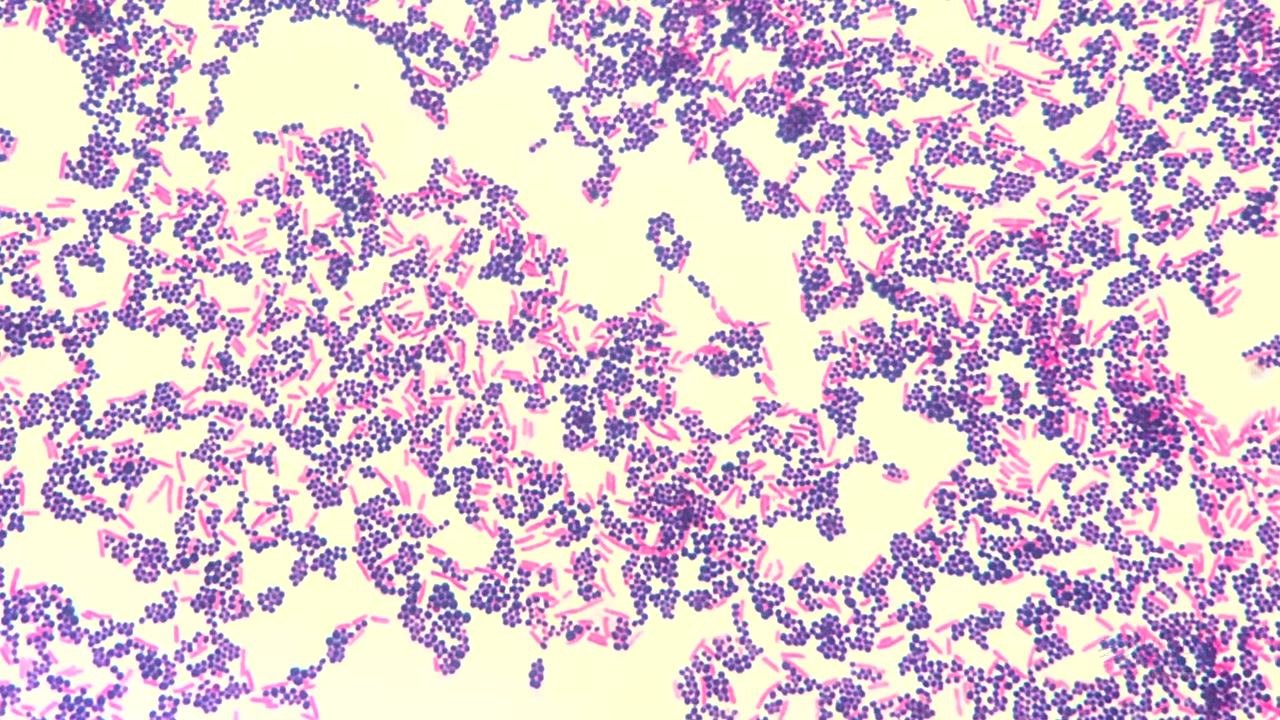
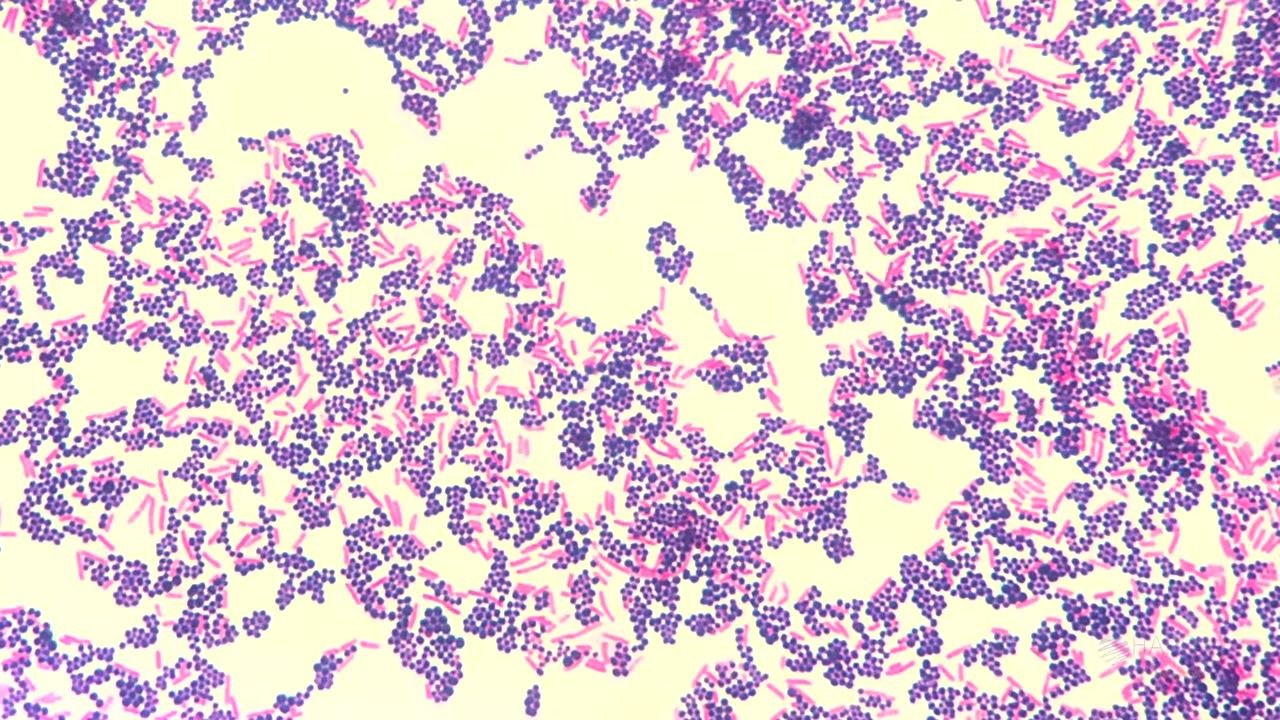
Under the microscope, gram-positive cells appear purple and gram-negative cells appear pink/red. Bacterial shapes include coccoid (spherical), bacillus (rod-shaped), and spiral (corkscrew-shaped).
The three main bacterial morphologies are: - Coccoid: Spherical cells - Bacillus: Rod-shaped cells - Spiral: Corkscrew-shaped cells
The peptidoglycan layer is the key structural component of the bacterial cell wall.
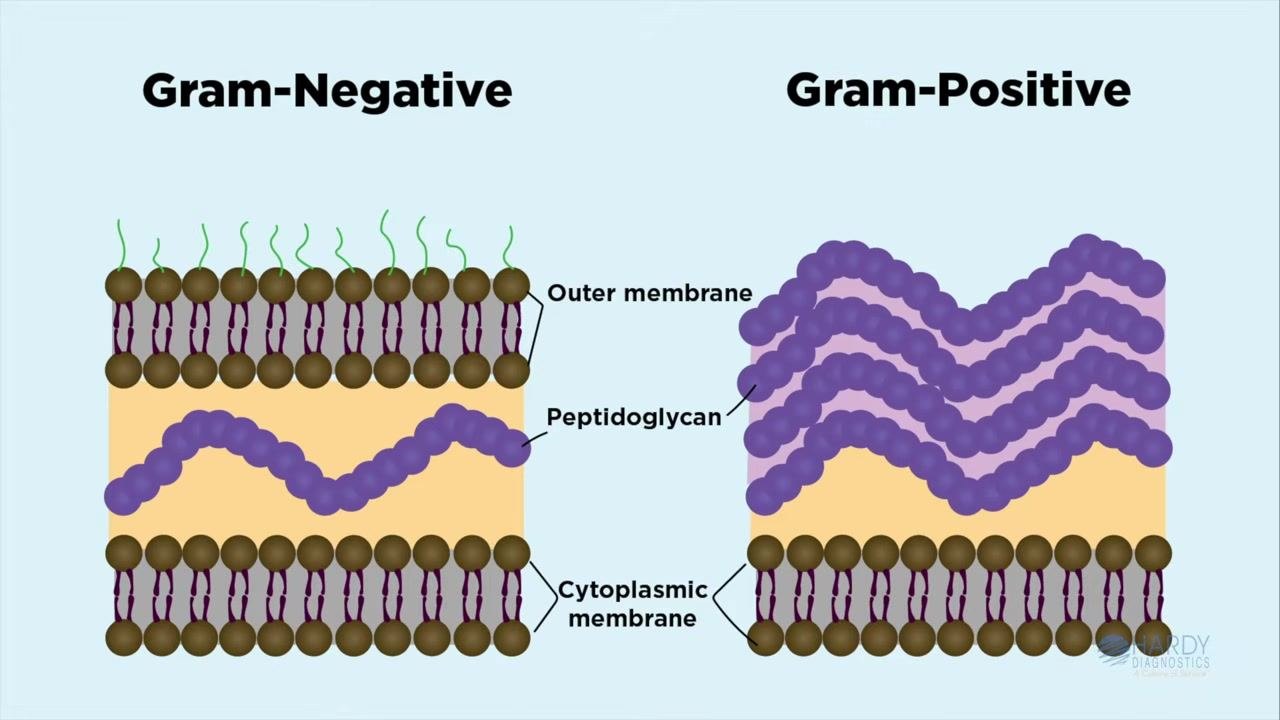
The cell wall structures of gram-negative and gram-positive bacteria differ as follows: - Gram-negative: Has an outer membrane, a thin peptidoglycan layer, and a cytoplasmic membrane. - Gram-positive: Lacks an outer membrane but has a thick peptidoglycan layer and a cytoplasmic membrane.
Required equipment and supplies
- Clean microscope slide
- Sterile saline or deionized water
- Sterile inoculating loop or collection swab
- Absolute methanol
- Copeland jar (optional, for methanol dipping)
- Crystal Violet (primary stain)
- Gram's Iodine (mordant)
- Decolorizer (alcohol/acetone mixture)
- Safranin or carbol fuchsin (counterstain)
- Bibulous paper
- Immersion oil
- Microscope with high dry (40x) and oil immersion objectives
- Paper towels
- Staining rack
- Gloves
Procedure
Step 1: Prepare the slide
- Place a clean microscope slide on a flat, protected surface.
- Add one drop of sterile saline or deionized water to the center of the slide, ensuring the drop is small and well-centered.
Step 2: Prepare the smear
- Use a sterile loop to collect bacteria from the edge of an isolated colony on a petri plate.
- Place the loop into the drop of sterile saline or deionized water on the microscope slide.
- Swirl the loop gently to distribute the bacterial cells evenly, ensuring the smear is one cell layer thick.
- Using cells from a single colony is important to ensure only one cell type is present.
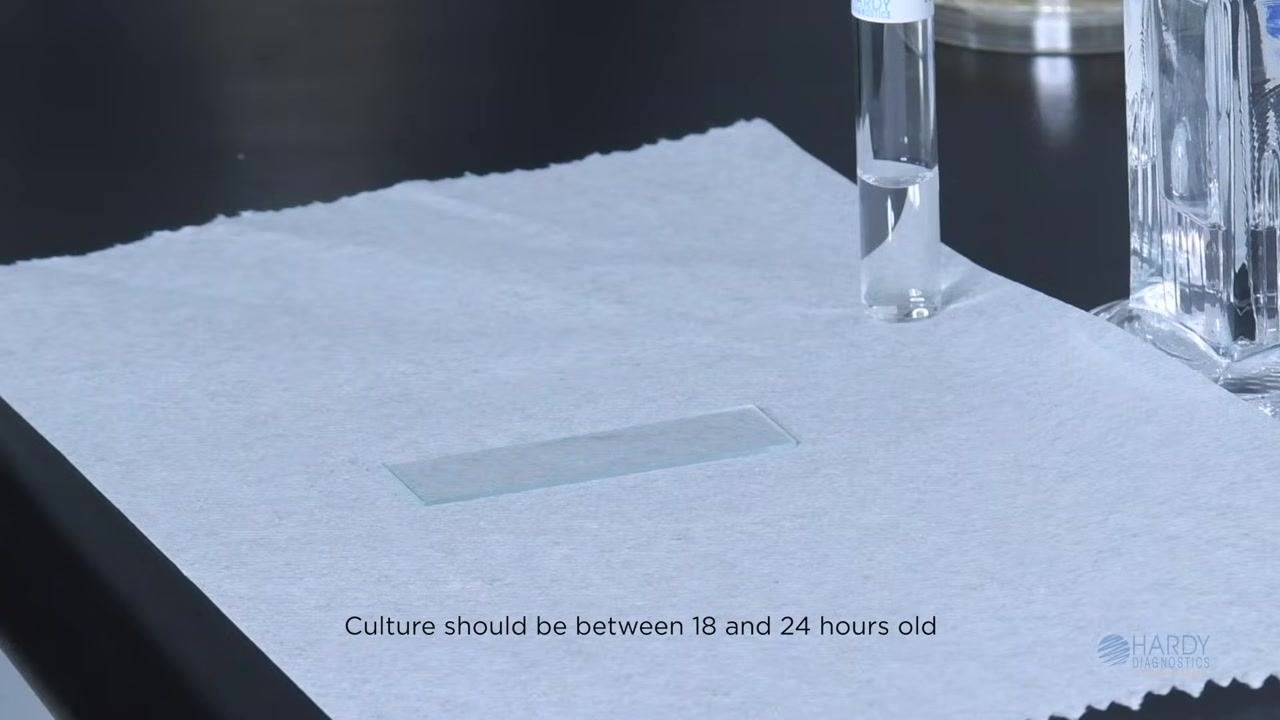
- The culture should be between 18 and 24 hours old for optimal results, as older cells may yield variable staining.
- Alternatively, if a colony is not available, use a collection swab from a clinical specimen or environmental sample.
- Ensure the sample is applied to the slide in a thin, even layer.
- Confirm that the culture is between 18 and 24 hours old.

Step 3: Fix the smear
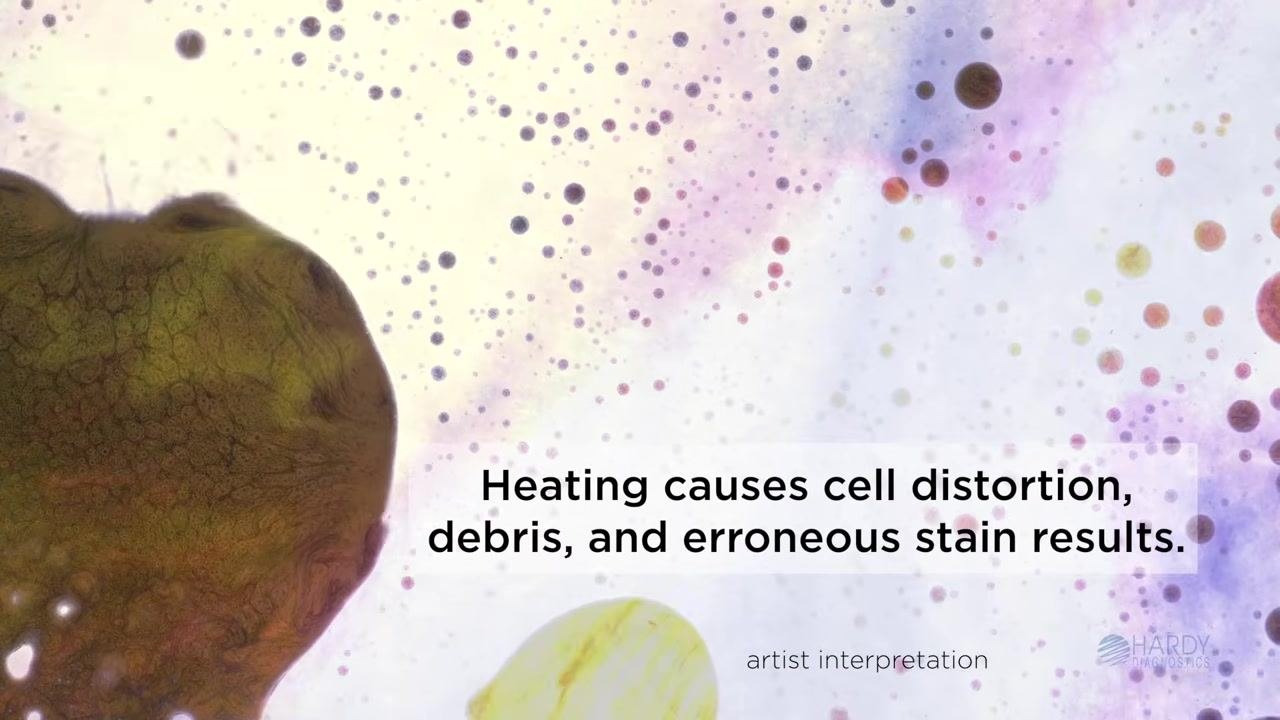
- Allow the smear to air dry completely. Do not heat the slide.
- Once dry, fix the bacterial cells to the slide using absolute methanol:
- Place or hold the slide over a paper towel.
- Flood the slide with absolute methanol for two minutes, or dip the slide into a Copeland jar filled with methanol.
- After two minutes, tilt the slide to drain off excess methanol and let the slide air dry.
Safety and quality notes: - Do not wipe or blot the slide, as this can remove cells. - Do not heat the slide. - Methanol fixation is preferred over heat fixation because it preserves cell morphology and prevents cell loss during staining. - Heating can cause cell distortion, increase debris, and result in erroneous gram reactions.
Step 4: Apply the primary stain (Crystal Violet)
- Place the air-dried, methanol-fixed slide on a staining rack over a sink or suitable container.
- Flood the slide with Crystal Violet, ensuring the smear is completely covered. Crystal Violet is a dark blue to purple dye that stains all bacterial cells.
- Allow the stain to sit for one minute.
- After one minute, rinse the slide gently with deionized or tap water to remove excess Crystal Violet.
Step 5: Apply the mordant (Gram's Iodine)
- Flood the slide with Gram's Iodine for one minute.
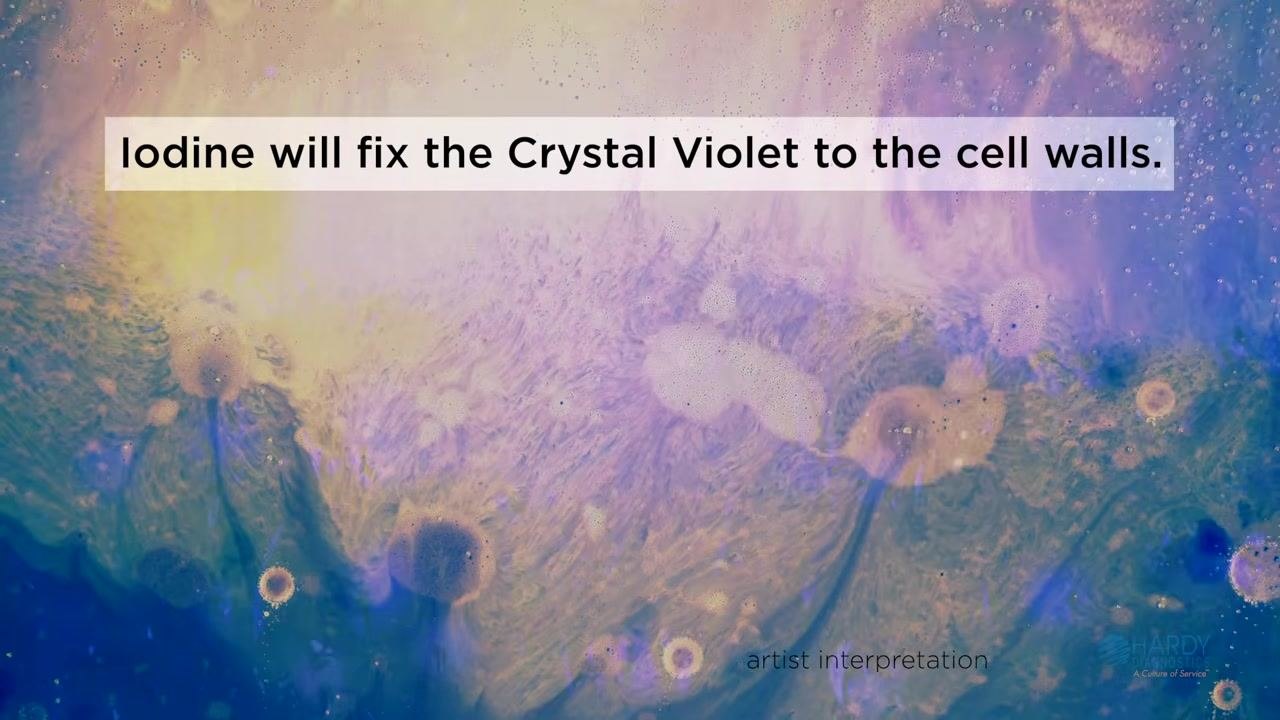
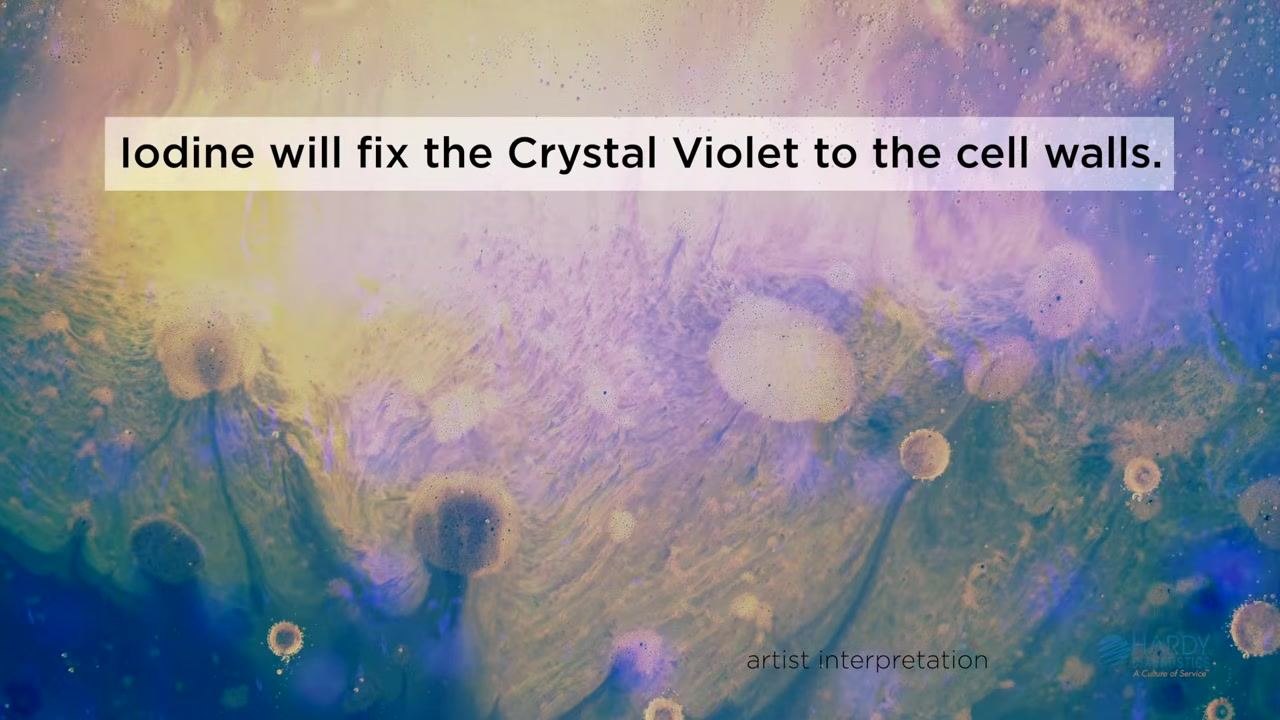
- Iodine acts as a mordant, linking to the Crystal Violet and fixing it to the cell walls.
- The negatively charged iodine molecules bind to the positively charged dye, enhancing retention in gram-positive cells.
- After one minute, rinse the slide thoroughly with deionized or tap water to remove excess iodine.
- This step ensures that only the iodine bound to the crystal violet remains, which is essential for differentiating cell wall types.
- The iodine acts as a mordant, trapping the crystal violet in the peptidoglycan layer of bacterial cell walls.
Step 6: Decolorize the slide
- Tilt the slide at an angle over a sink or tray to prepare for decolorization. Hold the slide securely using gloved hands to avoid contamination or dropping the slide.
-
Add the decolorizer dropwise to the slide, allowing it to flow over the smear.
- Use a squeeze bottle labeled "Decolorizer" for controlled application.
- Continue adding decolorizer until the violet color stops running off the slide.
- The decolorizer is typically a mixture of alcohol and acetone.
- The ratio of alcohol to acetone can be adjusted based on personal preference: faster decolorizers contain higher concentrations of acetone, while slower decolorizers contain higher concentrations of alcohol.
-
As soon as the solution running off the slide becomes clear, immediately rinse the slide with deionized or tap water to neutralize the decolorizer.
- Safety note: This step is critical to prevent over-decolorization, which can lead to false results.
Decolorizer chemistry reference: - Fast decolorizer: high amounts of acetone. - Slow decolorizer: high amounts of alcohol.
Effect of decolorizer on cell walls: - In gram-negative bacteria, the decolorizer extracts lipids from the outer membrane, increasing cell wall permeability and causing the purple dye-mordant complex to be lost from the thin peptidoglycan layer. - In gram-positive bacteria, the decolorizer dehydrates the thick peptidoglycan layer, decreasing permeability and causing the cells to retain the crystal violet-iodine complex.
After decolorization, gram-positive cells will appear blue-purple, while gram-negative cells will be colorless until counterstained.
Important: Adjust decolorization time based on smear thickness. A thick smear will require more decolorizer than a thin smear. Always stop the decolorization process immediately after the blue dye stops running off the slide to avoid false results.
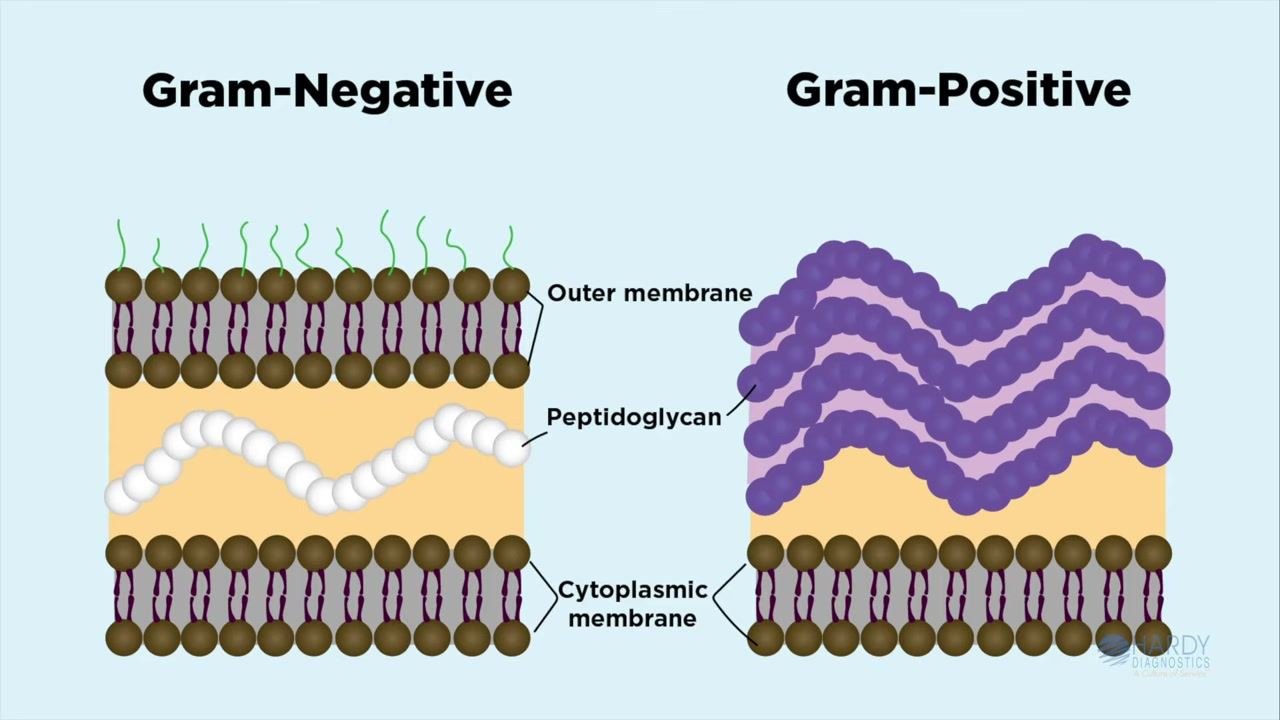
Critical safety tips: - Over-decolorization can result in false gram-negative results. - Under-decolorization can result in false gram-positive results. - Monitor the color running off the slide closely and rinse immediately when it runs clear.
Step 7: Apply the counterstain
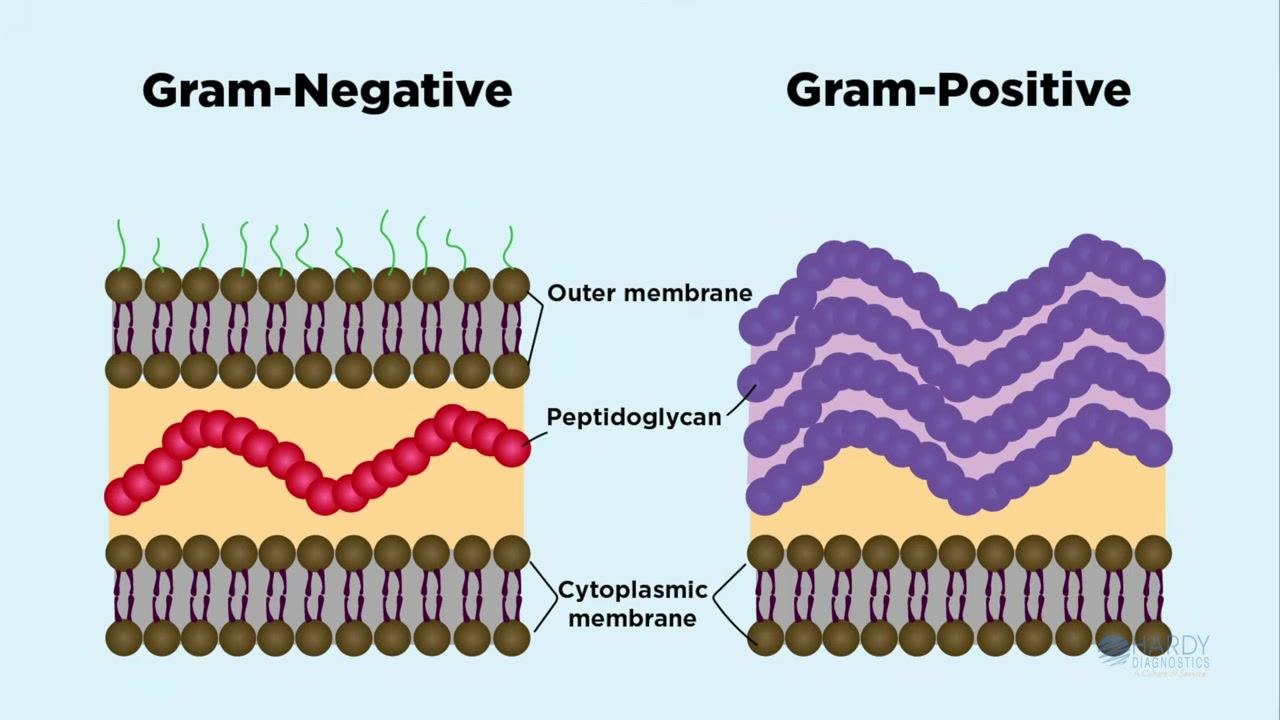
- Cover the slide with safranin or carbol fuchsin for one minute.
- This step stains the gram-negative cells pink/red, while gram-positive cells remain purple.
-
Rinse the slide gently with deionized or tap water to remove excess stain. This ensures only the cells retain the stain, not the background.
-
Use bibulous paper to blot the slide dry carefully. Do not rub the slide, as this may remove the stained cells.
Staining time summary
| Reagent | Exposure time |
|---|---|
| Crystal Violet | 30 to 60 seconds |
| Iodine | 30 to 60 seconds |
| Acetone/Alcohol Decolorizer | Only enough time to rinse away the blue stain |
| Safranin | 30 to 60 seconds |
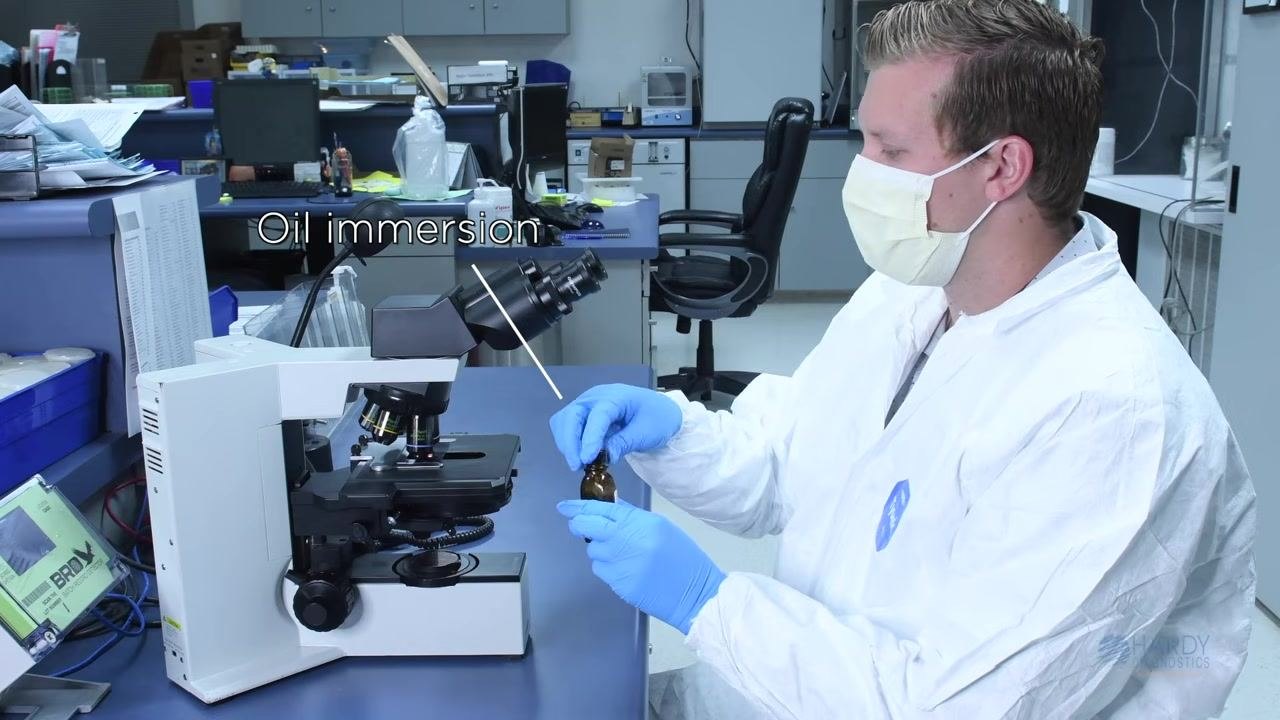
Step 8: View the slide under the microscope
- First, focus on the image using the high dry objective lens (marked 40x).
- Without removing the slide, switch to the oil immersion objective for higher magnification.
- Apply a drop of immersion oil directly onto the stained area of the slide before using the oil immersion lens.
Interpreting results
Under the microscope, observe the stained cells: - Gram-positive bacteria will appear purple (e.g., Staphylococcus aureus cocci). - Gram-negative bacteria will appear pink/red.
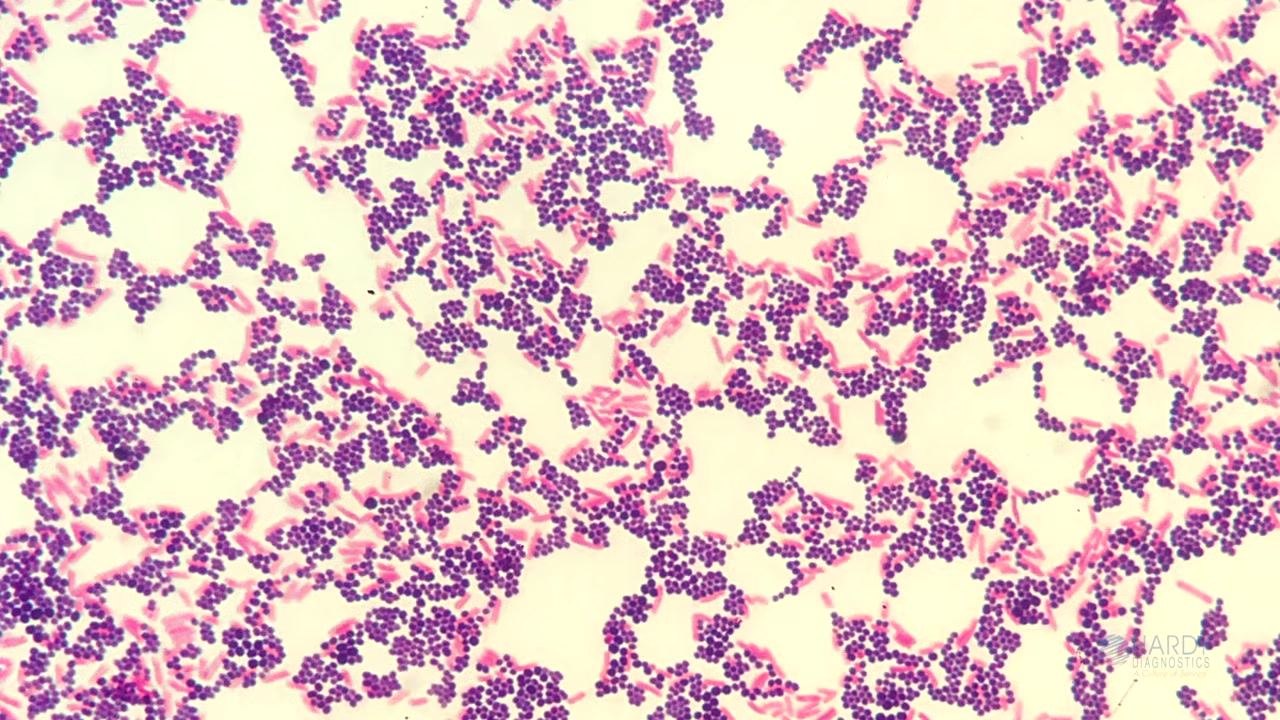
By following these steps, you will successfully complete the Gram staining procedure and be able to distinguish between gram-positive and gram-negative bacteria based on their color under the microscope.
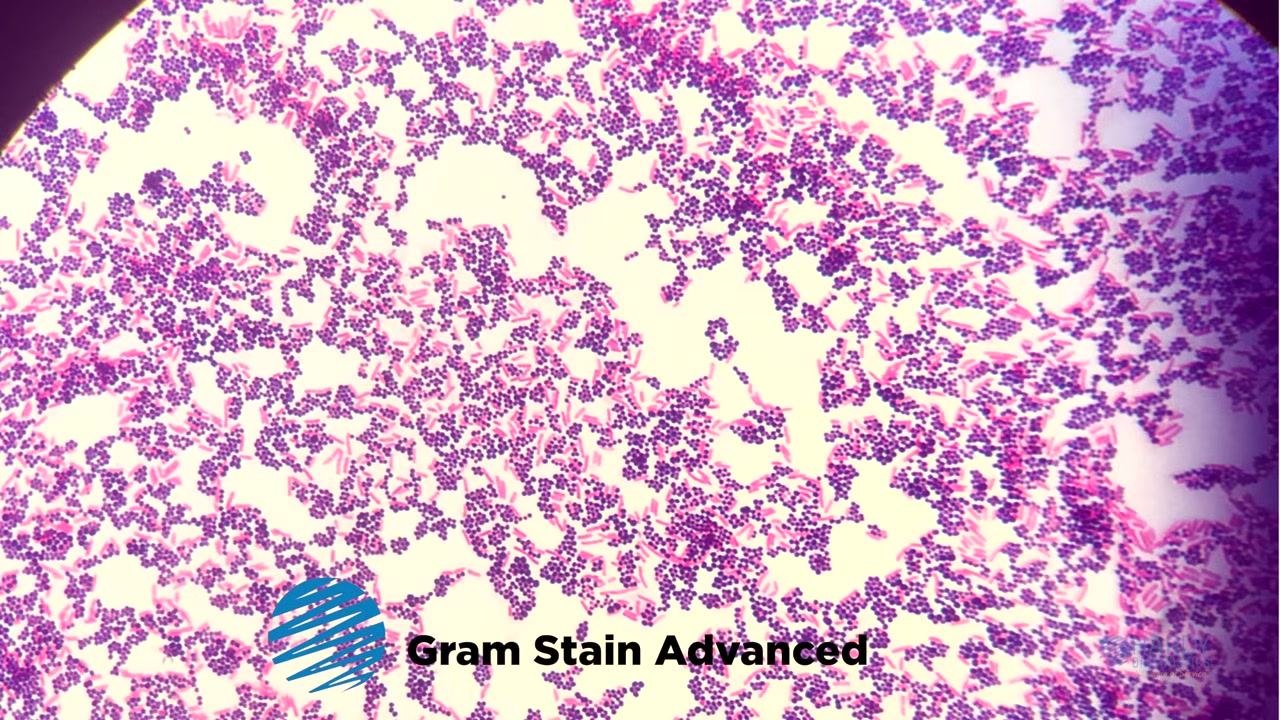
For reference, a sample slide shows purple clusters of cocci (Gram-positive Staphylococcus aureus) and pink rods (Gram-negative E. coli).
Verification: Quality control and reagent selection
Select high-quality reagents
Use a complete Gram stain kit for best results. For example, the Hardy Diagnostics Gram Stain Advanced kit includes: - Advanced Crystal Violet - Gram's Iodine, Stabilized - Decolorizer, Intermediate (Acetone, 50% Alcohol) - Advanced Counterstain
These reagents are formulated for vivid, reliable staining, even for difficult-to-stain bacteria.
Verify staining quality
Examine your stained slide for bright, vivid colors. Ensure gram-positive bacteria appear purple and gram-negative bacteria appear pink/red. Use a reference image to compare your results and confirm staining quality.
Use quality control slides
Use Q-Slide Gram controls to test your staining technique. - Each slide contains positive (S. aureus) and negative (E. coli) controls. - Hold the slide by the edges with gloved hands to avoid contamination. - Compare your results to the expected outcomes for each control.
Support and additional resources
For additional information, supplies, or technical support, contact Hardy Diagnostics: - Phone: 800-266-2222 - Website: HardyDiagnostics.com
Hardy Diagnostics offers a full range of microbiology products and a dedicated service culture.

By following these steps and utilizing quality reagents and controls, you will ensure accurate Gram stain results and have access to expert support for all your microbiology needs.
Generation details: cost, quality tiers
Docsie billed 4,000 credits ($2.80) to analyze this 8-minute video at standard quality. The rewrite, template fill and Word/PDF exports were included. The same video at each quality tier:
| Quality | Frames sampled | Credits | Approx. cost |
|---|---|---|---|
| Draft | every 16-30 s | 2,000 | $1.40 |
| Standard (this guide) | every 8-15 s | 4,000 | $2.80 |
| Detailed | every 4-7 s | 8,000 | $5.60 |
| Ultra | every 1-3 s | 16,000 | $11.20 |
Credits priced at $0.70 per 1,000; plans include a monthly allowance. Enterprise customers on on-premise or bring-your-own-model deployments run this on their own inference and pay no per-video credits.
Generated by Docsie Video-to-Docs on 2026-09-08 from a 7-minute video. Screenshots are frames from the source video and belong to their creator, Hardy Diagnostics, whose original is embedded above. If you own this video and want the guide removed or credited differently, contact us and we will act within one business day.