How to Check a Capacitor with a Multimeter
This standard operating procedure explains how to check a capacitor with a multimeter. It covers three complementary tests — resistance, capacitance, and voltage retention — so you can confirm whether a capacitor is good, shorted, or open before returning it to service or replacing it.
Video: How To Test A Capacitor With A Multimeter (Step-By-Step) by Electro University (2022). All credit for the demonstration goes to the creator; watch the original on YouTube. The written guide below was generated from this video by Docsie. Creator? Request a change or removal.
Purpose
This standard operating procedure explains how to check a capacitor with a multimeter. It covers three complementary tests — resistance, capacitance, and voltage retention — so you can confirm whether a capacitor is good, shorted, or open before returning it to service or replacing it.
Scope
This procedure applies to anyone testing an electrolytic capacitor removed from a circuit board using a digital multimeter. It includes preparation, resistance testing, capacitance testing, and voltage testing, along with the safety precautions required at each stage.
Required equipment and PPE
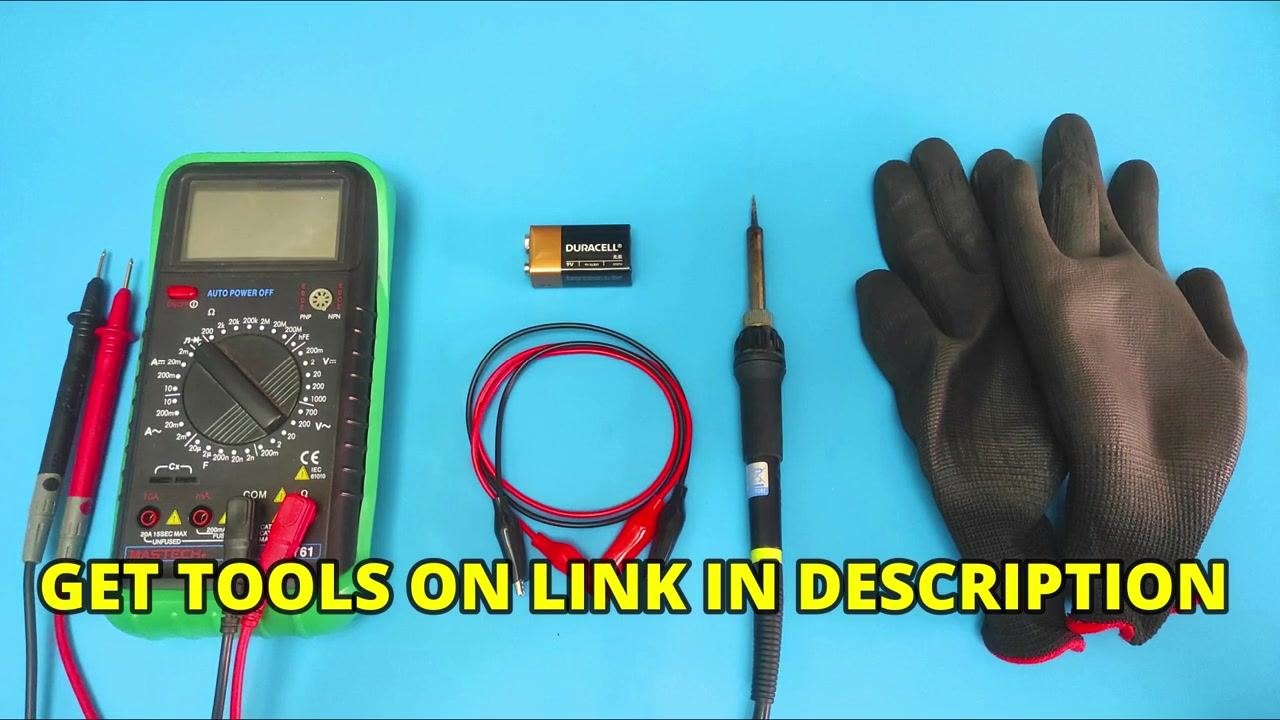
Before you begin, gather the following:
- Digital multimeter (main testing tool)
- 9V battery
- Red and black jumper wires with alligator clips
- Soldering iron
- Protective gloves
Step 1: Remove the capacitor from the circuit
Use a soldering iron to carefully desolder and remove the capacitor from the circuit board. Wear protective gloves at all times and confirm the device is powered off before you start.
If you are not confident discharging a capacitor safely, review a dedicated safety procedure before proceeding.
Step 2: Discharge the capacitor
Fully discharge the capacitor before testing to avoid injury to yourself or damage to your multimeter. Use a resistor or a dedicated discharge tool to do this safely.
Always double-check that the capacitor is fully discharged before handling it further.
Step 3: Set the multimeter to measure resistance
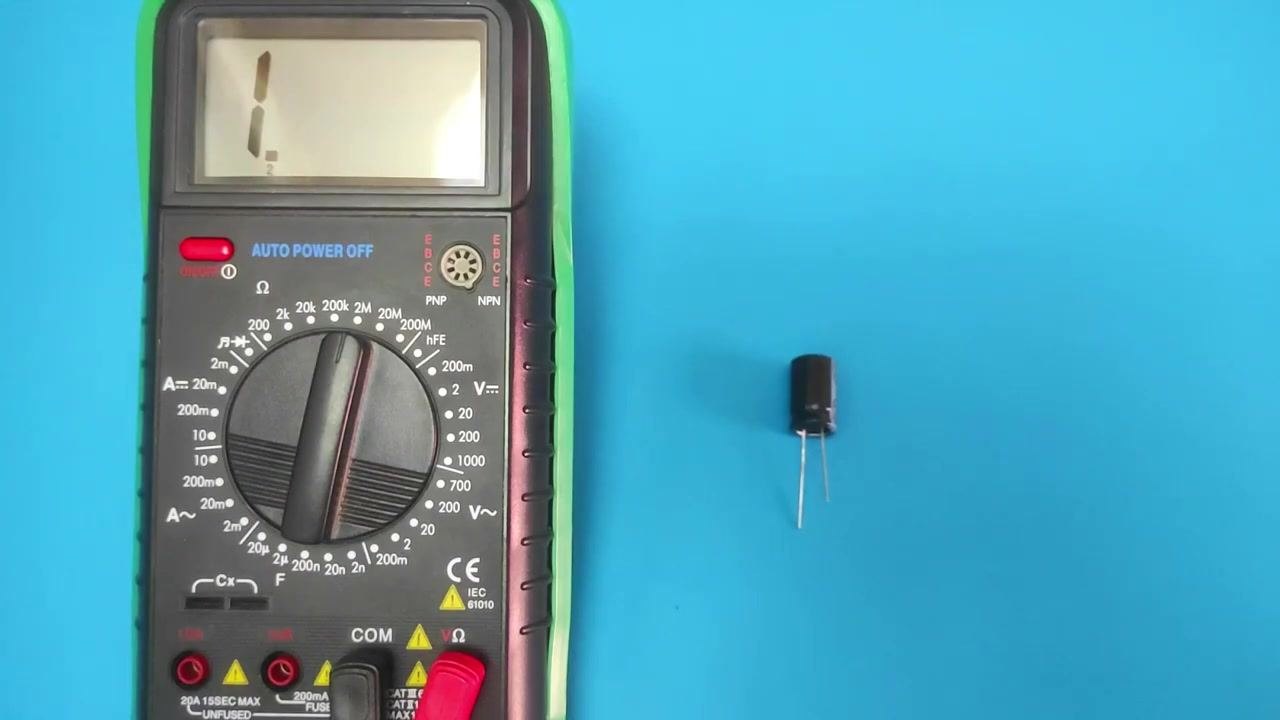
Turn the multimeter dial to the resistance (Ω) setting. Select the 2 megaohm (2MΩ) range, as this lets you observe the full charging curve and see whether the reading reaches infinity.
Step 4: Connect the probes and read the resistance
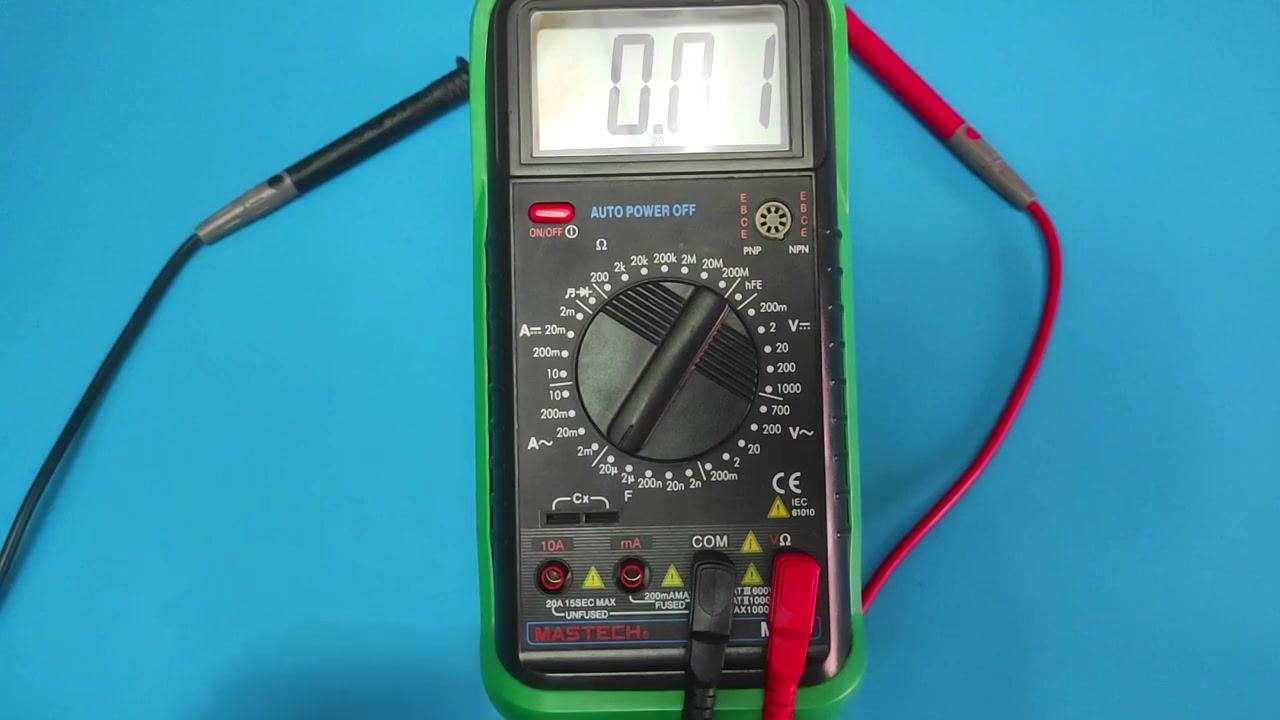
Place the black probe on one lead and the red probe on the other lead of the capacitor. A good capacitor will show a value close to zero initially, and the resistance will then progressively rise until it reaches infinity (open circuit).
Step 5: Interpret the resistance results
Use the following criteria to evaluate the reading:
- If the resistance rises steadily to infinity, the capacitor is likely good.
- If the reading stays at zero or a low value, the capacitor may be shorted.
- If the reading stays at infinity from the start, the capacitor may be open (failed).
Once the resistance test confirms the capacitor's condition, continue with capacitance testing.
Step 6: Connect the capacitor for capacitance testing
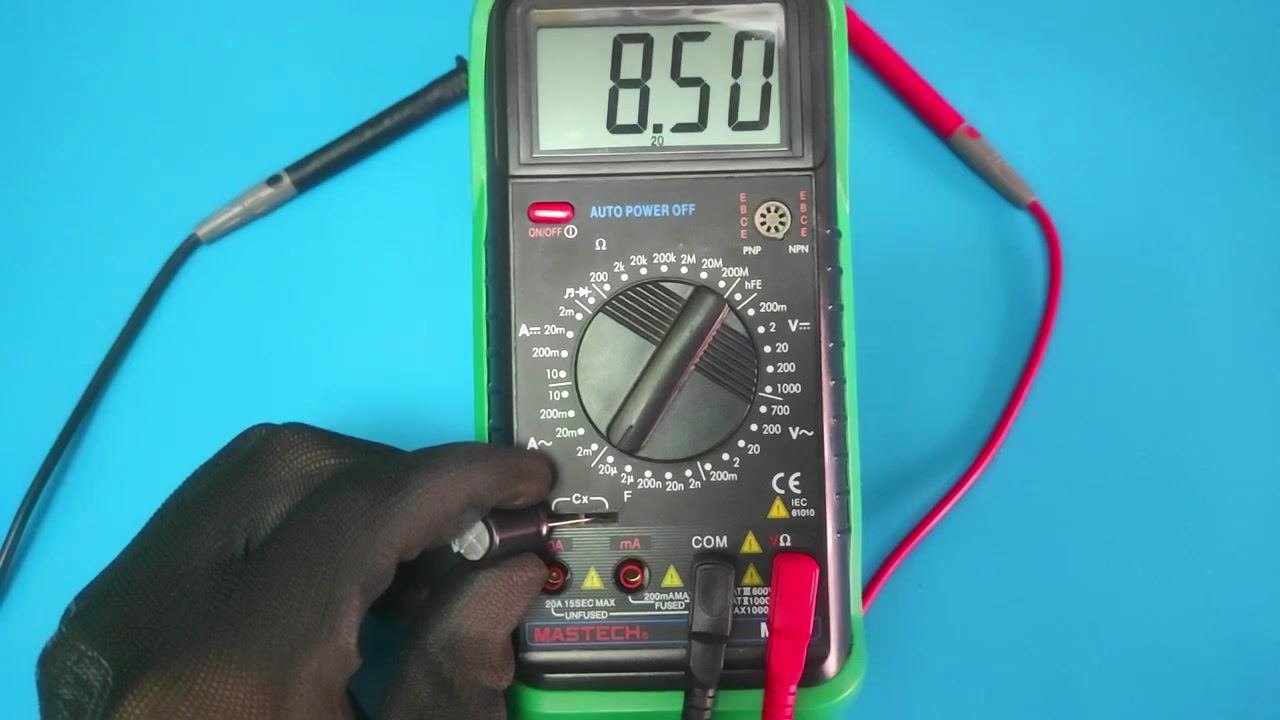
Insert the capacitor leads into the appropriate capacitance (Cx) sockets on the multimeter. Confirm the multimeter is set to the correct capacitance range for your capacitor. The display should show a capacitance value, and a reading close to the capacitor's rated value indicates it is functioning properly.
Step 7: Verify the capacitance reading
Check the measured capacitance value against the capacitor's rated capacitance. If the value matches or is close to the rated capacitance, the test result is good.
Step 8: Prepare for the voltage test
Gather the 9V battery and two jumper wires with alligator clips. Identify the positive (+) and negative (–) leads on both the battery and the capacitor before making any connections.
Step 9: Connect the battery to the capacitor
Attach the red jumper wire to the positive terminal of the battery and the positive lead of the capacitor. Attach the black jumper wire to the negative terminal of the battery and the negative lead of the capacitor.
Step 10: Confirm proper polarity
Double-check that the red wire connects positive to positive, and the black wire connects negative to negative, before charging the capacitor.
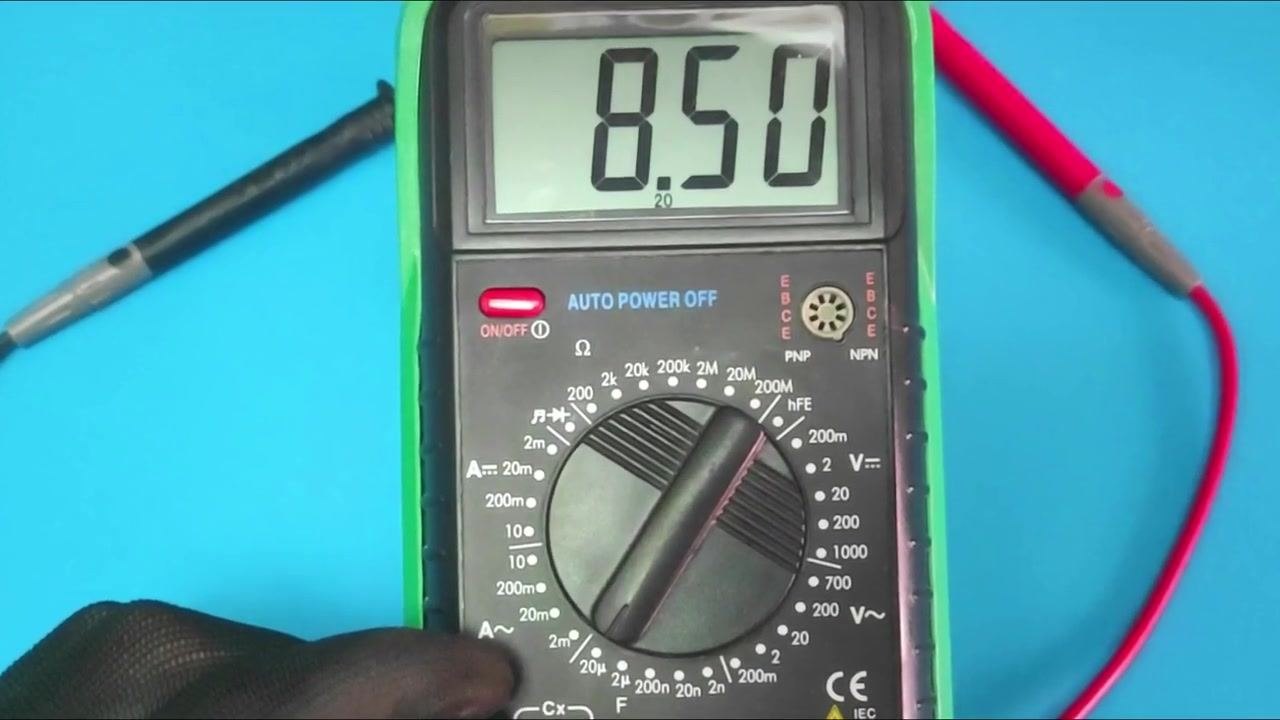
Step 11: Set the multimeter for voltage measurement
Turn the multimeter dial to a voltage range higher than the battery voltage (set above 9V). Confirm the probes are connected to the correct ports for voltage measurement.
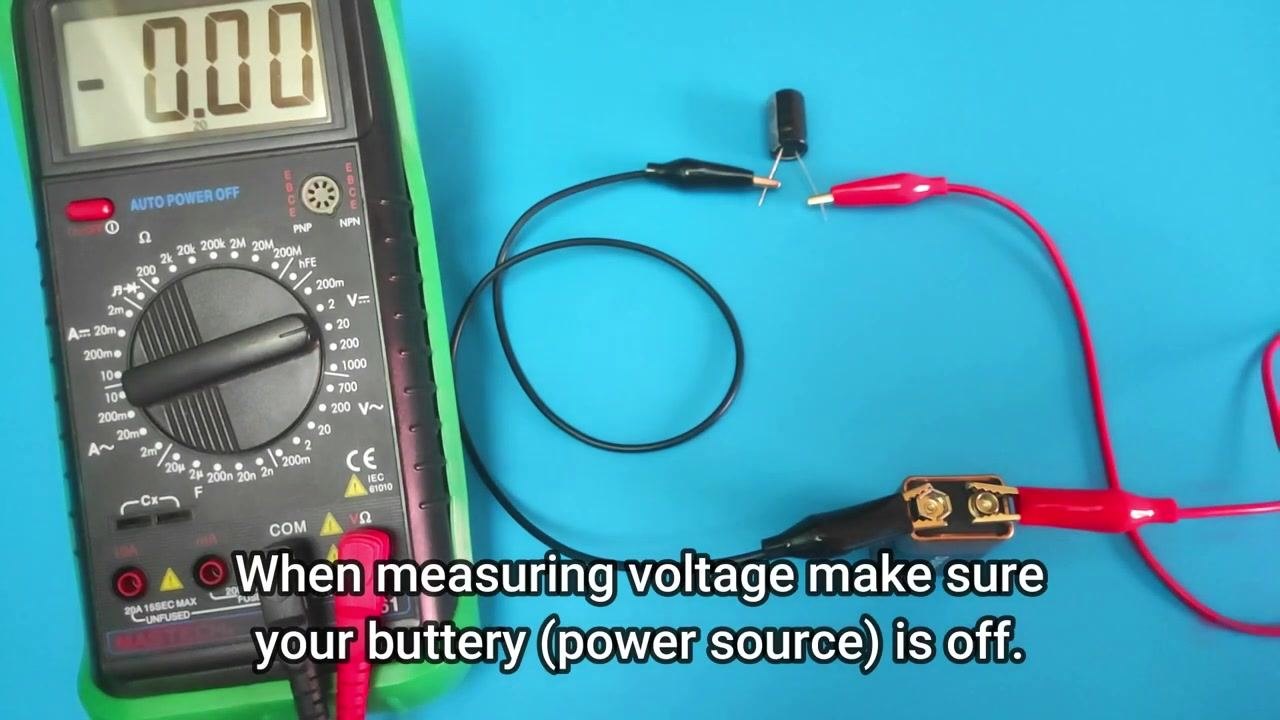
Step 12: Measure the capacitor voltage
Disconnect the battery from the capacitor after it has charged. Place the red probe on the positive lead and the black probe on the negative lead of the capacitor, then read the displayed voltage.
Safety note: Always disconnect the battery (power source) before measuring the voltage across the capacitor.
Step 13: Interpret the voltage reading
A voltage reading close to 9V indicates the capacitor is holding its charge and is in good condition. A significantly lower reading suggests the capacitor may be faulty.
Verification and summary
You have now checked the capacitor for resistance, capacitance, and voltage retention using a multimeter. If all three readings fall within the expected ranges — resistance rising to infinity, a capacitance value close to the rated spec, and a voltage close to the charging source — the capacitor is functioning properly.
Always observe the safety precautions covered in each step, and double-check all connections and polarity before applying power or taking measurements.